Spring Security Login Example
In this article we will learn how to use spring security to create a simple login page. You will need an IDE (I am using IDEA IntelliJ), JDK 1.8 or later, Maven 3.0+.
1. Introduction
The Spring Framework provides a comprehensive programming and configuration model for modern Java-based enterprise applications – on any kind of deployment platform. A key element of Spring is infrastructural support at the application level: Spring focuses on the “plumbing” of enterprise applications so that teams can focus on application-level business logic, without unnecessary ties to specific deployment environments.
The Spring Framework is divided into modules. Applications can choose which modules they need. At the heart are the modules of the core container, including a configuration model and a dependency injection mechanism. Beyond that, the Spring Framework provides foundational support for different application architectures, including messaging, transactional data and persistence, and web. It also includes the Servlet-based Spring MVC web framework and, in parallel, the Spring WebFlux reactive web framework.
2. Spring Security
Spring Security is a framework that focuses on providing both authentication and authorization to Java applications. Like all Spring projects, the real power of Spring Security is found in how easily it can be extended to meet custom requirements. It provides protection against attacks like session fixation, clickjacking, cross site request forgery, etc
3. Example
In this section we will see how we can secure a simple web application using spring security. We will build a Spring MVC application that secures the page with a login form backed by a fixed list of users. First you set up a basic build script. You can use any build system you like when building apps with Spring. For this example I am using Maven.
pom.xml
<project xmlns="http://maven.apache.org/POM/4.0.0" xmlns:xsi="http://www.w3.org/2001/XMLSchema-instance"
xsi:schemaLocation="http://maven.apache.org/POM/4.0.0 http://maven.apache.org/xsd/maven-4.0.0.xsd">
<modelVersion>4.0.0</modelVersion>

  <groupId>com.javacodegeeks</groupId>
  <artifactId>spring-security-login-example</artifactId>
  <version>1.0-SNAPSHOT</version>
  <packaging>jar</packaging>

  <name>spring-security-login-example</name>
  <url>http://maven.apache.org</url>

  <properties>
    <project.build.sourceEncoding>UTF-8</project.build.sourceEncoding>
    <java.version>1.8</java.version>
  </properties>

  <parent>
    <groupId>org.springframework.boot</groupId>
    <artifactId>spring-boot-starter-parent</artifactId>
    <version>1.5.9.RELEASE</version>
  </parent>

  <dependencies>
    <dependency>
      <groupId>org.springframework.boot</groupId>
      <artifactId>spring-boot-starter-thymeleaf</artifactId>
    </dependency>
    <dependency>
      <groupId>org.springframework.boot</groupId>
      <artifactId>spring-boot-starter-test</artifactId>
      <scope>test</scope>
    </dependency>
    <dependency>
      <groupId>org.springframework.security</groupId>
      <artifactId>spring-security-test</artifactId>
      <scope>test</scope>
    </dependency>
  </dependencies>

  <build>
    <plugins>
      <plugin>
        <groupId>org.springframework.boot</groupId>
        <artifactId>spring-boot-maven-plugin</artifactId>
      </plugin>
    </plugins>
  </build>

  <repositories>
    <repository>
      <id>spring-releases</id>
      <name>Spring Releases</name>
      <url>https://repo.spring.io/libs-release</url>
    </repository>
  </repositories>
  <pluginRepositories>
    <pluginRepository>
      <id>spring-releases</id>
      <name>Spring Releases</name>
      <url>https://repo.spring.io/libs-release</url>
    </pluginRepository>
  </pluginRepositories>

</project>
The Spring Boot Maven plugin provides many convenient features:
- It collects all the jars on the classpath and builds a single, runnable “über-jar”, which makes it more convenient to execute and transport your service.
- It searches for the
public static void main()method to flag as a runnable class. - It provides a built-in dependency resolver that sets the version number to match Spring Boot dependencies. You can override any version you wish, but it will default to Boot’s chosen set of versions.
3.1 Create a web application
Before you can apply security to a web application, you need a web application to secure. The steps in this section walk you through creating a very simple web application. Then you secure it with Spring Security in the next section.
The web application includes two simple views: a home page and a “My Details” page. The home page is defined in the following Thymeleaf template:
home.html
<!DOCTYPE html>
<html xmlns="http://www.w3.org/1999/xhtml"
      xmlns:th="http://www.thymeleaf.org"
      xmlns:sec="http://www.thymeleaf.org/thymeleaf-extras-springsecurity3">
<head>
    <title>Spring Security Login Example</title>
</head>
<body>
  <h1>Hello Java Geeks!!!</h1>

    <p>Click <a th:href="@{/mydetails}">here</a> to check your details.</p>
</body>
</html>
As you can see, this simple view includes a link to the page “/mydetails”. That is defined in the following Thymeleaf template:
mydetails.html
<!DOCTYPE html>
<html xmlns="http://www.w3.org/1999/xhtml" xmlns:th="http://www.thymeleaf.org"
      xmlns:sec="http://www.thymeleaf.org/thymeleaf-extras-springsecurity3">
<head>
    <title>Hello Geeks!!!</title>
</head>
<body>
  <h1>Full name: Java Code Geeks</h1>
</body>
</html>
The web application is based on Spring MVC. Thus you need to configure Spring MVC and set up view controllers to expose these templates. Here’s a configuration class for configuring Spring MVC in the application.
SpringConfig.java
package com.javacodegeeks;

import org.springframework.context.annotation.Configuration;
import org.springframework.web.servlet.config.annotation.ViewControllerRegistry;
import org.springframework.web.servlet.config.annotation.WebMvcConfigurerAdapter;

@Configuration
public class SpringConfig extends WebMvcConfigurerAdapter {

    @Override
    public void addViewControllers(ViewControllerRegistry registry) {
        registry.addViewController("/home").setViewName("home");
        registry.addViewController("/").setViewName("home");
        registry.addViewController("/mydetails").setViewName("mydetails");
        registry.addViewController("/login").setViewName("login");
    }
}
The addViewControllers() method adds four view controllers. Two of the view controllers reference the view whose name is “home” (defined in home.html), and another references the view named “mydetails” (defined in mydetails.html). The fourth view controller references another view named “login”. You’ll create that view in the next section.
3.2 Make the application executable
Although it is possible to package this service as a traditional web application archive or WAR file for deployment to an external application server, the simpler approach demonstrated below creates a standalone application. You package everything in a single, executable JAR file, driven by a good old Java main() method. And along the way, you use Spring’s support for embedding the Tomcat servlet container as the HTTP runtime, instead of deploying to an external instance.
App.java
package com.javacodegeeks;

import org.springframework.boot.SpringApplication;
import org.springframework.boot.autoconfigure.SpringBootApplication;

@SpringBootApplication
public class App
{
    public static void main( String[] args ) {
        SpringApplication.run(App.class, args);
    }
}
@SpringBootApplication is a convenience annotation that adds all of the following:
@Configurationtags the class as a source of bean definitions for the application context.@EnableAutoConfigurationtells Spring Boot to start adding beans based on classpath settings, other beans, and various property settings.- Normally you would add
@EnableWebMvcfor a Spring MVC app, but Spring Boot adds it automatically when it seesspring-webmvcon the classpath. This flags the application as a web application and activates key behaviours such as setting up aDispatcherServlet. @ComponentScantells Spring to look for other components, configurations, and services in the javacodegeeks package, allowing it to find the controllers.
The main() method uses Spring Boot’s SpringApplication.run() method to launch an application. Did you notice that there wasn’t a single line of XML? No web.xml file either. This web application is 100% pure Java and you didn’t have to deal with configuring any plumbing or infrastructure.
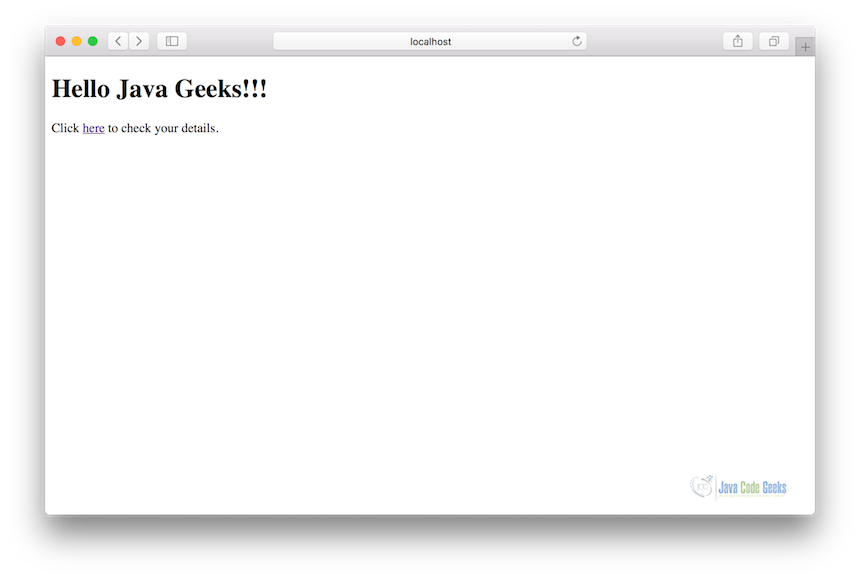
Once the application starts up, point your browser to http://localhost:8080. You should see the home page:
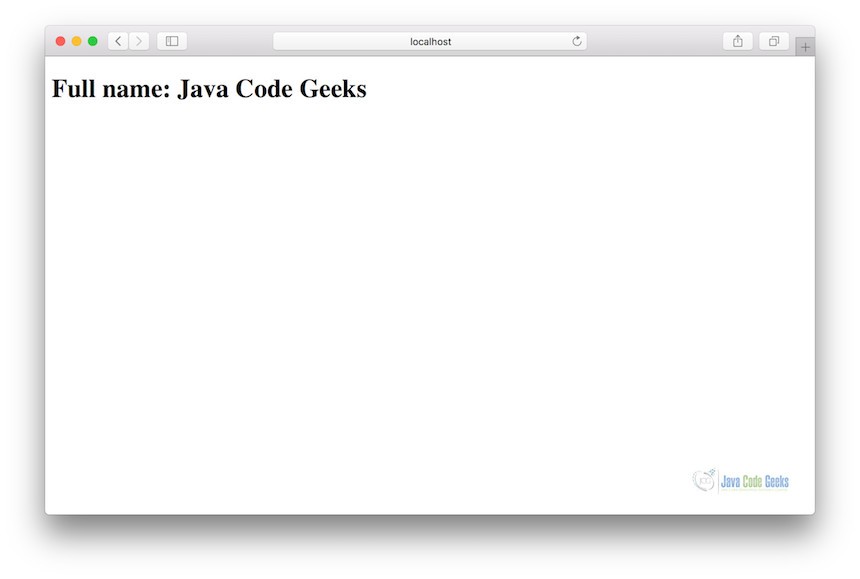
If you will click on the link (“here”) it will take you to another page as shown below:
4. Setup Security
Suppose that you want to prevent unauthorised users from viewing the my details page at “/mydetails”. As it is now, if users click the link on the home page, they see the greeting with no barriers to stop them. You need to add a barrier that forces the user to sign in before seeing that page. You do that by configuring Spring Security in the application. If Spring Security is on the classpath, then Spring Boot automatically secures all HTTP endpoints with “basic” authentication. But you can further customize the security settings. The first thing you need to do is add Spring Security to the classpath.
Add the below mentioned dependency in your pom:
<dependency>
  <groupId>org.springframework.boot</groupId>
  <artifactId>spring-boot-starter-security</artifactId>
</dependency>
Now create a security config class:
package com.javacodegeeks;

import org.springframework.beans.factory.annotation.Autowired;
import org.springframework.context.annotation.Configuration;
import org.springframework.security.config.annotation.authentication.builders.AuthenticationManagerBuilder;
import org.springframework.security.config.annotation.web.builders.HttpSecurity;
import org.springframework.security.config.annotation.web.configuration.WebSecurityConfigurerAdapter;
import org.springframework.security.config.annotation.web.configuration.EnableWebSecurity;

@Configuration
@EnableWebSecurity
public class SecurityConfig extends WebSecurityConfigurerAdapter {

    @Override
    protected void configure(HttpSecurity http) throws Exception {
        http.authorizeRequests()
                .antMatchers("/", "/home").permitAll()
                .anyRequest().authenticated()
                .and()
            .formLogin()
                .loginPage("/login")
                .permitAll()
                .and()
            .logout()
                .permitAll();
    }

    @Autowired
    public void configureGlobal(AuthenticationManagerBuilder auth) throws Exception {
        auth.inMemoryAuthentication().withUser("javacodegeeks").password("very_secure").roles("USER");
    }
}
The @EnableWebSecurity annotation enables Spring Security’s web security support and provide the Spring MVC integration. It also extends WebSecurityConfigurerAdapter and overrides a couple of its methods to set some specifics of the web security configuration. The configure(HttpSecurity) method defines which URL paths should be secured and which should not. Specifically, the “/” and “/home” paths are configured to not require any authentication. All other paths must be authenticated.
When a user successfully logs in, they will be redirected to the previously requested page that required authentication. There is a custom “/login” page specified by loginPage(), and everyone is allowed to view it. Now we need to create the login page. There’s already a view controller for the “login” view, so you only need to create the login view itself. Update the hello.html to say hello to the current user and contain a “Sign Out” form as shown below:
<!DOCTYPE html>
<html xmlns="http://www.w3.org/1999/xhtml" xmlns:th="http://www.thymeleaf.org"
      xmlns:sec="http://www.thymeleaf.org/thymeleaf-extras-springsecurity3">
<head>
    <title>Hello Geeks!!!</title>
</head>
<body>
  <h1 th:inline="text">Hello [[${#httpServletRequest.remoteUser}]]!, you are a Geek</h1>
  <form th:action="@{/logout}" method="post">
      <input type="submit" value="Sign Out"/>
  </form>
</body>
</html>
Now if you click on the link the application will ask you to enter the username and password.
5. Conclusion
In this article we saw how to use Spring Security to secure a web application. At an authentication level, Spring Security supports a wide range of authentication models. Most of these authentication models are either provided by third parties, or are developed by relevant standards bodies such as the Internet Engineering Task Force. Spring security provides some build -in features to secure your application but these can be customise as per requirement.
6. Download the Source Code
You can download the full source code of this example here: Spring Security Login Example


