Spring 4 Autowire Example
1. Introduction
Autowiring is method of creating an instance of an object and “by concept” injecting that instance on a specific class that uses it. By that, therefore creates a “wiring” of an instance to a class that will use it’s attributes. In Spring, when the application server initialize the context, it creates a stack/heaps of objects in it’s JVM container. These objects are available for consumption at any given time as long as the application is running (runtime).
Now once these objects are ready, they can now be injected to different classes that belongs on the same application context. In a standard Java application, we can use the ClassPathXmlApplicationContext class to create instances of the beans on the IoC container (JVM), making them available to be injected Or wired on any Java objects that needs it.
2. Usage of Autowire
In this example, I will show you how a bean is wired by create the classes (beans) inside the applicationContext.xml and using ClassPathXmlApplicationContext to create the object instance that will be used by our AppMain.java class.
Step by Step Implementation
2.1 Create the Application
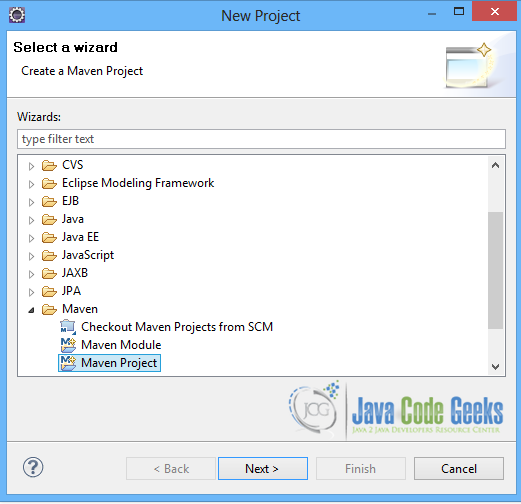
Create the Java project. I would suggest using Maven so that we can easily get the dependency if needed.
2.2 Configure POM.xml (maven)
We need to add the spring dependency on our project. Add spring core and framework.
pom.xml
<project xmlns="http://maven.apache.org/POM/4.0.0" xmlns:xsi="http://www.w3.org/2001/XMLSchema-instance"
	xsi:schemaLocation="http://maven.apache.org/POM/4.0.0 http://maven.apache.org/xsd/maven-4.0.0.xsd">
	<modelVersion>4.0.0</modelVersion>
	<groupId>com.jgc.areyes1.sample</groupId>
	<artifactId>spring-autowire-example</artifactId>
	<version>0.0.1-SNAPSHOT</version>


	<dependencies>
		<dependency>
			<groupId>org.springframework</groupId>
			<artifactId>spring-core</artifactId>
			<version>${spring.version}</version>
		</dependency>
		<dependency>
			<groupId>org.springframework</groupId>
			<artifactId>spring-context</artifactId>
			<version>${spring.version}</version>
		</dependency>
	</dependencies>

	<properties>
		<spring.version>4.1.6.RELEASE</spring.version>
	</properties>
</project>
2.3 Create Services
We then create the service that we will eventually define on the applicationContext.xml.
UserAccountService.java
package com.javacodegeeks.areyes1.beans;

public class UserAccountService {

	public UserAccountService() {
		this.name = "Alvin Reyes";
		this.description = "Account is activated with enough funds for equity trading";
		this.details = "PHP10000.00";
	}

	private String name;
	private String description;
	private String details;
	public String getName() {
		return name;
	}
	public void setName(String name) {
		this.name = name;
	}
	public String getDescription() {
		return description;
	}
	public void setDescription(String description) {
		this.description = description;
	}
	public String getDetails() {
		return details;
	}
	public void setDetails(String details) {
		this.details = details;
	}

}
2.4 Configure beans (applicationContext.xml)
We then create the applicationContext.xml inside the resources folder. This is for it exist on the classpath
applicationContext.xml
<beans xmlns="http://www.springframework.org/schema/beans"
	xmlns:xsi="http://www.w3.org/2001/XMLSchema-instance" xmlns:p="http://www.springframework.org/schema/p"
	xmlns:aop="http://www.springframework.org/schema/aop" xmlns:context="http://www.springframework.org/schema/context"
	xmlns:jee="http://www.springframework.org/schema/jee" xmlns:tx="http://www.springframework.org/schema/tx"
	xmlns:task="http://www.springframework.org/schema/task"
	xsi:schemaLocation="http://www.springframework.org/schema/aop http://www.springframework.org/schema/aop/spring-aop-3.2.xsd http://www.springframework.org/schema/beans http://www.springframework.org/schema/beans/spring-beans-3.2.xsd http://www.springframework.org/schema/context http://www.springframework.org/schema/context/spring-context-3.2.xsd http://www.springframework.org/schema/jee http://www.springframework.org/schema/jee/spring-jee-3.2.xsd http://www.springframework.org/schema/tx http://www.springframework.org/schema/tx/spring-tx-3.2.xsd http://www.springframework.org/schema/task http://www.springframework.org/schema/task/spring-task-3.2.xsd">

	<context:annotation-config />
	<!-- <bean class="org.springframework.beans.factory.annotation.AutowiredAnnotationBeanPostProcessor" /> -->


	<bean id="userAccountService" autowire="byName"  class="com.javacodegeeks.areyes1.beans.UserAccountService">
	</bean>


</beans>
2.5 Create the class that will use (injection) the service
Create the class that will call the beans. As you can see, we called the bean by name to get the instance of that object (cat and dog).
App.java
package com.javacodegeeks.areyes1.main;

import org.springframework.context.support.ClassPathXmlApplicationContext;

import com.javacodegeeks.areyes1.beans.UserAccountService;

public class AppMain {


	private UserAccountService userAccountService;

	public AppMain() {
		ClassPathXmlApplicationContext context =  new ClassPathXmlApplicationContext("classpath*:/applicationContext.xml");
		UserAccountService userAccountService = (UserAccountService)context.getBean("userAccountService");
		System.out.println(userAccountService.getName());
		System.out.println(userAccountService.getDetails());
		System.out.println(userAccountService.getDescription());

		context.close();
	}


	public static void main(String[] args ) {
		new AppMain();
	}
}
2.6 Test it Out!
Run the AppMain.java and see it for yourself! You should see the following result

3. Download the Eclipse project of this tutorial:
You can download the full source code of this example here : spring-autowire-sample


