In this example we shall show you how to inject a Date property in a Spring Bean, using the CustomDateEditor. The CustomDateEditor is a class provided by the Spring API and is used as a Property editor for java.util.Date, supporting a custom java.text.DateFormat.
In order to use CustomDateEditor for date injection in a Spring Bean property, we first have to define the CustomDateEditor and then define the CustomEditorConfigurer that will register the CustomDateEditor to Spring.
Our preferred development environment is Eclipse. We are using Eclipse Juno (4.2) version, along with Maven Integration plugin version 3.1.0. You can download Eclipse from here and Maven Plugin for Eclipse from here. The installation of Maven plugin for Eclipse is out of the scope of this tutorial and will not be discussed. We are also using Spring version 3.2.3 and the JDK 7_u_21.
Let’s begin.
1. Create a new Maven project
Go to File -> Project ->Maven -> Maven Project.
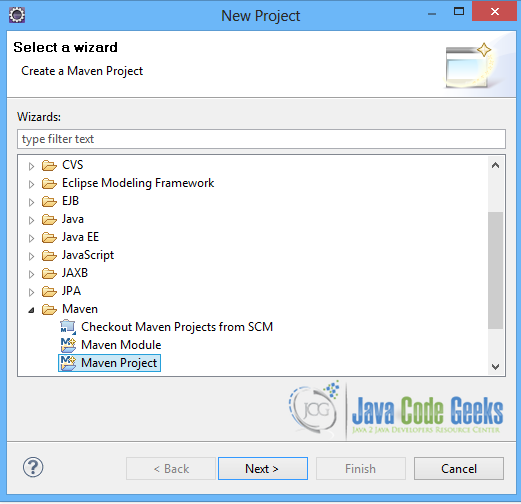
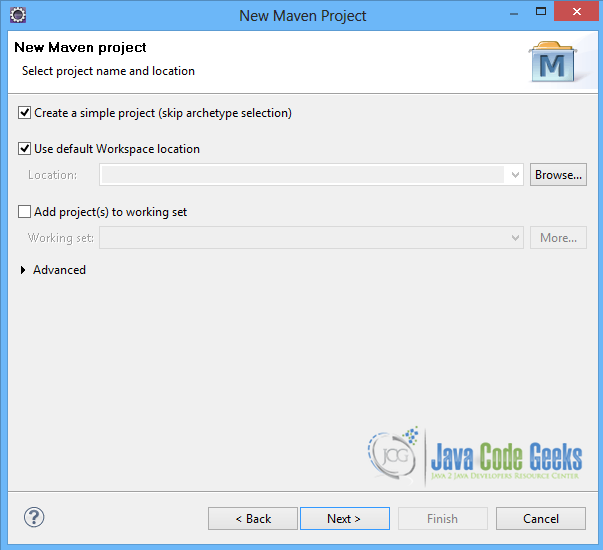
In the “Select project name and location” page of the wizard, make sure that “Create a simple project (skip archetype selection)” option is checked, hit “Next” to continue with default values.
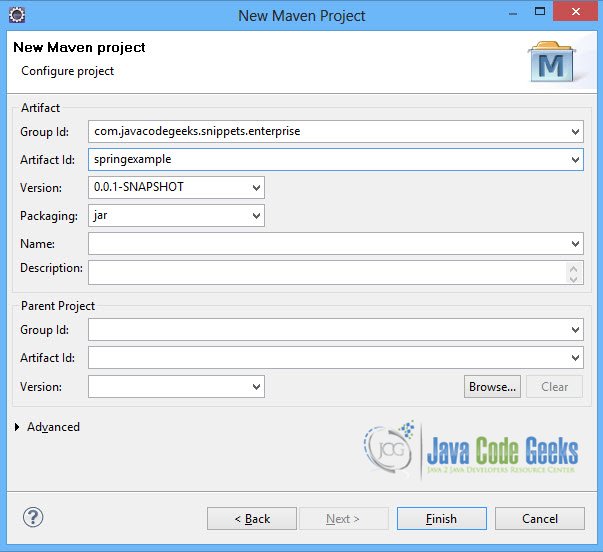
In the “Enter an artifact id” page of the wizard, you can define the name and main package of your project. We will set the “Group Id” variable to "com.javacodegeeks.snippets.enterprise" and the “Artifact Id” variable to "springexample". The aforementioned selections compose the main project package as "com.javacodegeeks.snippets.enterprise.springexample" and the project name as "springexample". Hit “Finish” to exit the wizard and to create your project.
The Maven project structure is shown below:
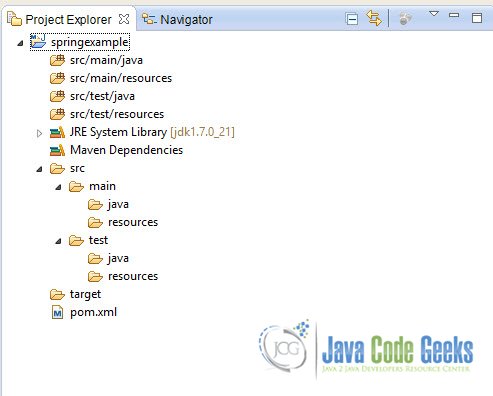
- It consists of the following folders:
- /src/main/java folder, that contains source files for the dynamic content of the application,
- /src/test/java folder contains all source files for unit tests,
- /src/main/resources folder contains configurations files,
- /target folder contains the compiled and packaged deliverables,
- the pom.xml is the project object model (POM) file. The single file that contains all project related configuration.
2. Add Spring 3.2.3 dependency
- Locate the “Properties” section at the “Overview” page of the POM editor and perform the following changes:
Create a new property with name org.springframework.version and value 3.2.3.RELEASE. - Navigate to the “Dependencies” page of the POM editor and create the following dependencies (you should fill the “GroupId”, “Artifact Id” and “Version” fields of the “Dependency Details” section at that page):
Group Id : org.springframework Artifact Id : spring-web Version : ${org.springframework.version}
Alternatively, you can add the Spring dependencies in Maven’s pom.xml file, by directly editing it at the “Pom.xml” page of the POM editor, as shown below:
pom.xml:
<project xmlns="http://maven.apache.org/POM/4.0.0"; xmlns:xsi="http://www.w3.org/2001/XMLSchema-instance"
	xsi:schemaLocation="http://maven.apache.org/POM/4.0.0 http://maven.apache.org/xsd/maven-4.0.0.xsd">
	<modelVersion>4.0.0</modelVersion>
	<groupId>com.javacodegeeks.snippets.enterprise</groupId>
	<artifactId>springexample</artifactId>
	<version>0.0.1-SNAPSHOT</version>

	<dependencies>
		<dependency>
			<groupId>org.springframework</groupId>
			<artifactId>spring-core</artifactId>
			<version>${spring.version}</version>
		</dependency>
		<dependency>
			<groupId>org.springframework</groupId>
			<artifactId>spring-context</artifactId>
			<version>${spring.version}</version>
		</dependency>
	</dependencies>

	<properties>
		<spring.version>3.2.3.RELEASE</spring.version>
	</properties>
</project>
As you can see Maven manages library dependencies declaratively. A local repository is created (by default under {user_home}/.m2 folder) and all required libraries are downloaded and placed there from public repositories. Furthermore intra – library dependencies are automatically resolved and manipulated.
3. Create a simple Spring Bean with a Date property
We create a simple Spring Bean, HelloWorld, that has a Date property.
HelloWorld.java:
package com.javacodegeeks.snippets.enterprise.services;

import java.util.Date;


public class HelloWorld {

	private Date date;

	public Date getDate() {
		return date;
	}

	public void setDate(Date date) {
		this.date = date;
	}

}
4. Define a CustomDateEditor to convert a Date property of a Spring Bean to a java.util.Date.
First, the CustomDateEditor is created, that converts a String to java.util.Date. The format that will be used to parse the String to Date is also defined inside the CustomDateEditor bean definition.
CustomDateEditor bean definition
	<bean id="dateEditor"
		class="org.springframework.beans.propertyeditors.CustomDateEditor">

		<constructor-arg>
			<bean class="java.text.SimpleDateFormat">
				<constructor-arg value="yyyy-MM-dd-HH:mm:ss;z" />
			</bean>
		</constructor-arg>
		<constructor-arg value="true" />

	</bean>
Then the CustomEditorConfigurer is created to register the CustomDateEditor. It has a property named customEditors, that consists of a map with a java.util.Date key and a value that is a reference to the CustomDateEditor bean.
CustomEditorConfigurer bean definition

<bean class="org.springframework.beans.factory.config.CustomEditorConfigurer">
		<property name="customEditors">
			<map>
				<entry key="java.util.Date">
					<ref local="dateEditor" />
				</entry>
			</map>
		</property>
	</bean>
Now, every time a Bean uses a Date property, Spring uses the CustomDateEditor to convert the field to java.util.Date. The full definition of all beans is shown in the applicationContext.xml below:
applicationContext.xml
<beans xmlns="http://www.springframework.org/schema/beans"
	xmlns:xsi="http://www.w3.org/2001/XMLSchema-instance" xmlns:p="http://www.springframework.org/schema/p"
	xmlns:aop="http://www.springframework.org/schema/aop" xmlns:context="http://www.springframework.org/schema/context"
	xmlns:jee="http://www.springframework.org/schema/jee" xmlns:tx="http://www.springframework.org/schema/tx"
	xmlns:task="http://www.springframework.org/schema/task"
	xsi:schemaLocation="http://www.springframework.org/schema/aop http://www.springframework.org/schema/aop/spring-aop-3.2.xsd http://www.springframework.org/schema/beans http://www.springframework.org/schema/beans/spring-beans-3.2.xsd http://www.springframework.org/schema/context http://www.springframework.org/schema/context/spring-context-3.2.xsd http://www.springframework.org/schema/jee http://www.springframework.org/schema/jee/spring-jee-3.2.xsd http://www.springframework.org/schema/tx http://www.springframework.org/schema/tx/spring-tx-3.2.xsd http://www.springframework.org/schema/task http://www.springframework.org/schema/task/spring-task-3.2.xsd">

	<bean id="helloWorldBean"
		class="com.javacodegeeks.snippets.enterprise.services.HelloWorld">
		<property name="date" value="2013-07-23-21:00:24;+0300"/>
	</bean>
	<bean id="dateEditor"
		class="org.springframework.beans.propertyeditors.CustomDateEditor">

		<constructor-arg>
			<bean class="java.text.SimpleDateFormat">
				<constructor-arg value="yyyy-MM-dd-HH:mm:ss;z" />
			</bean>
		</constructor-arg>
		<constructor-arg value="true" />

	</bean>

	<bean class="org.springframework.beans.factory.config.CustomEditorConfigurer">
		<property name="customEditors">
			<map>
				<entry key="java.util.Date">
					<ref local="dateEditor" />
				</entry>
			</map>
		</property>
	</bean>
</beans>
4. Run the application
In the App.class we load the helloWorldBean through the ApplicationContext, and use the date field’s getter to get the value set to the date in applicationContext.xml.
App.java:
package com.javacodegeeks.snippets.enterprise;

import org.springframework.context.ApplicationContext;
import org.springframework.context.support.ClassPathXmlApplicationContext;

import com.javacodegeeks.snippets.enterprise.services.HelloWorld;

public class App {

	@SuppressWarnings("resource")
	public static void main(String[] args) {

			ApplicationContext context = new ClassPathXmlApplicationContext("applicationContext.xml");

			HelloWorld hello = (HelloWorld) context.getBean("helloWorldBean");

			System.out.println("Date is : " + hello.getDate());

	}
}
5. Output
When we execute the application, the date is returned :
Date is : Tue Jul 23 21:00:24 EEST 2013
This was an example of Date property injection in a Spring Bean, using the CustomDateEditor.
Download the Eclipse project of this tutorial : SpringCustomDateEditor.zip
