The @ServletSecurity annotation is used to define the access control or the security constraints to the servlets. In this tutorial, we will see how to configure the Basic Authentication in the servlets.
1. Introduction
If developers are planning on using the Basic Authentication they must be aware that if they use the plain HTTP requests, the username, and password can be intercepted by the monitoring network communication, so I strongly recommend using the HTTP with the SSL (i.e. HTTPS). This way the data will be encrypted, as the username and password will automatically be Base64 encoded.
These access control or the security constraints can be achieved by implementing the @ServletSecurity annotation. The annotations i.e. @HttpMethodConstraint and @HttpConstraint are used within the @ServletSecurity annotation to define the servlet security constraints. The usage of the @ServletSecurity annotation is as follows:
@ServletSecurity(
    httpMethodConstraints = <HttpMethodConstraint[]>,
    value = <HttpConstraint>
)
The httpMethodConstraints attribute specifies one or more constraints for some specific HTTP methods, whereas the value attribute specifies a constraint that applies for all other HTTP methods which are not specified by the httpMethodConstraints attribute.
These annotations provide an alternative mechanism for specifying the security constraints declared by the <security-constraint /> elements in the application’s deployment descriptor file (i.e. web.xml). In the following example, we will guide through the steps in how to configure a servlet with the basic authentication using the annotation configuration.
2. Java Servlet Security Example
Here is a step-by-step guide for implementing the Servlet framework in Java.
2.1 Tools Used
We are using Eclipse Kepler SR2, JDK 8 and Maven. Having said that, we have tested the code against JDK 1.7 and it works well.
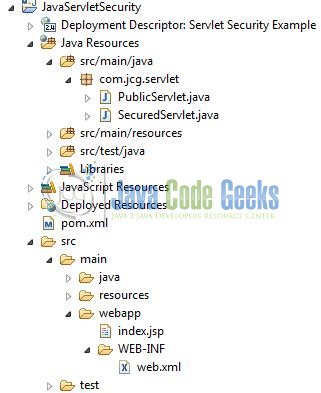
2.2 Project Structure
Firstly, let’s review the final project structure, in case you are confused about where you should create the corresponding files or folder later!
2.3 Project Creation
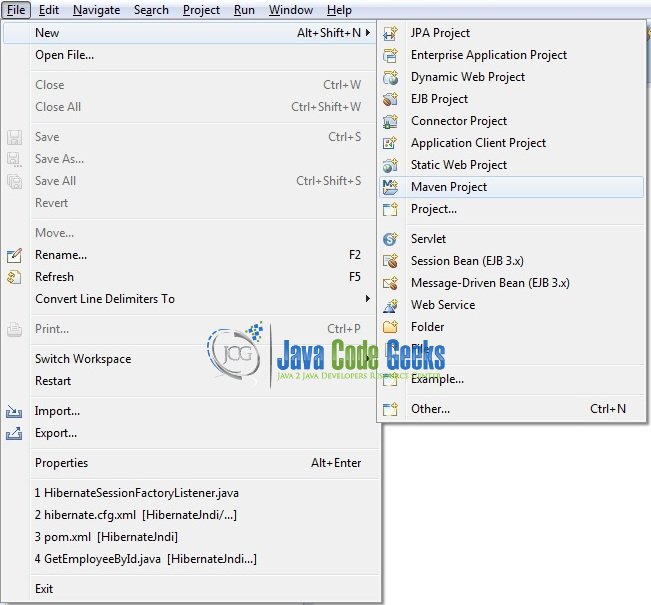
This section will demonstrate on how to create a Java-based Maven project with Eclipse. In Eclipse Ide, go to File -> New -> Maven Project.
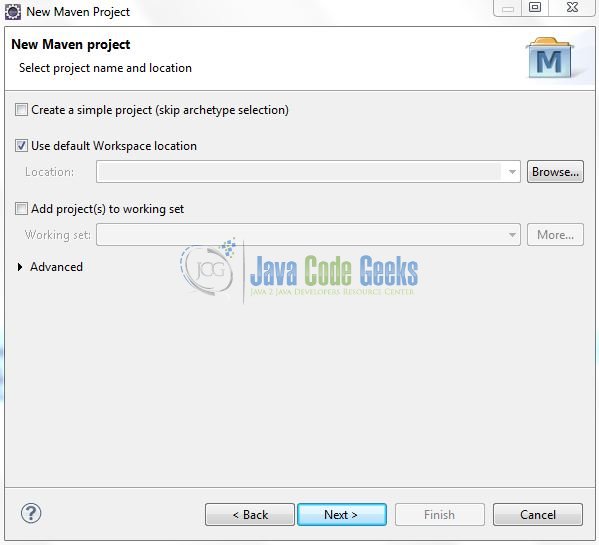
In the New Maven Project window, it will ask you to select project location. By default, ‘Use default workspace location’ will be selected. Just click on next button to proceed.
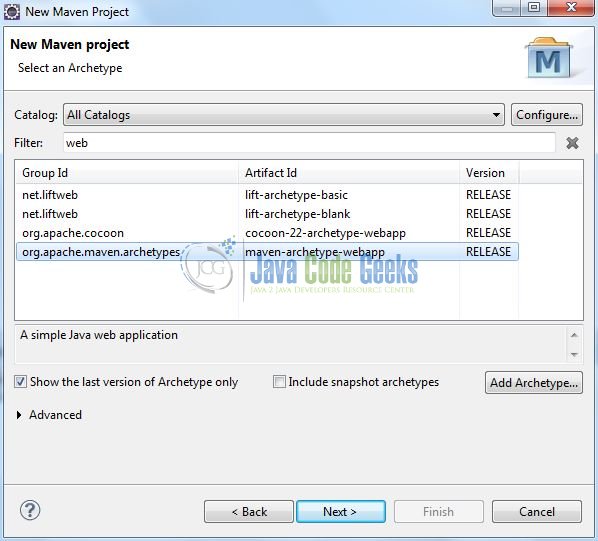
Select the ‘Maven Web App’ Archetype from the list of options and click next.
It will ask you to ‘Enter the group and the artifact id for the project’. We will input the details as shown in the below image. The version number will be by default: 0.0.1-SNAPSHOT.
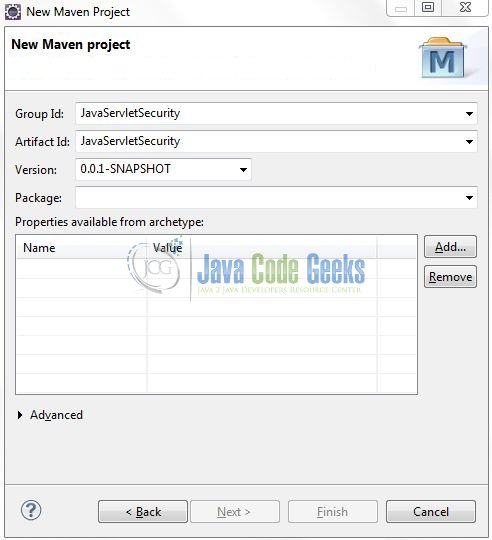
Click on Finish and the creation of a maven project is completed. If you observe, it has downloaded the maven dependencies and a pom.xml file will be created. It will have the following code:
pom.xml
<project xmlns="http://maven.apache.org/POM/4.0.0" xmlns:xsi="http://www.w3.org/2001/XMLSchema-instance" xsi:schemaLocation="http://maven.apache.org/POM/4.0.0 http://maven.apache.org/xsd/maven-4.0.0.xsd">
	<modelVersion>4.0.0</modelVersion>
	<groupId>JavaServletSecurity</groupId>
	<artifactId>JavaServletSecurity</artifactId>
	<version>0.0.1-SNAPSHOT</version>
	<packaging>war</packaging>
</project>
We can start adding the dependencies that developers want like Servlets, Junit etc. Let’s start building the application!
3. Application Building
Below are the steps involved in developing this application.
3.1 Maven Dependencies
Here, we specify the dependencies for the Servlet API. The rest dependencies will be automatically resolved by the Maven framework and the updated file will have the following code:
pom.xml
<?xml version="1.0" encoding="UTF-8"?>
<project xmlns="http://maven.apache.org/POM/4.0.0" xmlns:xsi="http://www.w3.org/2001/XMLSchema-instance" xsi:schemaLocation="http://maven.apache.org/POM/4.0.0 http://maven.apache.org/maven-v4_0_0.xsd">
   <modelVersion>4.0.0</modelVersion>
   <groupId>JavaServletSecurity</groupId>
   <artifactId>JavaServletSecurity</artifactId>
   <packaging>war</packaging>
   <version>0.0.1-SNAPSHOT</version>
   <name>JavaServletSecurityEx Maven Webapp</name>
   <url>http://maven.apache.org</url>
   <dependencies>
      <dependency>
         <groupId>javax.servlet</groupId>
         <artifactId>javax.servlet-api</artifactId>
         <version>3.1.0</version>
      </dependency>
   </dependencies>
   <build>
      <finalName>${project.artifactId}</finalName>
   </build>
</project>
3.2 Java Class Creation
Let’s create the required Java files. Right-click on src/main/java folder, New -> Package.
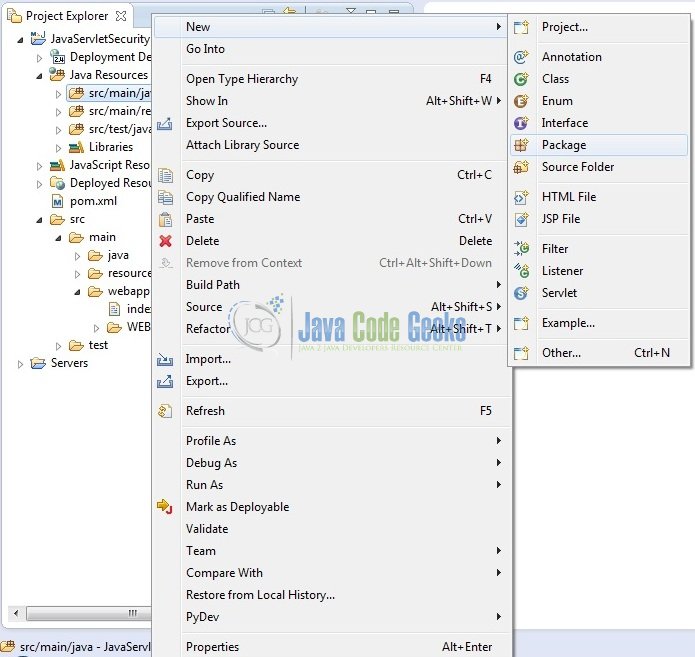
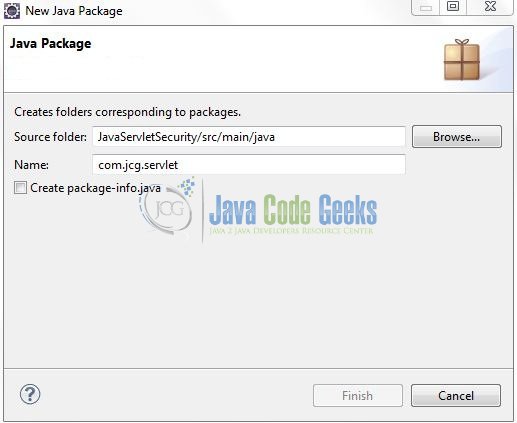
A new pop window will open where we will enter the package name as: com.jcg.servlet.
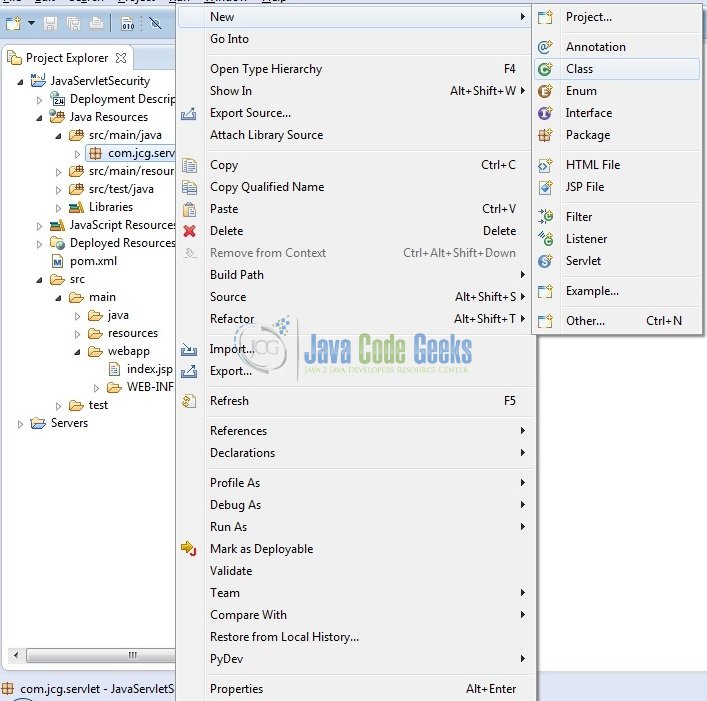
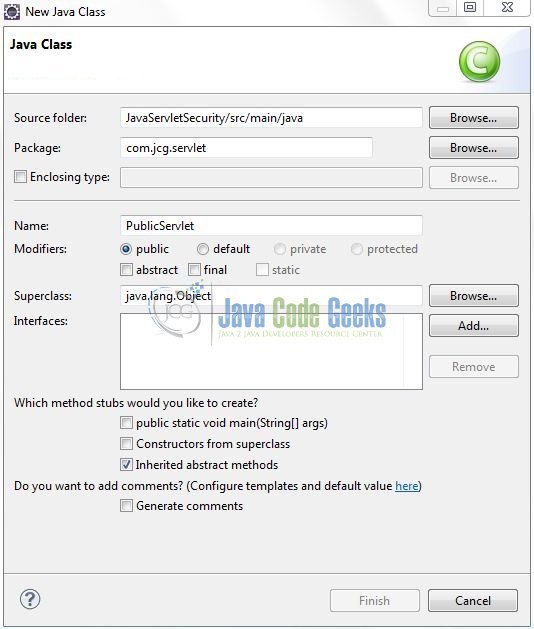
Once the package is created in the application, we will need to create the 2 different controller classes. Right-click on the newly created package: New -> Class.
A new pop window will open and enter the file name as: PublicServlet. The public controller class will be created inside the package: com.jcg.servlet.
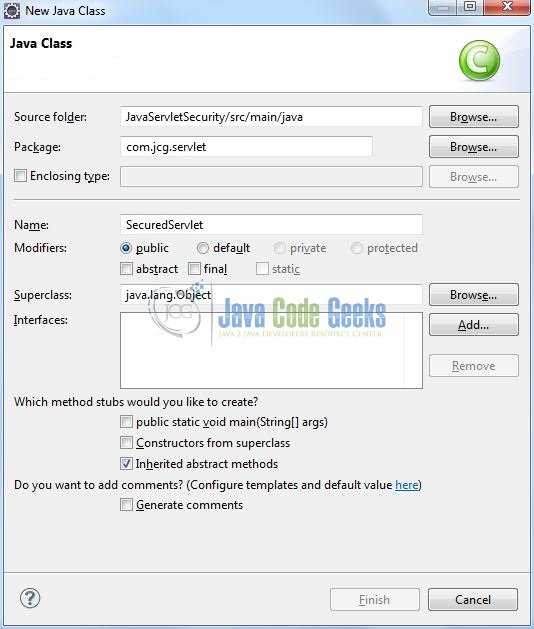
Repeat the step (i.e. Fig. 8) and enter the filename as: SecuredServlet. The secured controller class will be created inside the package: com.jcg.servlet.
3.2.1 Implementation of Public Servlet
This servlet will be publicly available without any access control or the security constraints. Let’s see the simple code snippet that follows this implementation.
PublicServlet.java
package com.jcg.servlet;

import javax.servlet.ServletException;
import javax.servlet.annotation.WebServlet;
import javax.servlet.http.HttpServlet;
import javax.servlet.http.HttpServletRequest;
import javax.servlet.http.HttpServletResponse;

import java.io.IOException;
import java.io.PrintWriter;

@WebServlet("/public")
public class PublicServlet extends HttpServlet {

	private static final long serialVersionUID = 1L;

	/***** This Method Is Called By The Servlet Container To Process A 'GET' Request *****/
	public void doGet(HttpServletRequest request, HttpServletResponse response) throws ServletException, IOException {
		handleRequest(request, response);
	}

	public void handleRequest(HttpServletRequest request, HttpServletResponse response) throws IOException, ServletException {

		/***** Set Response Content Type *****/
		response.setContentType("text/html");

		/***** Print The Response *****/
		PrintWriter out = response.getWriter();
		String title = "Public Page";
		String docType = "<!DOCTYPE html>\n";
		out.println(docType
				+ "<html>\n" + "<head><meta http-equiv=\"Content-Type\" content=\"text/html; charset=UTF-8\"><title>" + title + "</title></head>\n" + "<body>");

		out.println("<h2>Servlet Security Example</h2>" +
				"<div> Servlet Basic Authentication Annotation Configuration : <span>Public Servlet</span></div>" +
				"</body>\n</html>");
		out.close();
	}
}
3.2.2 Implementation of Secured Servlet
This is a secured servlet in which the security constraints are implemented based on the roles. Let’s see the simple code snippet that follows this implementation.

SecuredServlet.java
package com.jcg.servlet;

import java.io.IOException;
import java.io.PrintWriter;

import javax.servlet.ServletException;
import javax.servlet.annotation.HttpConstraint;
import javax.servlet.annotation.HttpMethodConstraint;
import javax.servlet.annotation.ServletSecurity;
import javax.servlet.annotation.WebServlet;
import javax.servlet.http.HttpServlet;
import javax.servlet.http.HttpServletRequest;
import javax.servlet.http.HttpServletResponse;

@WebServlet("/secured")
@ServletSecurity(
		value = @HttpConstraint(
				rolesAllowed = {
						"secured"
				}),
				httpMethodConstraints = {
			@HttpMethodConstraint(value = "GET", rolesAllowed = {
					"secured"
			})
		})
public class SecuredServlet extends HttpServlet{

	private static final long serialVersionUID = 1L;

	/***** This Method Is Called By The Servlet Container To Process A 'GET' Request *****/
	public void doGet(HttpServletRequest request, HttpServletResponse response) throws ServletException, IOException {
		handleRequest(request, response);
	}

	public void handleRequest(HttpServletRequest request, HttpServletResponse response) throws IOException, ServletException {

		/***** Set Response Content Type *****/
		response.setContentType("text/html");

		/***** Print The Response *****/
		PrintWriter out = response.getWriter();
		String title = "Secured Page";
		String docType = "<!DOCTYPE html>\n";
		out.println(docType
				+ "<html>\n" + "<head><meta http-equiv=\"Content-Type\" content=\"text/html; charset=UTF-8\"><title>" + title + "</title></head>\n" + "<body>");

		out.println("<h2>Servlet Security Example</h2>" +
				"<div> Servlet Basic Authentication Annotation Configuration : <span>Secured Servlet</span></div><div><ul>" +
				"<li>User Name Is : <span>" + request.getUserPrincipal().getName() + "</span></li>" +
				"<li>Authentication Type Is : <span>" + request.getAuthType() + "</span></li>" +
				"</ul></div></body>\n</html>");
		out.close();
	}
}
3.3 Configuring Username & Password
This example uses the tomcat-users.xml file to register a username/password combination with an appropriate role. This file is located at the following location i.e. ../tomcat-home/conf/tomcat-users.xml. Let’s see the simple code snippet to implement the security policies in a servlet.
tomcat-users.xml
<?xml version="1.0" encoding="UTF-8"?>
<tomcat-users>
	<role rolename="secured" />
	<user password="password" roles="secured" username="admin" />
</tomcat-users>
3.4 Configuring Servlet Basic Authentication
As we said earlier, developers cannot completely remove the servlet descriptor because if they want to get the popup from the browser they still need to configure the authentication method used for authenticating. Do remember, if developers do not need this popup and they’ll pass the authorization in the header then, of course, developers could just delete the deployment descriptor from the project. Let’s see the simple code snippet.
web.xml
<?xml version="1.0" encoding="UTF-8"?>
<web-app xmlns="http://java.sun.com/xml/ns/javaee" xmlns:xsi="http://www.w3.org/2001/XMLSchema-instance" xsi:schemaLocation="http://java.sun.com/xml/ns/javaee        http://java.sun.com/xml/ns/javaee/web-app_3_0.xsd" version="3.0">
   <display-name>Servlet Security Example</display-name>

   <!-- Authentication Method Configuration -->
   <login-config>
        <auth-method>BASIC</auth-method>
        <realm-name>default</realm-name>
    </login-config>
</web-app>
4. Run the Application
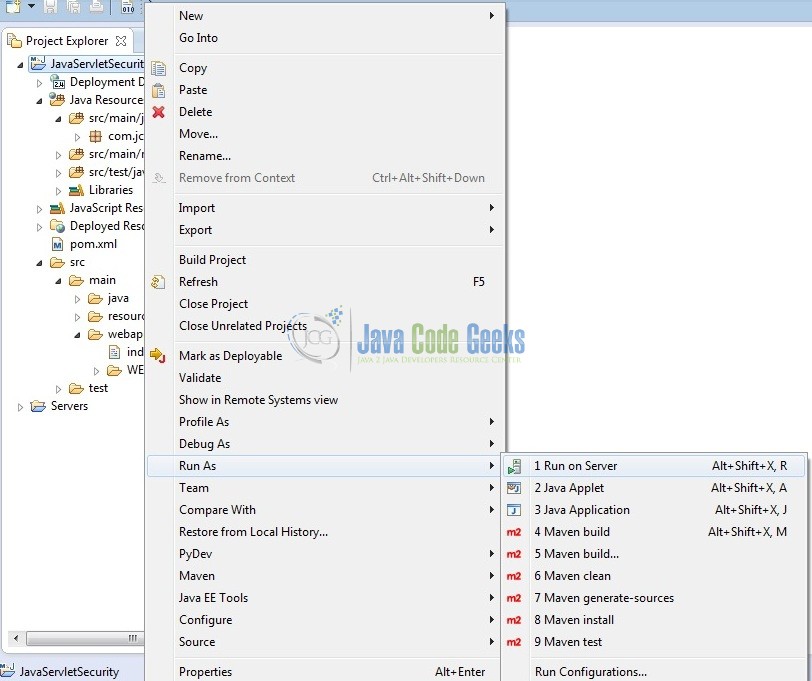
As we are ready for all the changes, let us compile the project and deploy the application on the Tomcat7 server. To deploy the application on Tomat7, right-click on the project and navigate to Run as -> Run on Server.
Tomcat will deploy the application in its web-apps folder and shall start its execution to deploy the project so that we can go ahead and test it in the browser.
5. Project Demo
Open your favorite browser and hit the following URL. The output page will be displayed.
http://localhost:8085/JavaServletSecurity/
Server name (localhost) and port (8085) may vary as per your Tomcat configuration. Developers can debug the example and see what happens after every step. Enjoy!

Now, if we will try to access a secured page (i.e. http://localhost:8085/JavaServletSecurity/secured), we will get a login prompt like the below image.

Enter the login credentials as admin/password and in case of the successful authentication, we will get the below secured logged-in page. But in case the authentication is failed, we will get a 401 (i.e. access-denied) error.

That’s all for this post. Happy Learning!!
6. Conclusion
In this section, developers learned how to implement the security constraints in the Servlet 3.0 framework. Developers can download the sample application as an Eclipse project in the Downloads section. I hope this article served you with whatever developers were looking for.
7. Download the Eclipse Project
This was an example of Servlet Security.
You can download the full source code of this example here: JavaServletSecurity
