Servlets are modules of the Java code that run in a server application to answer the client requests. In this tutorial, we will explain and show you how to use the HTTP response headers in the Servlet page.
1. Introduction
Servlet is a Java program which exists and executes in the J2EE servers and is used to receive the HTTP protocol request, process it and send back the response to the client. Servlets make use of the Java standard extension classes in the packages javax.servlet and javax.servlet.http. Since Servlets are written in the highly portable Java language and follow a standard framework, they provide a means to create the sophisticated server extensions in a server and operating system in an independent way.
Typical uses for HTTP Servlets include:
- Processing and/or storing the data submitted by an HTML form
- Providing dynamic content i.e. returning the results of a database query to the client
- Managing state information on top of the stateless
HTTPi.e. for an online shopping cart system which manages the shopping carts for many concurrent customers and maps every request to the right customer
As Servlet technology uses the Java language, thus web applications made using Servlet are Secured, Scalable, and Robust.
1.1 HTTP Response Headers
When a web-server responds to an HTTP request, the response typically consists of a status line, some response headers, a blank line, and the document. A typical HTTP response looks like this:
HTTP/1.1 200 OK
Content-Type: text/html
Header2: ...
...
HeaderN: ...
   (Blank Line)
<!doctype ...>
<html>
   <head>...</head>
   <body>
      ...
   </body>
</html>
The status line consists of the HTTP version (i.e. HTTP/1.1), a status code (i.e. 200), and a very short message corresponding to the status code (i.e. OK). Following is a summary of the most useful HTTP/1.1 response headers which go back to the browser from the web-server side and developers would use them very frequently in the web programming:
| Header | Description |
|---|---|
| Allow | This header specifies the HTTP request methods (i.e. GET, POST, etc.) that the server supports. |
| Cache-Control | This header specifies the circumstances in which the response document can be safely cached. It can have the following values i.e. public, private or no-cache etc. |
| Connection | This header instructs the browser whether to use persistent in the HTTP connections or not. A value of close instructs the browser not to use persistent for the HTTP connections and keepalive mean using the persistent connections. |
| Content-Disposition | This header lets developers request that the browser ask the user to save the response to disk in a file of the given name. |
| Content-Encoding | This header specifies the way in which the page was encoded during the transmission. |
| Content-Language | This header signifies the language in which the document is written. For example en, en-us, ru etc. |
| Content-Length | This header indicates the number of bytes in the response and this information is only needed if the browser is using a persistent (keep-alive) HTTP connection. |
| Content-Type | This header gives the MIME (Multipurpose Internet Mail Extension) type of the response document. |
| Expires | This header specifies the time at which the content should be considered out-of-date and thus no longer be cached. |
| Last-Modified | This header indicates when the document was last changed. The client can then cache the document and supply a date by an If-Modified-Since request header in the later requests. |
| Location | This header should be included with all responses that have a status code in the series of 300. This notifies the browser of the document address i.e. the browser will automatically reconnect to this location and retrieves the new document. |
| Refresh | This header specifies how soon the browser should ask for an updated page. You can specify the time in a number of seconds after which a page would be refreshed. |
| Retry-After | This header can be used in conjunction with a 503 (Service Unavailable) response code that tells the client how soon it can repeat its request. |
| Set-Cookie | This header specifies a cookie associated with the page. |
Now, open up the Eclipse Ide and let’s see how to display the response header information in the Servlets.
2. Java Servlet HTTP Response Headers Example
Here is a step-by-step guide for implementing the Servlet framework in Java.
2.1 Tools Used
We are using Eclipse Kepler SR2, JDK 8 and Maven. Having said that, we have tested the code against JDK 1.7 and it works well.
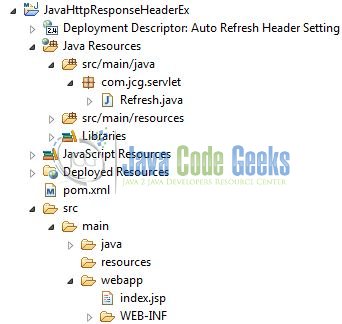
2.2 Project Structure
Firstly, let’s review the final project structure, in case you are confused about where you should create the corresponding files or folder later!
2.3 Project Creation
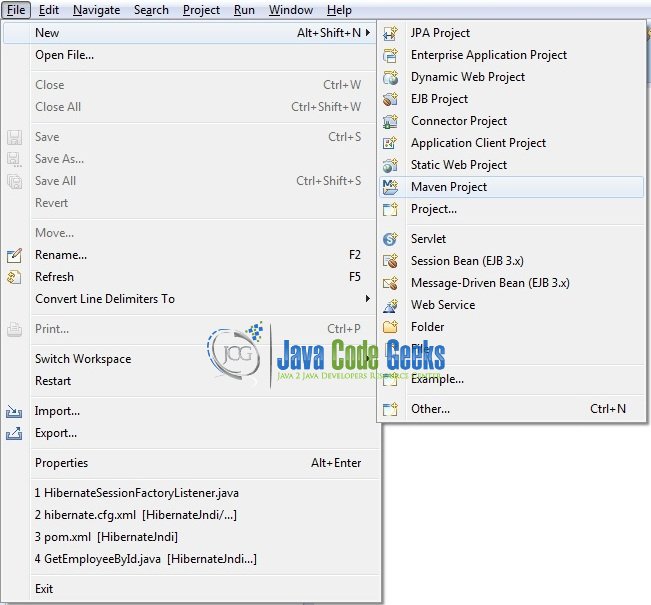
This section will demonstrate on how to create a Java-based Maven project with Eclipse. In Eclipse Ide, go to File -> New -> Maven Project.
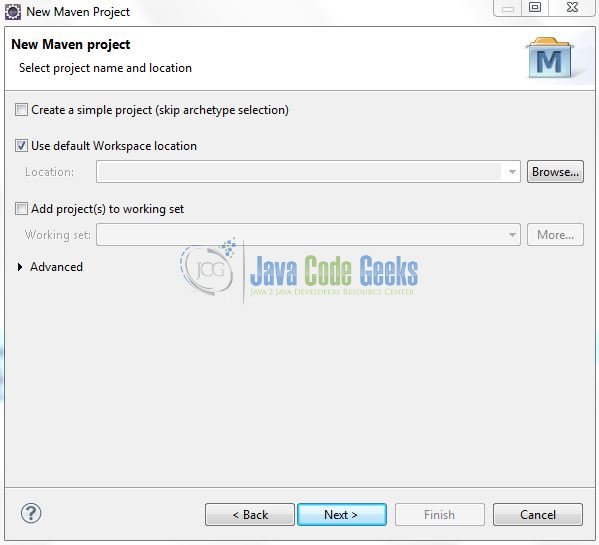
In the New Maven Project window, it will ask you to select project location. By default, ‘Use default workspace location’ will be selected. Just click on next button to proceed.
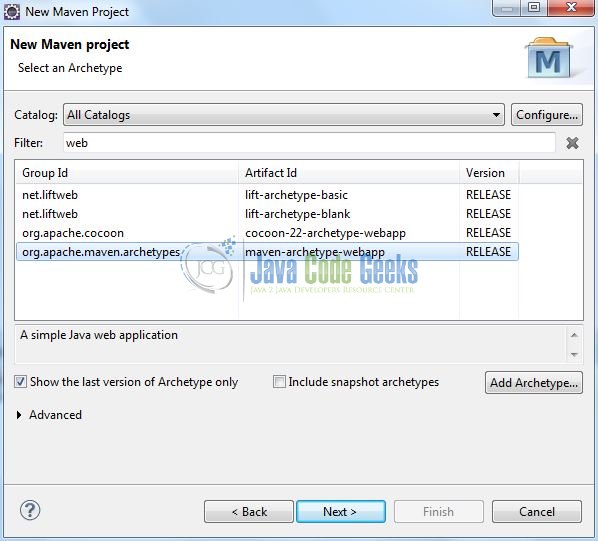
Select the ‘Maven Web App’ Archetype from the list of options and click next.
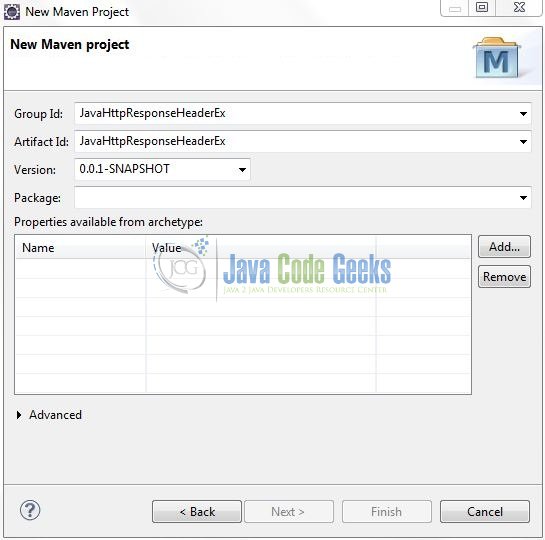
It will ask you to ‘Enter the group and the artifact id for the project’. We will input the details as shown in the below image. The version number will be by default: 0.0.1-SNAPSHOT.
Click on Finish and the creation of a maven project is completed. If you observe, it has downloaded the maven dependencies and a pom.xml file will be created. It will have the following code:
pom.xml
<project xmlns="http://maven.apache.org/POM/4.0.0" xmlns:xsi="http://www.w3.org/2001/XMLSchema-instance" xsi:schemaLocation="http://maven.apache.org/POM/4.0.0 http://maven.apache.org/xsd/maven-4.0.0.xsd">
	<modelVersion>4.0.0</modelVersion>
	<groupId>JavaHttpResponseHeaderEx</groupId>
	<artifactId>JavaHttpResponseHeaderEx</artifactId>
	<version>0.0.1-SNAPSHOT</version>
	<packaging>war</packaging>
</project>
We can start adding the dependencies that developers want like Servlets, Junit etc. Let’s start building the application!
3. Application Building
Below are the steps involved in developing this application.
3.1 Maven Dependencies
Here, we specify the dependencies for the Servlet API. The rest dependencies will be automatically resolved by the Maven framework and the updated file will have the following code:
pom.xml
<project xmlns="http://maven.apache.org/POM/4.0.0" xmlns:xsi="http://www.w3.org/2001/XMLSchema-instance"
	xsi:schemaLocation="http://maven.apache.org/POM/4.0.0 http://maven.apache.org/maven-v4_0_0.xsd">
	<modelVersion>4.0.0</modelVersion>
	<groupId>JavaHttpResponseHeaderEx</groupId>
	<artifactId>JavaHttpResponseHeaderEx</artifactId>
	<packaging>war</packaging>
	<version>0.0.1-SNAPSHOT</version>
	<name>JavaHttpResponseHeaderEx Maven Webapp</name>
	<url>http://maven.apache.org</url>
	<dependencies>
		<dependency>
			<groupId>javax.servlet</groupId>
			<artifactId>javax.servlet-api</artifactId>
			<version>3.1.0</version>
		</dependency>
	</dependencies>
	<build>
		<finalName>${project.artifactId}</finalName>
	</build>
</project>
3.2 Java Class Creation
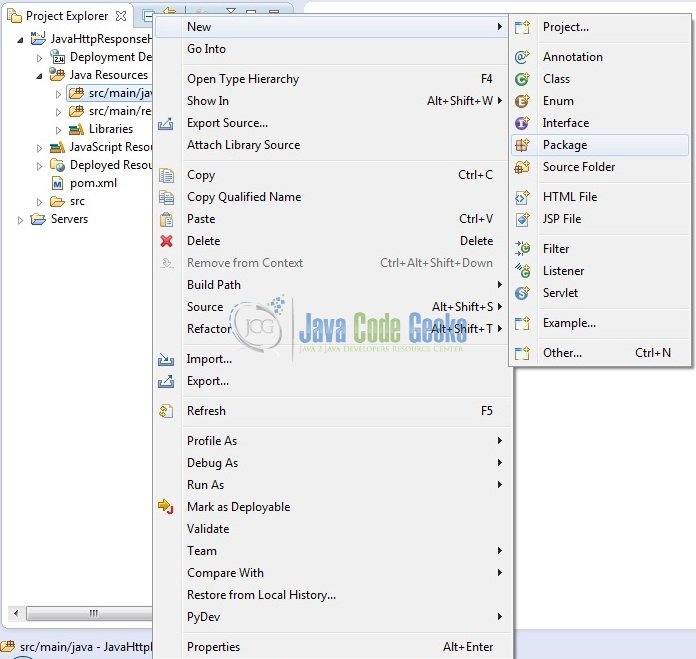
Let’s create the required Java files. Right-click on src/main/java folder, New -> Package.

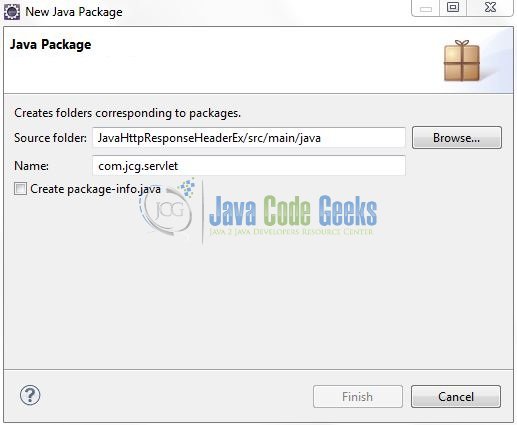
A new pop window will open where we will enter the package name as: com.jcg.servlet.
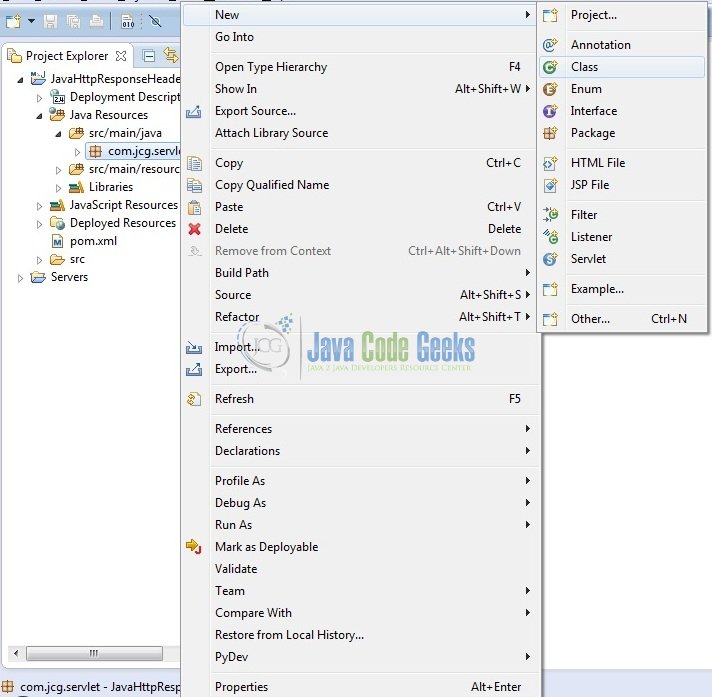
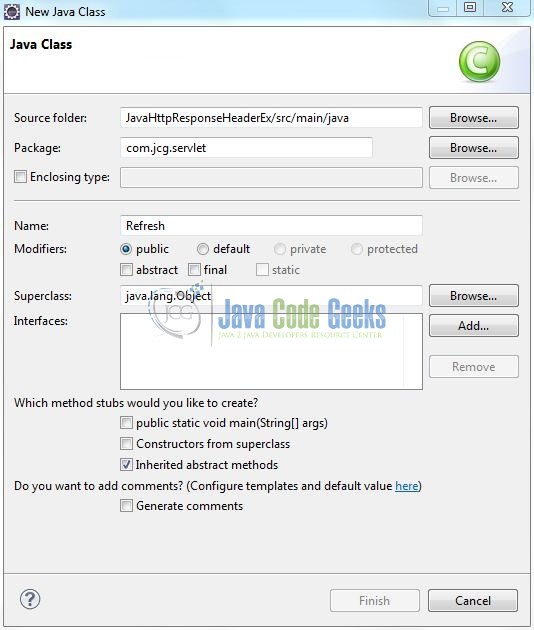
Once the package is created in the application, we will need to create the controller class. Right-click on the newly created package: New -> Class.
A new pop window will open and enter the file name as: Refresh. The Servlet Controller class will be created inside the package: com.jcg.servlet.
3.2.1 Implementation of Servlet Controller Class
In the controller class, we will use the setIntHeader() method to set the Refresh header. Let’s see the simple code snippet that follows this implementation.
Refresh.java
package com.jcg.servlet;

import java.io.IOException;
import java.io.PrintWriter;
import java.util.Calendar;
import java.util.GregorianCalendar;

import javax.servlet.ServletException;
import javax.servlet.annotation.WebServlet;
import javax.servlet.http.HttpServlet;
import javax.servlet.http.HttpServletRequest;
import javax.servlet.http.HttpServletResponse;

@WebServlet("/refreshServlet")
public class Refresh extends HttpServlet {

	private static final long serialVersionUID = 1L;

	/***** This Method Is Called By The Servlet Container To Process A 'GET' Request *****/
	public void doGet(HttpServletRequest request, HttpServletResponse response) throws IOException, ServletException {
		handleRequest(request, response);
	}

	public void handleRequest(HttpServletRequest request, HttpServletResponse response) throws IOException, ServletException {

		/***** Set Refresh - AutoLoad Time as 15 Seconds *****/
		response.setIntHeader("Refresh", 15);

		/***** Set Response Content Type *****/
		response.setContentType("text/html");

		/***** Get Current Time *****/
		Calendar cal = new GregorianCalendar();
		String am_pm;
		int hour = cal.get(Calendar.HOUR);
		int minute = cal.get(Calendar.MINUTE);
		int second = cal.get(Calendar.SECOND);

		if(cal.get(Calendar.AM_PM) == 0)
			am_pm = "A.M.";
		else
			am_pm = "P.M.";

		String time = hour+":"+ minute +":"+ second +" "+ am_pm;

		/***** Print The Response *****/
		PrintWriter out = response.getWriter();
		String title = "Auto Refresh Header Setting";
		String docType = "<!DOCTYPE html PUBLIC \"-//W3C//DTD HTML 4.01 Transitional//EN\" \"http://www.w3.org/TR/html4/loose.dtd\">\n";
		out.println(docType +
				"<html>\n" +
				"<head><title>" + title + "</title></head>\n"+
				"<body bgcolor = \"#f0f0f0\">\n" +
				"<h1 align = \"center\">" + title + "</h1>\n" +
				"<p>Current Time Is?= " + time + "</p>\n");
	}
}
4. Run the Application
As we are ready for all the changes, let us compile the project and deploy the application on the Tomcat7 server. To deploy the application on Tomat7, right-click on the project and navigate to Run as -> Run on Server.
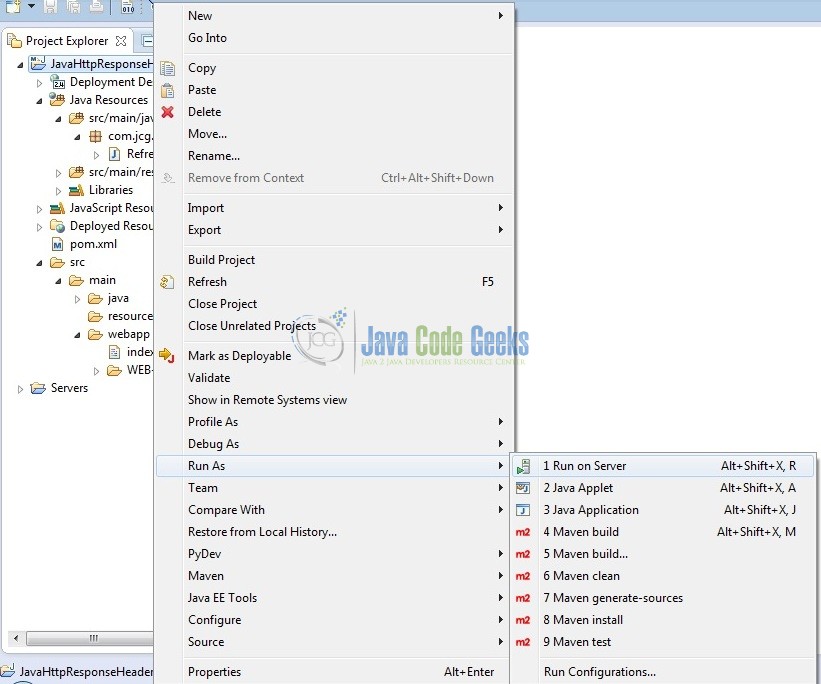
Tomcat will deploy the application in its web-apps folder and shall start its execution to deploy the project so that we can go ahead and test it in the browser.
5. Project Demo
Open your favorite browser and hit the following URL. The output page will be displayed where the servlet would display the current system time after a refresh of every 15 seconds.
http://localhost:8085/JavaHttpResponseHeaderEx/
Server name (localhost) and port (8085) may vary as per your Tomcat configuration. Developers can debug the example and see what happens after every step. Enjoy!

That’s all for this post. Happy Learning!!
6. Conclusion
In this section, developers learned how to display the HTTP header information in the Servlets. Developers can download the sample application as an Eclipse project in the Downloads section. I hope this article served you with whatever developers were looking for.
7. Download the Eclipse Project
This was an example of Response Header in Servlets.
You can download the full source code of this example here: JavaHttpResponseHeaderEx
