YatinDecember 21st, 2017Last Updated: March 7th, 2019
0 641 7 minutes read
Servlets are modules of the Java code that run in a server application to answer the client requests. In this tutorial, we will explain and show you how to connect the servlet to the database.
1. Introduction
Servlet is a Java program which exists and executes in the J2EE servers and is used to receive the HTTP protocol request, process it and send back the response to the client. Servlets make use of the Java standard extension classes in the packages javax.servlet and javax.servlet.http. Since Servlets are written in the highly portable Java language and follow a standard framework, they provide a means to create the sophisticated server extensions in a server and operating system in an independent way.
Typical uses for HTTPServlets include:
Processing and/or storing the data submitted by an HTML form
Providing dynamic content i.e. returning the results of a database query to the client
Managing state information on top of the stateless HTTP i.e. for an online shopping cart system which manages the shopping carts for many concurrent customers and maps every request to the right customer
As Servlet technology uses the Java language, thus web applications made using Servlet are Secured, Scalable, and Robust. Now, open up the Eclipse Ide and let’s see how to connect to the database in Servlet.
2. Java Servlet Database Connectivity Example
Here is a step-by-step guide for implementing the Servlet framework in Java.
2.1 Tools Used
We are using Eclipse Kepler SR2, JDK 8, MySQL and Maven. Having said that, we have tested the code against JDK 1.7 and it works well.
2.2 Project Structure
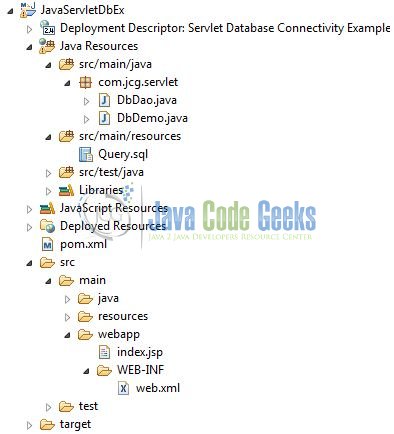
Firstly, let’s review the final project structure, in case you are confused about where you should create the corresponding files or folder later!
Fig. 1: Application Project Structure
2.3 Project Creation
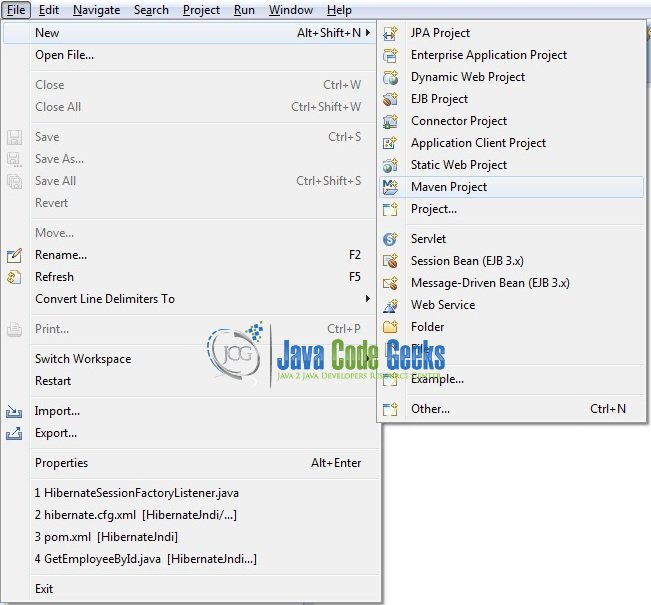
This section will demonstrate on how to create a Java-based Maven project with Eclipse. In Eclipse Ide, go to File -> New -> Maven Project.
Fig. 2: Create Maven Project
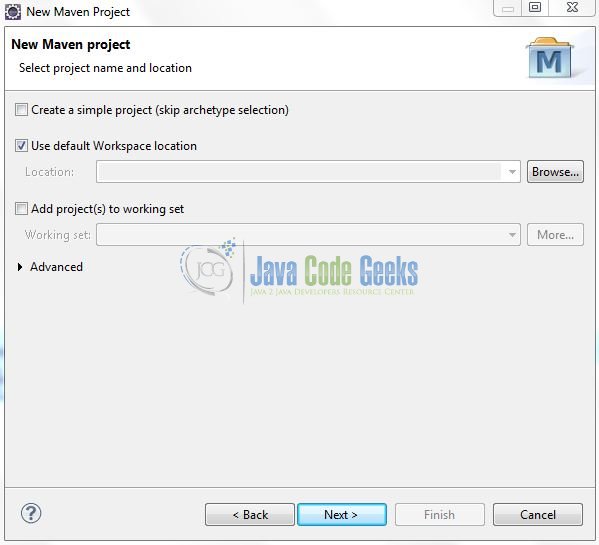
In the New Maven Project window, it will ask you to select project location. By default, ‘Use default workspace location’ will be selected. Just click on next button to proceed.
Fig. 3: Project Details
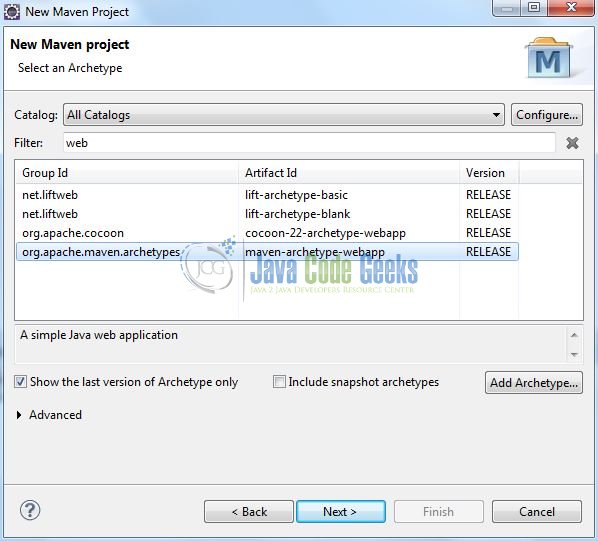
Select the ‘Maven Web App’ Archetype from the list of options and click next.
Fig. 4: Archetype Selection
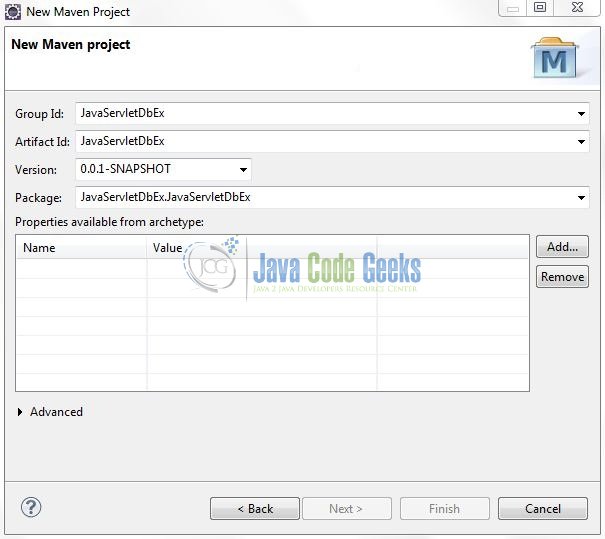
It will ask you to ‘Enter the group and the artifact id for the project’. We will input the details as shown in the below image. The version number will be by default: 0.0.1-SNAPSHOT.
Fig. 5: Archetype Parameters
Click on Finish and the creation of a maven project is completed. If you observe, it has downloaded the maven dependencies and a pom.xml file will be created. It will have the following code:
We can start adding the dependencies that developers want like Servlets, JUnit, and MySQL Connection Jar etc. Let’s start building the application!
3. Application Building
Below are the steps involved in developing this application.
3.1 Database & Table Creation
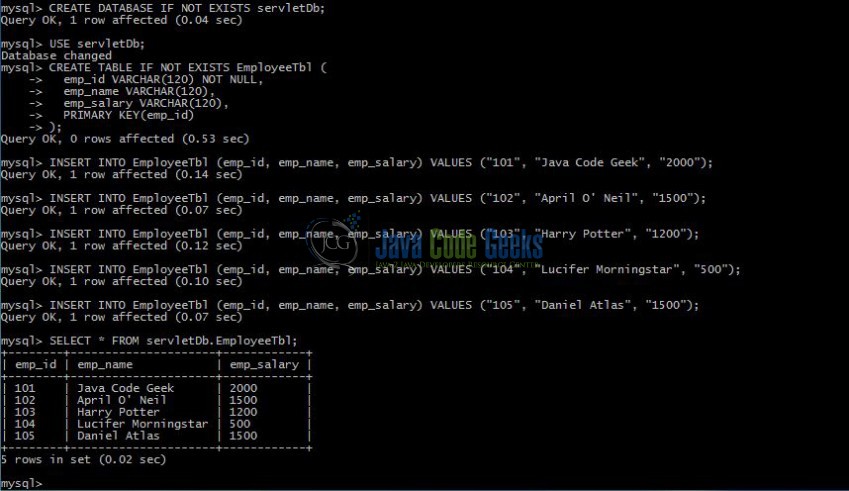
The following MySQL script is used to create a database called servletDb with table: EmployeeTbl. Open the MySQL or the workbench terminal and execute the SQL script:
CREATE DATABASE IF NOT EXISTS servletDb;

USE servletDb;

CREATE TABLE IF NOT EXISTS EmployeeTbl (
  emp_id VARCHAR(120) NOT NULL,
  emp_name VARCHAR(120),
  emp_salary VARCHAR(120),
  PRIMARY KEY(emp_id)
);

INSERT INTO EmployeeTbl (emp_id, emp_name, emp_salary) VALUES ("101", "Java Code Geek", "2000");
INSERT INTO EmployeeTbl (emp_id, emp_name, emp_salary) VALUES ("102", "April O' Neil", "1500");
INSERT INTO EmployeeTbl (emp_id, emp_name, emp_salary) VALUES ("103", "Harry Potter", "1200");
INSERT INTO EmployeeTbl (emp_id, emp_name, emp_salary) VALUES ("104", "Lucifer Morningstar", "500");
INSERT INTO EmployeeTbl (emp_id, emp_name, emp_salary) VALUES ("105", "Daniel Atlas", "1500");

SELECT * FROM servletDb.EmployeeTbl;
If everything goes well, the database and the table will be shown in the MySQL Workbench.
Fig. 6: Database & Table Creation
3.2 Maven Dependencies
Here, we specify the dependencies for the MySQL and the Servlet API. The rest dependencies will be automatically resolved by the Maven framework and the updated file will have the following code:
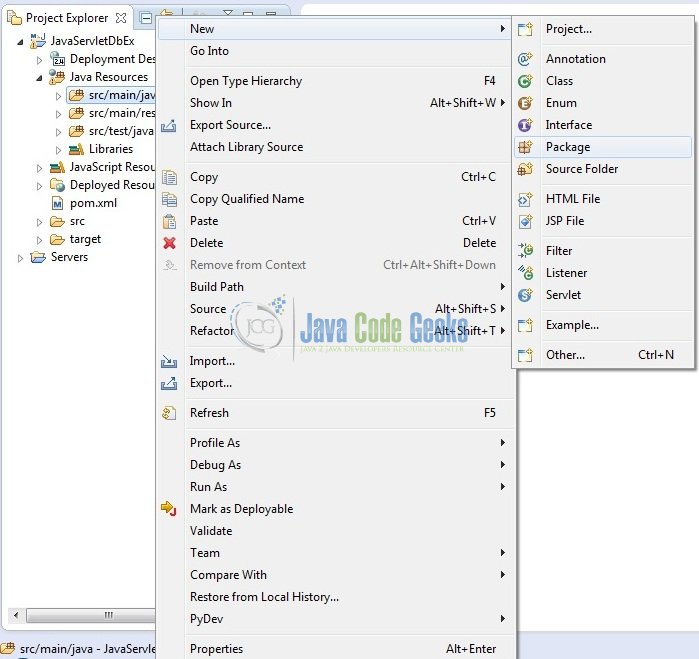
Let’s create the required Java files. Right-click on src/main/java folder, New -> Package.
Fig. 7: Java Package Creation
A new pop window will open where we will enter the package name as: com.jcg.servlet.
Fig. 8: Java Package Name (com.jcg.servlet)
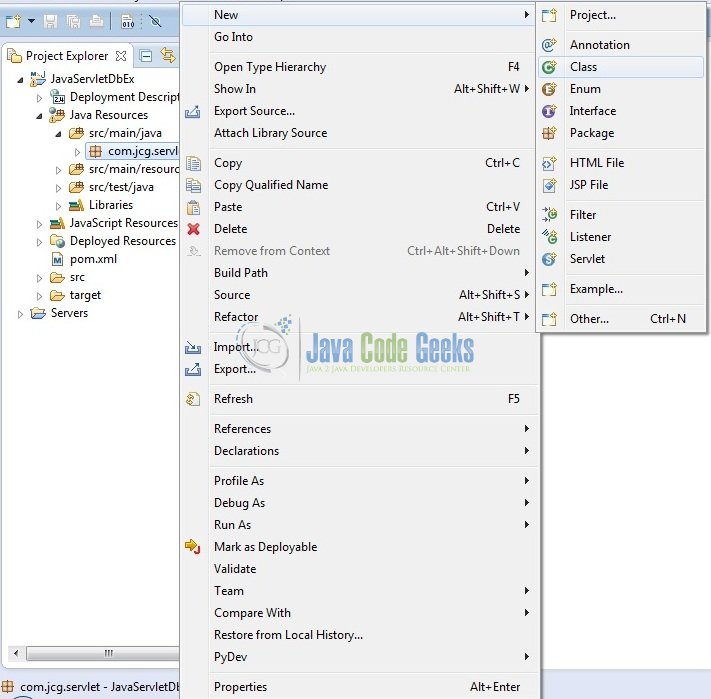
Once the package is created in the application, we will need to create the Controller and the DAO classes. Right-click on the newly created package: New -> Class.
Fig. 9: Java Class Creation
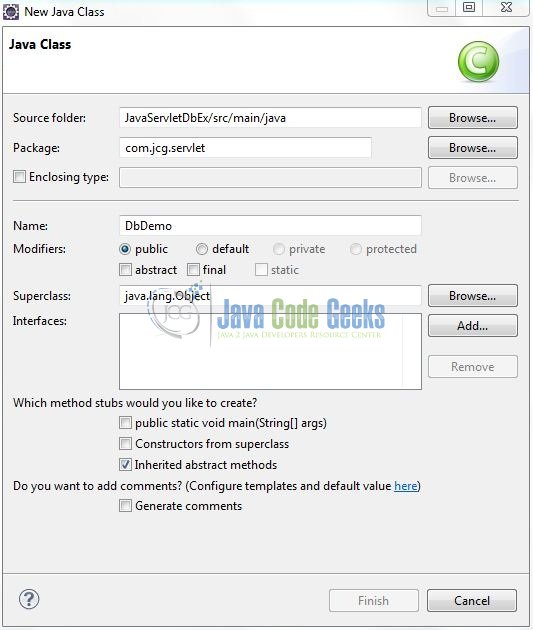
A new pop window will open and enter the file name as: DbDemo. The servlet controller class will be created inside the package: com.jcg.servlet.
Fig. 10: Java Class (DbDemo.java)
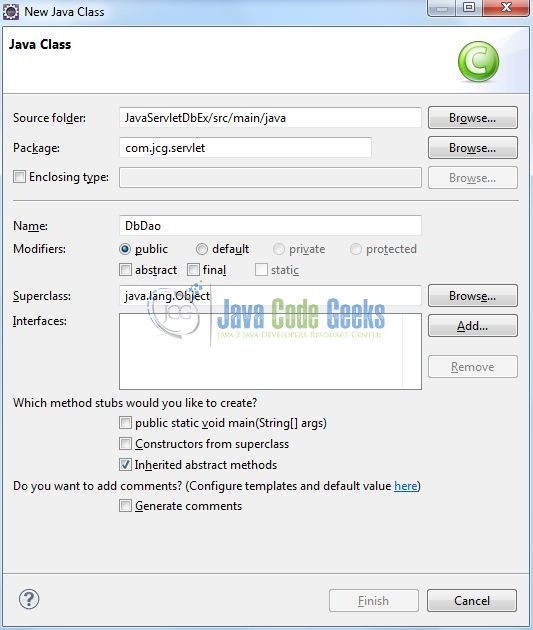
Repeat the step (i.e. Fig. 9) and enter the filename as: DbDao. The DAO class to read the cookies will be created inside the package: com.jcg.servlet.
Fig. 11: Java Class (DbDao.java)
3.2.1 Implementation of Servlet Controller Class
Here is an example which shows how to access the servletDb database using Servlet. Let’s see the simple code snippet that follows this implementation.
DbDemo.java
package com.jcg.servlet;
import java.io.IOException;
import java.io.PrintWriter;
import java.sql.ResultSet;
import javax.servlet.ServletException;
import javax.servlet.annotation.WebServlet;
import javax.servlet.http.HttpServlet;
import javax.servlet.http.HttpServletRequest;
import javax.servlet.http.HttpServletResponse;
@WebServlet("/servletDbConnectionDemo")
public class DbDemo extends HttpServlet {
private static final long serialVersionUID = 1L;
/***** This Method Is Called By The Servlet Container To Process A 'GET' Request *****/
public void doGet(HttpServletRequest request, HttpServletResponse response) throws IOException, ServletException {
handleRequest(request, response);
}
public void handleRequest(HttpServletRequest request, HttpServletResponse response) throws IOException, ServletException {
/***** Set Response Content Type *****/
response.setContentType("text/html");
/***** Print The Response *****/
PrintWriter out = response.getWriter();
String title = "Employee Details";
String pageTitle = "Servlet Database Connectivity Example";
String docType = "<!DOCTYPE html PUBLIC \"-//W3C//DTD HTML 4.01 Transitional//EN\" \"http://www.w3.org/TR/html4/loose.dtd\">\n";
out.println(docType +
"<html>\n" + "<head><title>" + pageTitle + "</title></head>\n");
try {
ResultSet rs = DbDao.getEmployeeList();
if(rs.next()) {
out.println("<body>\n" + "<h2 align = \"center\" style = \"color: green;\">" + title + "</h2>\n" +
"<table width = \"450px\" border = \"1\" align = \"center\">\n" +
"<thead><tr align = \"center\"><th><strong>Emp. Id</strong></th><th><strong>Emp. Name</strong></th><th><strong>Emp. Salary (in '
3.2.2 Implementation of DAO Class
Let’s see the simple code snippet that follows the database connectivity implementation.
DbDao.java
package com.jcg.servlet;
import java.sql.Connection;
import java.sql.DriverManager;
import java.sql.ResultSet;
import java.sql.Statement;
public class DbDao {
static ResultSet rsObj = null;
static Statement stmtObj = null;
static Connection connObj = null;
/***** Method #1 :: This Method Is Used To Create A Connection With The Database *****/
private static Connection connectDb() {
try {
Class.forName("com.mysql.jdbc.Driver");
connObj = DriverManager.getConnection("jdbc:mysql://localhost:3306/servletDb", "<!-- Db Username --!>", "<!-- Db Password --!>");
} catch (Exception exObj) {
exObj.printStackTrace();
}
return connObj;
}
/***** Method #2 :: This Method Is Used To Retrieve The Records From The Database *****/
public static ResultSet getEmployeeList() {
try {
stmtObj = connectDb().createStatement();
String sql = "SELECT * FROM servletDb.EmployeeTbl";
rsObj = stmtObj.executeQuery(sql);
} catch (Exception exObj) {
exObj.printStackTrace();
}
return rsObj;
}
/***** Method #3 :: This Method Is Used To Close The Connection With The Database *****/
public static void disconnectDb() {
try {
rsObj.close();
stmtObj.close();
connObj.close();
} catch (Exception exObj) {
exObj.printStackTrace();
}
}
}
Note: Developers should change the Database URL, Username, and Password according to the settings on their environment.
Want to be a Servlets Master ?
Subscribe to our newsletter and download the Java Servlet Ultimate Guide right now!
In order to help you master programming with Java Servlets, we have compiled a kick-ass guide with all the major servlet API uses and showcases! Besides studying them online you may download the eBook in PDF format!
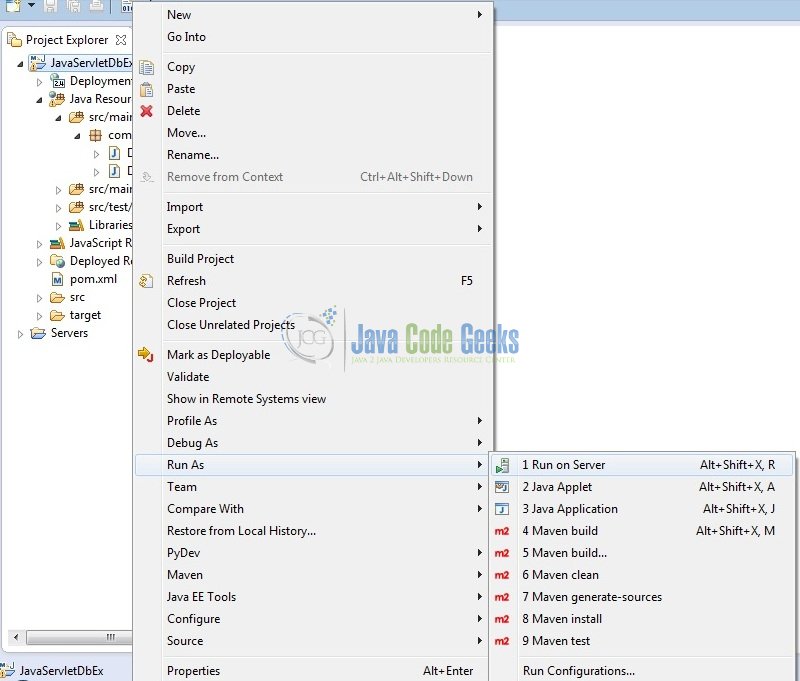
As we are ready for all the changes, let us compile the project and deploy the application on the Tomcat7 server. To deploy the application on Tomat7, right-click on the project and navigate to Run as -> Run on Server.
Fig. 12: How to Deploy Application on Tomcat
Tomcat will deploy the application in its web-apps folder and shall start its execution to deploy the project so that we can go ahead and test it in the browser.
5. Project Demo
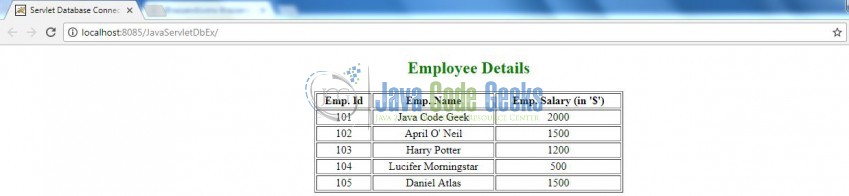
Open your favorite browser and hit the following URL. The output page will be displayed.
http://localhost:8085/JavaServletDbEx/
Server name (localhost) and port (8085) may vary as per your Tomcat configuration. Developers can debug the example and see what happens after every step. Enjoy!
Fig. 13: Output Page Showing Data from the Database
That’s all for this post. Happy Learning!!
6. Conclusion
In this section, developers learned how they can connect to the database in the Servlet. Developers can download the sample application as an Eclipse project in the Downloads section. I hope this article served you with whatever developers were looking for.
7. Download the Eclipse Project
This was an example of Servlet Database Connectivity.
Download
You can download the full source code of this example here: JavaServletDbEx
Let’s see the simple code snippet that follows the database connectivity implementation.
DbDao.java
Note: Developers should change the Database URL, Username, and Password according to the settings on their environment.
4. Run the Application
As we are ready for all the changes, let us compile the project and deploy the application on the Tomcat7 server. To deploy the application on Tomat7, right-click on the project and navigate to Run as -> Run on Server.
Fig. 12: How to Deploy Application on Tomcat
Tomcat will deploy the application in its web-apps folder and shall start its execution to deploy the project so that we can go ahead and test it in the browser.
5. Project Demo
Open your favorite browser and hit the following URL. The output page will be displayed.
http://localhost:8085/JavaServletDbEx/
Server name (localhost) and port (8085) may vary as per your Tomcat configuration. Developers can debug the example and see what happens after every step. Enjoy!
Fig. 13: Output Page Showing Data from the Database
That’s all for this post. Happy Learning!!
6. Conclusion
In this section, developers learned how they can connect to the database in the Servlet. Developers can download the sample application as an Eclipse project in the Downloads section. I hope this article served you with whatever developers were looking for.
7. Download the Eclipse Project
This was an example of Servlet Database Connectivity.
Download
You can download the full source code of this example here: JavaServletDbEx
Do you want to know how to develop your skillset to become a Java Rockstar?
Subscribe to our newsletter to start Rocking right now!
To get you started we give you our best selling eBooks for FREE!