Selenium JUnit Example
1. Introduction
In this article, we are going to show how you can write automation tests by Selenium and JUnit.
Selenium is tools for building automation tests. Selenium can be used only for testing web applications. When Selenium executes the test, it injects the JavaScript codes to browser or it uses the native browser API. It does not mean that you should write all codes only on JavaScript. Selenium supports all most popular programming languages : Java, C#, Python, Ruby and so.
JUnit is a unit testing framework for the Java programming language. In this example, we will integrate Selenium to this framework. Actually, Selenium IDE has all functionality to write, build and execute automation tests, but if you want to execute tests independently from Selenium IDE you need to use JUnit or another libraries for automation tests.
2. Record test cases
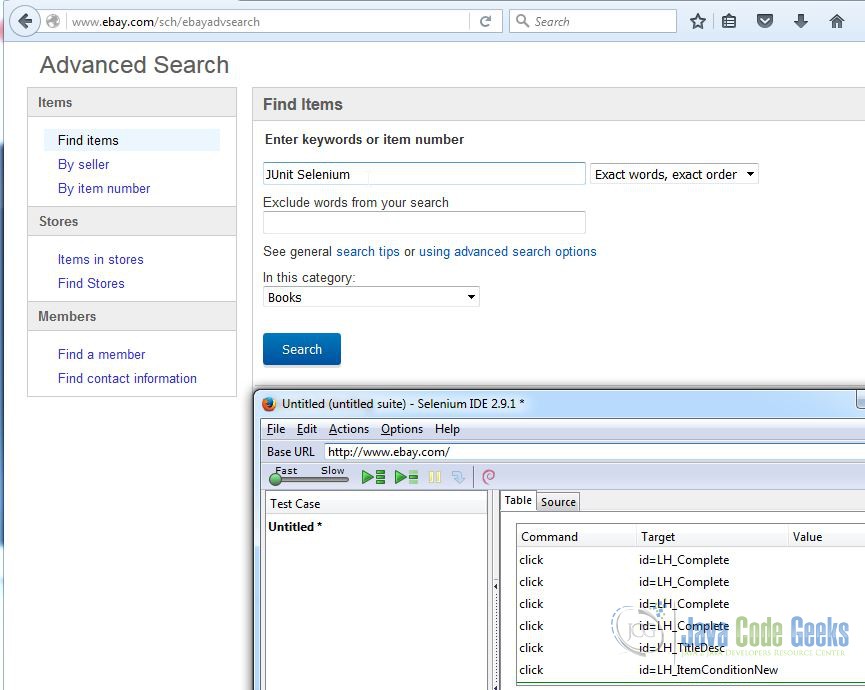
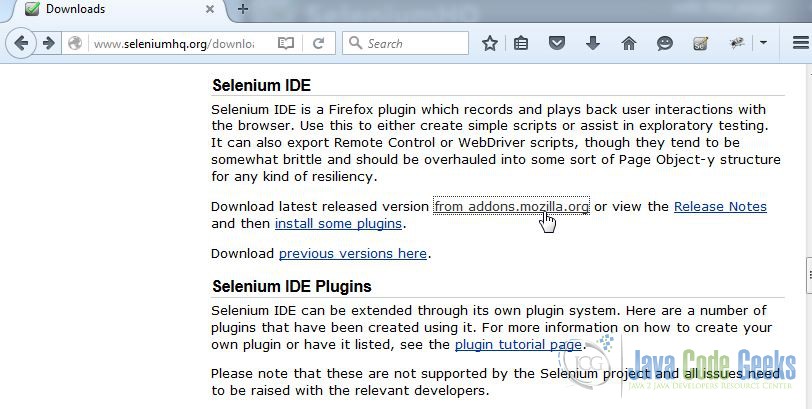
The simplest way to get the base test cases code is to record user activities in Selenium IDE. Firstly, you should install Selenium IDE. Actually, Selenium IDE is the Firefox add-ons. After you install this plugin, you can see the Selenium IDE button in the right top corner in Firefox. This plugin is supported only by Firefox.

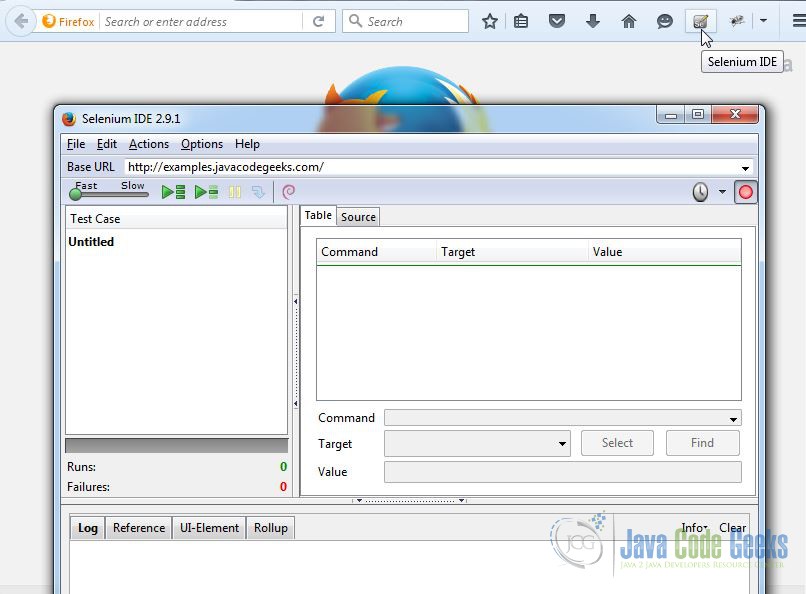
Then you need to turn the record button on and start to navigate in the necessary web site. In this case, we want to test the search function in the http://ebay.com. EBay has the advanced search functions. It is the good example to show most useful abilities to test web apps by Selenium IDE.
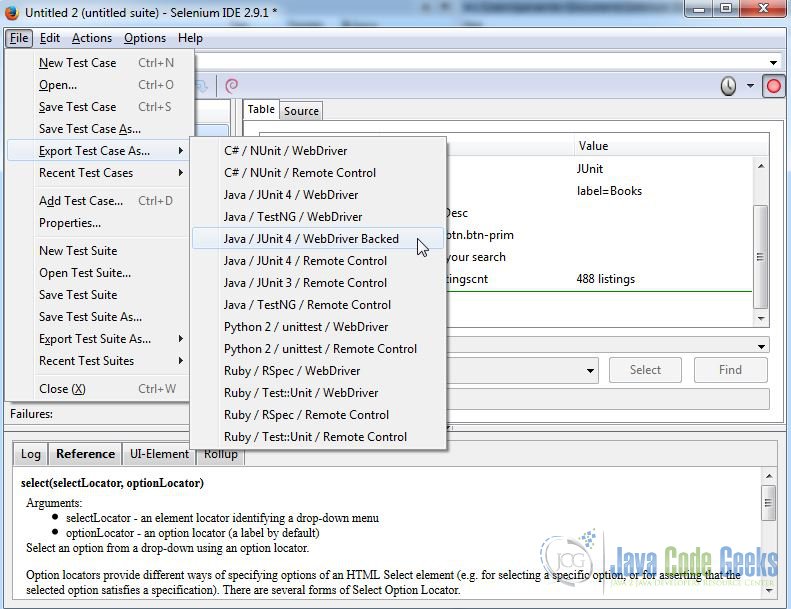
Now we are ready to export this recorded test cases into your favorite programming . In this example, we use Java. For this reason, we are going to export test cases to Java and ask the Selenium IDE that it generate the necessary structures for JUnit framework too.
3. Integrate to JUnit
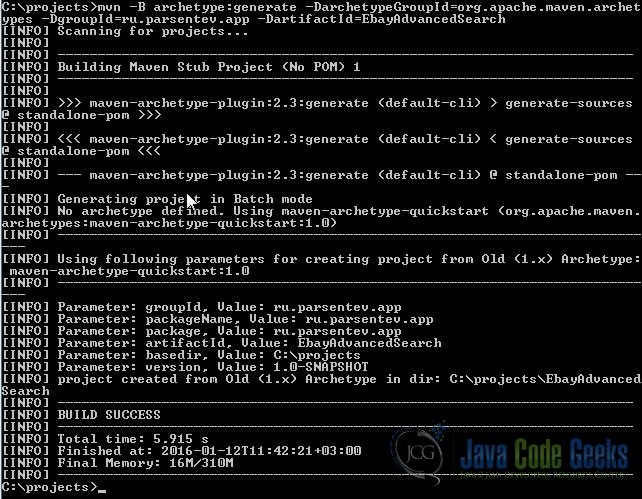
The next step is to create the new maven project with JUnit and Selenium dependencies. We will create this new project from default archetype by this follows command
mvn -B archetype:generate -DarchetypeGroupId=org.apache.maven.archetypes -DgroupId=ru.parsentev.app -DartifactId=EbayAdvancedSearch
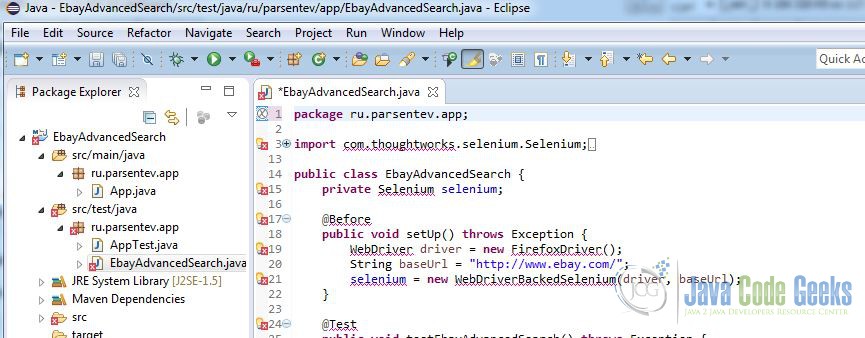
Now, we can open this project in Eclipse.
Next, we need to move the export Java code from Selenium IDE to the new project. You should put this file to test directory. In my case, it is src\test\java\ru\parsentev\app\
How you can see this code is highlighted by Selenium. it is happened, because we need to add the Selenium library to dependencies block.
pom.xml
<project xmlns="http://maven.apache.org/POM/4.0.0" xmlns:xsi="http://www.w3.org/2001/XMLSchema-instance"
         xsi:schemaLocation="http://maven.apache.org/POM/4.0.0 http://maven.apache.org/maven-v4_0_0.xsd">
	<modelVersion>4.0.0</modelVersion>
	<groupId>ru.parsentev.app</groupId>
	<artifactId>EbayAdvancedSearch</artifactId>
	<packaging>jar</packaging>
	<version>1.0-SNAPSHOT</version>
	<name>EbayAdvancedSearch</name>
	<url>http://maven.apache.org</url>
	<dependencies>
		<dependency>
			<groupId>org.seleniumhq.selenium</groupId>
			<artifactId>selenium-java</artifactId>
			<version>2.48.2</version>
			<scope>test</scope>
		</dependency>
		<dependency>
			<groupId>junit</groupId>
			<artifactId>junit</artifactId>
			<version>4.12</version>
			<scope>test</scope>
		</dependency>
	</dependencies>
</project>
You can find the full source code of this case below.
EbayAdvancedSearch.java
package ru.parsentev.app;

import com.thoughtworks.selenium.Selenium;
import org.openqa.selenium.By;
import org.openqa.selenium.firefox.FirefoxDriver;
import org.openqa.selenium.WebDriver;
import com.thoughtworks.selenium.webdriven.WebDriverBackedSelenium;
import org.junit.After;
import org.junit.Before;
import org.junit.Test;
import static org.junit.Assert.*;
import java.util.regex.Pattern;
import static org.apache.commons.lang3.StringUtils.join;

public class EbayAdvancedSearch {
	private Selenium selenium;

	@Before
	public void setUp() throws Exception {
		WebDriver driver = new FirefoxDriver();
		String baseUrl = "http://www.ebay.com/";
		selenium = new WebDriverBackedSelenium(driver, baseUrl);
	}

	@Test
	public void testEbayAdvancedSearch() throws Exception {
		selenium.open("/");
		selenium.waitForPageToLoad("30000");
		selenium.click("id=gh-as-a");
		selenium.type("id=_nkw", "JUnit");
		selenium.select("id=e1-1", "value=267");
		selenium.click("id=LH_TitleDesc");
		selenium.click("css=button.btn.btn-prim");
		selenium.waitForPageToLoad("30000");
		for (int second = 0;; second++) {
			if (second >= 60) fail("timeout");
			try { if (selenium.isElementPresent("css=span.listingscnt")) break; } catch (Exception e) {}
			Thread.sleep(1000);
		}

		assertEquals("Объявлений: 488", selenium.getText("css=span.listingscnt"));
	}

	@After
	public void tearDown() throws Exception {
		selenium.stop();
	}
}
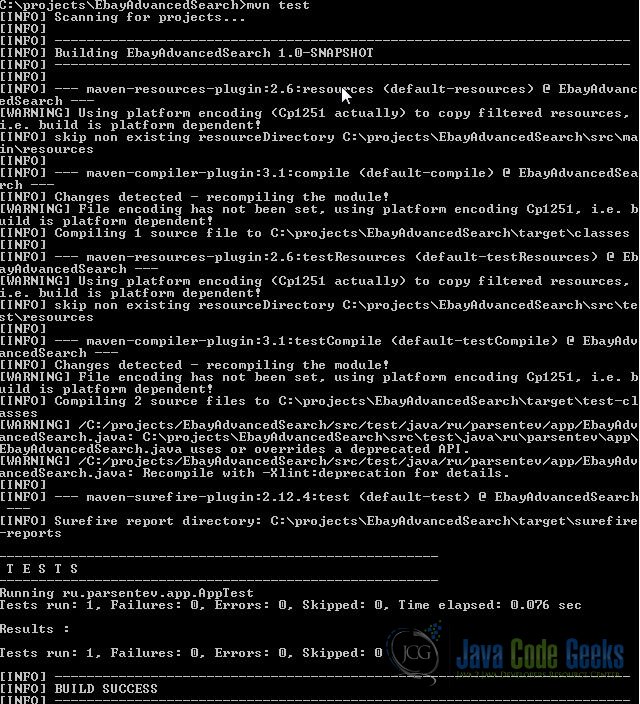
Now, we can run this project by this follows command mvn test
4. Conclusion
In this article, we have shown how you can integrate Selenium and JUnit frameworks. If you want to get more information about this framework, please vitis official web sites: Selenium and JUnit.
5. Download the source code
You can download the full source code of this example here: Selenium JUnit

