1. Introduction
In this example, we shall show you how to write the automation tests by Selenium. Selenium is collections of tools to test the web applications. We are going to cover user’s cases for TrackStudio system.
Automation tests has few benefits:
- It is easy for supporting.
- It is faster than manual tests.
- It has possibility to repeat tests.
- It has the lower cost with compare to manual tests.
- It has ability to use in Continue Integration.
- It has ability to get exhausted reports.
Selenium consists from three main parts:
- Selenium IDE – add-ons for Firefox.
- Selenium WebDriver – library, which use native browser API for testing.
- Selenium Server – server for execute tests in different environments.
2. Create a tests plan
Before we start to write the tests code, we should write the tests plan. The plan should describe what we should do and what we will expect after those actions. Let’s tell few words about TrackStudio system. TrackStudio is issues/tasks tracker in the simple words.
It supports: workflow processing, documents processing, access rules control and so on. It fits great for our demonstration purpose, because it is the web app with rich user interfaces and it has many functional features.
Let’s imagine that we want to test all cases for creating the library (books store) configuration in TrackStudio.
| Short explanation | Detail explanation | Expected result |
| Log in as administrator | 1. Go to index page. 2. Fill the login form. 3. Submit the form. | Redirect to main page. |
| Create the new rule – Library manager. | 4. Go to manage user tab 5. Open the rules tab. 6. Click on the create button 7. Fill the form. 8. Submit the form. | The rule should appear in rules list |
| Create the new rule – Reader. | 1. Go to manage user tab 2. Open the rules tab. 3. Click on the create button 4. Fill the form. 5. Submit the form. | The rule should appear in rules list. |
| Create the new User with Manager rule – Bread. | 1. Go to manage user tab 2. Open the users tab. 3. Click on the create button 4. Fill the form. 5. Submit the form. | The new user should appear in users list. |
| Create the new User with Reader rule – Smith. | 1. Go to manage user tab 2. Open the users tab. 3. Click on the create button 4. Fill the form. 5. Submit the form. | The new user should appear in users list. |
| Create the new workflow – Book | 1. Go to manage task tab. 2. Open the workflow tab. 3. Click on the create button. 4. Fill the form. 5. Submit the form. | The new workflow should appear in workflows list. |
| Create the two workflow states – in, out | 1. Go to manage task tab. 2. Open the workflow tab. 3. Open the status tab. 4. Click on the create button. 5. Fill the form. 6. Submit the form. | The new status should appear in workflows status list. |
| Create the two workflow transaction – out to in, in to out | 1. Go to manage task tab. 2. Open the workflow tab. 3. Open the transaction tab. 4. Selected the necessary status and click on the create button. | The new transactions should appear in the workflow. |
| Create the new category for Book workflow. | 1. Go to manage task tab. 2. Open the category tab. 3. Click on the create button. 4. Fill the form. 5. Submit the form. | The new category should appear in the categories list. |
| Create the new project for library. | 1. Go to manage task tab. 2. Click on the new project button. 3. Fill the form. 4. Submit the form. | The new project should appear in the task list. |
| Add the access for rule Manager and Reader to the library project | 1. Go to manage task tab. 2. Open the access rule tab. 3. Selected the rules. 4. Submit the form. | The new access rule should appear in the access rules list. |
| Login as the Bread user and create the new book. | 1. Log out. 2. Log in as Bread. 3. Go to the library project. 4. Click the new book button. 5. Fill the form. 6. Submit the form. | The new book should appear in the book list. |
| Login as the Smith user and take the new book. | 1. Log out. 2. Log in as Smith. 3. Go to the library project. 4. Click the new book link. 5. Click the out operation button. 6. Fill form and submit it. | The book should change the status to out. |
Tests cases
Now we can go to write your tests.
3. Install the Selenium IDE
First of all we should install the Selenium IDE. You should open the Firefox.Then you should go to official Selenium web site link.

After you restart the firefox browser you can see the button in the right top corner. It is the Selenium IDE.
Then we should click on this button and Selenium IDE opens.
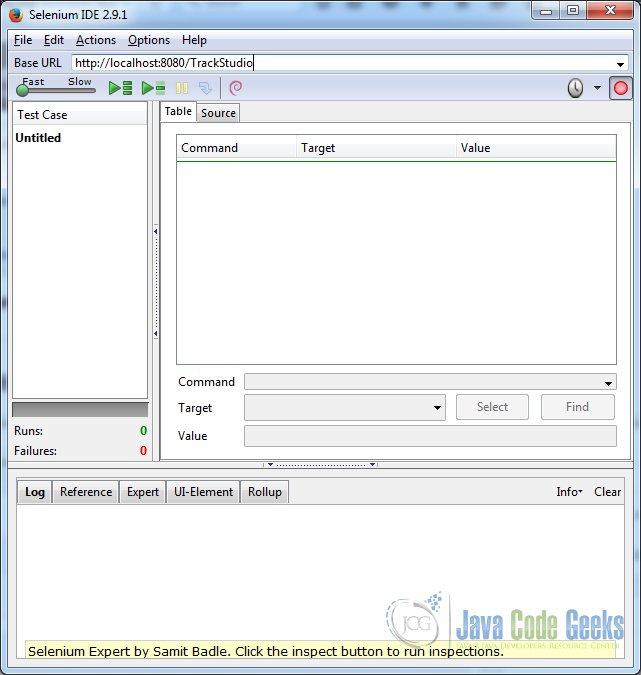
Now we are ready to record out test cases.
4. Record the user activities in Selenium IDE
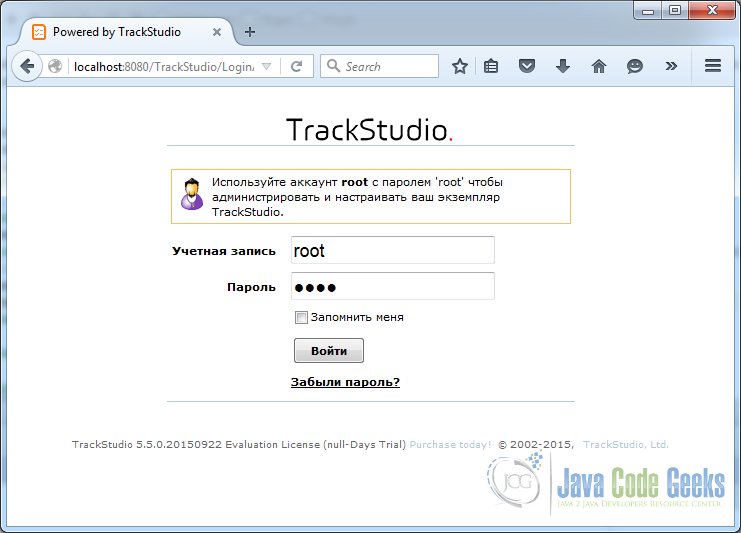
Firstly, we should run the TrackStudio Server. You should open the FireFox and open the URL http://localhost:8080/TrackStudio/ It will look similar:
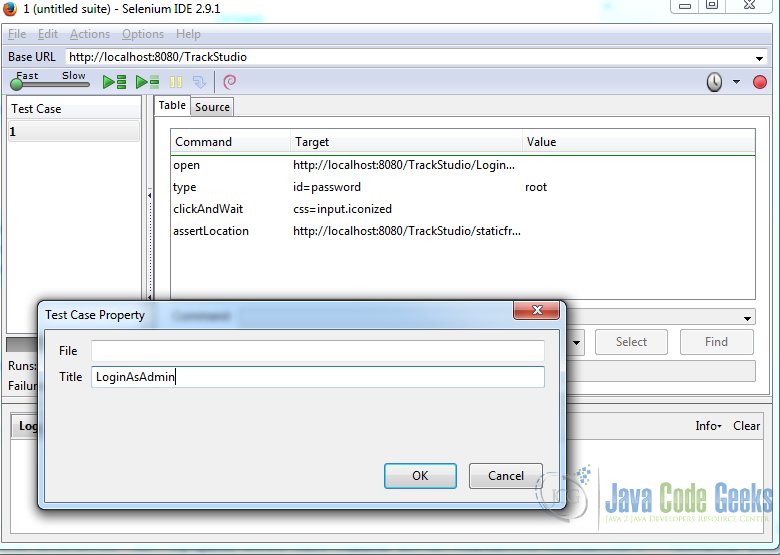
Now we need to record our user’s cases. Open the Selenium IDE. You have to check that Base URL is the same as TrackStudio Login page and the button record turns on.
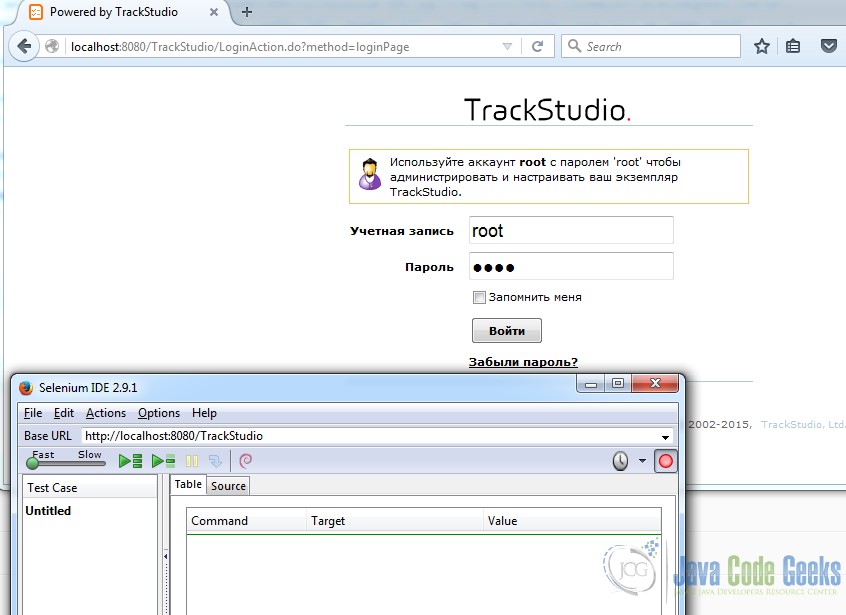
Then you start to make the actions in browser as general users: click on link, fill the form and so on. Selenium IDE will records all this activities. After you finished your actions, you can see that Selenium IDE filled the table.
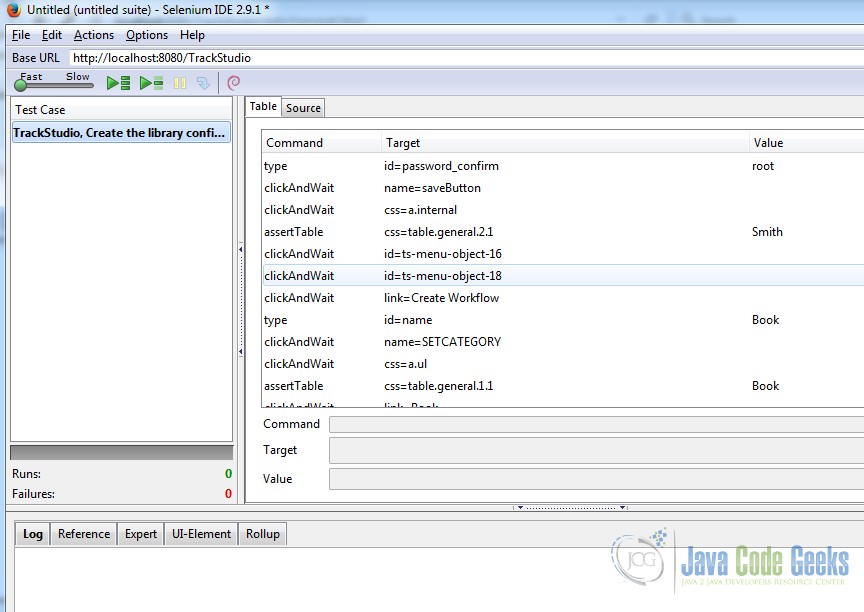
We do other tests similar actions. After that, we should get the list with our tests cases.
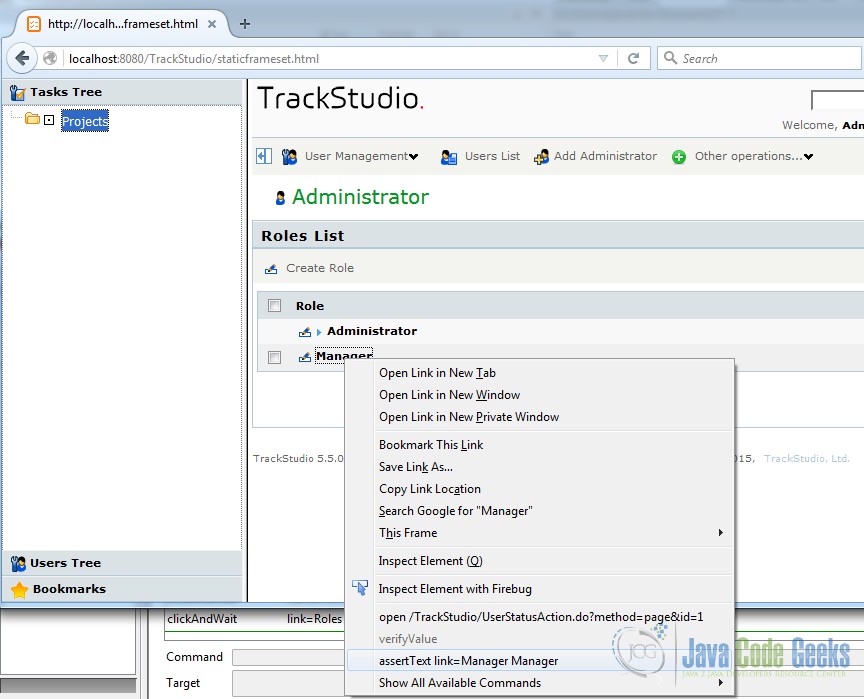
When you need to assert the text in the web page, you should select the necessary element and open the popup menu, like this:
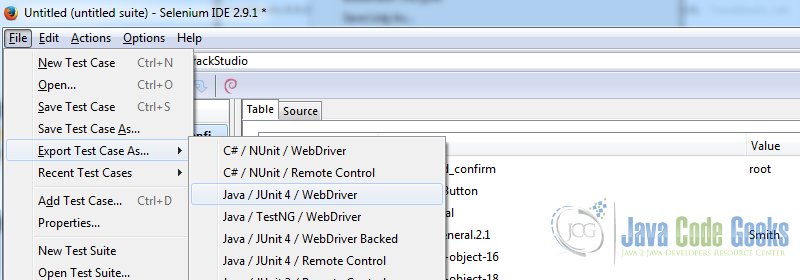
Selenium IDE inserts there assertions in the tests code. So now we are ready to export the code to our favorite programming language from Selenium IDE. You should go to File->Export->Select language
5. Refactoring exported code
Now we have the source code on your tests cases. Then we should create the maven project with selenium dependency and put there your test code.
pom.xml
<?xml version="1.0" encoding="UTF-8"?>
<project xmlns="http://maven.apache.org/POM/4.0.0"
         xmlns:xsi="http://www.w3.org/2001/XMLSchema-instance"
         xsi:schemaLocation="http://maven.apache.org/POM/4.0.0 http://maven.apache.org/xsd/maven-4.0.0.xsd">
    <modelVersion>4.0.0</modelVersion>

    <groupId>ru</groupId>
    <artifactId>parsentev</artifactId>
    <version>1.0-SNAPSHOT</version>

    <dependencies>
        <dependency>
            <groupId>junit</groupId>
            <artifactId>junit</artifactId>
            <version>4.12</version>
        </dependency>
        <dependency>
            <groupId>org.seleniumhq.selenium</groupId>
            <artifactId>selenium-java</artifactId>
            <version>2.48.2</version>
        </dependency>
    </dependencies>
</project>
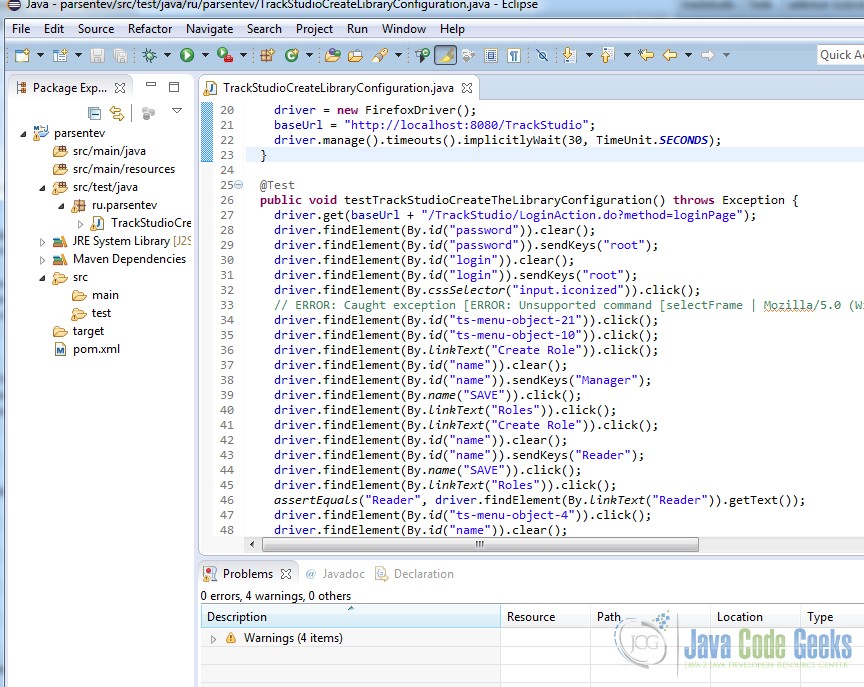
Now we can open our new project in Eclipse and make the refactoring. How you can see below the exported code does look good. It has duplicates codes.
First of all, we should extract all use data to specific file. It is the design approach – Map UI.
TrackStudioData.java
package ru.parsentev;

/**
 * File contains the trackstudio user data.
 * @author parsentev
 * @since 14.12.2015
 */
public interface TrackStudioData {
	String ROOT_LOGIN = "root";
	String ROOT_PWD = "root";
	String BREAD_LOGIN = "root";
	String BREAD_PWD = "root";
	String SMITH_LOGIN = "root";
	String SMITH_PWD = "root";
	String MANAGER_ROLE = "manager";
	String READER_ROLE = "reader";
	String CATEGORY_NAME = "book";
	String WORKFLOW_NAME = "book";
	String TASK_NAME = "the catcher in the rye";
	String TR_IN = "in";
	String TR_OUT = "out";
}
The next step is to split out main method on the few little as we described in table tests ceases.
TrackStudioCreateLibraryConfiguration.java
	@Test
	public void cases() throws Exception {
		this.loginAsAdmin();
		this.createManagerRole();
		this.createReaderRole();
		this.createUserManager();
		this.createUserReader();
		this.createWorkflow();
		this.createCategory();
		this.createTask();
		this.takeTaskByReader();
	}
We have the automation tests, which you can run the follow command mvn clean test. You can integrate it to CI easily.
6. Download the Maven project
You can download the full source code of this example here: SeleniumAutomationTests.zip
