In this post, we are going to show you how to configure your application to use Maven and logback as logger solution.
1. What is logback?
Logback is intended as a successor to the popular log4j project. It was designed by Ceki Gülcü, log4j’s founder. It builds upon a decade of experience gained in designing industrial-strength logging systems. The resulting product, i.e. logback, is faster and has a smaller footprint than all existing logging systems, sometimes by a wide margin. Just as importantly, logback offers unique and rather useful features missing in other logging systems.
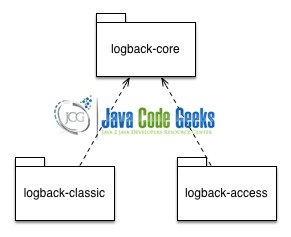
1.1 Logback – Modular Architecture
Logback’s basic architecture is sufficiently generic so as to apply under different circumstances. At the present time, logback is divided into three modules, logback-core, logback-classic and logback-access.
The core module lays the groundwork for the other two modules. The classic module extends core. The classic module corresponds to a significantly improved version of log4j.
Logback-classic natively implements the SLF4J API so that you can readily switch back and forth between logback and other logging systems such as log4j or java.util.logging (JUL) introduced in JDK 1.4. The third module called access integrates with Servlet containers to provide HTTP-access log functionality.
1.2 Configuration in logback
Inserting log requests into the application code requires a fair amount of planning and effort. Observation shows that approximately four percent of code is dedicated to logging. Consequently, even a moderately sized application will contain thousands of logging statements embedded within its code. Given their number, we need tools to manage these log statements.
Logback can be configured either programmatically or with a configuration script expressed in XML or Groovy format.
Let us begin by discussing the initialization steps that logback follows to try to configure itself:
- Logback tries to find a file called logback.groovy in the classpath.
- If no such file is found, logback tries to find a file called logback-test.xml in the classpath.
- If no such file is found, it checks for the file logback.xml in the classpath.
- If neither file is found, logback configures itself automatically using the
BasicConfiguratorwhich will cause logging output to be directed to the console.
Logback delegates the task of writing a logging event to components called appenders. Appenders must implement the ch.qos.logback.core.Appender.
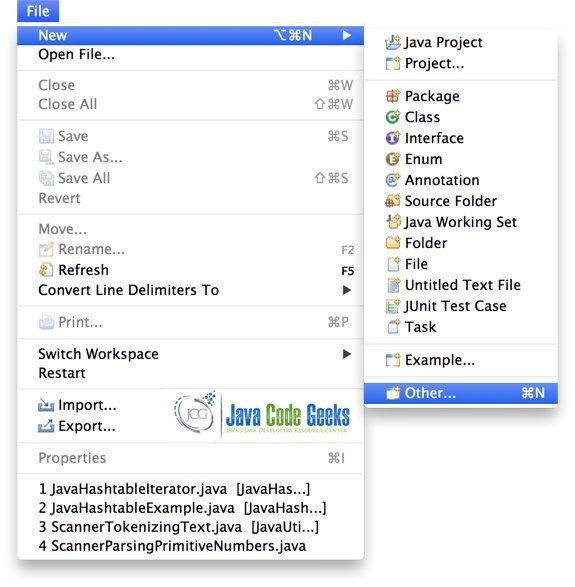
2. Creating a Maven project using Eclipse
After eclipse starts, click on the File → New → Other… menu
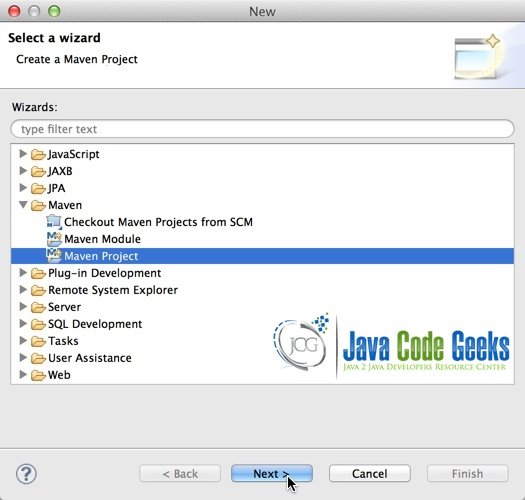
Then look for the Maven Project option and click on the Next button
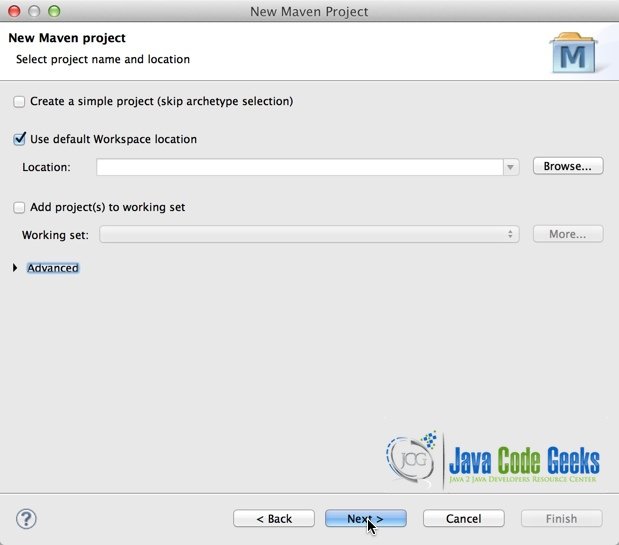
Accept the default options in the next screen and click on Next
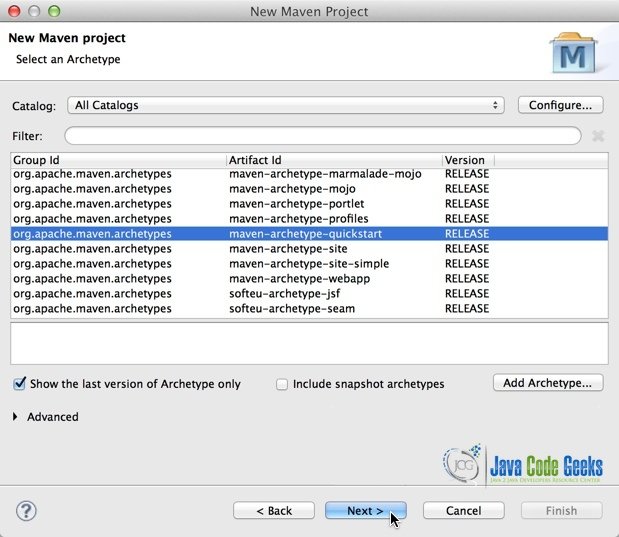
In the next screen look for the maven-archetype-quickstart option and click on Next
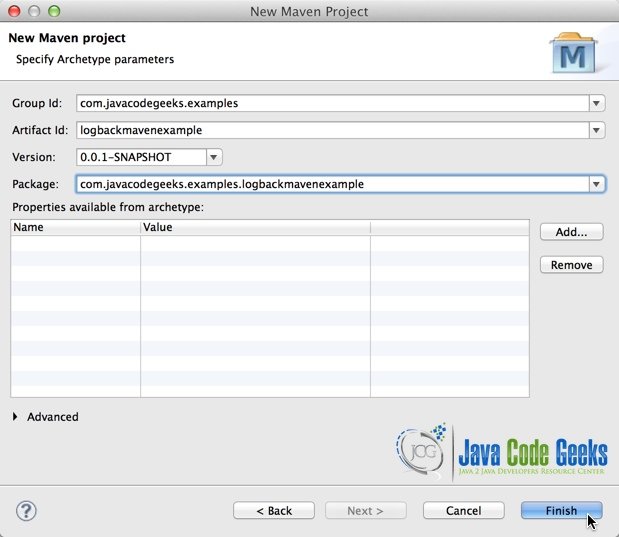
In the next screen you need to type the Group Id, Artifact Id and Package, as in the following screen and click on Finish
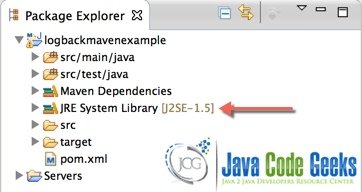
To finally have something like this
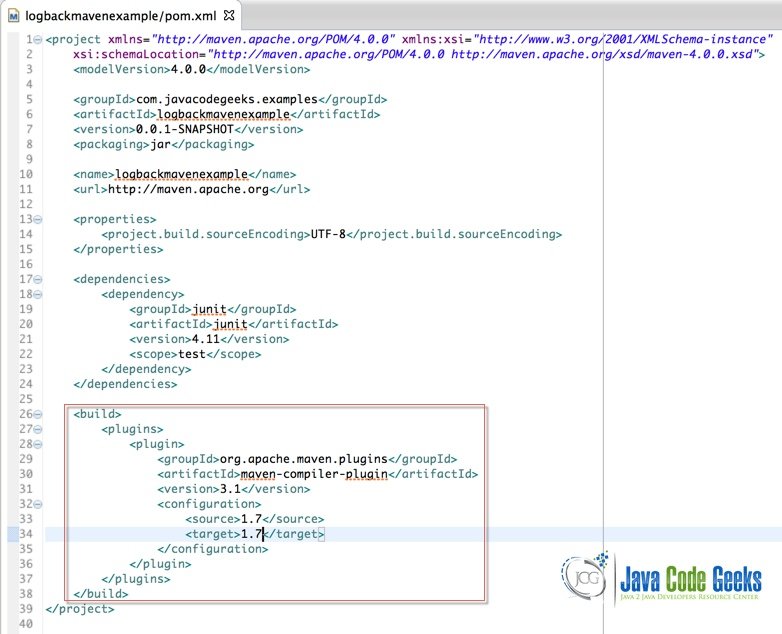
We need to change the JRE System Library used by Maven, from version 1.5 to version 1.7. To do this, we just need to add the following lines to our pom.xml file
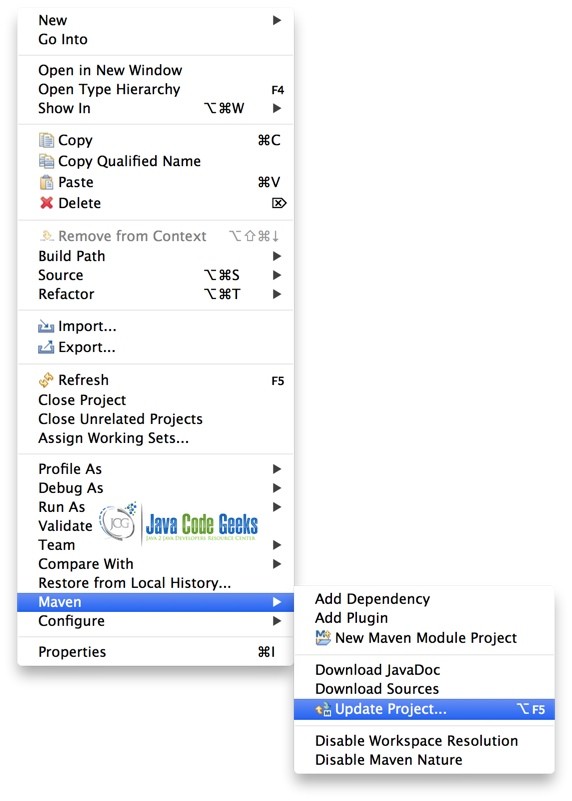
Then, right click on the name of the Project, click on the Maven menu option and then click on the Update Project… menu option
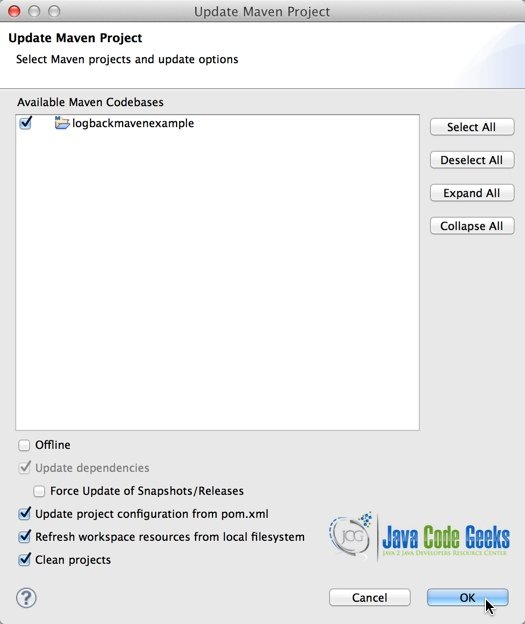
In the next window, just click on the OK button
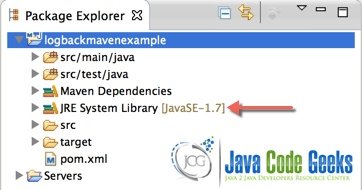
Then, observe that the Project JRE has changed to version 1.7
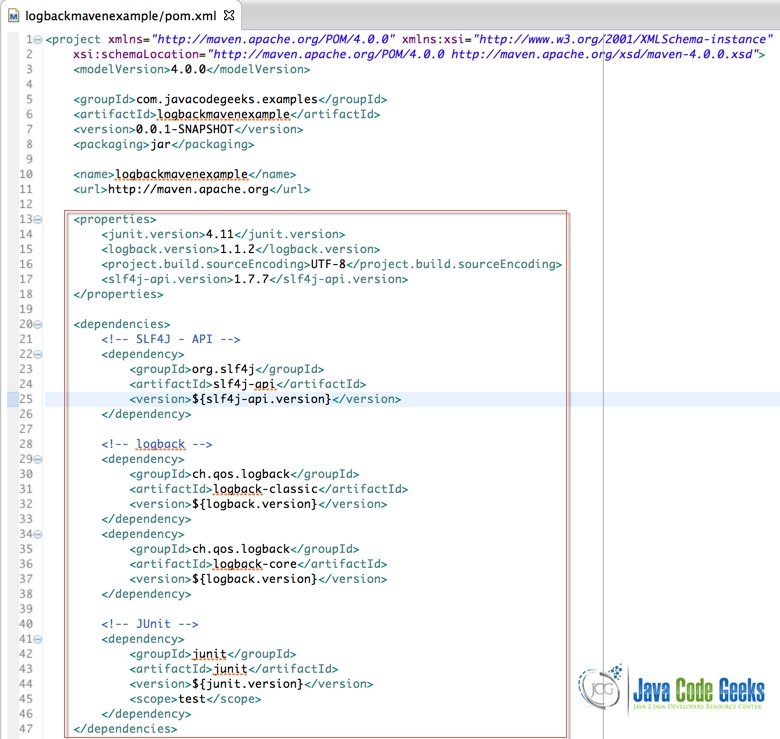
3. Adding Maven dependencies
Before we start to execute some code and see how logback works, we need to add the following dependencies to our pom.xml file:
3.1 Create a logback.xml file
Let’s create a logback.xml file to configure the way logback is going to handle logging.
As mentioned in Section 1.2, we need to put this file the classpath. For Maven to do this, we need to put this file inside a resource directory, as showed in the next steps.
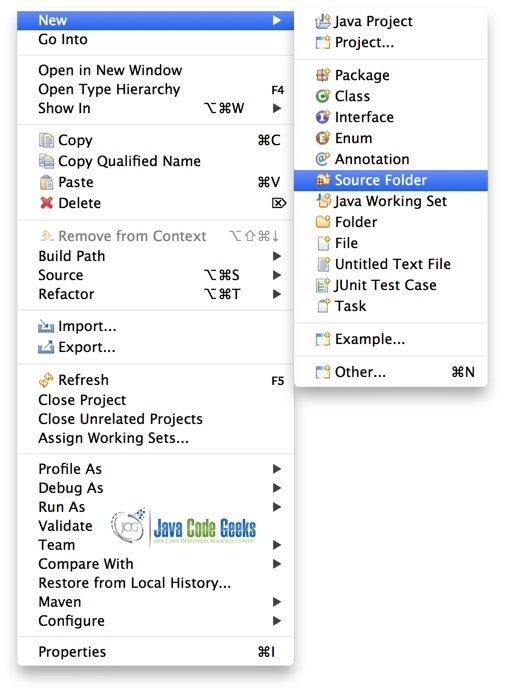
Right click on the name of the Project, then click on the New → Source Folder menu
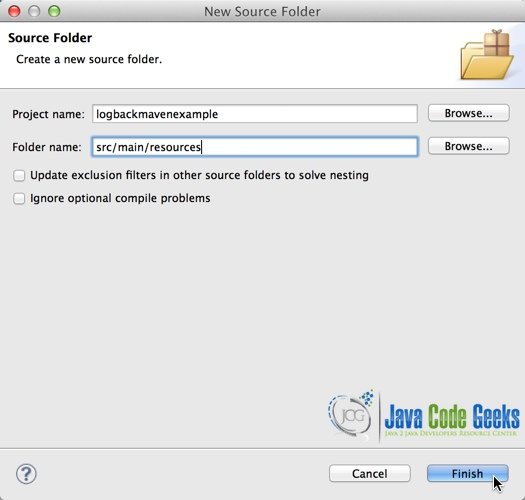
In the next screen, type src/main/resources in the Folder name textbox. Then click on Finish
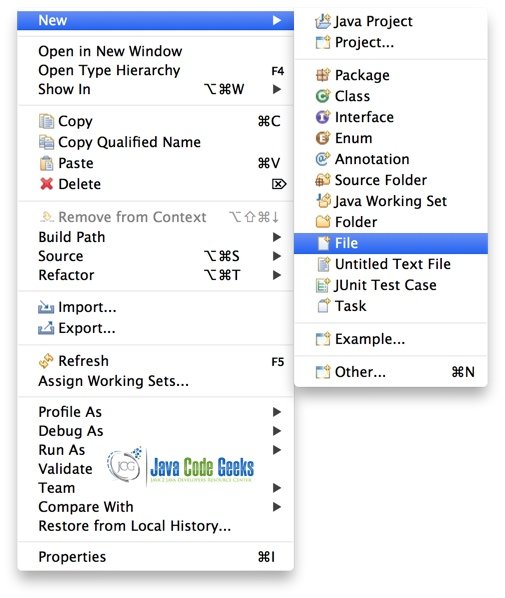
Right click on the name of the Project, then click on the New → File menu

In the next window, select the folder created in the previous step. Type logback.xml in the File name textbox

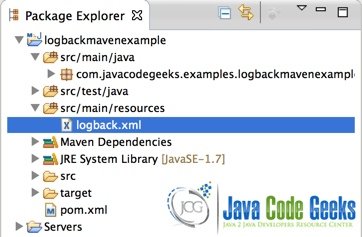
The content of our logback.xml file is as the following
<?xml version="1.0" encoding="UTF-8"?>
<configuration>

	<!-- Send debug messages to System.out -->
	<appender name="STDOUT" class="ch.qos.logback.core.ConsoleAppender">
		<encoder>
			<pattern>%d{HH:mm:ss.SSS} [%thread] %-5level %logger{5} - %msg%n</pattern>
		</encoder>
	</appender>

	<logger name="com.javacodegeeks.examples.logbackexample.beans" level="INFO" additivity="false">
            <appender-ref ref="STDOUT" />
	</logger>

	<!-- By default, the level of the root level is set to DEBUG -->
	<root level="DEBUG">
		<appender-ref ref="STDOUT" />
	</root>
</configuration>
As an Appender, we are using a Console Appender. The ConsoleAppender, as the name indicates, appends on the console, or more precisely on System.out or System.err, the former being the default target. ConsoleAppender formats events with the help of an encoder specified by the user. Both System.out and System.err are of type java.io.PrintStream. Consequently, they are wrapped inside an OutputStreamWriter which buffers I/O operations.
That’s it! Now we can execute some code that shows logback logging capabilities.
4. Executing some code
We are going to use it along with the following code:
Message.java
package com.javacodegeeks.examples.logbackmavenexample.beans;

import org.slf4j.Logger;
import org.slf4j.LoggerFactory;

public class Message {
	private static final Logger logger = LoggerFactory.getLogger(Message.class);

	public String sayHello() {
		String msg = "Hello World!";

		logger.info("The message is: {}", msg);
		logger.debug("Debugging...");

		return msg;
	}
}
App.java
package com.javacodegeeks.examples.logbackmavenexample;

import org.slf4j.Logger;
import org.slf4j.LoggerFactory;

import com.javacodegeeks.examples.logbackmavenexample.beans.Message;

public class App {
	private static final Logger logger = LoggerFactory.getLogger(App.class);

	public static void main(String[] args) {
		Message message = new Message();

		logger.debug("Starting debugging");

		message.sayHello();

		logger.debug("Ending debugging");
	}
}
The output of the command java com.javacodegeeks.examples.logbackmavenexample.App should be similar to:
Let’s examine our code!
16:57:42.057 [main] DEBUG c.j.e.l.App - Starting debugging
16:57:42.060 [main] INFO  c.j.e.l.b.Message - The message is: Hello World!
16:57:42.061 [main] DEBUG c.j.e.l.App - Ending debugging
Class Message.java is inside the com.javacodegeeks.examples.logbackmavenexample.beans package. This package is defined in our logback.xml to handle logging at an INFO level. This class, tries to logging two messages: One at an INFO level, and one at a DEBUG level, but as you can see in the output, only the logging message at the INFO leve is displayed.
Class App.java is not inside the com.javacodegeeks.examples.logbackmavenexample.beans package. So, logging messages are going to be handled by the ROOT logger.
Let’s explain the methods used in the above example.
Class LoggerFactory– The LoggerFactory is a utility class producing Loggers for various logging APIs, most notably for log4j, logback and JDK 1.4 logging.public static Logger getLogger(Class clazz)– Return a logger named corresponding to the class passed as parameter, using the statically boundILoggerFactoryinstance.void info(String msg)– Log a message at the INFO level.void debug(String msg)– Log a message at the DEBUG level.
5. Download the Eclipse project of this tutorial:
This was an example of how to do logging using the logback library with Maven.
You can download the full source code of this example here : logbackmavenexample.zip
