1. Introduction
Before we go on with this article, we expect the pre-requisites are met, where you must have at least a beginner level understanding of the JMS API. Once you are aware of it, you might have also come across several popular JMS providers. JMS Provider is a messaging system that implements the JMS specification. This acts as the Message Oriented Middleware (MOM) which helps in message communication between two systems connected over the network.
Below are some of the popular MOM Service Providers –
- TIBCO EMS (TIBCO)
- ActiveMQ (Apache)
- JBOSSMQ (JBOSS)
- MQSeries (IBM)
So in this tutorial, we will be exploring on ActiveMQ – starting with the basics, setting up, integration with Spring Framework and how we can monitor messages on a particular queue.
2. What is ActiveMQ?
Apache ActiveMQ is the most popular and powerful open source messaging server. ActiveMQ apart from being powerful and open source, it is the most light weight messaging server compared to other messaging servers like JBossMQ and Tibco EMS.
3. Setting up ActiveMQ
- Download the Apache ActiveMQ from the ActiveMQ download link.
- Extract the downloaded archive to some location in your system.
- In the extracted root directory, we see a sub-folder named ‘/bin‘, which contains a file named ‘activemq.bat‘.
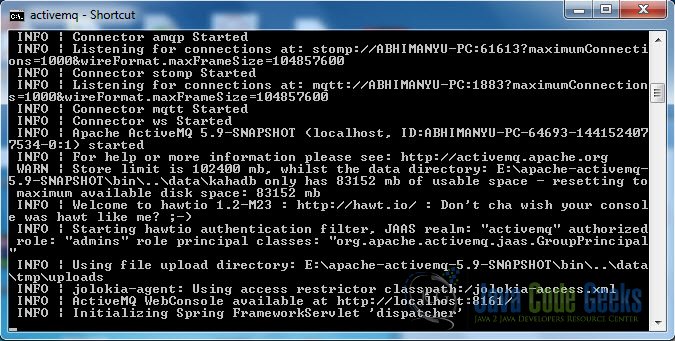
- Double-click on this file and wait for few seconds, until the command prompt pauses at something like we see in below snapshot.

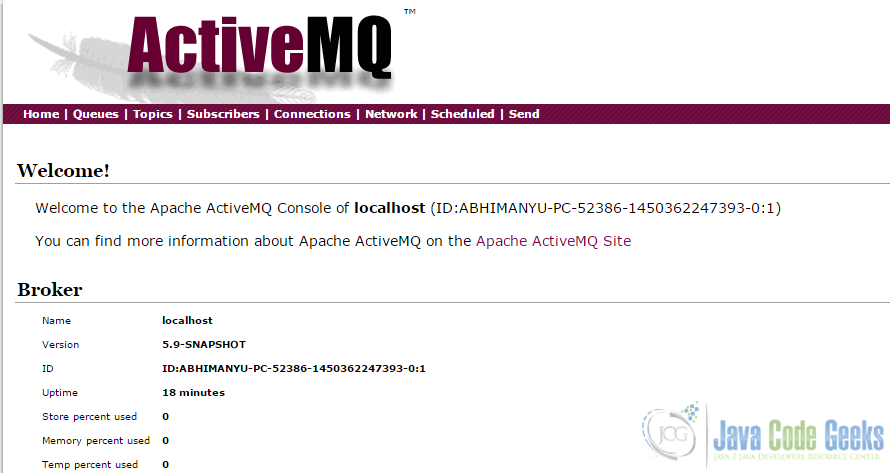
Run ActiveMQ bat file - ActiveMQ messaging server has started up successfully. To verify it, go to the URL http://localhost:8161/. If we see the ActiveMQ page, we are all good.

ActiveMQ server home page - Now go to the URL http://localhost:8161/admin, which is the default admin console ActiveMQ provides us with, where we can monitor some important metrics on Consumers, Topics, Queues, Messages, etc.

ActiveMQ admin console - The default setup also provides with a modular Hawtio console for better management. This doesn’t need any separate configuration and can be seen at http://localhost:8161/hawtio/. This is equivalent to the default admin console provided at the URL http://localhost:8161/admin.

The default credential to login to the ActiveMQ Admin Console is admin/admin.
4. Integration with Spring Framework
- To integrate ActiveMQ with your Spring application, add the below dependency to your pom.xml file.
pom.xml<!-- Include ActiveMQ --> <dependency> <groupId>org.apache.activemq</groupId> <artifactId>activemq-core</artifactId> <version>${activemq.version}</version> </dependency>Dont forget to specify the proper version of ActiveMQ.
- Specify the
connectionFactorybean into the your application context file.
jmsContext.xml<bean id="connectionFactory" class="org.apache.activemq.spring.ActiveMQConnectionFactory"> <property name="brokerURL" value="tcp://localhost:61616" /> </bean>
- We can now make use of this
connectionFactorybean reference to specify jmsTemplate bean or the JMS listener into our application context file. Read more on creating sender application and receiver application with ActiveMQ.
5. Monitoring a queue with ActiveMQ Hawtio admin console
With ActiveMQ configured, we can monitor some important metrics through the ActiveMQ admin console.

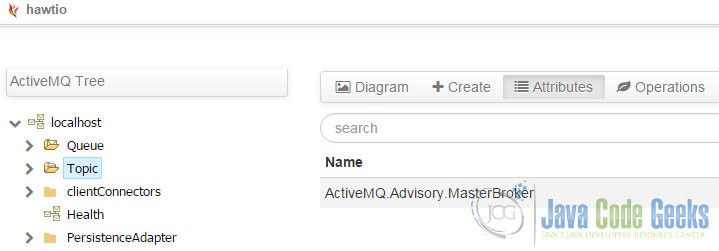
- We just need to go to the admin dashboard at URL http://localhost:8161/hawtio/, where we can see the left sidebar that lists out various categories like Queue, Topic, etc.

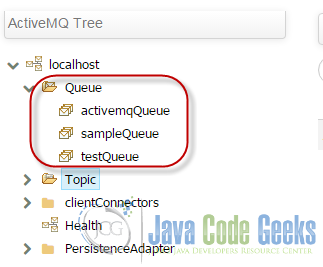
Hawtio admin dashboard - Expand the Queue link to check out all the available queues.

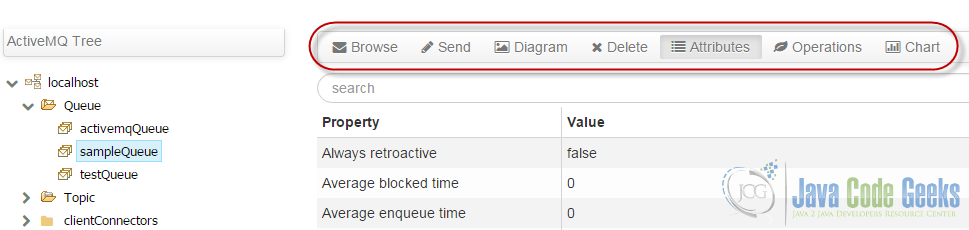
Available ActiveMQ queues - Click on the queue that you want to monitor. All the details pertaining to that particular queue shows up on the main content area of the page. It also has several other links such as Browse, Send, Queue Diagram, Delete and so on, that further adds the provision to browse the current messages on the queue, drop/send any message to the queue or even completely delete the queue.

Possible operations on a ActiveMQ queue
5. Conclusion
This is how we can configure ActiveMQ, integrate it with our Spring application and use the JMS API to efficiently communicate Messages asynchronously via configured ActiveMQ queues across different systems. We also explored on how we can monitor the ActiveMQ queues at real time with the help of ActiveMQ Hawtio admin dashboard, which indeed proves helpful in analysis and debugging purposes.

Hi,
How will you connect a queue in your fuse cmd….command to make your queue connect so once if some events triggered it will make an entry in the queue table.kindly reply