JBoss Drools Guvnor Example
In this article, we will see an example of Drools Guvnor. We use Guvnor as ‘Business Rules Manager’. Guvnor is the name of the web and network related components for managing rules with drools.
If you want to more know about Drools Introduction or its setup, read here.
This example uses the following frameworks:
- Maven 3.2.3
- Guvnor 5.1.1
1. What is a Drools Guvnor?
In order to know Drools Guvnor, we first need to know what is a business rules manager. Business Rules manager allows people to manage rules in a multi user environment. It is a single point of truth for your business rules. It allows to manage the rules in a controlled fashion. We can keep track of different versions of the rules, its deployment. It also allows multiple users of different skill levels access to edit rules with user friendly interfaces. Guvnor is the name of the web and network related components for managing rules with drools.
2. Installing Guvnor
First you need to install JBoss app server from http://jbossas.jboss.org/downloads/. Once your download is complete, unzip the files to a folder of your choice. To start the JBoss App Server, open the bin folder and double-click on run.bat. Download Drools Guvnor war file. Rename the war file to guvnor.war and copy to {JBossHome}/server/default/deploy. Start Jboss. Open http://localhost:8080/guvnor/org.drools.guvnor.Guvnor/Guvnor.html.
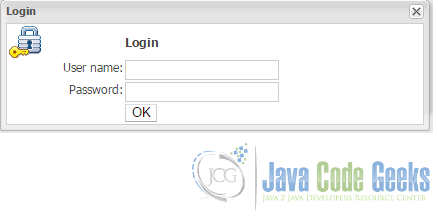
You should see the below login screen:
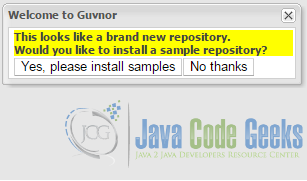
You don’t need to enter user/password. Simply click on Ok. You will be taken to the welcome screen.
Click on ‘No thanks’.
3. Main Features of Guvnor
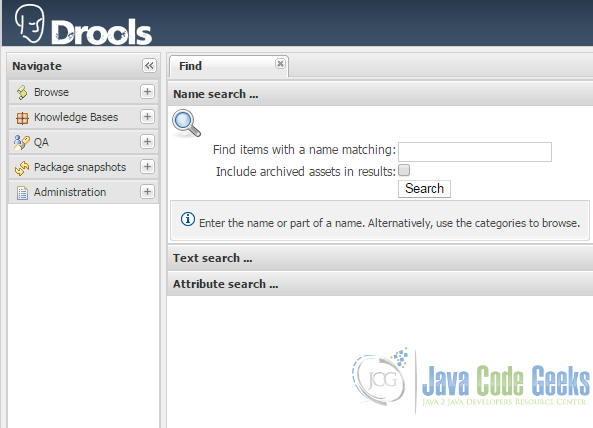
Browse the main areas. You will see:
- Knowledge Base
- QA
- Package Snapshots
- Administration
4. Upload Domain Model to Guvnor
Before rules can be defined in Guvnor, a business model(a set of Java classes) jar needs to be uploaded to Guvnor.
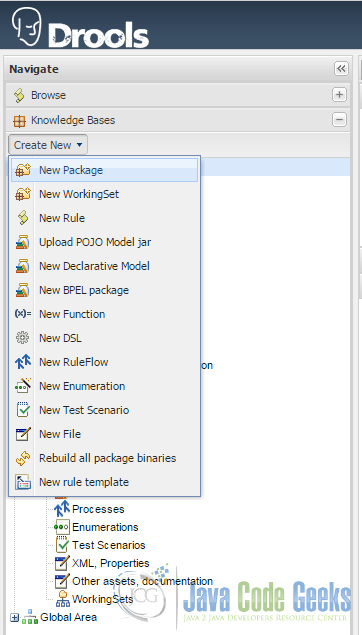
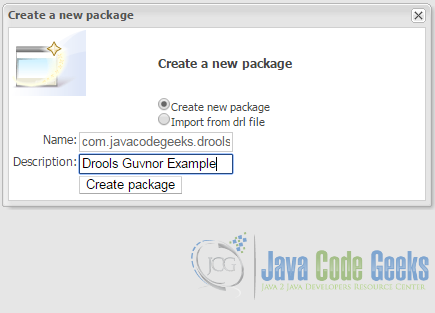
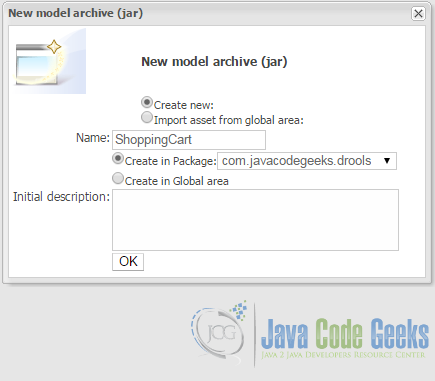
go to the “Knowledge Bases” tab. Click on “Create New” right under the tab and choose “New Package”. Give your package a name – I choose “banking” – and press Ok. Then “Create new” – “Upload new Model Jar”.
Create new package.
Create new domain model.
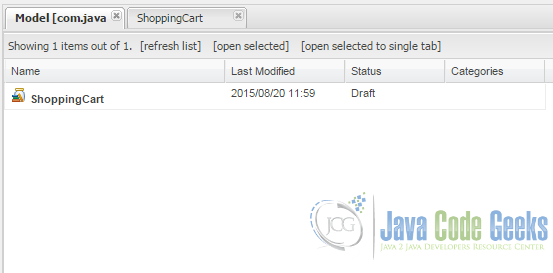
You can see the new model in the ‘Model’ tab.
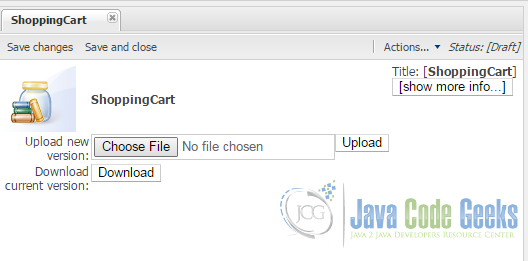
Go to shopping car to upload the domain model.
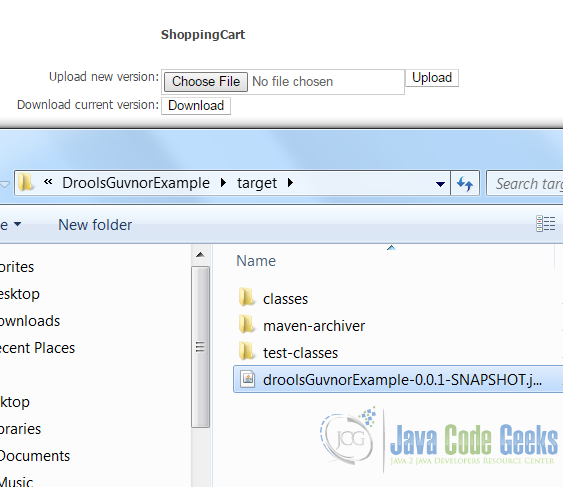
Click on choose file to select the jar file.
You can either use maven to create jar file or use eclipse File->Export->Java->Jar file option to generate the domain model Jar file.
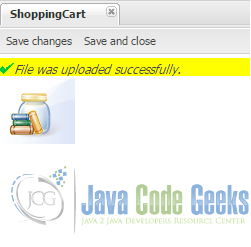
Once uploaded you will see a ‘Upload successful’ message.
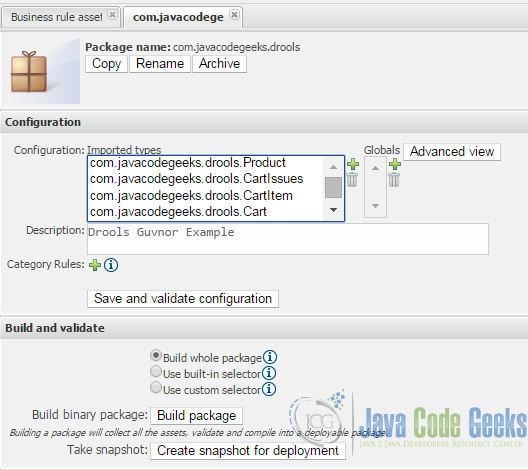
You can see the model classes in the package tab. Click on ‘Save and validate configuration’ so that the model files become available as facts to the rules.
5. Define Rules
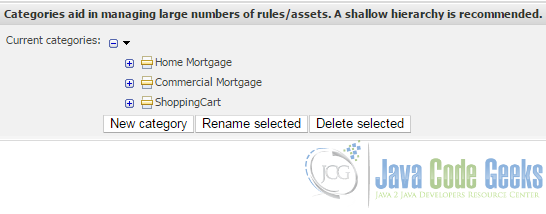
Adding a sample rule. Now the model is uploaded, we can start defining rules. To add a rule, you have to create a Category first (Administration>Category>New Category).
Create ‘ShoppingCart’ category.
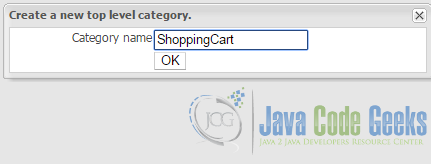
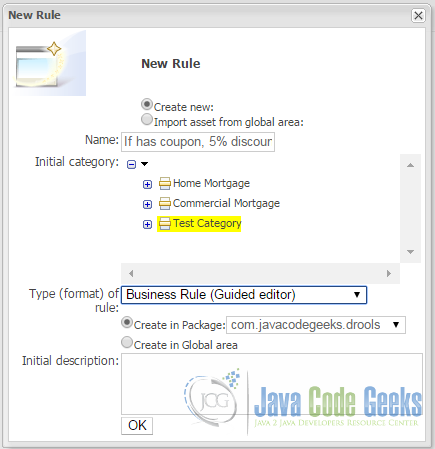
Once the category is created, will go back to the “Knowledge Bases” tab and choose Create New>New Rule to create our first rule.
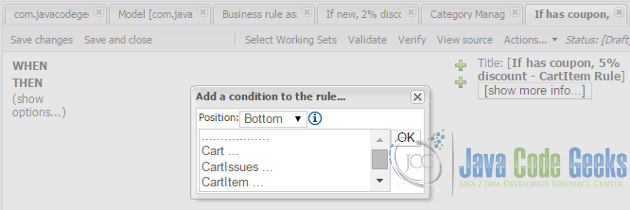
Click on the ‘+’ green button to add conditions. To add a condition to the rule, we need to choose fact type as Cart. After choosing this, we’ll automatically be taken back to the guided rule-editing screen. This is where we define the rule.
6. Define the rule
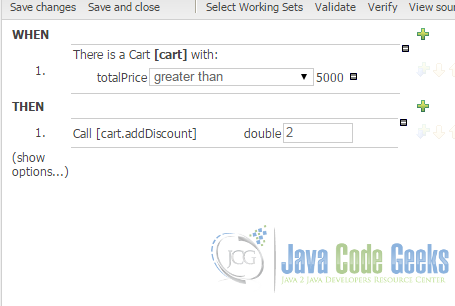
We’ll see that Cart has been added as a condition. Currently, this rule will fire for all carts, we need to add constraint that it fires only when the total price > 5000. To add constraint, we need to click on the ‘+’ button on the WHEN condition. We’ll choose total price as the field and ‘Greater than’ as constraint with value set to 5000. Next, we will add ‘THEN’ part. Click on the green plus sign next to the Then section. The Add a new action dialog box will be displayed. Here we will select ‘call on method’ cart.addDiscount(), set the value to 2%.
7. Create and Run the Test Scenario
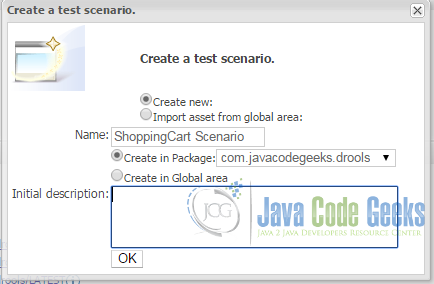
After defining the rule, we will create a test scenario to test the rule. Select the package and click on ‘Create new scenario’.
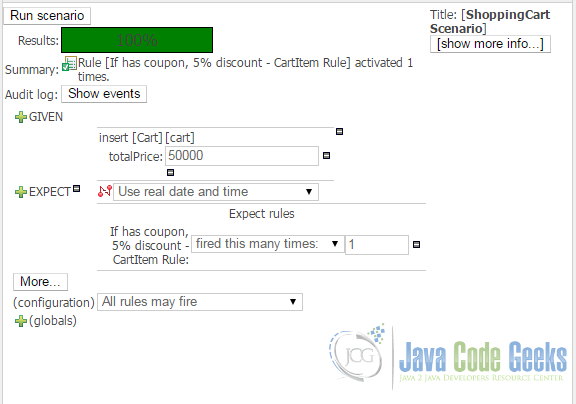
- We will have to click on the ‘+’ sign to insert a new GIVEN/EXPECT, the small green arrow to refine the scenario, and the ‘–’ sign to remove.
- We will click on GIVEN to insert a new cart fact and then on Add.
- Next, we will click on the Add a field button that appears. In the dialog box, select the ‘totalPrice’ field.
- Next, we will set a constraint for ‘totalPrice’, that is, if it is greater than 5000.
- Click on the green ‘+’ next to EXPECT. In the New Expectation dialog box that is displayed, click on show list and then choose the added rule.
- Change the default (that we expect this rule to fire at least once) to Expect Rules, to fire this many times, and then enter ‘1’ in the new text box that appears.
- Save this test scenario using the button at the top of the screen.
- Finally, we will click on the Run Scenario button, you will get a green bar at the top of the screen saying Results 100%.
8. Download the Eclipse Project
This was an example about Drools Guvnor.
You can download the full source code of this example here: DroolsGuvnorExample.zip



very nice article. i was trying to follow the steps you had mentioned above. had a small challenge deploying the guvnor.war file in jboss server. below is the exception while deploying the war file. 21:31:30,296 INFO [org.jboss.as.server.deployment] (MSC service thread 1-4) JBAS015876: Starting deployment of “guvnor.war” 21:32:30,306 INFO [org.jboss.as.server] (DeploymentScanner-threads – 1) JBAS015870: Deploy of deployment “guvnor.war” was rolled back with failure message Operation cancelled 21:32:30,306 ERROR [org.jboss.as.server.deployment.scanner] (DeploymentScanner-threads – 2) JBAS015052: Did not receive a response to the deployment operation within the allowed timeout period [60 seconds]. Check the server configuration file and the server logs to find more… Read more »