1. Introduction
There are times when building enterprise software that the requirement is for the system to execute a particular business logic, such as creating and storing periodic business reports on remote FTP locations, sent weekly automated emails to a mailing list so on and so forth. This is why in the Java EE specification particularly the EJB specification there are a bunch of APIs that enables software developers to build timer based application features such as the ones mentioned earlier. Due to the nature of the Java EE platform where everything in specifications must be implemented by application server vendors, such as JBoss, Websphere, WebLogic etc…. For a timer based solution built using the Java EE platform to function it has to be deployed on an application server. Furthermore, specifically one that fully implements the Java EE specification such as JBoss.
In this article, we will go through the process of implementing a basic timer based application that will have a Declarative based scheduler, a programmatically based scheduler, a programmatically based scheduler with initial delay and one which will be Cron based.
2. Technologies used
- Java SE 8
- Java EE 7
- Wildfly 12 Final
- InteliJ 2016.2.5
3. Creating the project
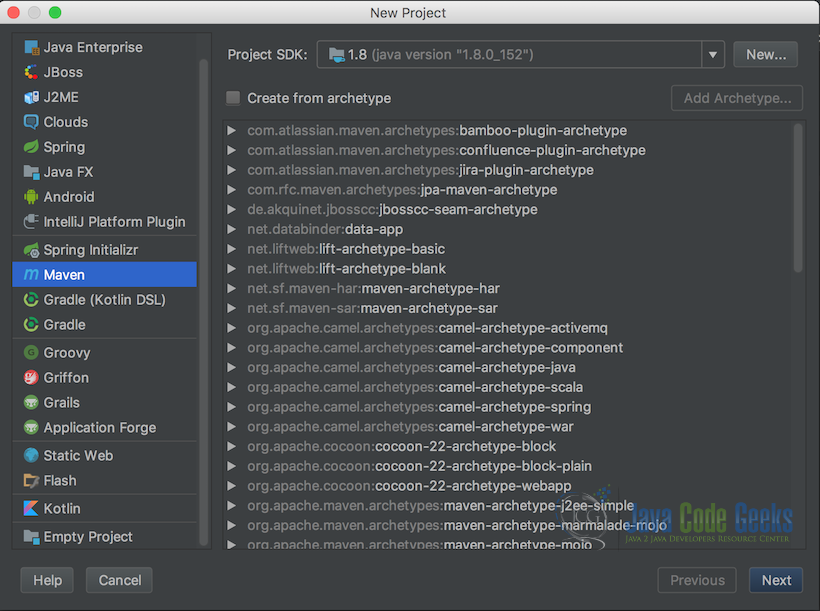
Below is the first screen when creating a new Maven based inteliJ project.
Follow the below instructions as our first step in creating our application:
- Go to the main menu of the InteliJ IDE and select “New Project”
- Then select the type of project: in this example, we will be selecting “Maven”
- Then click Next
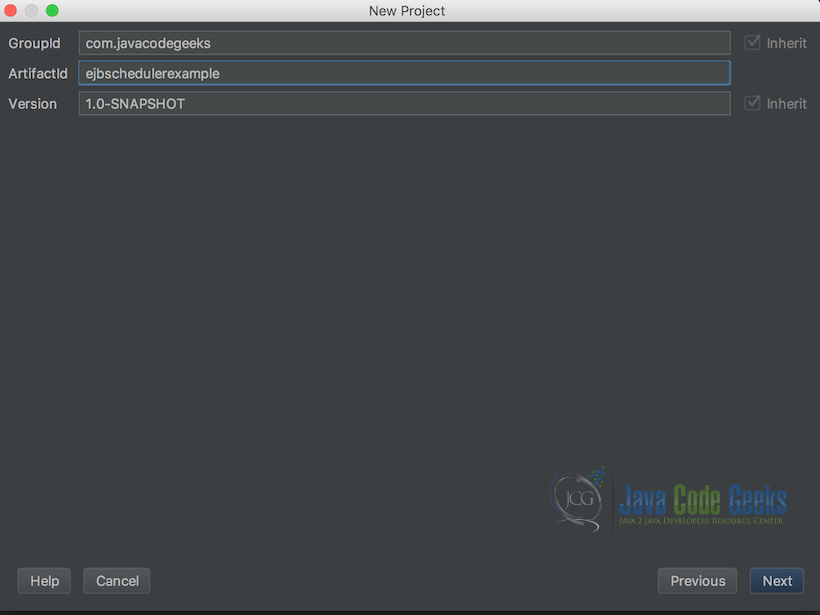
Below is the second screen when creating a new Maven based inteliJ project.
Follow the below instructions as our next step in creating our application:
- Specify the GroupId: in this example, we entered “com.javacodegeeks”
- Then the ArtifactId: in this example we entered “ejbscheduleexample”
- And then the version: in our example, we choose “1.0-SNAPSHOT”
- Then click Next
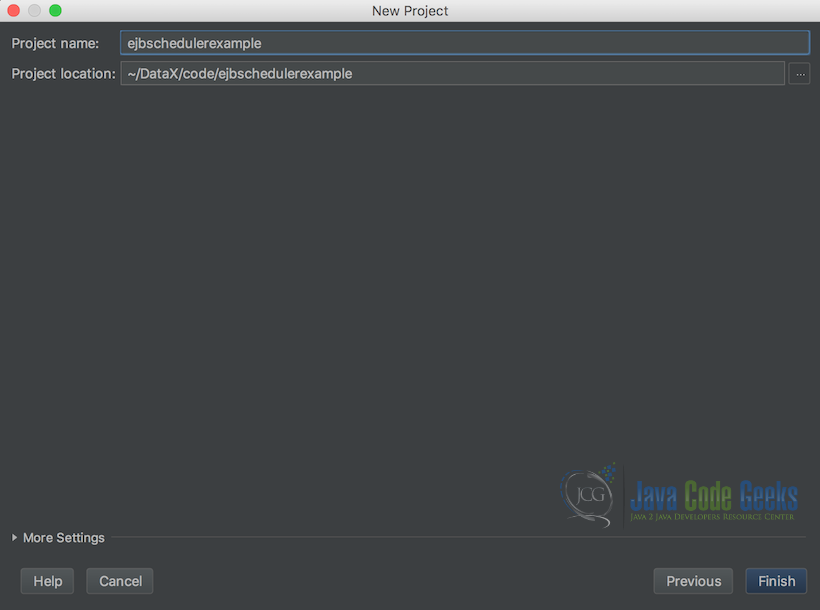
Below is the last screen when creating a new Maven based inteliJ project.
Follow the below instructions as our last step in creating our application:
- Specify the project name: in our example, we choose “ejbschedulerexample”
- Specify the project location
- Then Click Finish
4. Implementing the Declarative based Scheduler
Below is our first example of an enterprise bean which has, as its only feature perform a timer based task, using the declarative approach. Furthermore, this class has got a method called atSchedule which is annotated using the@Scheduleannotation. This annotation is what tells the application server to execute the method periodically.
DeclarativeScheduler.java
import javax.ejb.Schedule;
import javax.ejb.Singleton;

@Singleton
public class DeclarativeScheduler {

    @Schedule(second = "*/5", minute = "*", hour = "*", persistent = false)
    public void atSchedule() throws InterruptedException {
        System.out.println("DeclarativeScheduler:: In atSchedule()");
    }
}
In the above code snippet, we use the @Singleton annotation to register our enterprise bean with the application server. Further, this annotation also means that there will be only one instance of this class throughout the application. The @Schedule annotation on the atSchedule method is responsible for telling the container to execute the print statement, which basically indicates that the method has been called and executed. The second property of the @Schedule annotation tells the container that this method must be executed every 5 seconds while the other properties are default values and only used for illustration purpose.
5. Implementing the Programmatic based Scheduler
Below is our second example of an enterprise bean which has, as its only feature performs a timer based task, using the programmatic based approach. This approach of implementing a scheduler entails taking more control over how the timer service to be implemented must behave. An example of having more control is the fact that we now have the possibility to specify an initial delay for our timer. For simplicity sake, we will not set a delay for our timer object in our example.
ProgrammaticScheduler.java
import javax.annotation.PostConstruct;
import javax.annotation.Resource;
import javax.ejb.*;

@Startup
@Singleton
public class ProgrammaticScheduler {

    @Resource
    TimerService timerService;

    @PostConstruct
    public void initialize() {
        timerService.createTimer(0, 4000, "Every four second timer with no delay");
    }

    @Timeout
    public void programmaticTimeout(Timer timer) {
        System.out.println("ProgrammaticScheduler:: in programmaticTimeout");
    }
}
In the above code snippet, we use the @Singleton annotation to register our enterprise bean with the application server. Further, this annotation also means that there will be only one instance of this class throughout the application. We also annotate our class with the @Startup annotation which informs the application server to create an instance of the ProgrammaticScheduler when the server starts.
Line 9 to 10: Here we make use of the @Resource annotation to inject the TimerService into our service. Dependency Injection is a crucial design pattern for enterprise application development because it increases decoupling. Further, the Java EE platform achieves this design pattern through the use of annotations such as @Resource.
Line 12 to 15: Here we create the initialize method and annotate it with the @PostConstruct annotation. This annotation instructs the container to execute this method as soon as it instatiates an object of the ProgrammaticScheduler class. Within the initialize method, we create a timer using the timerService object, that will have no initial delay and will execute after every 4 seconds.
Line 17 to 20: On this line we implement the programmaticTimeout method and annotate it with the @Timeout annotation which will tell the application container to excecute the method ones the timer expires.
6. Implementing the Programmatic based Scheduler with Delay
Below is our third example of an enterprise bean which performs a timer based task, using the programmatic based approach. This approach of implementing a scheduler entails taking more control over how the timer service to be implemented must behave. An example of having more control is the fact that we now have the possibility to specify an initial delay for our timer. The following example demonstrates the use of the InitialDuration property within a timer object and much more.
ProgrammaticWithDelayScheduler.java
import javax.annotation.PostConstruct;
import javax.annotation.Resource;
import javax.ejb.*;

@Startup
@Singleton
public class ProgrammaticWithDelayScheduler {

    @Resource
    TimerService timerService;

    @PostConstruct
    public void initialize() {
        timerService.createTimer(20000, 6000, "Delay 20 seconds then every 6 seconds timer");
    }

    @Timeout
    public void programmaticTimeout(Timer timer) {
        System.out.println("ProgrammaticWithDelayScheduler:: in programmaticTimeout");
    }
}
The above code snippet as got the same structure as the code in section 6.
Line 9 to 10: Here we make use of the @Resource annotation to inject the TimerServiceinto our bean.
Line 12 to 15: Here we create the initialize method and annotate it with the @PostConstruct annotation. This annotation informs the container to execute this method as soon as it instantiates an object of the ProgrammaticScheduler class. Within the initialize method, we create a timer using the TimerService that will have an initial delay of 20 seconds and will execute after every 6 seconds.
Line 17 to 20: At this line we implement the programmaticTimeout and annotate it with the @Timeout which will tell the application container to execute the method ones the timer expires.
7. Implementing the Cron based Scheduler
The code snippet below depicts our last demonstration of a timer based service this time around it is the Cron based timer. It follows a different variation of the declarative approach we saw earlier on in this article. The main difference is that we use the @Schedules annotation instead of the @Schedule annotation. The @Schedules annotation takes @Schedule as parameters to configure the timer.
DeclarativeCronBasedScheduler.java
import javax.ejb.Schedule;
import javax.ejb.Schedules;

public class DeclarativeCronBasedScheduler {

    @Schedules({
            @Schedule(dayOfMonth = "First"),
            @Schedule(dayOfWeek = "Fri", hour = "12")
    })
    public void performCronTask() {
        System.out.println("DeclarativeCronBasedScheduler:: in perform task.");
    }
}
All that the above code snippet does is to instruct the application container via the help of the @Schedules and @Schedule annotations, to execute the performCronTask method every first Friday of the month at 12h00 o’clock.
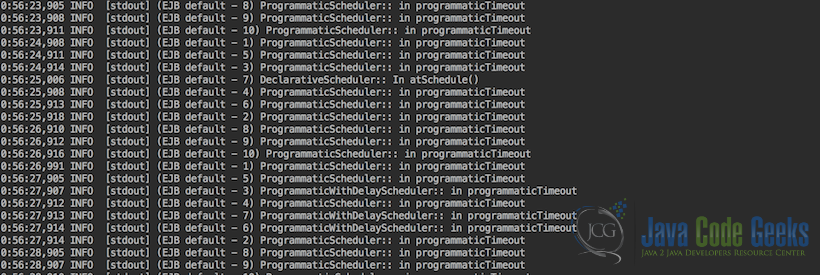
8. Logs of the final Application
Below is a screenshot of the log output our various scheduler services produce.
9. Conclusion
In this example, we went through the process of creating 4 types of timer-based services namely: one declarative based timer service, one that used the programmatic approach without an initial delay, one that used the programmatic approach with a delay and finally we saw one which used a different variation of the declarative approach. From this article, we can conclude that the Java EE platform does indeed supports and enables application developers to easily implement timer based services, through its APIs.
10. Download the Source Code
That was the EJB Schedule Example.
You can download the full source code of this example here: EJBScheduleExample
