Java NIO (i.e. new I/O) is an interesting file input-output mechanism introduced in Java 5 and provides the different way of working with the input-output operations than the standard input-output API’s. Java NIO supports a buffer-oriented, channel-based approach for the I/O operations and with the introduction of Java 7, the NIO system has expanded thereby providing the enhanced support for the file system features and the file handling mechanism. In this tutorial, we will try to get an overview of what Java NIO is and a sample code example for the create directory operation.
1. Introduction
Java NIO was developed to allow the Java programmers implement the high-speed input-output operations without using the custom native code. NIO moves the time-taking I/O activities like filling, namely and draining buffers etc back into the operating system, thus allows the great increase in the operational speed.
Java NIO consists of the following core components:
- Channel & Buffers: In standard, I/O API the character streams and the byte streams are used but in NIO, developers work with the channels and buffers. In this case, the data is always written from a buffer to a channel and read from a channel to a buffer

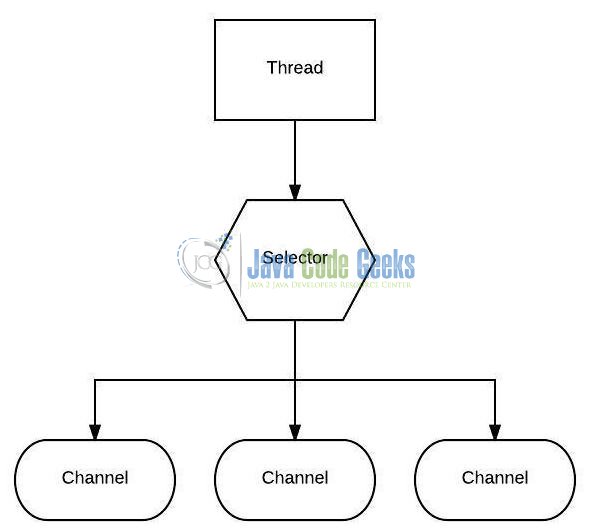
Fig. 1: Channel & Buffers - Selectors: It is an object that can be used for monitoring the multiple channels for events like data arrived, the connection opened etc. Thus, a single thread can monitor the multiple channels for the data

Fig. 2: A Thread uses a Selector to handle 3 Channel’s - Non-blocking I/O: Here the application immediately returns the available data and application should have a pooling mechanism to find out when more data is available

Do note, Java NIO has more components and classes but the Channel, Buffer, and Selector are used as the core of the API.
1.1 Java I/O vs. NIO
- First main difference between the standard IO and NIO is that the standard IO is stream-oriented and the NIO is buffer-oriented. Buffer oriented operations provide flexibility in handling data and in buffer oriented NIO, the data is first to read into a buffer and then it is made available for processing. So we can move back and forth in the buffer. But in the case of streams, it is not possible
- The second main difference is the blocking and the non-blocking IO operations. In case of streams, a thread will be blocked until it completes the IO operation. Wherein the NIO allows for the non-blocking operations. If the data is not available for IO operations, then the thread can do something else and it doesn’t need to stay in the locked mode. With channels and selectors, a single thread can manage the multiple threads and the parallel IO operations
Now, open up the Eclipse IDE and let’s see how to implement a simple file append operation with Java Nio package!
2. Java Nio Create Directory Example
2.1 Tools Used
We are using Eclipse Kepler SR2, JDK 8 and Maven. Having said that, we have tested the code against JDK 1.7 and it works well.
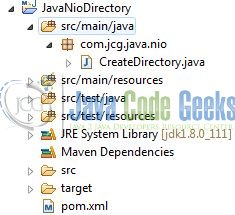
2.2 Project Structure
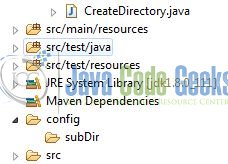
Firstly, let’s review the final project structure, in case you are confused about where you should create the corresponding files or folder later!
2.3 Project Creation
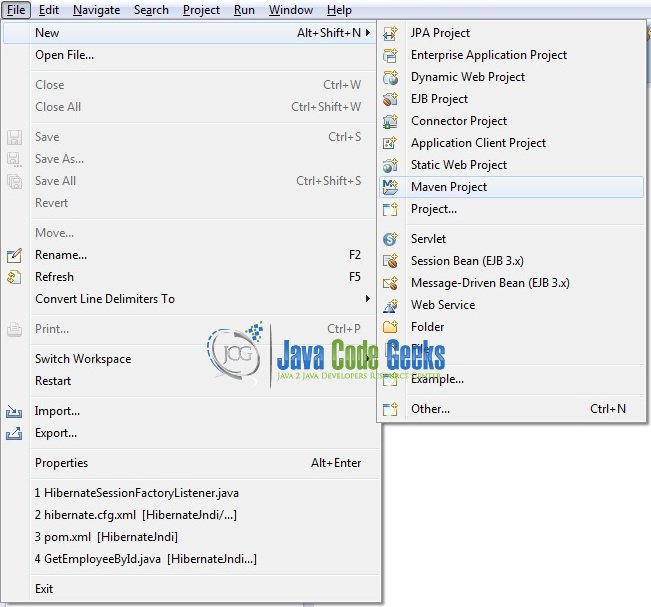
This section will demonstrate on how to create a Java-based Maven project with Eclipse. In Eclipse IDE, go to File -> New -> Maven Project.
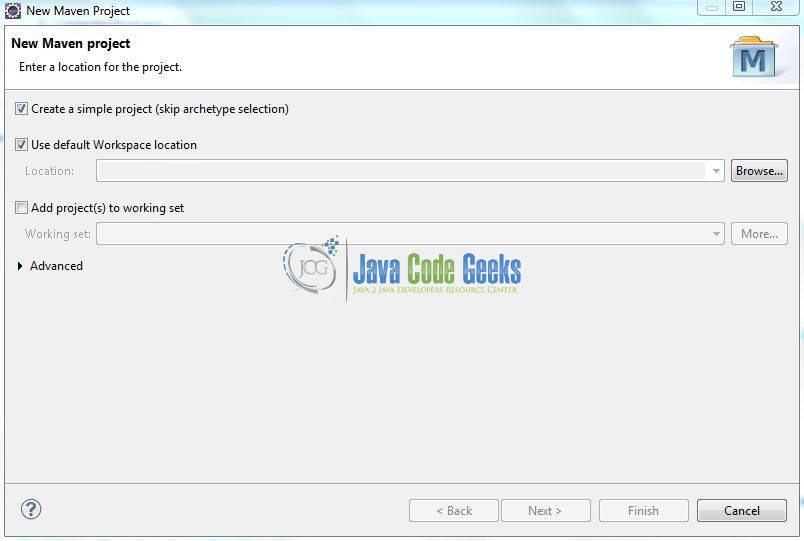
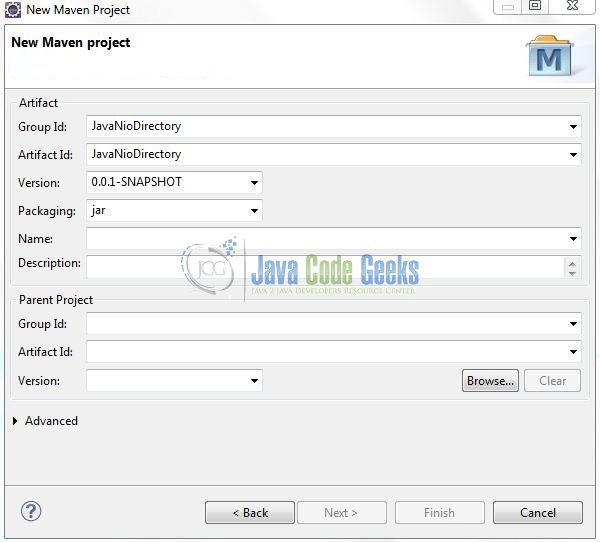
In the New Maven Project window, it will ask you to select project location. By default, ‘Use default workspace location’ will be selected. Select the ‘Create a simple project (skip archetype selection)’ checkbox and just click on next button to proceed.
It will ask you to ‘Enter the group and the artifact id for the project’. We will input the details as shown in the below image. The version number will be by default: 0.0.1-SNAPSHOT.
Click on Finish and the creation of a maven project is completed. If you observe, it has downloaded the maven dependencies and a pom.xml file will be created. It will have the following code:
pom.xml
<project xmlns="http://maven.apache.org/POM/4.0.0" xmlns:xsi="http://www.w3.org/2001/XMLSchema-instance" xsi:schemaLocation="http://maven.apache.org/POM/4.0.0 http://maven.apache.org/xsd/maven-4.0.0.xsd">
	<modelVersion>4.0.0</modelVersion>
	<groupId>JavaNioDirectory</groupId>
	<artifactId>JavaNioDirectory</artifactId>
	<version>0.0.1-SNAPSHOT</version>
	<packaging>jar</packaging>
</project>
Developers can start adding the dependencies that they want like JUnit etc. Let’s start building the application!
3. Application Building
Below are the steps involved in developing this application.
3.1 Java Class Creation
Let’s create the required Java files. Right-click on src/main/java folder, New -> Package.
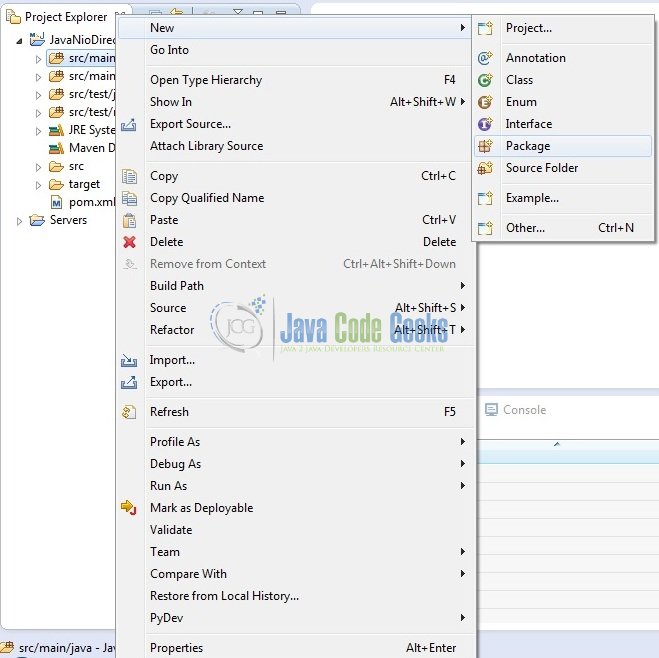
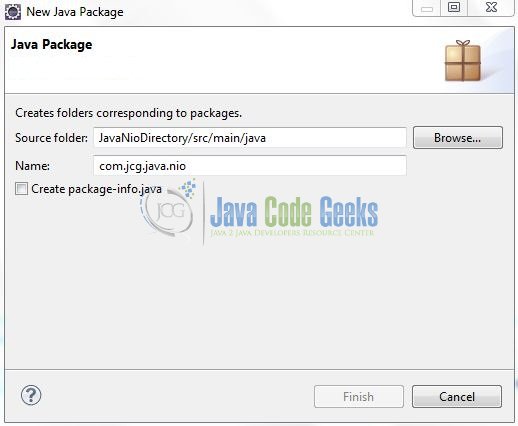
A new pop window will open where we will enter the package name as: com.jcg.java.nio.

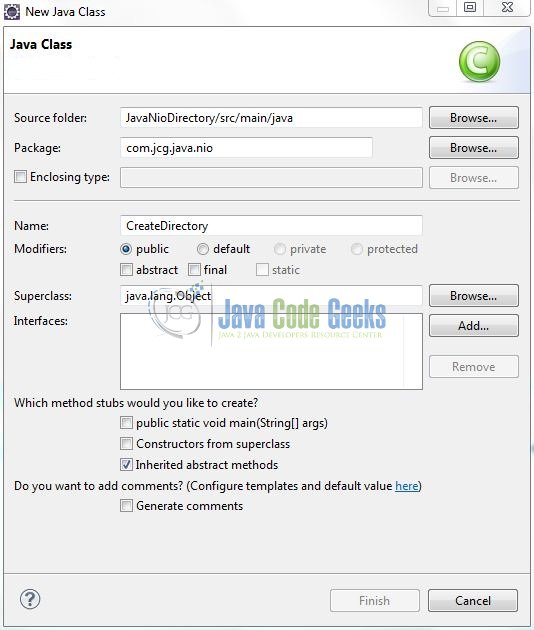
Once the package is created in the application, we will need to create the implementation class. Right-click on the newly created package: New -> Class.
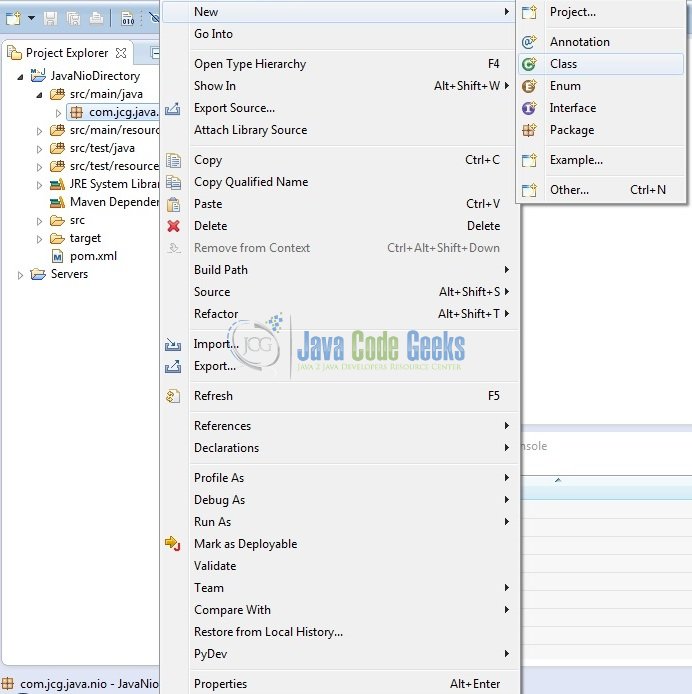
A new pop window will open and enter the file name as: CreateDirectory. The implementation class will be created inside the package: com.jcg.java.nio.
3.1.1 Implementation of Utility Class
The Files.createDirectory() method creates a new directory from the Path instance. If creating the directory succeeds, a Path instance is returned which points to the newly created path. If the directory already exists, a java.nio.file.FileAlreadyExistsException will be thrown and if something else goes wrong, an IOException may get thrown. For e.g., if the parent directory of the desired new directory does not exist, an IOException may get thrown.
Do note, the parent directory is the directory in which developers want to create the new directory. Add the following code to it:
CreateDirectory.java
package com.jcg.java.nio;

import java.io.IOException;
import java.nio.file.Files;
import java.nio.file.Path;
import java.nio.file.Paths;

public class CreateDirectory {

	// Directory Path
	private static String dirPath ="config/subDir";

	public static void main(String[] args) {

		// Check If Directory Already Exists Or Not?
		Path dirPathObj = Paths.get(dirPath);
		boolean dirExists = Files.exists(dirPathObj);
		if(dirExists) {
			System.out.println("! Directory Already Exists !");
		} else {
			try {
				// Creating The New Directory Structure
				Files.createDirectories(dirPathObj);
				System.out.println("! New Directory Successfully Created !");
			} catch (IOException ioExceptionObj) {
				System.out.println("Problem Occured While Creating The Directory Structure= " + ioExceptionObj.getMessage());
			}
		}
	}
}
4. Run the Application
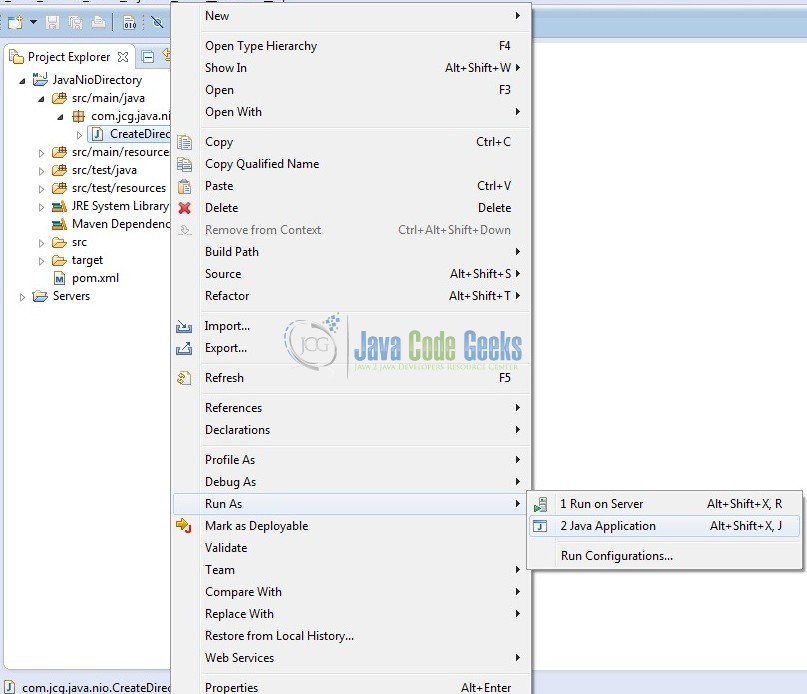
To run the Java Nio application, Right-click on the CreateDirectory class -> Run As -> Java Application. Developers can debug the example and see what happens after every step!
5. Project Demo
In the above code, we have used the Files.createDirectories() method to create a new directory in the project and the code creates the config/subDir directories in the project after execution.
That’s all for this post. Happy Learning!!
6. Conclusion
This tutorial uses a simple example to illustrate the functionality of the Java Nio package and helps developers understand the basic configuration required to achieve the create directory operation. That’s all for this tutorial and I hope this article served you whatever you were looking for.
7. Download the Eclipse Project
This was an example of Java Nio for the beginners.
You can download the full source code of this example here: JavaNioDirectory
