How to install Maven on Ubuntu
In this tutorial, we will show you an easy way to install Apache Maven 3 on Ubuntu 12 and Ubuntu 13 releases.
1. Search for the Apache Maven package in Ubuntu Repositories
Open a terminal and execute the command:
$ apt-cache search maven
in order to get a list with all available packages, related to Maven.
The maven package contains the latest version of the Apache Maven for Ubuntu.
2. Install the Appropriate Package
Execute the command:
$ sudo apt-get install maven
in order for the latest version of the Apache Maven to get installed on your computer.
Depending on your internet connection, the installation may require a few minutes to finish.
3. Verify the Installation
To verify your installation, execute the command:
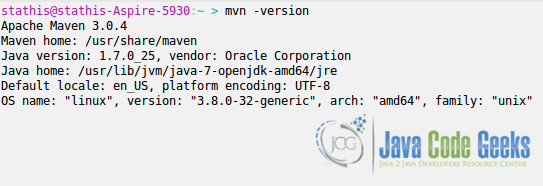
$ mvn -version
If the installation has been completed successfully, you shall see a similar output, depending on the installed version of Java and Ubuntu:
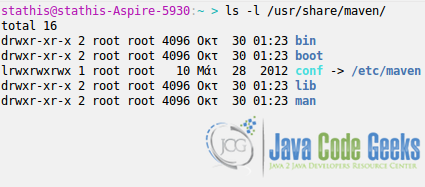
By default, the apt-get command, installs the Apache Maven software in /usr/share/maven. You can inspect the elements of the created folder by executing the command:
$ ls -l /usr/share/maven/
The contents of the newly created folder are the following:
Finally, the apt-get command, also installs some configuration files for Apache Maven, in the folder /etc/maven. You can inspect the elements of the created folder by executing the command:
$ ls -l /etc/maven/
The contents of the newly created folder are the following:
This was an example on how to install Apache Maven on Ubuntu.


