In this example, we will show you the usage of JUnit while running test in parallel. We have seen lots of cases where we need to run our test cases in parallel. There might be multiple reasons for that like to run test cases in a small time or take advantage of the multi-core CPU so that all your test cases are executed fast.
The reasons can be multiple. But when comes to the JUnit framework, it has its own way of dealing with the parallel test cases. We want our test cases to execute faster than when running one by one.
In small examples, you will not see a significant change. But when you have a bigger application, then you have to run test cases within a specific period of time without contributing any errors.
1. Introduction
JUnit provides an experimental class ParallelComputer. It has various ways where we can run our test cases in parallel. We will see the detailed example below.
We will analyze the methods that are used in our example. We will also see how we can achieve the parallel execution without the ParallelComputer class.
There is another way i.e. to use a surefire plugin of Maven that helps us to run the test cases in parallel. We will also see how we can achieve it. But for this example, we will concentrate on the use of the class ParallelComputer of JUnit.
2. Technologies Used
We will be using the following technologies while building an example. Here we are taking the latest version of each technology.
- Java 1.8 – We will be using the latest version of Java. There is no specific feature of Java 1.8 that has been used.
- JUnit 4.12 – This is the main testing framework that we will be using.
- Maven – This is the build and dependency tool for this example.
- Eclipse – IDE for writing the code.
For links to the latest versions and there websites visit the reference section of the tutorial. Now, we have defined the technologies to be used. Let’s start the setup of our example.
3. Project Setup
You may skip project creation and jump directly to the beginning of the example below.
As you already know, we are using the Eclipse. So start by opening the Eclipse.
Click on the File -> New -> Maven Project.
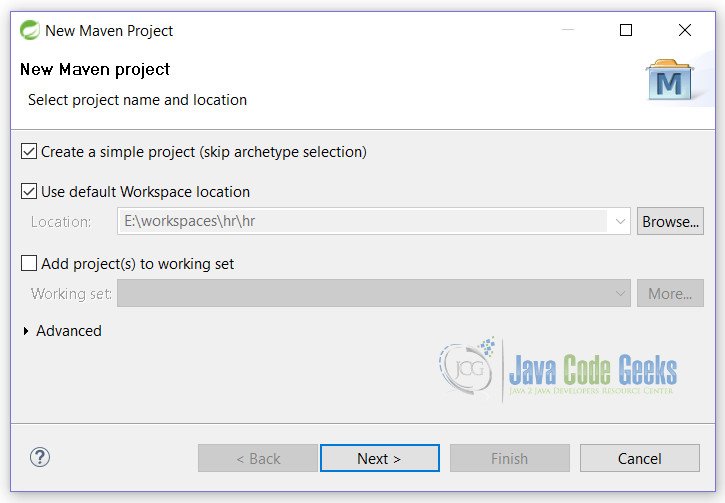
You will see the first screen as shown here. Simply check the first checkbox and click on the Next button.
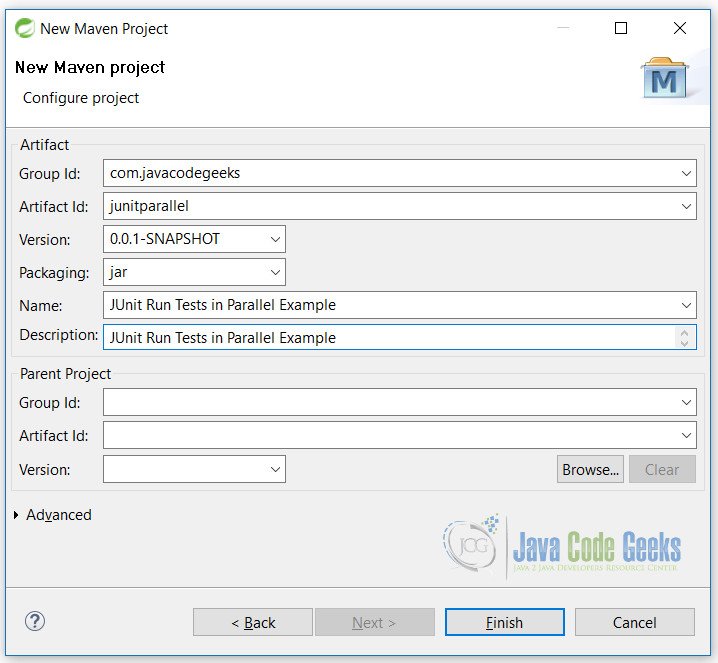
On this screen, fill all the details as shown here and click on the Finish button.
With the click of the Finish button, we are ready with the blank Maven project. To continue we have to do some changes in pom.xml file. See the next section.
4. JUnit Parallel Test
Now when we are ready with the blank Maven project, we need to do some changes the pom.xml file.
4.1 XML Configurations
pom.xml
...
<dependencies>
     <dependency>
         <groupId>junit</groupId>
         <artifactId>junit</artifactId>
         <version>4.12</version>
     </dependency>
 </dependencies>
 <build>
     <finalName>junitparallel</finalName>
     <plugins>
         <plugin>
             <groupId>org.apache.maven.plugins</groupId>
             <artifactId>maven-compiler-plugin</artifactId>
             <version>2.5.1</version>
             <inherited>true</inherited>
             <configuration>
                 <source>1.8</source>
                 <target>1.8</target>
             </configuration>
         </plugin>
     </plugins>
 </build>
...
Line 4: will fetch the JUnit jar from maven repository.
Line 18, 19: will simply make the project compile with a Java 1.8 version.
4.2 Test Classes
First, we will create 2 classes which have test cases that we will run.
TestClassA.java
package junitparallel;

import org.junit.Test;

public class TestClassA {

    @Test
    public void test_A1(){
        System.out.println("Class A Test 1");
    }

    @Test
    public void test_A2(){
        System.out.println("Class A Test 2");
    }

    @Test
    public void test_A3(){
        System.out.println("Class A Test 3");
    }

    @Test
    public void test_A4(){
        System.out.println("Class A Test 4");
    }
}
TestClassB.java
package junitparallel;

import org.junit.Test;

public class TestClassB {

    @Test
    public void test_B1() {
        System.out.println("Class B Test 1");
    }

    @Test
    public void test_B2() {
        System.out.println("Class B Test 2");
    }

    @Test
    public void test_B3() {
        System.out.println("Class B Test 3");
    }

    @Test
    public void test_B4() {
        System.out.println("Class B Test 4");
    }
}
These are simple classes with methods having print statements. We will see further that when we run these classes without parallel functionality, then they will run one by one.
Let’s create a test suite to run the above test cases.
TestSuiteSimple.java
package junitparallel;

import org.junit.runner.RunWith;
import org.junit.runners.Suite;
import org.junit.runners.Suite.SuiteClasses;

@RunWith(Suite.class)
@SuiteClasses({ TestClassA.class, TestClassB.class })
public class TestSuiteSimple {

}
So, once you run the above class you will see the following output in the console.
Output
Class A Test 1
Class A Test 2
Class A Test 3
Class A Test 4
Class B Test 1
Class B Test 2
Class B Test 3
Class B Test 4
As you can see, all test cases have been executed one by one. All test cases of TestClassA were executed first and then the test cases of the TestClassB.
Let’s see the parallel case now.
4.3 JUnit Parallel Tests
Now, we will create a class that will run the test cases parallel.
Here we will be using the experimental ParallelComputer class of the JUnit. We will see that ParallelComputer has different ways of running.

TestClassParallel.java
package junitparallel;

import org.junit.Test;
import org.junit.experimental.ParallelComputer;
import org.junit.runner.JUnitCore;

public class TestClassParallel {

    @Test
    public void test() {
        Class[] cls = { TestClassA.class, TestClassB.class };

        // Parallel among classes
        JUnitCore.runClasses(ParallelComputer.classes(), cls);

        System.out.println("----------------------------");

        // Parallel among methods in a class
        JUnitCore.runClasses(ParallelComputer.methods(), cls);

        System.out.println("----------------------------");

        // Parallel all methods in all classes
        JUnitCore.runClasses(new ParallelComputer(true, true), cls);
    }
}
Line 14: will run the classes in parallel while running test cases.
Line 19: will run the methods of same classes parallel.
Line 24: will run all methods in all classes in parallel. Here the first parameter will let us know that we need to run classes in parallel, while the second parameter specifies the methods to run in parallel.
Once we run the above class we will see the following output.
Output
Class B Test 1
Class A Test 1
Class A Test 2
Class B Test 2
Class A Test 3
Class B Test 3
Class A Test 4
Class B Test 4
----------------------------
Class A Test 1
Class A Test 2
Class A Test 3
Class A Test 4
Class B Test 1
Class B Test 2
Class B Test 3
Class B Test 4
----------------------------
Class A Test 1
Class A Test 2
Class B Test 1
Class B Test 2
Class B Test 3
Class A Test 4
Class B Test 4
Class A Test 3
From the above output, we can see how both classes run in parallel.
5. Using the surefire plugin
If you do not want to go with the ParallelComputer class then you can use the surefire plugin of maven.
Simply put the below line in the pom.xml file.
...
<build>
    <plugins>
        <plugin>
            <groupId>org.apache.maven.plugins</groupId>
            <artifactId>maven-surefire-plugin</artifactId>
            <version>2.7.1</version>
            <configuration>
                <parallel>classes</parallel>
                <threadCount>5</threadCount>
            </configuration>
        </plugin>
    </plugins>
</build>
...
Line 9: specifies that we want to run our classes parallel while testing. We can also specify the methods instead of classes if we want to run methods parallel and not classes. See below:
...
<parallel>methods</parallel>
...
Line 10: specifies the number of threads to be generated while running our test cases. This facility is not available when we use ParalleComputer class.
This way you do not have to handle anything and is automatically handled by the surefire plugin.
6. Conclusion
There are 2 ways to run our test cases in parallel.
- To use JUnit ParalelComputer class
- Use of surefire plugin of Maven
In both cases, we have choices of running the test cases in parallel. You can go either way. If you love to code and want to everything on Java then go with the ParalelComputer else you can use the surefire plugin way. Either way is good and depends on the developer.
7. Download the Eclipse Project
This is an example of JUnit Parallel Tests.
You can download the full source code of this example here: JUnitParallelTest.zip
8. References
- JUnit Framework
- Maven
- JUnit Report Generation – for use of surefire plugin
- Java Code Geeks JUnit Examples

How do we run test cases parallelly in JUnit 5 ! the requirement is run a single test case parallel with different parameters