Hello, in this example we shall show you how you can make a use of the JUnit HTTUnit to test web applications. In this example, we will build a small web application and test it using HTTPUnit. This example will show you how you can achieve a browser specific behaviour with HTTPUnit library like sending requests to the server and receiving response from the server.
Table Of Contents
1. Introduction
HttpUnit is an open source test framework for web applications which can provide browser specific behaviour like sending request to the server and receiving response from the server including form submission, basic http authentication, cookies and automatic page redirection.
A website has several forms with multiple textboxes, dropdowns, radio buttons, submit buttons, links etc. In order to test a form submission, you test whether dropdowns are populated with the desired values, all the controls are set with their default values ,if any, and submit buttons redirect the user to their desired page. Testing a form is one of the many test cases for a website that can be tested using Httpunit.
2. JUnit HttpUnit Example
Here is a step-by-step guide to test your web application using HTTPUnit.
2.1 Tools Used
We are using Spring sts 3.9, JDK 8, HttpUnit 1.7.
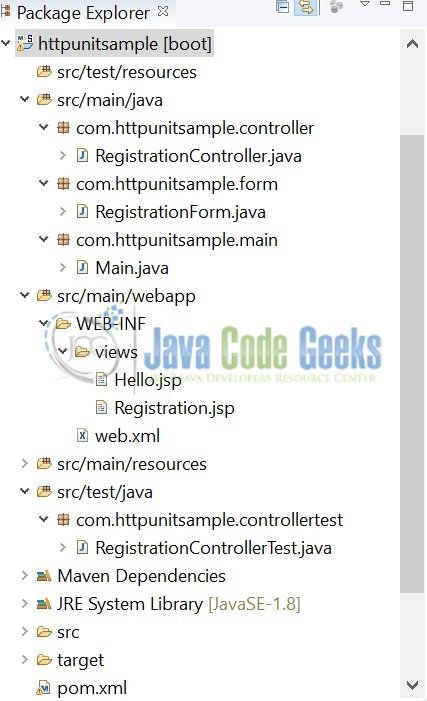
2.2 Project Structure
The following image of the final project structure shows where I should create the required files and folders .
2.3 Project Creation
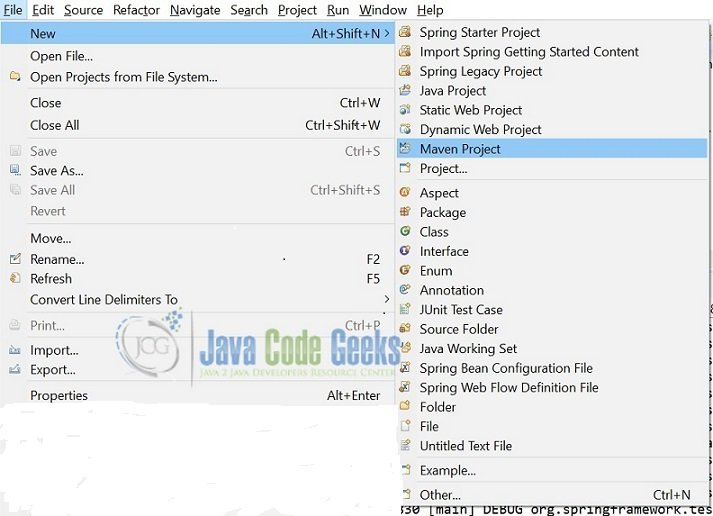
This section will demonstrate on how to create a Java-based Maven project in Spring sts. In spring sts go to File-->New-->Maven Project.
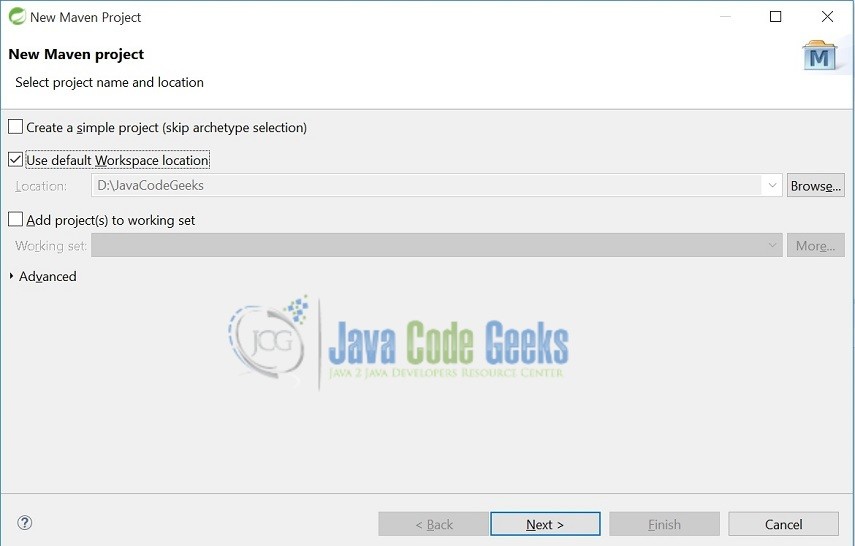
In the new Maven Project window, it will ask you to select a project location. By default ‘Use default workspace location‘ is selected. Just click on next button to proceed.
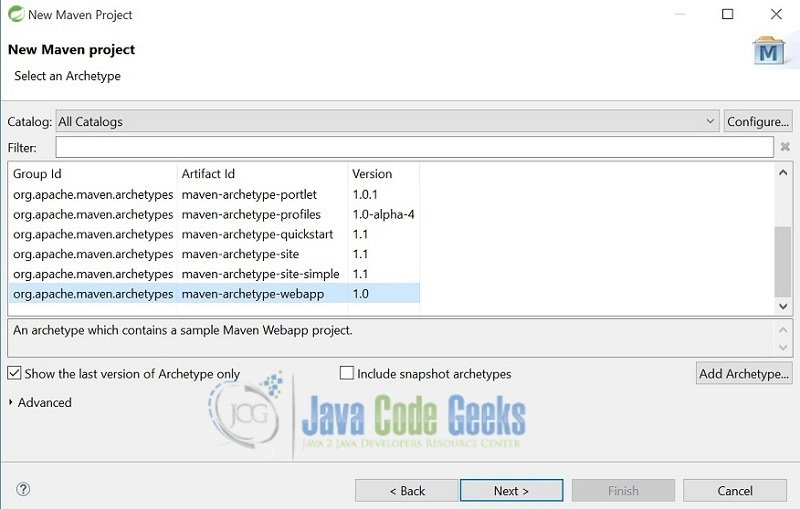
Select the archetype for web app.
Enter the group details and the artifact id for the project as shown. The version number will be by default: 0.0.1-SNAPSHOT.

Click on finish and a maven project will be created with an initial draft of pom.xml with the following details:
pom.xml
<project xmlns="http://maven.apache.org/POM/4.0.0" xmlns:xsi="http://www.w3.org/2001/XMLSchema-instance"
xsi:schemaLocation="http://maven.apache.org/POM/4.0.0 http://maven.apache.org/maven-v4_0_0.xsd">
<modelVersion>4.0.0</modelVersion>
<groupId>com.junit</groupId>
<artifactId>httpunitsample</artifactId>
<packaging>war</packaging>
<version>0.0.1-SNAPSHOT</version>
</project>
We can now start adding dependency to this pom.xml for our web application and httpunit. We will be building this web application using spring boot, so lets start!!!
3. Application Building
Below are the steps involved in developing this application.
3.1 Maven Dependencies
pom.xml
<project xmlns="http://maven.apache.org/POM/4.0.0" xmlns:xsi="http://www.w3.org/2001/XMLSchema-instance"
  xsi:schemaLocation="http://maven.apache.org/POM/4.0.0 http://maven.apache.org/maven-v4_0_0.xsd">
  <modelVersion>4.0.0</modelVersion>
  <groupId>com.junit</groupId>
  <artifactId>httpunitsample</artifactId>
  <packaging>war</packaging>
  <version>0.0.1-SNAPSHOT</version>
    <properties>
    <java.version>1.8</java.version>
  </properties>
  <parent>
    <groupId>org.springframework.boot</groupId>
    <artifactId>spring-boot-starter-parent</artifactId>
    <version>1.5.4.RELEASE</version>
  </parent>
  <dependencies>
    <dependency>
      <groupId>org.springframework.boot</groupId>
      <artifactId>spring-boot-starter-web</artifactId>
    </dependency>
            <!-- JSTL tag lib -->
    <dependency>
      <groupId>javax.servlet.jsp.jstl</groupId>
      <artifactId>javax.servlet.jsp.jstl-api</artifactId>
      <version>1.2.1</version>
    </dependency>

    <dependency>
      <groupId>taglibs</groupId>
      <artifactId>standard</artifactId>
      <version>1.1.2</version>
    </dependency>
             <!-- Tomcat for JSP rendering -->
    <dependency>
      <groupId>org.apache.tomcat.embed</groupId>
      <artifactId>tomcat-embed-jasper</artifactId>
      <scope>provided</scope>
    </dependency>
            <!--"https://mvnrepository.com/artifact/httpunit/httpunit"-->
	<dependency>
      <groupId>httpunit</groupId>
      <artifactId>httpunit</artifactId>
      <version>1.7</version>
      <scope>test</scope>
	</dependency>
             <!-- dependency for js.jar -->
	<dependency>
      <groupId>rhino</groupId>
      <artifactId>js</artifactId>
      <version>1.7R2</version>
	</dependency>
	<dependency>
      <groupId>org.springframework.boot</groupId>
      <artifactId>spring-boot-starter-test</artifactId>
      <scope>test</scope>
      <version>1.5.3.RELEASE</version>
	</dependency>
  </dependencies>
  <build>
    <plugins>
      <plugin>
        <groupId>org.springframework.boot</groupId>
        <artifactId>spring-boot-maven-plugin</artifactId>
      </plugin>
    </plugins>
  </build>
</project>
Httpunit jar and js.jar are the two dependencies required to test this web application using HTTPUnit. We are building this web application using spring boot, hence we have added all the spring boot related dependencies along with Tomcat dependency to enable the embedded Tomcat container.
3.2 Java Class Creation
Let’s create the required Java files. Right-click on src/main/java folder, New -> Package.
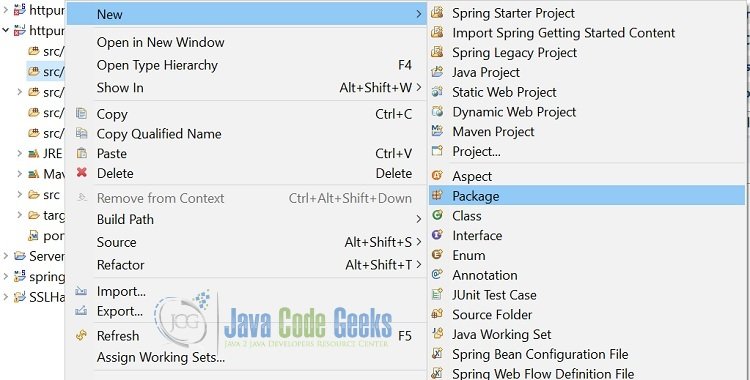
A new pop window will open where we will enter the package name as: com.httpunitsample.controller.

Following the above two steps for package creation, create two more packages for form and a main application class i.e com.httpunitsample.form and com.httpunitsample.main.
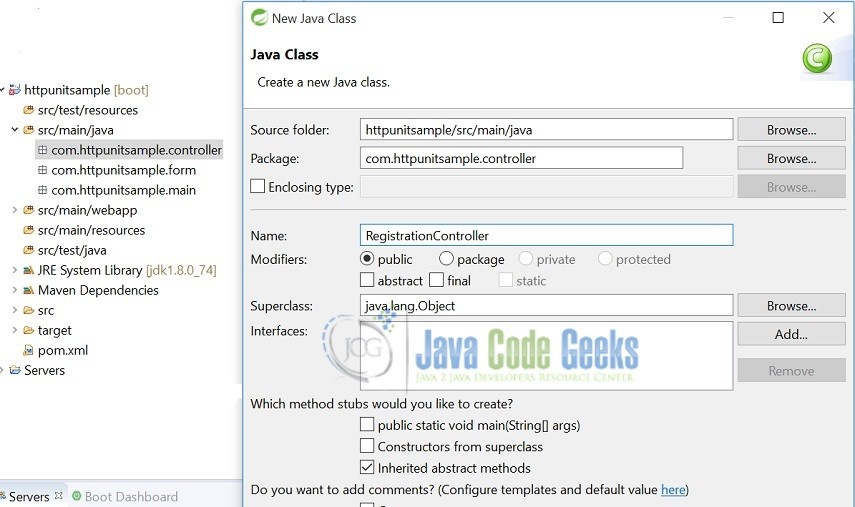
Once the package is created, we now need to create the implementation classes. Right-click on the newly created package, New -> Class.
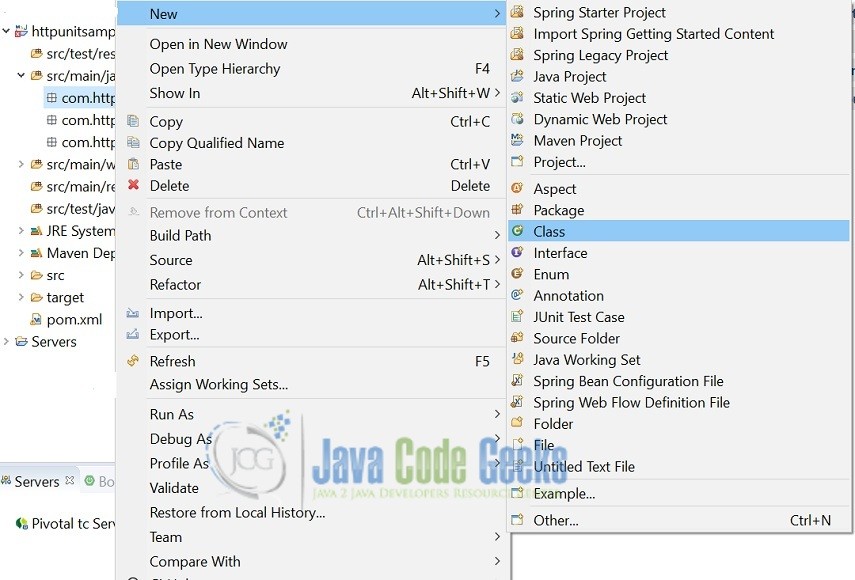
A new pop window will open, enter file name as: RegistrationController. A new controller class will be created inside the package: com.httpunitsample.controller.
Following the above steps for class creation, create a class for RegistrationForm.java and Main.java under the package com.httpunitsample.form and com.httpunitsample.main respectively.
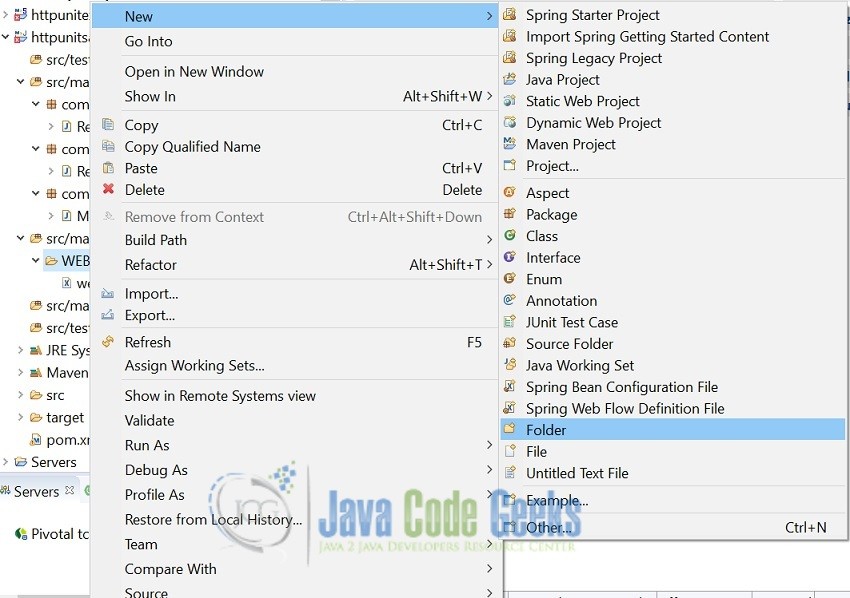
Now, lets create a views folder under WEB-INF for jsps as shown below.
Create a Registration.jsp under the views folder.
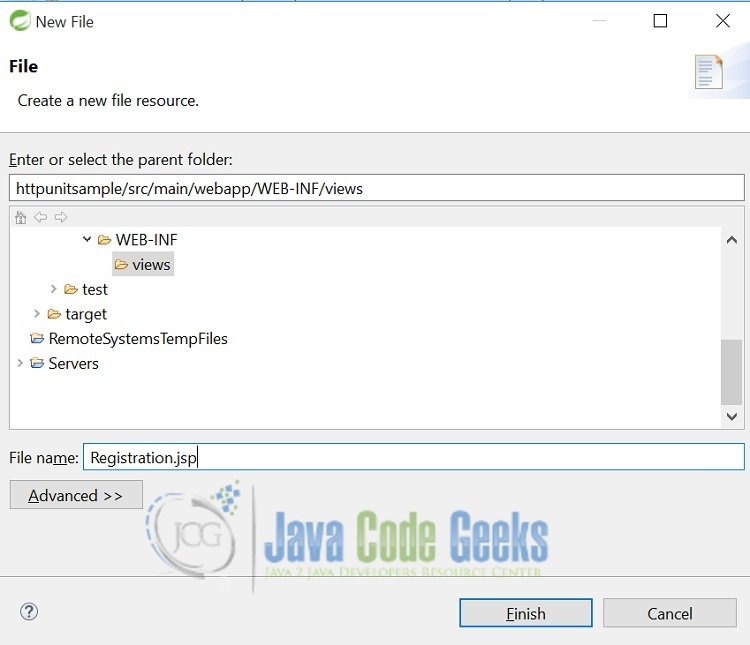
Following the above steps create another Hello.jsp under the WEB-INF/views folder.
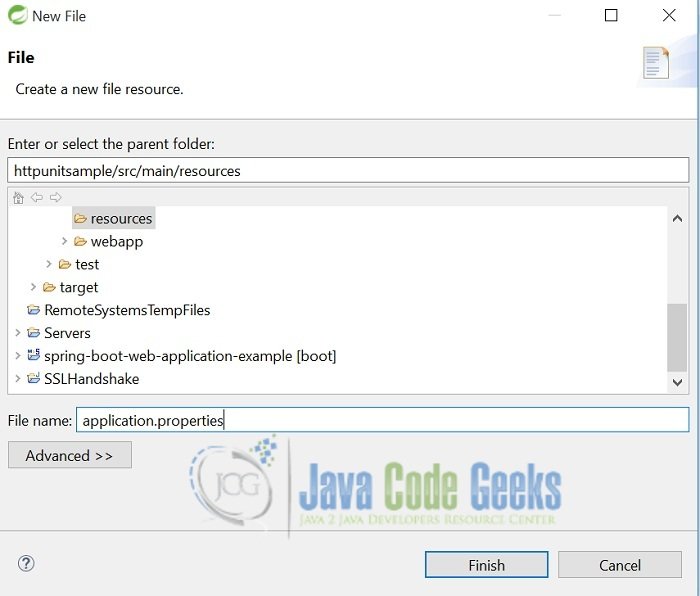
Lets create a application.properties file under src/main/resources for jsp views to be resolved .
Below is the code for the classes defined above.
RegistrationController.java
package com.httpunitsample.controller;

import java.util.ArrayList;
import java.util.List;

import org.springframework.stereotype.Controller;
import org.springframework.ui.Model;
import org.springframework.web.bind.annotation.RequestMapping;

import com.httpunitsample.form.RegistrationForm;

@Controller
public class RegistrationController {

	@RequestMapping(value = "/registrationForm")
    public String registration(Model model) {
		RegistrationForm registrationForm=new RegistrationForm();
		List countryList=new ArrayList();
		countryList.add("America");
		countryList.add("India");
        model.addAttribute("countryList",countryList);
        List genderList=new ArrayList();
        genderList.add("Female");
        genderList.add("Male");
        genderList.add("Dont want to say");
        model.addAttribute("genderList", genderList);
        //Set default value in gender list dropdown.
        registrationForm.setGender("Dont want to say");
        model.addAttribute("registrationForm", registrationForm);
        return "Registration";
	}

	@RequestMapping(value = "/registrationSubmit")
    public String registerUser(RegistrationForm registrationForm,Model model) {
		model.addAttribute("name",registrationForm.getName());
        return "Hello";
	}
}
In the above controller class, I have defined two methods:
registration– This method returns a registration form set with default values.registerUser– This method returns a hello page to the user, populated with the registered username.
RegistrationForm.java

package com.httpunitsample.form;

public class RegistrationForm {

	private int id;
	private String name;
	private String gender;
	private String countryId;

	public int getId() {
		return id;
	}

	public void setId(int id) {
		this.id = id;
	}

	public String getName() {
		return name;
	}

	public void setName(String name) {
		this.name = name;
	}

	public String getGender() {
		return gender;
	}

	public void setGender(String gender) {
		this.gender = gender;
	}

	public String getCountryId() {
		return countryId;
	}

	public void setCountryId(String countryId) {
		this.countryId = countryId;
	}

}
Above is the defined form that will be used for user registration.
Main.java
package com.httpunitsample.main;

import org.springframework.boot.SpringApplication;
import org.springframework.boot.autoconfigure.SpringBootApplication;
import org.springframework.context.annotation.ComponentScan;

@ComponentScan("com.httpunitsample")
@SpringBootApplication
public class Main {

	public static void main(String[] args) {
	      SpringApplication.run(Main.class, args);
	   }
}
Main.java is the main class that will be called on running the spring boot application.
Hello.jsp
<%@ page language="java" contentType="text/html; charset=ISO-8859-1" pageEncoding="ISO-8859-1"%>
<!DOCTYPE html>
<html>
<head>
<meta http-equiv="Content-Type" content="text/html; charset=ISO-8859-1">
<title>HTTPUnit</title>
</head>
<body>
<h2>Thank you for registration ${name}</h2>
</body>
</html>
Hello.jsp page is shown on successful registration with registered username.
Registration.jsp
<%@ taglib prefix="spring" uri="http://www.springframework.org/tags" %>
<%@ taglib prefix="form" uri="http://www.springframework.org/tags/form" %>
<%@ taglib prefix="c" uri="http://java.sun.com/jsp/jstl/core"%>
<!DOCTYPE html>
<html lang="en">
<head>
    <title>Create an account</title>
</head>
<body>
<h1>Welcome to httpunit example registration</h1>
<div class="container">
    <form:form method="POST" commandName="registrationForm" action="registrationSubmit">
        <spring:bind path="name">
                <form:input type="text" path="name"></form:input>
        </spring:bind>

        <spring:bind path="gender">
                <form:select path="gender" >
                 <c:forEach items="${genderList}" var="gender">
                 <c:choose>
					<c:when test="${registrationForm.gender eq gender}">
					<option value="${gender}" selected ="selected"><c:out value="${gender}"/></option>
					</c:when>
					<c:otherwise>
					<option value="${gender}"><c:out value="${gender}" /></option>
					</c:otherwise>
					</c:choose>
                 </c:forEach>
                 </form:select>
        </spring:bind>

       <spring:bind path="countryId">
                <form:select path="countryId" items="${countryList}" />
        </spring:bind>

        <button type="submit">Submit</button>
    </form:form>

</div>
</body>
</html>
Registration.jsp page is shown to the user for registration with default values gender list.
application.properties
spring.mvc.view.prefix = /WEB-INF/views/
spring.mvc.view.suffix = .jsp
Let us write a test class to test our controller under the package com.httpunitsample.controllertest.
We achieved browser specific behaviour through class WebConversation.java in Httpunit jar. We sent various requests under test and we received corresponding response for such requests. We then examined these response further.
In my below test controller, I have written two test methods to test the following functionalities:
- The registration method in controller returns a registration form with default value for gender list and country dropdown lists with all the required values.
RegisterUsermethod in controller, sets the registered name and redirects to hello jsp page. Usinghttpunit, I test if user is redirected to the desired hello page or not.
RegistrationControllerTest.java
package com.httpunitsample.controllertest;

import static org.hamcrest.CoreMatchers.containsString;
import static org.junit.Assert.assertEquals;
import static org.junit.Assert.assertThat;
import java.io.IOException;
import org.junit.Test;
import org.junit.runner.RunWith;
import org.springframework.test.context.junit4.SpringRunner;
import org.xml.sax.SAXException;
import com.meterware.httpunit.WebConversation;
import com.meterware.httpunit.WebForm;
import com.meterware.httpunit.WebResponse;

@RunWith(SpringRunner.class)
public class RegistrationControllerTest {

		@Test
		public void registrationTest() throws IOException, SAXException {
			 WebConversation wc = new WebConversation();
			 WebResponse   resp = wc.getResponse( "http://localhost:8080/registrationForm" );
			 WebForm form = resp.getForms()[0];
			 assertEquals( "", form.getParameterValue( "name" ) );
			 assertEquals( "Dont want to say",       form.getParameterValue( "gender" ) );
			 assertEquals( "America",      form.getParameterValue( "countryId" ) );
		}

		@Test
		public void registerUserTest() throws IOException, SAXException {
			 WebConversation wc = new WebConversation();
			 WebResponse   resp = wc.getResponse( "http://localhost:8080/registrationForm" );
			 WebForm form = resp.getForms()[0];
			 form.setParameter("name", "Gaurav" );
			 form.setParameter("gender", "Male");
			 form.setParameter("countryId", "India");
			 WebResponse response=form.submit();
			 assertThat(response.getText(),containsString("Thank you for registration "));
		}

}
3.3 Maven Build
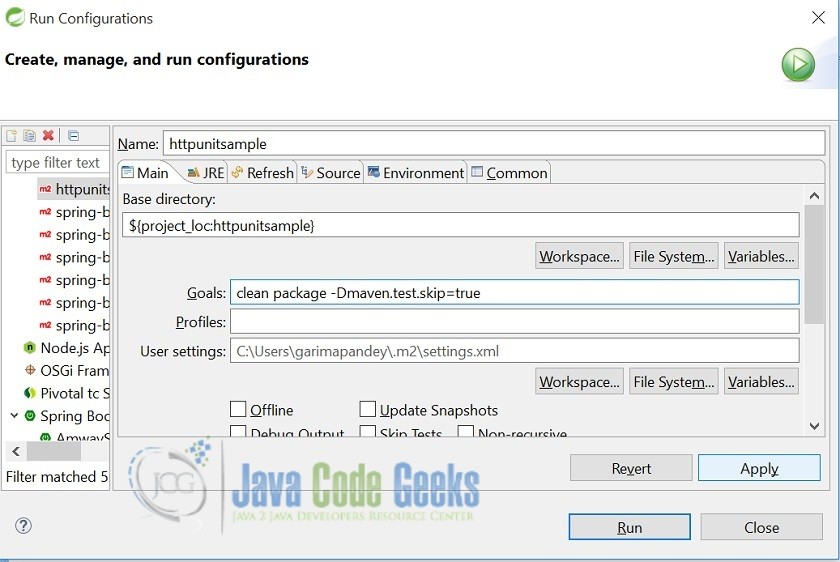
I can build my application with command as Run As-->Maven Build--> Provide goals as clean package. In case I want to build without running the test cases I can build using the command Run As-->Maven Build-->Provide goals as clean package -Dmaven.test.skip=true.
4. Run application as spring boot app
Run the application as below:

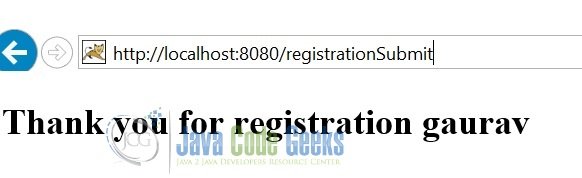
5. Project Demo
Running the code on the browser gives us the following results:

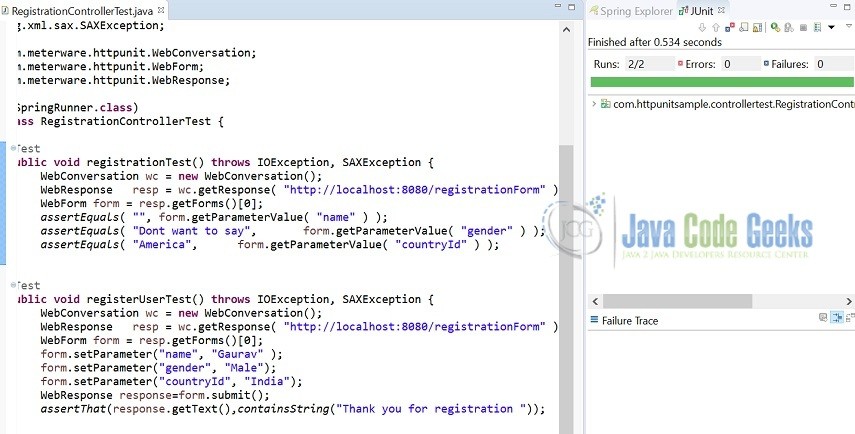
As per the above screenshot my junit tests are successful.
Here I have tested two test cases:
- Form is populated with the set default value i.e
"gender". The dropdown has"Dont want to say"value, the name text box is blank andcountryIddropdown is populated with America and India. - In the second test method I have tested the submit functionality of my form whether I am forwarded to my desired Hello page or not.
6. Conclusion
That’s all for getting the developers started with the Httpunit. I hope this article served you well. Developers can download the sample application as an Eclipse project in the Downloads section.
7. Download the project
This was an example on how you can use HttpUnit to test your website.
You can download the full source code of this example here: JUnit HttpUnit Example
