Introduction
This article presents an example of using JSON with the JAX-RS API. Well, this a simple introductory statement that carries a lot of weight as it assumes that the reader is familiar with JAX-RS, Jersey and JSON; terms that we are going to frequent in this example.
For those unfamiliar but still interested in the adventure we will skim through a bit.
- JAX-RS is a Java API designed to be used as a standard to simplify the development of RESTful Web Services and their clients.
- Jersey RESTful Web Services framework is an open-source Reference Implementation of this API that is JSR-311 compliant. We are going to use Jersey.
- JSON should be a heard of term. It is an acronym that stands for JavaScript Object Notation and is based on a subset of the JavaScript Programming Language. It is a lightweight data-interchange format that is widely used since it is easy and simple to be understood and parsed for both humans and machines. Think of it as a simple set of key:value pairs represented as
myJson = {“name”:”Lily”, “age”:9}. - Jackson is the tool to convert objects to/from JSON.
Good so far? Well, those are the main actors here. So we can begin now.
In this example, we will have a simple POJO class Student which will be wrapped up as a JSON object between the client and server communications. We will use maven to create a web-app project and run it on Tomcat. For those requiring further information on setting-up or using these tools like Maven or Tomcat et al, please refer the corresponding sources hyper-linked above. The entire example code is available for download at the end of the article.
Project Set-Up
This will be a Maven project created via Eclipse. The steps are enlisted below.
- Pick a suitable location/folder as a workspace and start up Eclipse in it
- Go to File-> New -> Project…
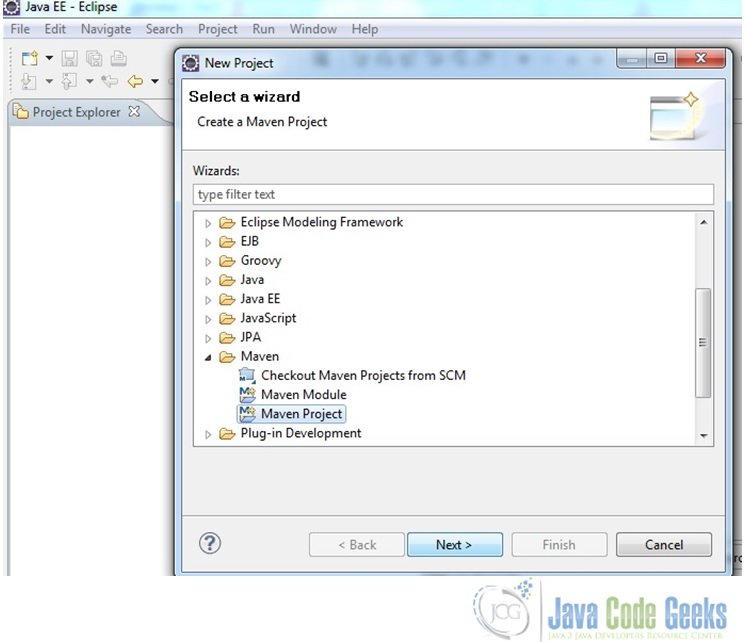
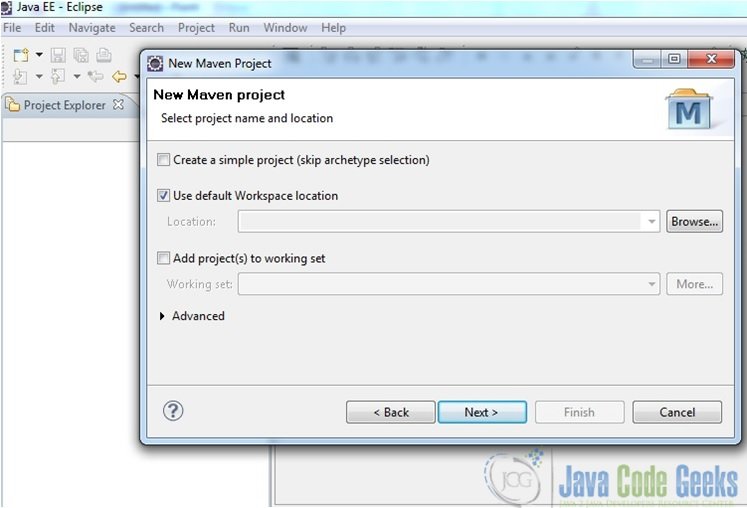
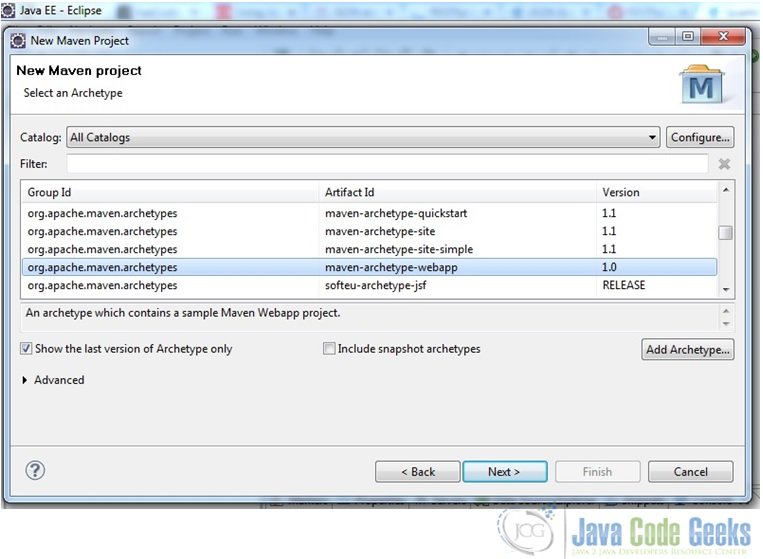
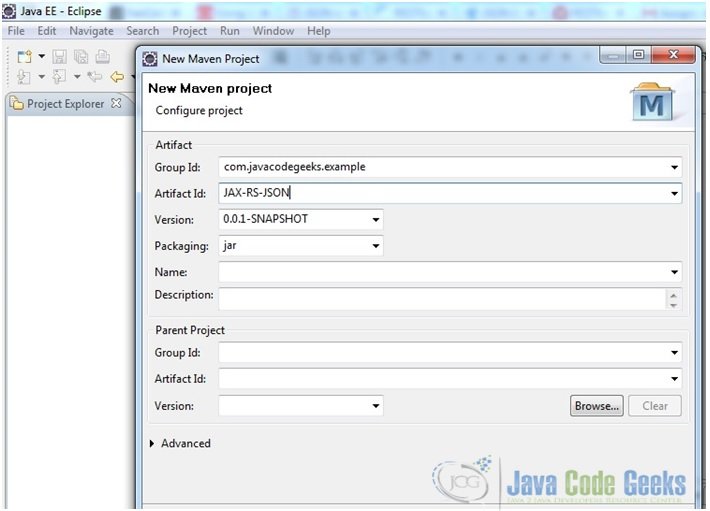
- Choose the creation of a Maven project and then follow the wizard to create a web project as shown in the screenshots below

Fig.1 Create Maven project 
Fig.2 Choose archetype 
Fig. 3 Choose maven-archetype-webapp 
Fig. 4 Supply Package Name -
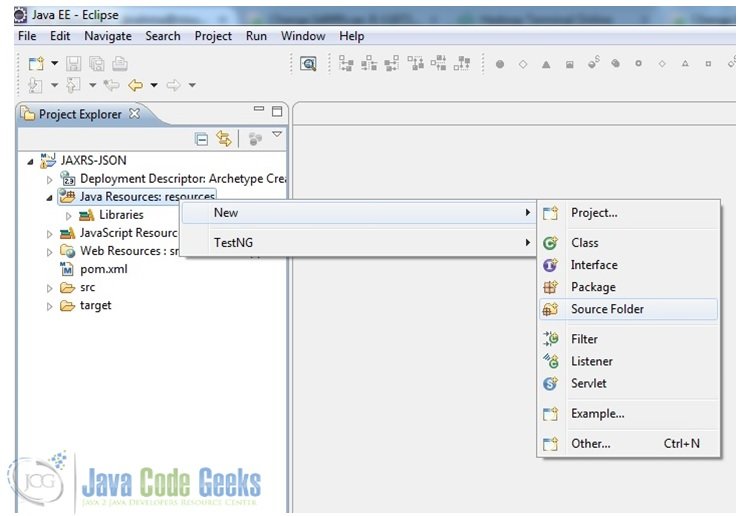
Once the project is created, add source folder(s) to it. Click on the Java Resources folder -> New -> Source Folder and add src/main/java etc. as shown in the screenshot below.

Fig. 5 Add Source Folder(s) -
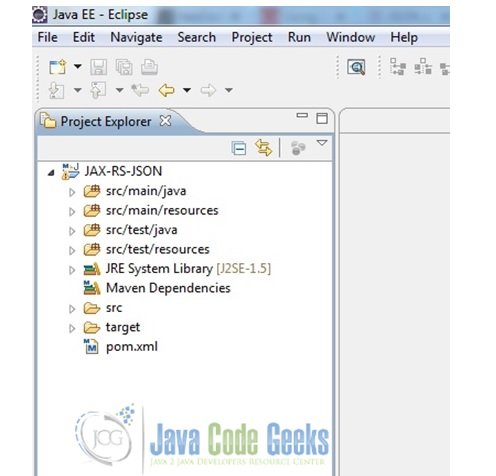
This will give the project structure as shown here.

Fig. 6 Final Project Structure -
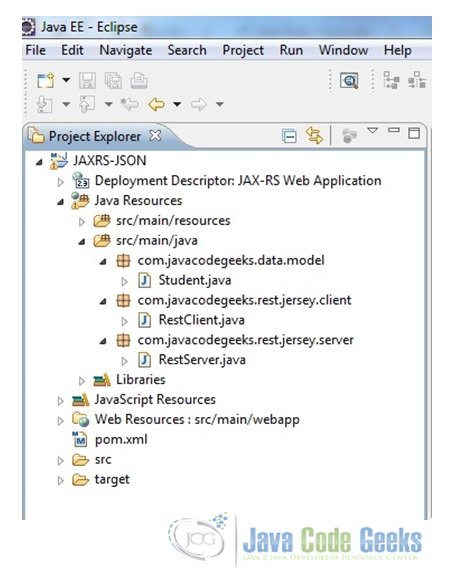
As stated above our project will have a POJO class to serve as the data model. A Jersey server and a Jersey client, so we will create the packages and files in it as shown in the final structure below.

Fig. 7 Final Project Structure
Example Code
Now that we are ready with the project set-up, let’s begin coding. First we will create a Jersey server that will present a POJO class Student.java as a JSON object when a ‘get’ request is made to it and also allow a JSON object to be posted to it. We will deploy the server on a Tomcat instance from Eclipse. And then we will create a Jersey Client from which we will trigger the ‘get’ and ‘post’ requests to the server.
1. Add dependencies
We will use the latest version 1.19 of Jersey and add the following three Maven dependencies to our project.
- Jersey-Servlet to set-up the server
- Jersey-Client to cook-up a client instance
- Jersey-JSON to allow the handling of JSON objects
So our pom file would be as shown below.
pom.xml
<project xmlns="http://maven.apache.org/POM/4.0.0" xmlns:xsi="http://www.w3.org/2001/XMLSchema-instance"
  xsi:schemaLocation="http://maven.apache.org/POM/4.0.0 http://maven.apache.org/maven-v4_0_0.xsd">
  <modelVersion>4.0.0</modelVersion>
  <groupId>com.java.codegeeks.example</groupId>
  <artifactId>JAXRS-JSON</artifactId>
  <packaging>war</packaging>
  <version>0.0.1-SNAPSHOT</version>
  <name>JAXRS-JSON Maven Webapp</name>
  <url>http://maven.apache.org</url>
  <properties>
  	<jersey.version>1.19</jersey.version>
  </properties>
  <dependencies>
    <dependency>
     <groupId>com.sun.jersey</groupId>
     <artifactId>jersey-servlet</artifactId>
     <version>${jersey.version}</version>
    </dependency>
    <dependency>
     <groupId>com.sun.jersey</groupId>
     <artifactId>jersey-json</artifactId>
     <version>${jersey.version}</version>
    </dependency>
    <dependency>
    	<groupId>com.sun.jersey</groupId>
    	<artifactId>jersey-client</artifactId>
    	<version>${jersey.version}</version>
    </dependency>
    <dependency>
      <groupId>junit</groupId>
      <artifactId>junit</artifactId>
      <version>3.8.1</version>
      <scope>test</scope>
    </dependency>
  </dependencies>
  <build>
    <finalName>JAXRS-JSON</finalName>
  </build>
</project>
2. Create the POJO class
Next we will create the Student.java class with a few attributes and their getters and setters
Student.java
package com.javacodegeeks.data.model;

public class Student {

	String firstName;
	String lastName;
	String school;
	String standard;
	int rollNumber;

	public String getFirstName() {
		return firstName;
	}
	public void setFirstName(String firstName) {
		this.firstName = firstName;
	}
	public String getLastName() {
		return lastName;
	}
	public void setLastName(String lastName) {
		this.lastName = lastName;
	}
	public String getSchool() {
		return school;
	}
	public void setSchool(String school) {
		this.school = school;
	}
	public String getStandard() {
		return standard;
	}
	public void setStandard(String standard) {
		this.standard = standard;
	}
	public int getRollNumber() {
		return rollNumber;
	}
	public void setRollNumber(int rollNumber) {
		this.rollNumber = rollNumber;
	}

	@Override
	public String toString(){
		return firstName+" "+lastName+" is a student of standard "+ standard+" at "+ school;
	}
}
3. Jersey-Server
Next, we will create the Jersey-Server as follows.
- The
@Path("student/data")at the beginning of the class implies this is the root URL to which client requests would be directed at - This class has two methods defined
getStudentRecordandpostStudentRecordto entertain thegetandpostrequests respectively - Note the annotations at both the methods. They indicate what kind of request each method should handle using
@GETor@POST. The data type they would process–MediaType.APPLICATION_JSON. And also the url which each would intercept, viz.student/data/getfor thegetrequest andstudent/data/postfor thepostrequest.
RestServer.java
package com.javacodegeeks.rest.jersey.server;

import javax.ws.rs.Consumes;
import javax.ws.rs.GET;
import javax.ws.rs.POST;
import javax.ws.rs.Path;
import javax.ws.rs.Produces;
import javax.ws.rs.core.MediaType;
import javax.ws.rs.core.Response;

import com.javacodegeeks.data.model.Student;

@Path("/student/data")
public class RestServer {

	@GET
	@Path("/get")
	@Produces(MediaType.APPLICATION_JSON)
	public Student getStudentRecord(){
		Student student = new Student();
		student.setFirstName("Elizabeth");
		student.setLastName("Hayden");
		student.setSchool("Little Flower");
		student.setStandard("One");
		student.setRollNumber(1113);
		return student;
	}

	@POST
	@Path("/post")
	@Consumes(MediaType.APPLICATION_JSON)
	public Response postStudentRecord(Student student){
		String result = "Record entered: "+ student;
		return Response.status(201).entity(result).build();
	}
}
4. Set-up web.xml file
Now, we want our Rest Server to be deployable. And we want it to be able to process JSON-POJO mapping. Hence, the web.xml file needs to be configured as shown below.
- Notice how the location of the Server has been configured in the
init-paramtags - The POJO mapping feature of Jersey has been enabled by including
com.sun.jersey.api.json.POJOMappingFeaturein the secondinit-paramtags - Also, it is worth observing that in the
servlet-mappingtags we mentioned the URL pattern asrest/*. This implies all URLs on our server would be appended withrest/. So the URLs forgetandpostwould be host:port(of the server)/JAXRS-JSON(name of the project)/rest/student/data/get or post; that is,http://localhost:8080/JAXRS-JSON/rest/student/data/getandhttp://localhost:8080/JAXRS-JSON/rest/student/data/postrespectively.
web.xml
<!DOCTYPE web-app PUBLIC
 "-//Sun Microsystems, Inc.//DTD Web Application 2.3//EN"
 "http://java.sun.com/dtd/web-app_2_3.dtd" >

<web-app>
  <display-name>JAX-RS Web Application</display-name>
  <servlet>
	<servlet-name>jersey-json-example-serlvet</servlet-name>
	<servlet-class>com.sun.jersey.spi.container.servlet.ServletContainer</servlet-class>
	<init-param>
		<param-name>com.sun.jersey.config.property.packages</param-name>
		<param-value>com.javacodegeeks.rest.jersey.server</param-value>
	</init-param>
	<init-param>
		<param-name>com.sun.jersey.api.json.POJOMappingFeature</param-name>
		<param-value>true</param-value>
	</init-param>
	<load-on-startup>1</load-on-startup>
  </servlet>

  <servlet-mapping>
	<servlet-name>jersey-json-example-serlvet</servlet-name>
	<url-pattern>/rest/*</url-pattern>
  </servlet-mapping>
</web-app>
5. Jersey-Client
Now that our Jersey-Server is ready to be fired, let’s create a Jersey-Client from which we will fire the requests.
- Create the Client instance using Jersey’s
Client.create() - Set the URLs to be hit
- Instantiate the
WebResourceandClientResponseobjects as shown and we are good - Just notice how the JSON object to be posted into our Jersey Server has been set-up. Remember to escape the
"
RestClient.java
package com.javacodegeeks.rest.jersey.client;

import com.sun.jersey.api.client.Client;
import com.sun.jersey.api.client.ClientResponse;
import com.sun.jersey.api.client.WebResource;

public class RestClient {

	Client client = Client.create();
	String getUrl = "http://localhost:8080/JAXRS-JSON/rest/student/data/get";
	String postUrl = "http://localhost:8080/JAXRS-JSON/rest/student/data/post";

	public void getRequest(){
		WebResource webResource = client.resource(getUrl);
		ClientResponse response = webResource.accept("application/json").get(ClientResponse.class);
		if(response.getStatus()!=200){
			throw new RuntimeException("HTTP Error: "+ response.getStatus());
		}

		String result = response.getEntity(String.class);
		System.out.println("Response from the Server: ");
		System.out.println(result);
	}

	public void postRequest(){
		WebResource webResource = client.resource(postUrl);
		String inputData = "{\"firstName\":\"Alice\",\"lastName\":\"Brown\",\"school\":\"Bright Stars\",\"standard\":\"Three\",\"rollNumber\":1212}";
		ClientResponse response = webResource.type("application/json").post(ClientResponse.class,inputData);
		if(response.getStatus()!=201){
			throw new RuntimeException("HTTP Error: "+ response.getStatus());
		}

		String result = response.getEntity(String.class);
		System.out.println("Response from the Server: ");
		System.out.println(result);
	}

	public static void main(String[] args) {
		RestClient restClient = new RestClient();
                //fire the get request on the server
		restClient.getRequest();
                //method to fire the post request on the server
		restClient.postRequest();
	}
}
6. Deploy the Server
So far so good. Now we are going to deploy the Jersey Server on a Tomcat instance from Eclipse. To install Tomcat please follow the apache webpage. It is pretty easy and simple. Once done, just follow the steps listed below.
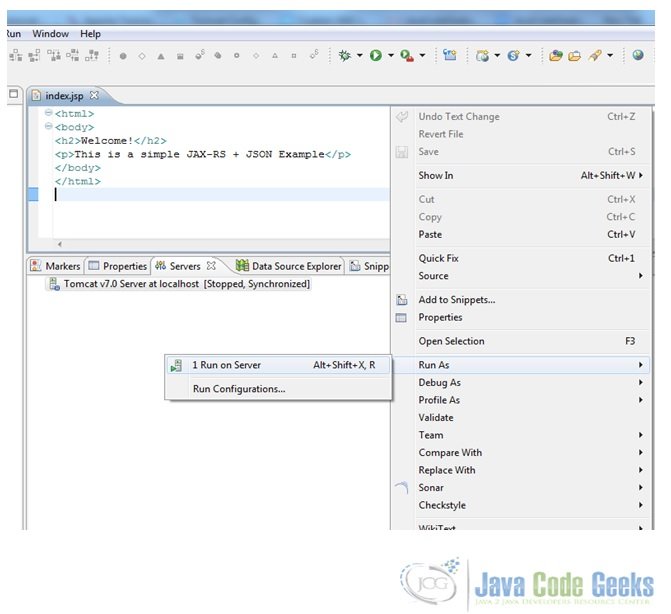
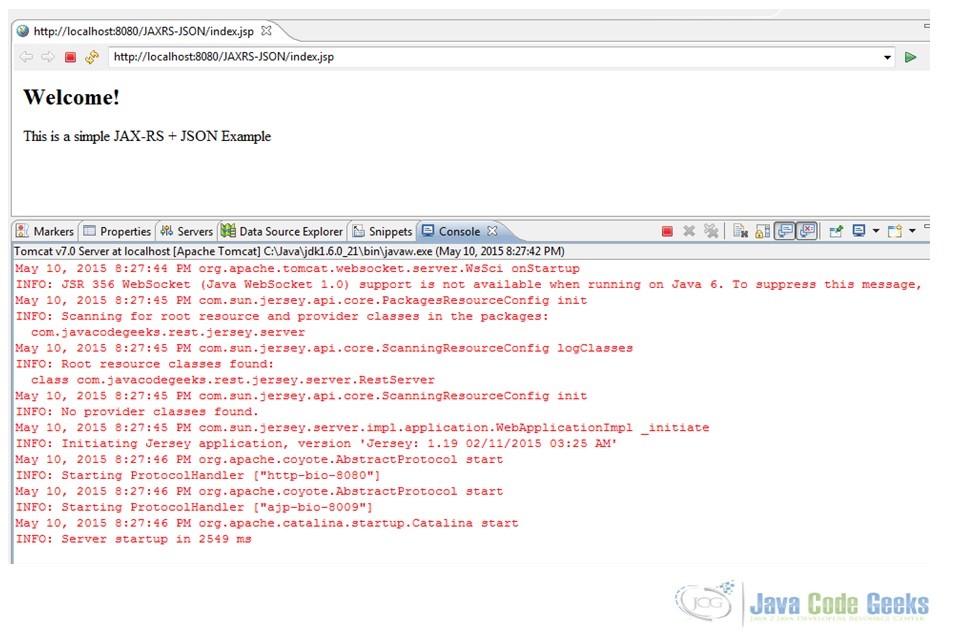
-
Right click on the project and select Run As-> Run on Server and then follow the wizard. As can be seen in the screenshot below, we added a few lines of Welcome message in our
index.jsp
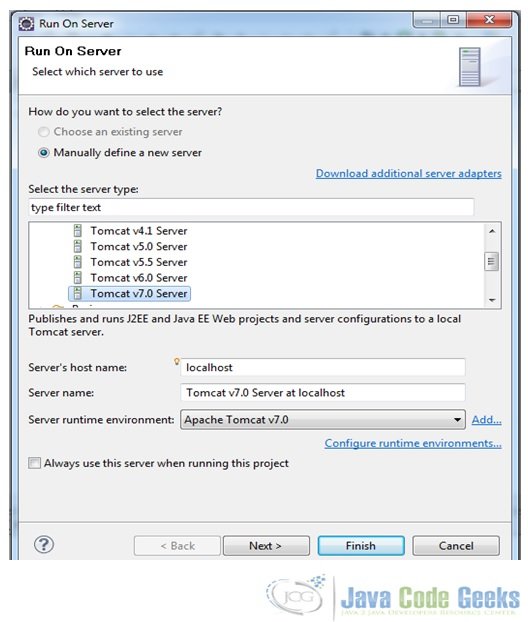
Fig. 8 Run the Project on a Server - Choose the server of your choice in the wizard. As stated above, we are using Tomcat 7 here but one could choose any other version of Tomcat or another server like Jetty etc.

Fig. 9 Choose Tomcat Server - Once Tomcat is up and running successfully one should see the
index.jsppage of the project running at location http://localhost:8080/JAXRS-JSON/index.jsp.
Fig. 10 Index page displayed on the server
7. Fire Requests from the Client
Once the Jersey server is up and running we can fire the requests from our Jersey Client.
- Just go to the
RestClient.javaclass, Right Click -> Run As -> Java Application
8. Outputs
The outputs from the get and post requests will be as shown below.
- Output from the
getrequestResponse from the Server: {"firstName":"Elizabeth","lastName":"Hayden","school":"Little Flower","standard":"One","rollNumber":1113} - Output from the
postrequestResponse from the Server: Record entered: Alice Brown is a student of standard Three at Bright Stars
9. Download the Eclipse project
This brings us to the end of the example of using JSON with JAX-RS API. Hope it was an interesting and useful read. As promised the example code is available for download below.
You can download the full source code of this example here : JAXRS-JSON

When I followed this tutorial, I got the following error:
HTTP status 415 – Unsupported Media Type
To resolve the issues, I followed the answer provided in the following stack overflow question:
https://stackoverflow.com/questions/30423776/post-to-jersey-rest-service-getting-error-415-unsupported-media-type
The solution is to add missing jars for JSON/POJO support:
The Jersey distribution doesn’t come with JSON/POJO support out the box. You need to add the dependencies/jars.
Add all these
jersey-media-json-jackson-2.17
jackson-jaxrs-json-provider-2.3.2
jackson-core-2.3.2
jackson-databind-2.3.2
jackson-annotations-2.3.2
jackson-jaxrs-base-2.3.2
jackson-module-jaxb-annotations-2.3.2
jersey-entity-filtering-2.17