Eclipse Oxygen XML Editor plugin tutorial
In this example we are going to see how you can install and use an XML editor for your Eclipse IDE. XML is a mark-up language that has its own unique characteristics, and it’s used in a vast number of applications, mostly web based, but in recent years it plays a crucial role generally in universal, platform independent information exchanging between systems. A developer can be greatly supported by an IDE when editing XML files or projects, as it offers features like code completion, code generation etc. Of course, a decent IDE XML Pluging would not only allow you to edit pure raw XML files, but also of XML-like files like HTML, XHTML, WSDL, XSD, XSL and even CSS.
There are many XML Editors as Eclipse plugins that do the job and most of them are quite good. In this example though, we are going to use a famous one, Oxygen XML Editor
1. Oxygen XML Editor Eclipse plugin installation
In this tutorial we are going to use Eclipse Kepler 4.3, but the installation process is pretty standard for most versions. We are going to show you how to install Oxygen XML Editor in Eclipse, and a glimpse of how you can use it.
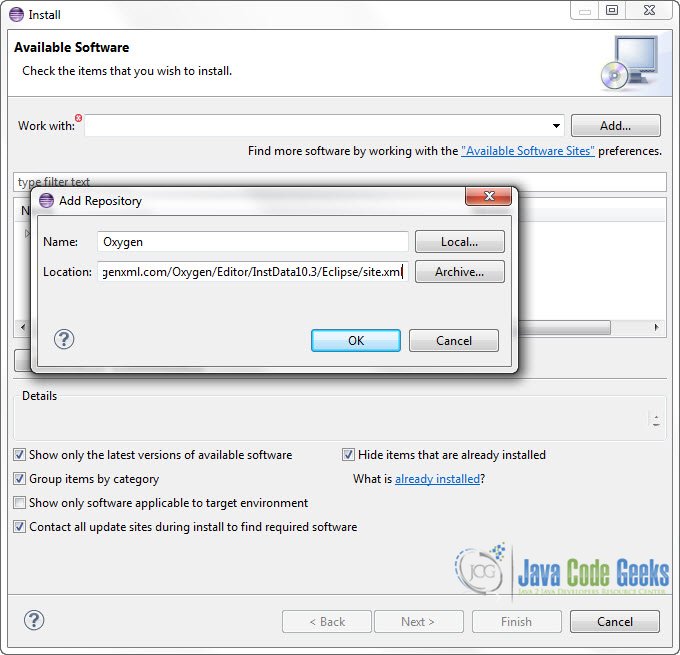
1. In order to install Oxygen XML Editor in Eclipse, go to Help -> Install New Software…

2. Click Add… .Paste this URL : http://archives.oxygenxml.com/Oxygen/Editor/InstData10.3/Eclipse/site.xml in the Location text field.
3. Select all the plugins you want to install and click Next.
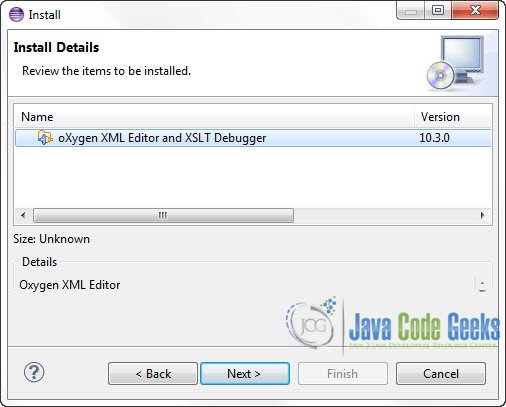
4. You will see an overview of your installation.
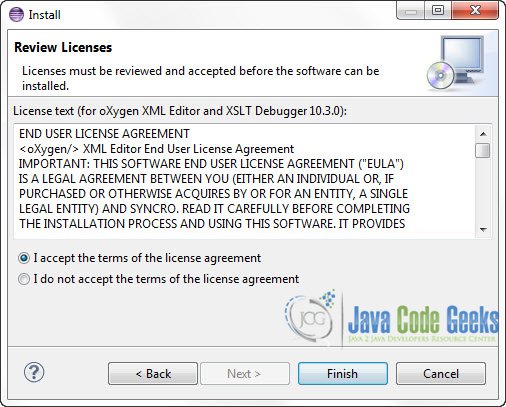
5. Accept the Licence Agreement and click Finish.
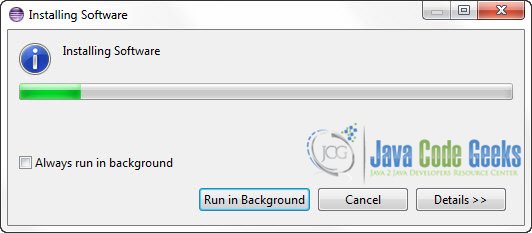
6. Give it some time to install the new Software.
It is likely the a Warning will pop up during installation. Click OK to ignore it.
8. When the installation finishes, you will be prompt to restart your Eclipse IDE. Click Yes.

2. Create a Simple XML Project
When your Eclipse IDE restarts, this is how you can create a new XML Project.
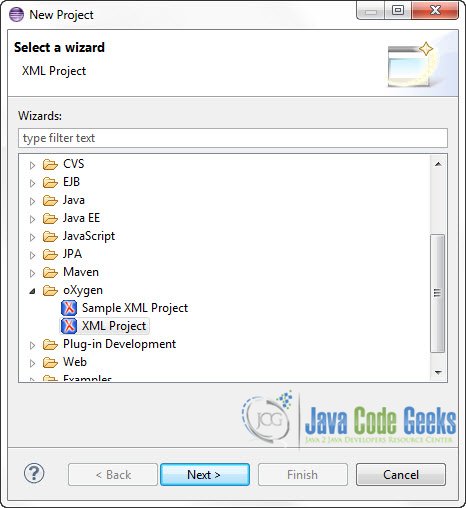
1. On the Project Explorer, Right Click on the Project’s name -> New -> Other. Find the oXygen sub-menu and select XML Project and then click Next.
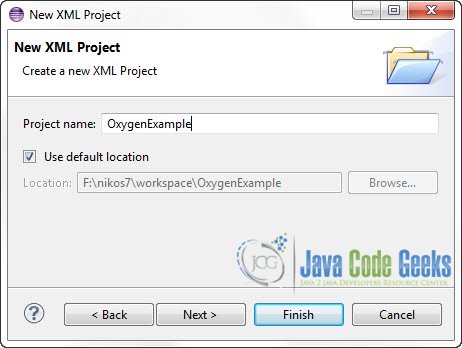
2. Type in a name for the Project, and select the several details and options.
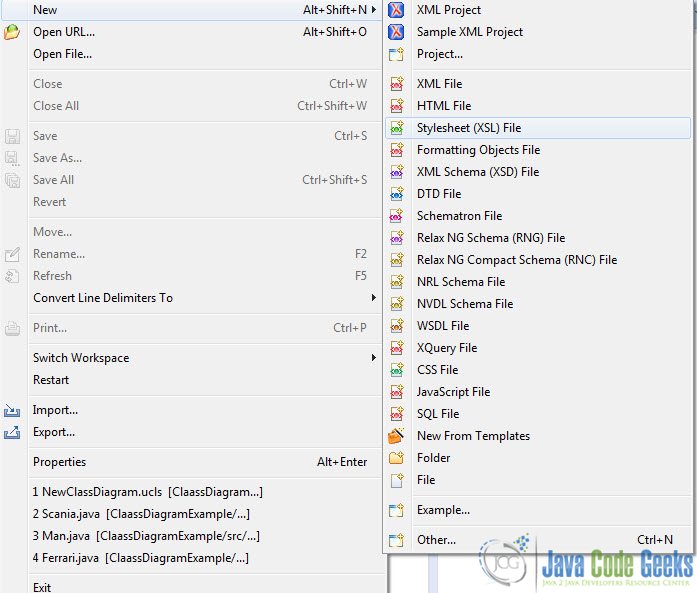
3. You will be prompt to change the Perspective of your IDE to oXygen XML. When your IDE is on that perspective you can see all the new widgets and windows that will help you enhance your XML editing experience. As you can see there is a great plethora of templates :
And the visual aids are remarkable :
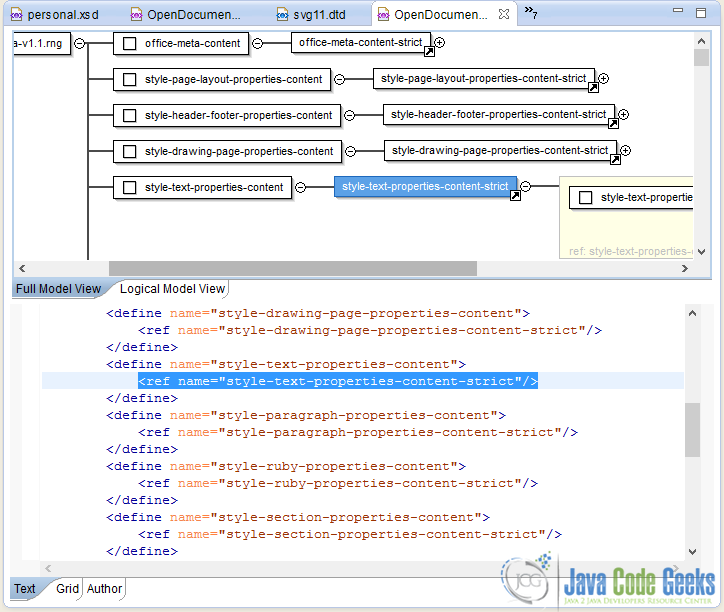
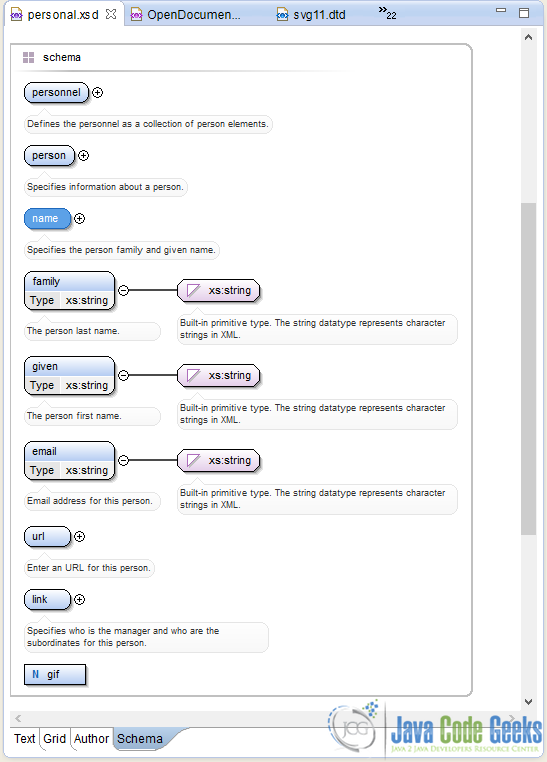
The feature list is impressive as well and it includes:
- Tree based outliner.
- XSLT/XQuery Debugger Perspectives.
- Context sensitive content assistant with Insight-like mechanisms.
- Configurable Document Templates.
- Automatic Generation of Required Content.
- Preview Transformation that shows how XML, HTML are renderd on a browser.
- WSDL Editing and Testing.
You can see a full list of oXygen features here : http://www.oxygenxml.com/xml_editor/eclipse_plugin.html
This was an example of Eclipse Oxygen XML Editor plugin.

