One of the most important development principles of the modern software design is the Dependency Injection (DI) which quite naturally flows out of another critically important principle called Modularity. This tutorial will explore a specific type of DI technique within the spring framework called Setter-Based Dependency Injection which simply injects the dependent objects into the client using a setter method.
1. Introduction
1.1 Spring Framework
- Spring is an open-source framework created to address the complexity of an enterprise application development
- One of the chief advantages of the Spring framework is its layered architecture, which allows developers to be selective about which of its components they can use while providing a cohesive framework for
J2EEapplication development - Spring framework provides support and integration to various technologies for e.g.:
- Support for Transaction Management
- Support for interaction with the different databases
- Integration with the Object Relationship frameworks for e.g. Hibernate, iBatis etc
- Support for Dependency Injection which means all the required dependencies will be resolved with the help of containers
- Support for
RESTstyle web-services
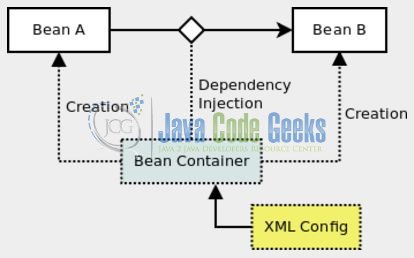
1.2 Dependency Injection (DI)
Dependency Injection (DI) is a design pattern means injecting the dependency between the two objects as per the application’s requirement and helps to reduce the dependency to each other and provides independent unit testing of every object.
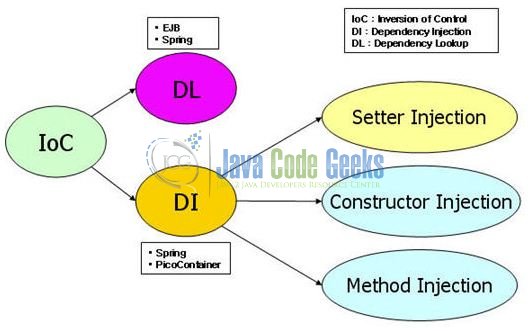
1.2.1 Dependency Injection (DI) Types
The two major flavors of the Dependency Injection (DI) are:
- Setter Injection: It is accomplished by the container calling the setter methods on the beans after invoking a no-argument constructor or a no-argument static factory method to instantiate the bean
- Constructor Injection: It is accomplished when the container invokes a class constructor with a number of arguments where each representing a dependency on the other class
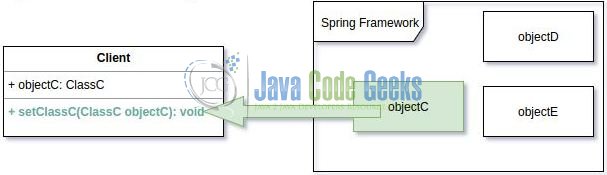
1.3 Setter Injection
Setter Injection is the preferable method of Dependency Injection (DI) in the spring framework. Setter-based DI is implemented by calling a setter method on the application’s bean. From the configuration point of view, Setter Injection is easier to understand because the property name being set is used as an attribute to the bean.
1.3.1 Example of Setter Injection in Spring Framework
In typical software development, classes collaborate with each other to achieve the desired functionality. For e.g. In an ATM (Automated Teller Machine) system, the ATM class and Printer class can collaborate with each other to print the balance information for a bank account.

Collaboration between classes is usually expressed as the dependency where the reference of one class is held by another class. For e.g. the ATM class holds a reference to the Printer class i.e.
public class ATM {
	private Printer printerObj;

	….
}
The dependencies need to be resolved before the desired functionality can be achieved. For e.g. By resolved we mean that an instance of the Printer class needs to be created and associated with the printerObj member in the ATM class. When the dependency resolution is not performed by the class itself but is left to be done by an external agent (such as Spring Framework) it is called as Dependency Injection.
In this example, spring will create an instance of the Printer class and associate that instance with the printerObj member in the ATM class. However as the printerObj member in the ATM class is private, the ATM class needs to expose its dependency to the spring framework for it to inject the Printer instance into the ATM class. For e.g. If the ATM class exposes its dependency on the Printer class as a setter method then the spring framework can inject the Printer object and is known as Setter Based Injection.
public class ATM {
	….

	public Printer getPrinter() {
		return printer;
	}
	public void setPrinter(Printer printer) {
		this.printer = printer;
	}
1.3.2 Setter vs. Constructor Injection
Below are the differences between Setter Injection and Constructor Injection:
- The fundamental difference between Setter and Constructor injection is how the dependency is injected. Setter injection in Spring uses the setter methods like
setDependency()to inject the dependency on any bean managed by the Spring’s IOC container. On the other hand, Constructor Injection uses the constructor to inject the dependency on any spring managed bean - In case of Setter-Injection developers can modify the properties using the setters method which is not possible in case of the constructor injection as every time a new object will be created
- Setter injection avoids the circular dependency between two objects i.e. If object
AandBare dependent on each other i.e.Adepends onBand vice-versa. Spring throws theObjectCurrentlyInCreationExceptionwhile creating the objects ofAandBbecause theAobject cannot be created until theBobject is created and vice-versa. So spring framework resolve the circular dependencies through the Setter Injection
Now, open up the Eclipse IDE and let’s see how to implement the setter injection in the spring framework!
2. Spring Setter Injection Example
2.1 Tools Used
We are using Eclipse Kepler SR2, JDK 8, MySQL and Maven. Having said that, we have tested the code against JDK 1.7 and it works well.
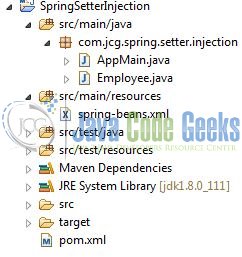
2.2 Project Structure
Firstly, let’s review the final project structure, in case you are confused about where you should create the corresponding files or folder later!
2.3 Project Creation
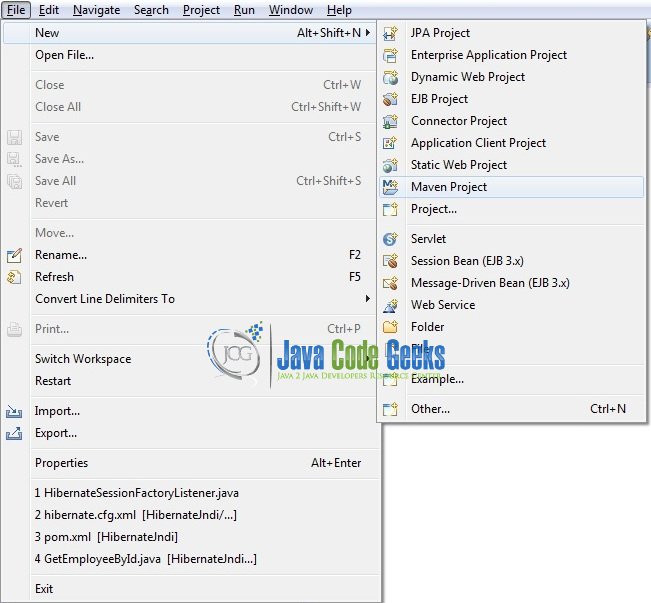
This section will demonstrate on how to create a Java-based Maven project with Eclipse. In Eclipse IDE, go to File -> New -> Maven Project.
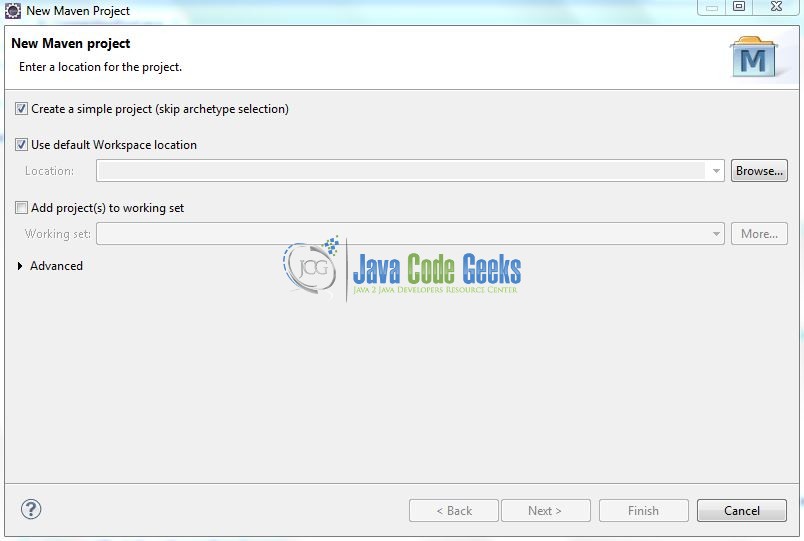
In the New Maven Project window, it will ask you to select project location. By default, ‘Use default workspace location’ will be selected. Select the ‘Create a simple project (skip archetype selection)’ checkbox and just click on next button to proceed.
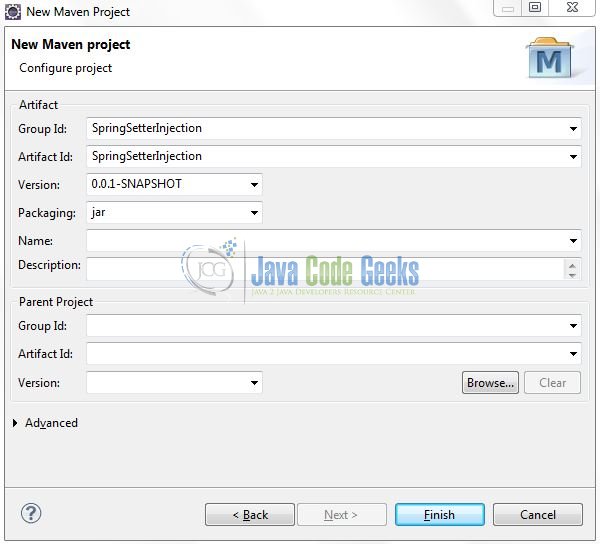
It will ask you to ‘Enter the group and the artifact id for the project’. We will input the details as shown in the below image. The version number will be by default: 0.0.1-SNAPSHOT.
Click on Finish and the creation of a maven project is completed. If you observe, it has downloaded the maven dependencies and a pom.xml file will be created. It will have the following code:
pom.xml
<project xmlns="http://maven.apache.org/POM/4.0.0" xmlns:xsi="http://www.w3.org/2001/XMLSchema-instance" xsi:schemaLocation="http://maven.apache.org/POM/4.0.0 http://maven.apache.org/xsd/maven-4.0.0.xsd">
	<modelVersion>4.0.0</modelVersion>
	<groupId>SpringSetterInjection</groupId>
	<artifactId>SpringSetterInjection</artifactId>
	<version>0.0.1-SNAPSHOT</version>
	<packaging>jar</packaging>
</project>
We can start adding the dependencies that developers want like Spring Core, Spring Context etc. Let’s start building the application!
3. Application Building
Below are the steps involved in developing this application.
3.1 Maven Dependencies
Here we will specify the required dependencies and the rest dependencies will be automatically resolved by Maven. The updated file will have the following code:
pom.xml
<project xmlns="http://maven.apache.org/POM/4.0.0" xmlns:xsi="http://www.w3.org/2001/XMLSchema-instance"
	xsi:schemaLocation="http://maven.apache.org/POM/4.0.0 http://maven.apache.org/xsd/maven-4.0.0.xsd">
	<modelVersion>4.0.0</modelVersion>
	<groupId>SpringSetterInjection</groupId>
	<artifactId>SpringSetterInjection</artifactId>
	<version>0.0.1-SNAPSHOT</version>
	<packaging>jar</packaging>
	<dependencies>
		<!-- Spring Framework Dependencies -->
		<dependency>
			<groupId>org.springframework</groupId>
			<artifactId>spring-core</artifactId>
			<version>4.0.6.RELEASE</version>
		</dependency>
		<dependency>
			<groupId>org.springframework</groupId>
			<artifactId>spring-context</artifactId>
			<version>4.0.6.RELEASE</version>
		</dependency>
	</dependencies>
	<build>
		<finalName>${project.artifactId}</finalName>
	</build>
</project>
3.2 Java Class Creation
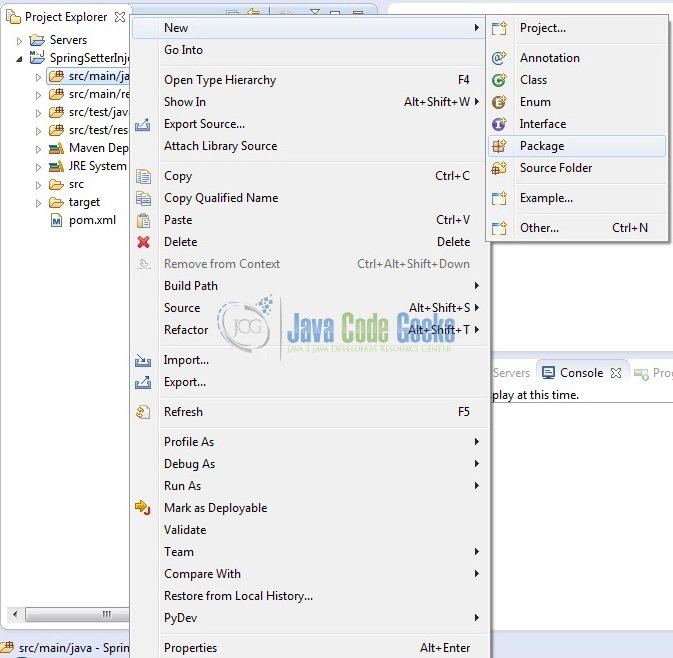
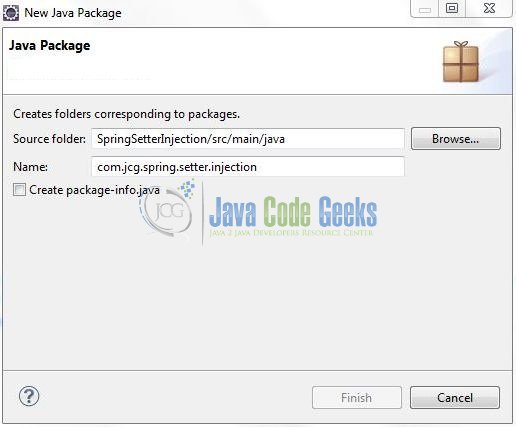
Let’s create the required Java files. Right-click on src/main/java folder, New -> Package.
A new pop window will open where we will enter the package name as: com.jcg.spring.setter.injection.

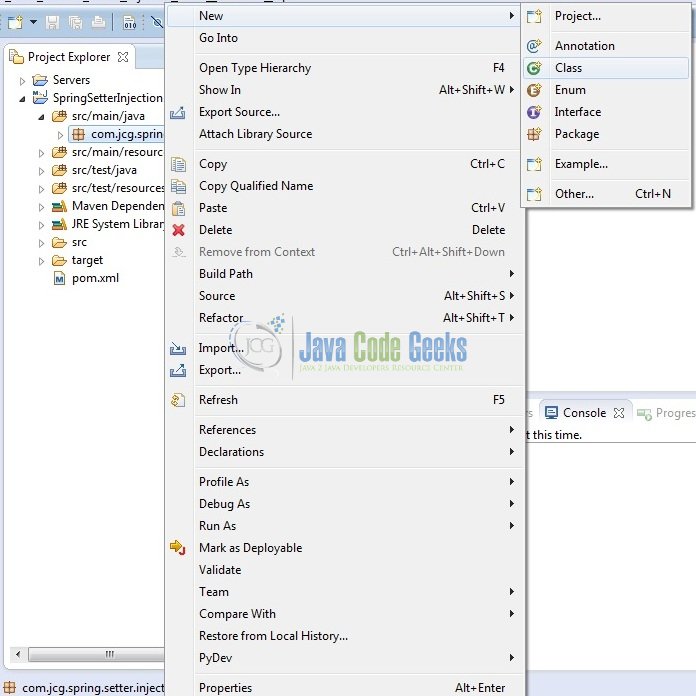
Once the package is created in the application, we will need to create the Model and the Implementation classes. Right-click on the newly created package: New -> Class.
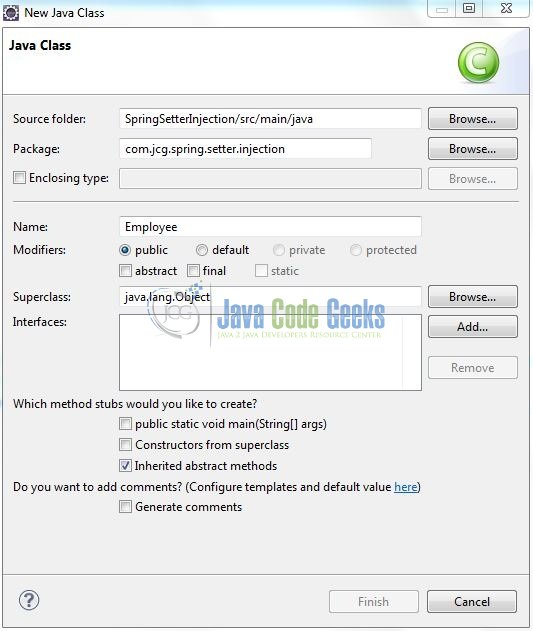
A new pop window will open and enter the file name as: Employee. The POJO class will be created inside the package: com.jcg.spring.setter.injection.
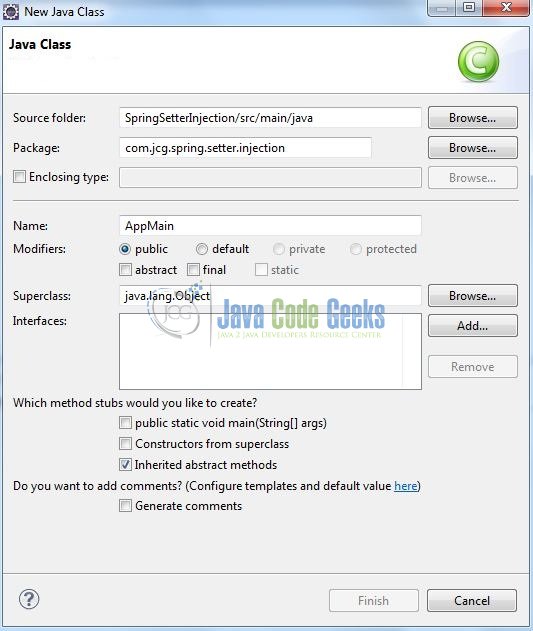
Repeat the step (i.e. Fig. 11) and enter the filename as: AppMain. The implementation class will get the bean from the spring context file and calls the showResult() method of the Employee bean class.
3.2.1 Implementation of Model Class
This POJO class contains the three fields and the showResult() method to display the employee information. Add the following code to it:
Employee.java
package com.jcg.spring.setter.injection;

public class Employee {

	private int emp_id;
	private String emp_fname;
	private String emp_city;

	// Dependency Injection By Setter Methods
	public int getEmp_id() {
		return emp_id;
	}

	public void setEmp_id(int emp_id) {
		this.emp_id = emp_id;
	}

	public String getEmp_fname() {
		return emp_fname;
	}

	public void setEmp_fname(String emp_fname) {
		this.emp_fname = emp_fname;
	}

	public String getEmp_city() {
		return emp_city;
	}

	public void setEmp_city(String emp_city) {
		this.emp_city = emp_city;
	}

	public void showResult() {
		System.out.println("\nEmployee Details? Id= " + emp_id + ", Name= " + emp_fname + ", City= " + emp_city);
	}
}
3.3.2 Implementation of Utility Class
This class will get the bean definition from the context file (i.e. spring-beans.xml) and calls the showResult() method of the Employee bean class to display the values injected through the setter. Add the following code to it:
AppMain.java
package com.jcg.spring.setter.injection;

import org.springframework.context.ApplicationContext;
import org.springframework.context.support.ClassPathXmlApplicationContext;

public class AppMain {

	@SuppressWarnings("resource")
	public static void main(String[] args) {

		ApplicationContext contextObj = new ClassPathXmlApplicationContext("spring-beans.xml");
		Employee empObj = (Employee) contextObj.getBean("employeeBean");
		empObj.showResult();
	}
}
3.3 Configuration File
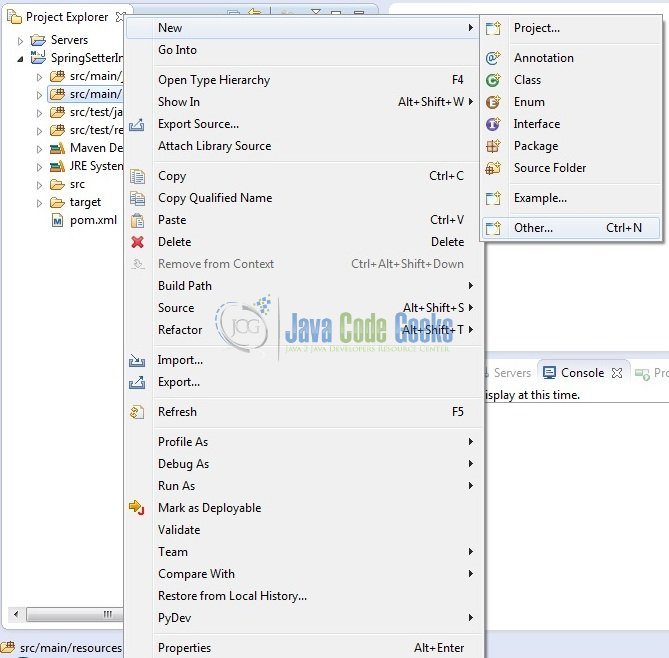
To configure the spring framework, we need to implement a bean configuration file i.e. spring-beans.xml which provides an interface between the basic Java class and the outside world. Right-click on SpringSetterInjection/src/main/resources folder, New -> Other.
A new pop window will open and select the wizard as an XML file.

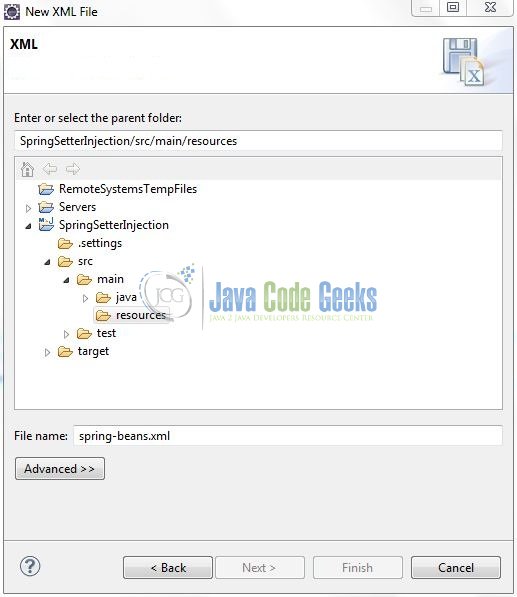
Again, a pop-up window will open. Verify the parent folder location as: SpringSetterInjection/src/main/resources and enter the file name as: spring-beans.xml. Click Finish.
Once the XML file is created, we will add the following code to it:
spring-beans.xml
<?xml version="1.0" encoding="UTF-8"?>
<beans xmlns="http://www.springframework.org/schema/beans" xmlns:xsi="http://www.w3.org/2001/XMLSchema-instance" xsi:schemaLocation="http://www.springframework.org/schema/beans     http://www.springframework.org/schema/beans/spring-beans-3.0.xsd">

    <!-- Definition For Employee Bean -->
    <bean id="employeeBean" class="com.jcg.spring.setter.injection.Employee">
        <!-- Injecting Primitive Values As Dependencies-->
        <property name="emp_id">
            <value>101</value>
        </property>
        <property name="emp_fname">
            <value>Daniel Atlas</value>
        </property>
        <property name="emp_city">
            <value>Greece</value>
        </property>
    </bean>
</beans>Notes:
Let’s look at some basic details:
- We have set the bean id as:
employeeBeanfor theEmployeeclass which will act as a reference for calling the said class - The employee details are set via the setter injection by using the
<property />tag. Thenamerefers to the property names of the corresponding bean and thevaluesub-element of<property />tag will assign the specified value
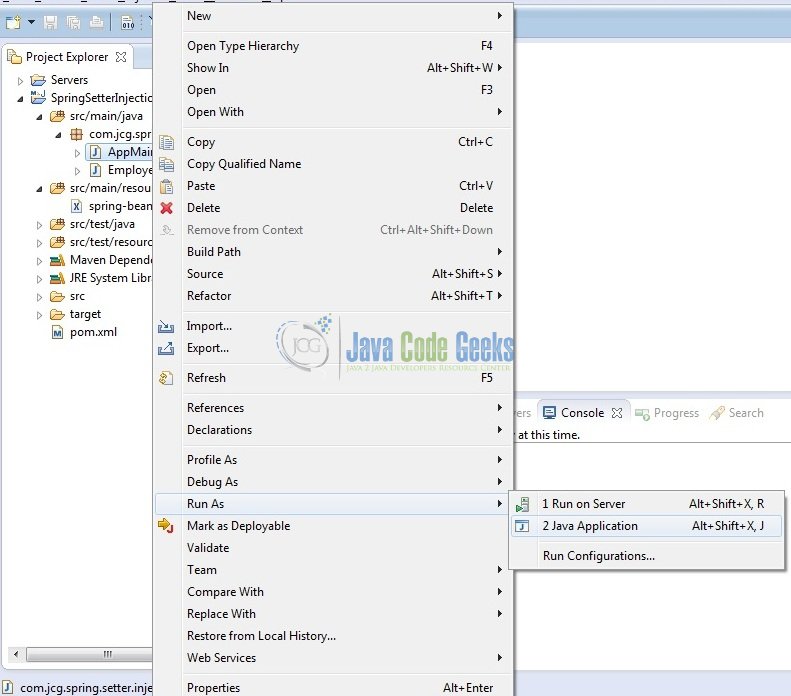
4. Run the Application
To run the application, Right click on the AppMain class, Run As -> Java Application. Developers can debug the example and see what happens after every step. Enjoy!
5. Project Demo
The code shows the following status as output.

That’s all for this post. Happy Learning!
6. Conclusion
This post defines the setter based injection in spring framework and helps developers understand the basic configuration required to achieve this. That’s all for this tutorial and I hope this article served you whatever you were looking for.
7. Download the Eclipse Project
This was an example of Spring Setter Injection for beginners.
You can download the full source code of this example here: SpringSetterInjection
