One of the most important development principles of the modern software design is the Dependency Injection (DI) which quite naturally flows out of another critically important principle called Modularity. This tutorial will explore a specific type of DI technique within the spring framework called Constructor-Based Dependency Injection which simply puts the required components into a class at the time of instantiation.
1. Introduction
1.1 Spring Framework
- Spring is an open-source framework created to address the complexity of an enterprise application development
- One of the chief advantages of the Spring framework is its layered architecture, which allows developer to be selective about which of its components they can use while providing a cohesive framework for
J2EEapplication development - Spring framework provides support and integration to various technologies for e.g.:
- Support for Transaction Management
- Support for interaction with the different databases
- Integration with the Object Relationship frameworks for e.g. Hibernate, iBatis etc
- Support for Dependency Injection which means all the required dependencies will be resolved with the help of containers
- Support for
RESTstyle web-services
1.2 Dependency Injection (DI)
Dependency Injection (DI) is a design pattern means injecting the dependency between the two objects as per the application’s requirement and helps to reduce the dependency to each other and provides independent unit testing of every object.
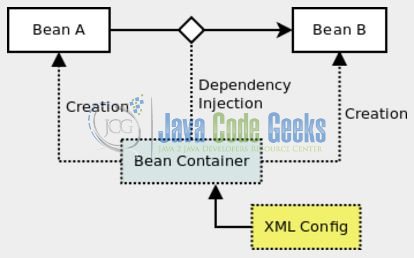
In an object oriented design, objects have a relationship with one another. A class (A) can have attributes and methods of class B. Those attributes are again the instances of another class (i.e. C). Now, if a class (A) wants to work and perform its objective, attributes of B should be instantiated.
There are different ways to instantiate an object and developers have seen a lot. A simple and a direct way is to use the new operator and call the constructor of the class C where an application will need that instance in the class A. Class A has obsolete control over the creation of class B attributes and decides which class to call and how to call.
Now, if developers outsource that instantiation and supplying an instance job to some third party i.e. class A needs the instance of class C to operate, but it outsources that responsibility to some third party. The designated third party decides the moment of creation and the type to use for creating the instance. The dependency between class A and class C will be injected by a third party and this complete agreement will involve some configuration information too. This whole process is called as Dependency Injection.
1.2.1 Difference between Dependency Injection (DI) and Factory
Factory design pattern and dependency injection may look related but let’s look at them with a microscopic view. If developers use a factory, the dependent class has the responsibility of creating the instance but the core of dependency injection is separating that responsibility to the external component.
Factory Example
class A {
private C obj;
public void someMethod() {
	...
	this.obj = MyObjectFactory.getC();
	...
     }
}
With DI the contract is different, i.e. passing the instance of C to get the job done. Thus the responsibility is with an external person to decide.
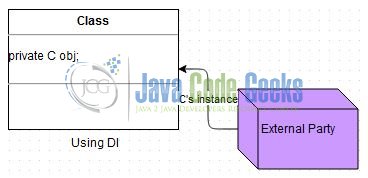
Dependency Injection Example
class A {
private C obj;
public void someMethod(C obj) {
	...
	this.obj = obj;
	...
    }
}
1.2.2 Dependency Injection (DI) Types
The two major flavors of the Dependency Injection (DI) are:
- Setter Injection: It is accomplished by the container calling the setter methods on the beans after invoking a no-argument constructor or a no-argument static factory method to instantiate the bean
- Constructor Injection: It is accomplished when the container invokes a class constructor with a number of arguments where each representing a dependency on the other class
1.2.3 Advantages of Dependency Injection (DI)
- Reducing the dependency to each other objects in an application
- Every object in an application could be individually unit tested with different mock implementations
- Loosely coupled and promotes decoupling of an application
- Promotes reusability of the code or objects in the different applications
- Promotes a logical abstraction of the components
Now, open up the Eclipse IDE and let’s see how to implement the constructor injection in the spring framework!
2. Spring Constructor Injection Example
2.1 Tools Used
We are using Eclipse Kepler SR2, JDK 8, MySQL and Maven. Having said that, we have tested the code against JDK 1.7 and it works well.
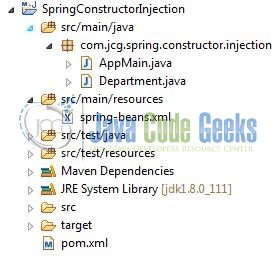
2.2 Project Structure
Firstly, let’s review the final project structure, in case you are confused about where you should create the corresponding files or folder later!
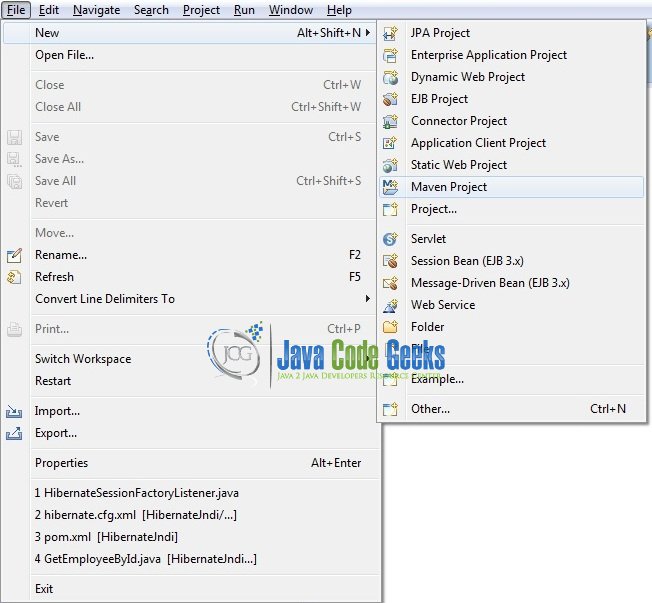
2.3 Project Creation
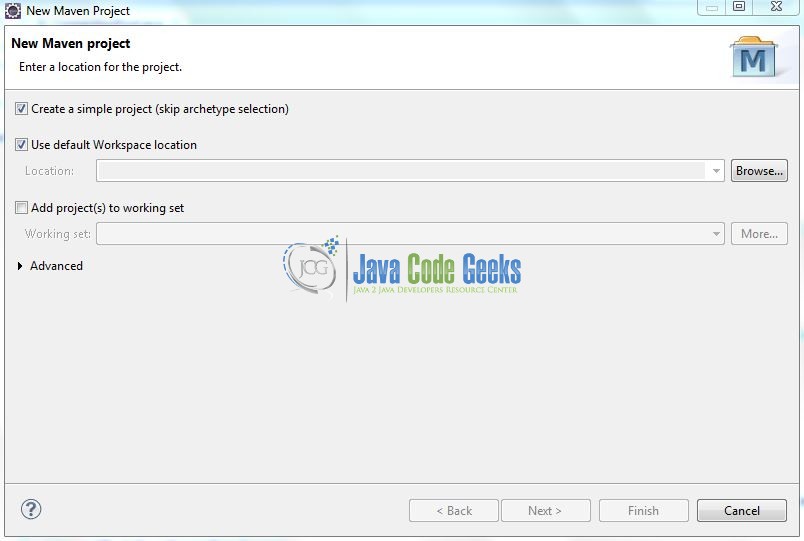
This section will demonstrate on how to create a Java based Maven project with Eclipse. In Eclipse IDE, go to File -> New -> Maven Project.
In the New Maven Project window, it will ask you to select project location. By default, ‘Use default workspace location’ will be selected. Select the ‘Create a simple project (skip archetype selection)’ checkbox and just click on next button to proceed.
It will ask you to ‘Enter the group and the artifact id for the project’. We will input the details as shown in the below image. The version number will be by default: 0.0.1-SNAPSHOT.
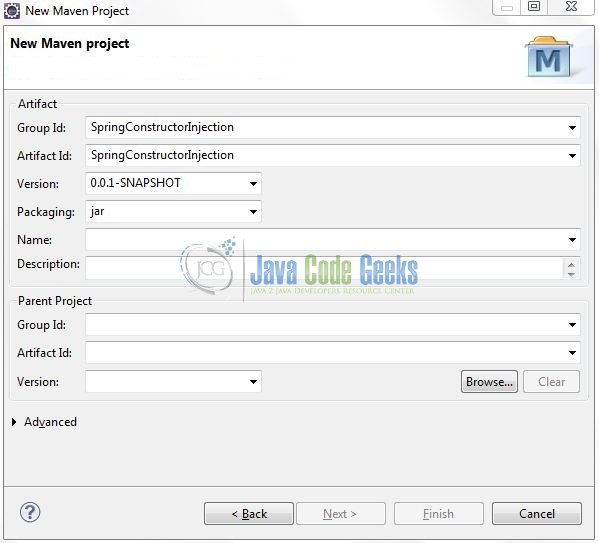
Click on Finish and the creation of a maven project is completed. If you observe, it has downloaded the maven dependencies and a pom.xml file will be created. It will have the following code:
pom.xml
<project xmlns="http://maven.apache.org/POM/4.0.0" xmlns:xsi="http://www.w3.org/2001/XMLSchema-instance" xsi:schemaLocation="http://maven.apache.org/POM/4.0.0 http://maven.apache.org/xsd/maven-4.0.0.xsd">
	<modelVersion>4.0.0</modelVersion>
	<groupId>SpringConstructorInjection</groupId>
	<artifactId>SpringConstructorInjection</artifactId>
	<version>0.0.1-SNAPSHOT</version>
	<packaging>jar</packaging>
</project>
We can start adding the dependencies that developers want like Spring Core, Spring Context etc. Let’s start building the application!
3. Application Building
Below are the steps involved in developing this application.
3.1 Maven Dependencies
Here we will specify the required dependencies and the rest dependencies will be automatically resolved by Maven. The updated file will have the following code:
pom.xml
<project xmlns="http://maven.apache.org/POM/4.0.0" xmlns:xsi="http://www.w3.org/2001/XMLSchema-instance"
	xsi:schemaLocation="http://maven.apache.org/POM/4.0.0 http://maven.apache.org/xsd/maven-4.0.0.xsd">
	<modelVersion>4.0.0</modelVersion>
	<groupId>SpringConstructorInjection</groupId>
	<artifactId>SpringConstructorInjection</artifactId>
	<version>0.0.1-SNAPSHOT</version>
	<packaging>jar</packaging>
	<dependencies>
		<!-- Spring Framework Dependencies -->
		<dependency>
			<groupId>org.springframework</groupId>
			<artifactId>spring-core</artifactId>
			<version>4.0.6.RELEASE</version>
		</dependency>
		<dependency>
			<groupId>org.springframework</groupId>
			<artifactId>spring-context</artifactId>
			<version>4.0.6.RELEASE</version>
		</dependency>
	</dependencies>
	<build>
		<finalName>${project.artifactId}</finalName>
	</build>
</project>
3.2 Java Class Creation
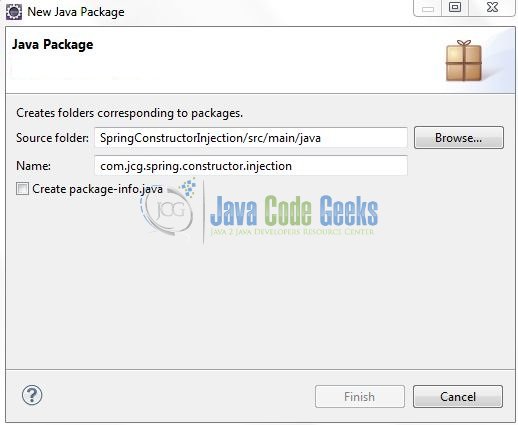
Let’s create the required Java files. Right-click on src/main/java folder, New -> Package.
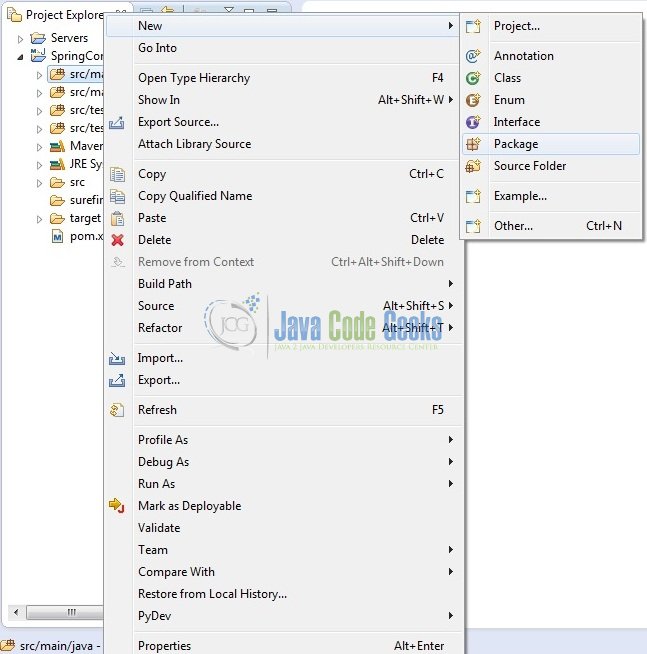
A new pop window will open where we will enter the package name as: com.jcg.spring.constructor.injection.
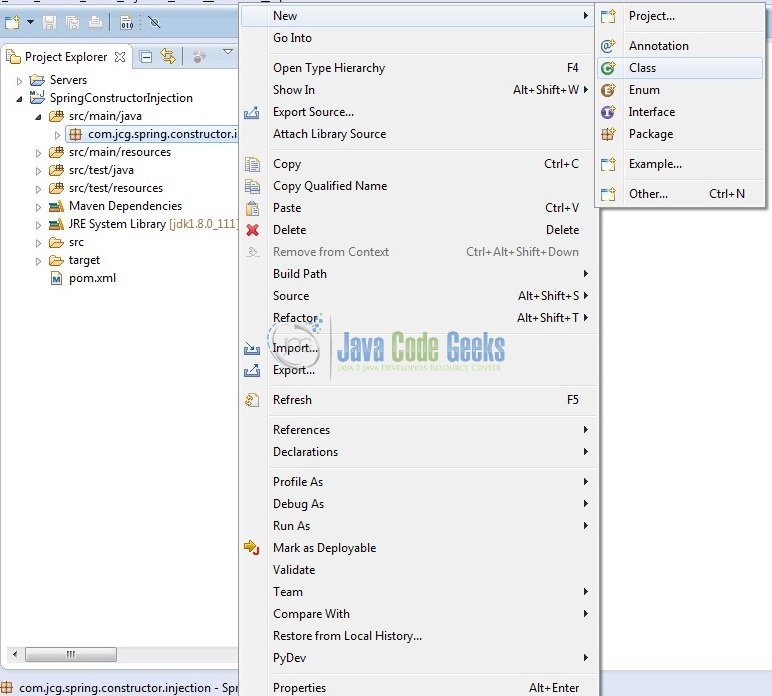
Once the package is created in the application, we will need to create the Model and the Implementation classes. Right-click on the newly created package: New -> Class.
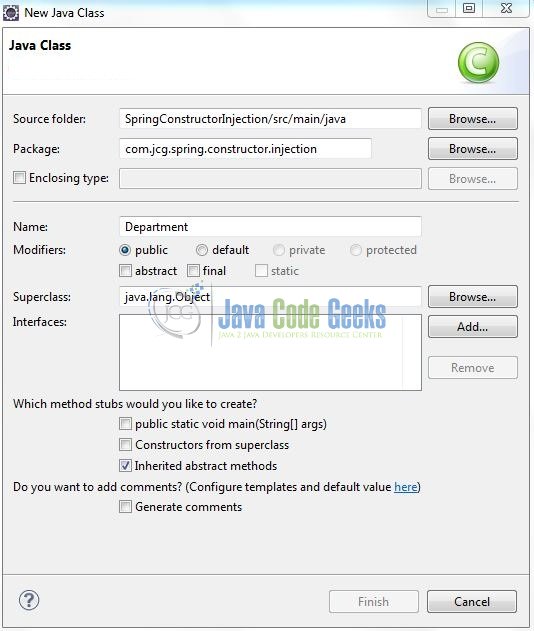
A new pop window will open and enter the file name as: Department. The POJO class will be created inside the package: com.jcg.spring.constructor.injection.

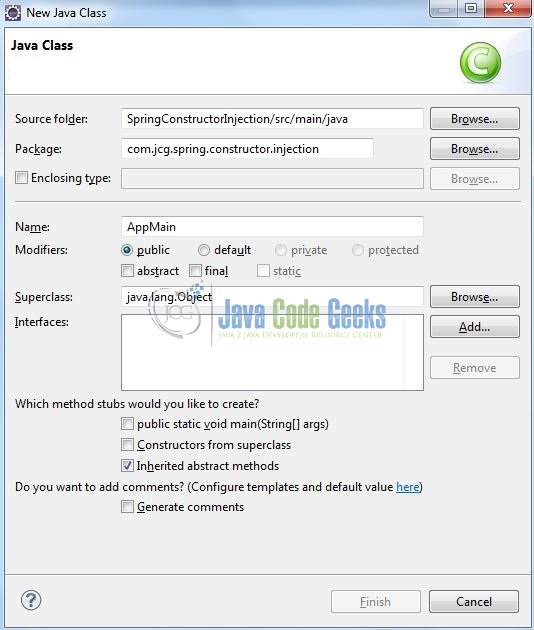
Repeat the step (i.e. Fig. 10) and enter the filename as AppMain. The implementation class will get the bean from the spring context file and calls the showResult() method of the Department bean class.
3.2.1 Implementation of Model Class
This POJO class contains the three fields and the constructor method. Add the following code to it:
Department.java
package com.jcg.spring.constructor.injection;

import java.util.Map;

public class Department {

	private int departmentId;
	private String departmentName;
	private Map<String, String> employee;

	public Department() { }

	public Department(int dept_id, String dept_name, Map<String, String>dept_employee) {
		this.departmentId = dept_id;
		this.departmentName = dept_name;
		this.employee = dept_employee;
	}

	public int getDepartmentId() {
		return departmentId;
	}

	public void setDepartmentId(int departmentId) {
		this.departmentId = departmentId;
	}

	public String getDepartmentName() {
		return departmentName;
	}

	public void setDepartmentName(String departmentName) {
		this.departmentName = departmentName;
	}

	public Map<String, String> getEmployee() {
		return employee;
	}

	public void setEmployee(Map<String, String> employee) {
		this.employee = employee;
	}

	public void showResult() {
		System.out.println("\nDepartment Details? Id= " + departmentId + ", Name= " + departmentName);
		System.out.println("\nEmployee Details?\n");
		for (Map.Entry<String, String> mapValue : employee.entrySet()) {
			System.out.println("Designation= " + mapValue.getKey() + ", Name= " + mapValue.getValue());
		}
	}
}
3.3.2 Implementation of Utility Class
This class will get the bean from the context file (i.e. spring-beans.xml) and calls the showResult() method of the Department bean class. Add the following code to it:
AppMain.java
package com.jcg.spring.constructor.injection;

import org.springframework.context.ApplicationContext;
import org.springframework.context.support.ClassPathXmlApplicationContext;

public class AppMain {

	@SuppressWarnings("resource")
	public static void main(String[] args) {

		ApplicationContext contextObj = new ClassPathXmlApplicationContext("spring-beans.xml");
		Department deptObj = (Department) contextObj.getBean("departmentBean");
		deptObj.showResult();
	}
}
3.3 Configuration File
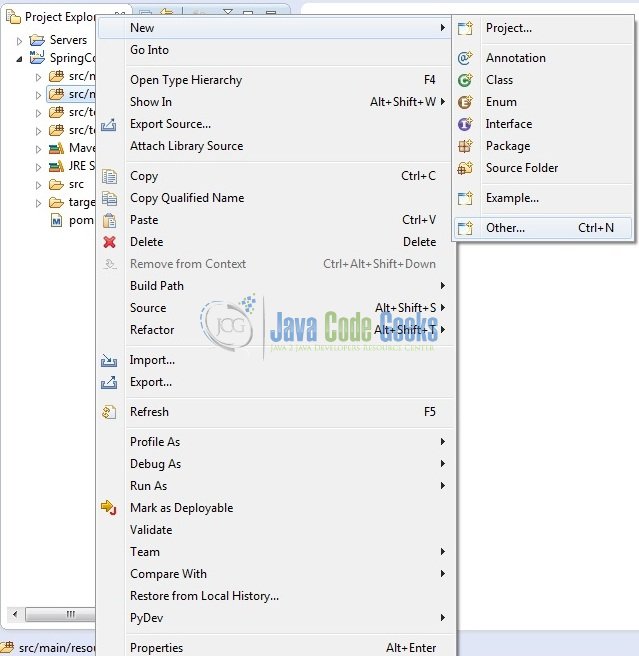
To configure the spring framework, we need to implement a bean configuration file i.e. spring-beans.xml which provides an interface between the basic Java class and the outside world. Right-click on SpringConstructorInjection/src/main/resources folder, New -> Other.
A new pop window will open and select the wizard as an XML file.
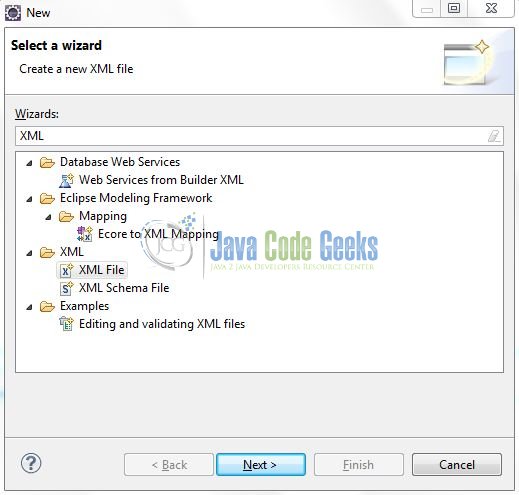
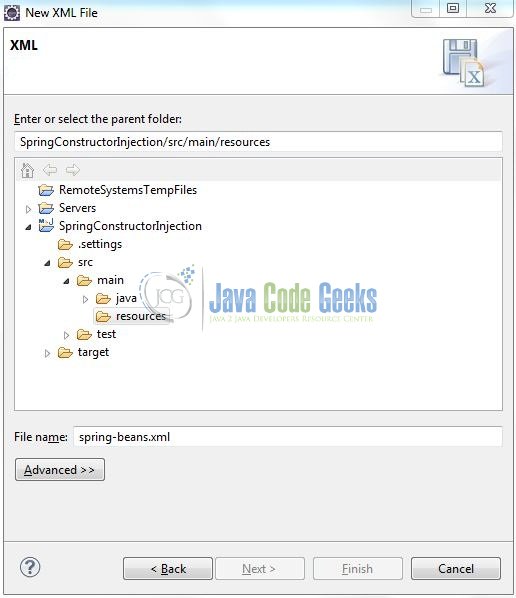
Again, a pop-up window will open. Verify the parent folder location as: SpringConstructorInjection/src/main/resources and enter the file name as: spring-beans.xml. Click Finish.
Once the XML file is created, we will add the following code to it:
spring-beans.xml
<?xml version="1.0" encoding="UTF-8"?>
<beans xmlns="http://www.springframework.org/schema/beans" xmlns:xsi="http://www.w3.org/2001/XMLSchema-instance" xsi:schemaLocation="http://www.springframework.org/schema/beans     http://www.springframework.org/schema/beans/spring-beans-3.0.xsd">

   <!-- Definition For Department Bean -->
   <bean id="departmentBean" class="com.jcg.spring.constructor.injection.Department">
      <constructor-arg type="int" value="101" />
      <constructor-arg type="java.lang.String" value="Technical Writer Team" />
      <constructor-arg>
         <map>
            <entry key="Senior Manager" value="Java Code Geek" />
            <entry key="Manager" value="Daniel Atlas" />
            <entry key="Developer" value="Harry Potter" />
         </map>
      </constructor-arg>
   </bean>
</beans>Notes:
Let’s look at some basic details:
- The department details are set by the constructor injection with the
<constructor-arg />tag. Thenameattribute refers to the property names of the corresponding beans - The
<constructor-arg />tag also provides another attribute namelytype. With this attribute, developers can specify the type of arguments and set their values
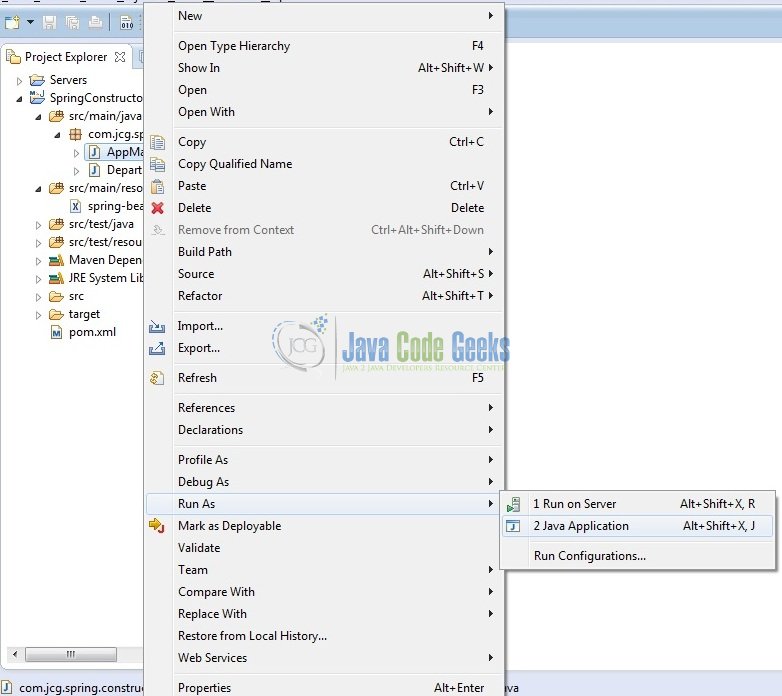
4. Run the Application
To run the application, Right click on the AppMain class, Run As -> Java Application. Developers can debug the example and see what happens after every step. Enjoy!
5. Project Demo
The code shows the following status as output.
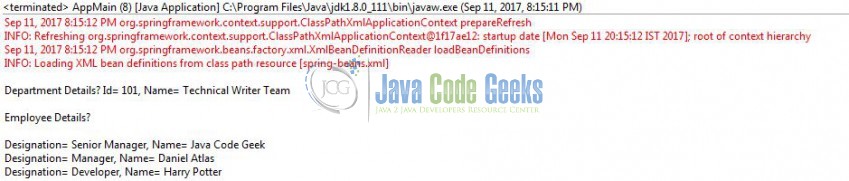
That’s all for this post. Happy Learning!
6. Conclusion
This post defines the constructor based injection in spring framework and helps developers understand the basic configuration required to achieve this. That’s all for this tutorial and I hope this article served you whatever you were looking for.
7. Download the Eclipse Project
This was an example of Spring Constructor Injection for beginners.
You can download the full source code of this example here: SpringConstructorInjection
