In this article, we will show you the Spring caching through examples.
Caching is crucial for today’s high-performance hungry applications. Adding Caching in a spring-based application is rather trivial. In this tutorial, we will show you how to enable data caching in a spring application by integrating the application with the popular EhCache framework.
Table Of Contents
1. Introduction
1.1 Spring Framework
- Spring is an open-source framework created to address the complexity of an enterprise application development
- One of the chief advantages of the Spring framework is its layered architecture, which allows developers to be selective about which of its components they can use while providing a cohesive framework for
J2EEapplication development - Spring framework provides support and integration to various technologies for e.g.:
- Support for Transaction Management
- Support for interaction with the different databases
- Integration with the Object Relationship frameworks for e.g. Hibernate, iBatis etc
- Support for Dependency Injection which means all the required dependencies will be resolved with the help of containers
- Support for
RESTstyle web-services
1.2 Spring Cache
- Spring framework provides support for transparently adding the caching to an application at the startup time, thereby increasing the application performance
- This is an abstract framework where spring only provides the layer where other third-party caching implementations can be easily plugged for storing the data
- In short, the cache storage is not implemented by the spring framework whereas enabling and caching is supported by the spring out of the box
- Caching is supported for the methods and it works well if the method returns the same result for the given input for the multiple invocations
1.2.1 Cache Providers in Spring Framework
Developers know that the actual implementation of the cache is by the third party library and spring framework provides only the abstraction layer for enabling that specific cache implementation to store the data. So there are the following caches that are supported by the spring framework:
- JDK (i.e.
java.util.concurrent.ConcurrentMap) Based Caches - EhCache 2.x
- Gemfire Cache
- Guava Cache
- JCache (JSR 107)
- Infinispan
- Couchbase
1.2.2 Cache Annotations in Spring Framework
The following below is the list of Spring Caching Annotations. These are specific to the spring framework and apart from that, there are few more annotations that are implemented as part of the JCache (JSR – 107). Let us take a closer look at each annotation:
- Enable Cache: This tag enables the caching because caching in spring is not enabled by default. The caching feature can be declaratively enabled by simply adding the
@EnableCachingannotation to any of the configuration classes. Here is an example:@EnableCaching public class SpringCacheImplementation { public static void main(String[] args) { applicationObj.run(SpringCacheImplementation.class, args); } }In an
XML, developers can also enable the caching by using the below tag:<cache:annotation-driven />
- Cache Configurations: This tag configures the cache manager where the backing data is to be stored and retrieved for the quick response
- Caching Declarations: This tag Identifies the methods that have to be cached and defines their caching policy
After enabling the cache developers can use the below list of declarative annotations:
- Cacheable: The
@Cacheableannotation is one of the most important and common annotation for caching the requests. If developers annotate a method with@Cacheableannotation and multiple requests are received by the application, then this annotation will not execute the method multiple times, instead, it will send the result from the cached storage. Here is an example:@Cacheable(value="cities") public List findAllCity(){ return (List) cityRepository.findAll(); } - CachePut: The
@CachePutannotation helps for updating the cache with the latest execution without stopping the method execution. The primary difference between the@Cacheableand the@CachePutannotation is that@Cacheablewill skip running the method whereas@CachePutwill actually run the method and then put its results in the cache. Here is an example:@CachePut(value="cities") public List findAllCity(){ return (List) cityRepository.findAll(); }Do note, it is not recommended to use both the annotations for the same method as it will result in the unexpected results
- CacheEvict: The
@CacheEvictannotation is used for removing a single cache or clearing the entire cache from the cache storage so that fresh values can be loaded into the cache again. If developers set theallEntries=true, then the entire cache will be cleared. Here is an example:@CacheEvict(value="cities", allEntries=true) public List findAllCity(){ return (List) cityRepository.findAll(); } - Caching: What if developers want to use the multiple annotations of the same type for caching a method? The
@Cachingannotation is used for grouping the multiple annotations of the same type together when one annotation is not sufficient for the specifying the suitable condition. For e.g., Developers can put the multiple@CacheEvictor@CachePutannotations inside the@Cachingannotation to narrow down the conditions as they need. Here is an example:@Caching(evict = {@CacheEvict("cities"), @CacheEvict(value="city-list", key="#city.name") }) public List findAllCity(){ return (List) cityRepository.findAll(); }
1.3 EhCache
Ehcache is one of the most popular caching implementation available as the open source caching implementation. This is located under the package: org.springframework.cache.ehcache. To use it, developers simply need to declare the appropriate CacheManager. Here is an example:
<bean id="cacheManager" class="org.springframework.cache.ehcache.EhcacheCacheManager" p:cache-manager="ehcache"/>

<!-- Ehcache Library Setup -->
<bean id="ehcache" class="org.springframework.cache.ehcache.EhCacheManagerFactoryBean" p:config-location="ehcache.xml"/>
Do note, ehcache.xml should be present in the classpath or any other location where the spring application can load it without any issues. This configuration file provides details about the cache size, file name etc.
Now, open up the Eclipse IDE and let’s see how to implement the cache in the spring framework!
2. Spring Caching Tutorial
2.1 Tools Used
We are using Eclipse Kepler SR2, JDK 8, MySQL and Maven. Having said that, we have tested the code against JDK 1.7 and it works well.
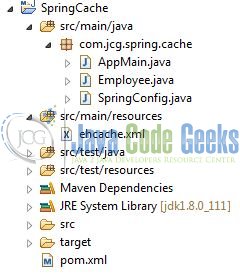
2.2 Project Structure
Firstly, let’s review the final project structure, in case you are confused about where you should create the corresponding files or folder later!
2.3 Project Creation
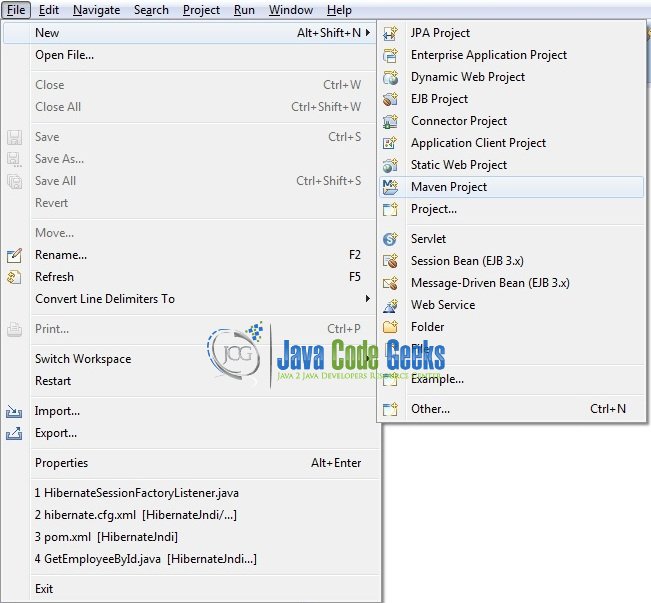
This section will demonstrate on how to create a Java-based Maven project with Eclipse. In Eclipse IDE, go to File -> New -> Maven Project.
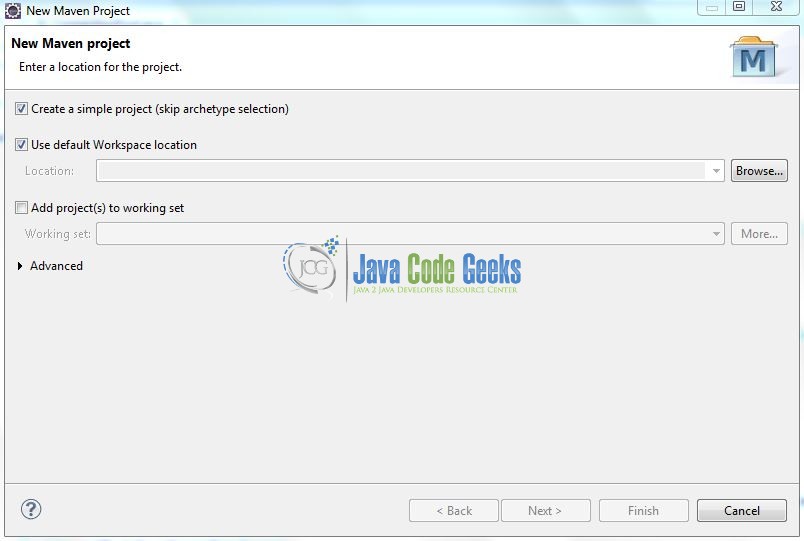
In the New Maven Project window, it will ask you to select the project location. By default, ‘Use default workspace location’ will be selected. Select the ‘Create a simple project (skip archetype selection)’ checkbox and just click on next button to proceed.
It will ask you to ‘Enter the group and the artifact id for the project’. We will input the details as shown in the below image. The version number will be by default: 0.0.1-SNAPSHOT.
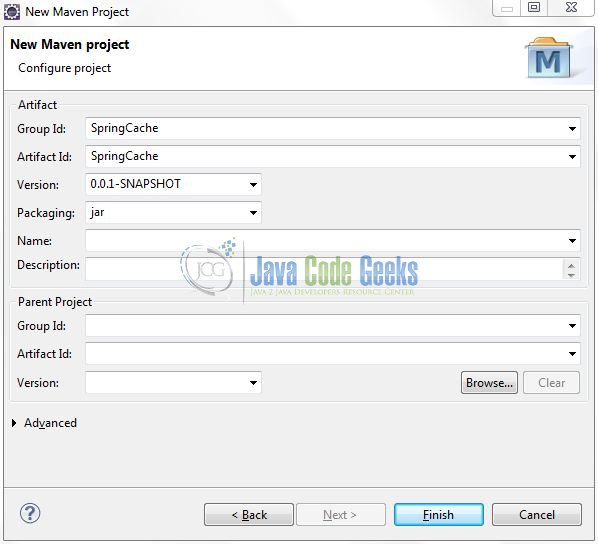
Click on Finish and the creation of a maven project is completed. If you observe, it has downloaded the maven dependencies and a pom.xml file will be created. It will have the following code:
pom.xml
<project xmlns="http://maven.apache.org/POM/4.0.0" xmlns:xsi="http://www.w3.org/2001/XMLSchema-instance" xsi:schemaLocation="http://maven.apache.org/POM/4.0.0 http://maven.apache.org/xsd/maven-4.0.0.xsd">
	<modelVersion>4.0.0</modelVersion>
	<groupId>SpringCache</groupId>
	<artifactId>SpringCache</artifactId>
	<version>0.0.1-SNAPSHOT</version>
	<packaging>jar</packaging>
</project>
We can start adding the dependencies that developers want like Spring Core, Spring Context, EhCache etc. Let’s start building the application!
3. Application Building
Below are the steps involved in developing this application.
3.1 Maven Dependencies
Here we will specify the required dependencies and the rest dependencies will be automatically resolved by Maven. The updated file will have the following code:
pom.xml
<project xmlns="http://maven.apache.org/POM/4.0.0" xmlns:xsi="http://www.w3.org/2001/XMLSchema-instance"
	xsi:schemaLocation="http://maven.apache.org/POM/4.0.0 http://maven.apache.org/xsd/maven-4.0.0.xsd">
	<modelVersion>4.0.0</modelVersion>
	<groupId>SpringCache</groupId>
	<artifactId>SpringCache</artifactId>
	<version>0.0.1-SNAPSHOT</version>
	<packaging>jar</packaging>
	<dependencies>
		<!-- Spring Framework Dependencies -->
		<dependency>
			<groupId>org.springframework</groupId>
			<artifactId>spring-core</artifactId>
			<version>4.3.0.RELEASE</version>
		</dependency>
		<dependency>
			<groupId>org.springframework</groupId>
			<artifactId>spring-context</artifactId>
			<version>4.3.0.RELEASE</version>
		</dependency>
		<!-- Spring Framework Dependency For EhCache & Others -->
		<dependency>
			<groupId>org.springframework</groupId>
			<artifactId>spring-context-support</artifactId>
			<version>4.1.4.RELEASE</version>
		</dependency>
		<!-- EhCache Dependency -->
		<dependency>
			<groupId>net.sf.ehcache</groupId>
			<artifactId>ehcache</artifactId>
			<version>2.10.2.2.21</version>
		</dependency>
	</dependencies>
	<build>
		<finalName>${project.artifactId}</finalName>
	</build>
</project>
3.2 Java Class Creation
Let’s create the required Java files. Right-click on src/main/java folder, New -> Package.
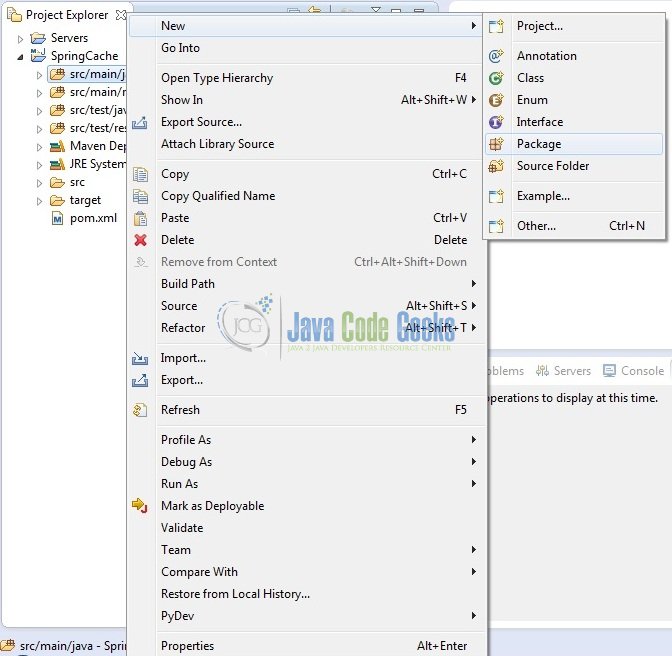
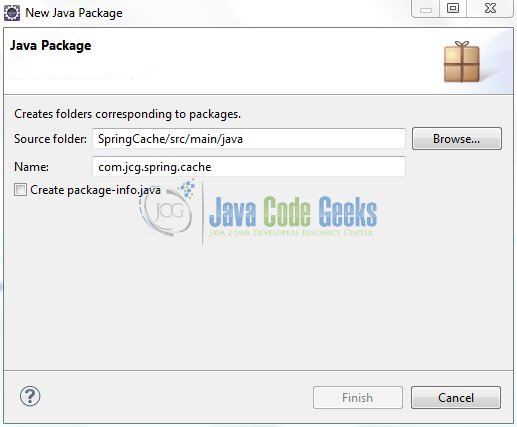
A new pop window will open where we will enter the package name as: com.jcg.spring.cache.
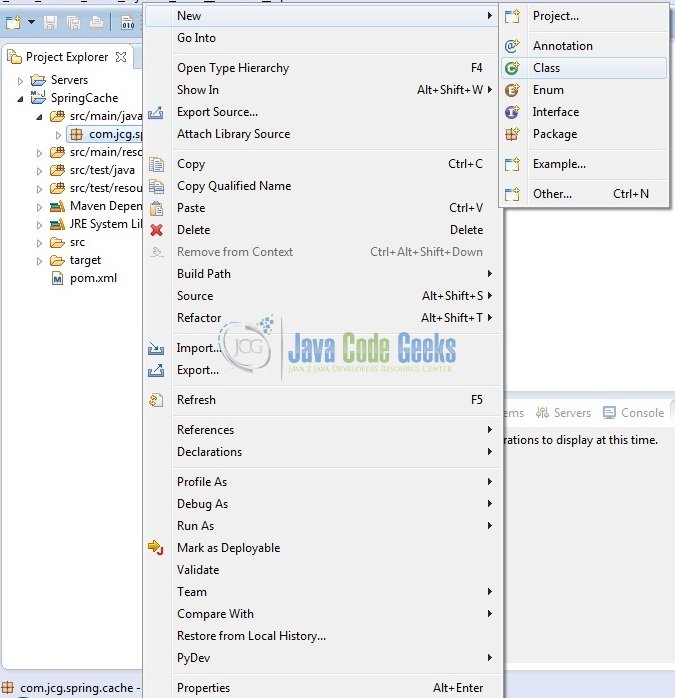
Once the package is created in the application, we will need to create the Model, the Cache Configuration, and the Implementation classes. Right-click on the newly created package: New -> Class.
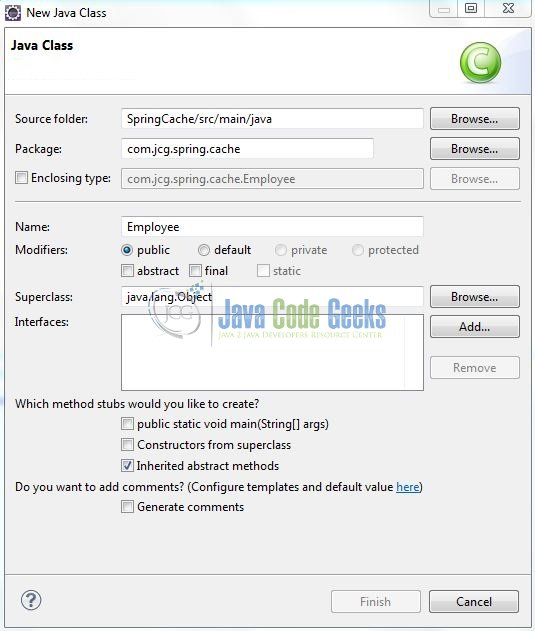
A new pop window will open and enter the file name as: Employee. The model class will be created inside the package: com.jcg.spring.cache.
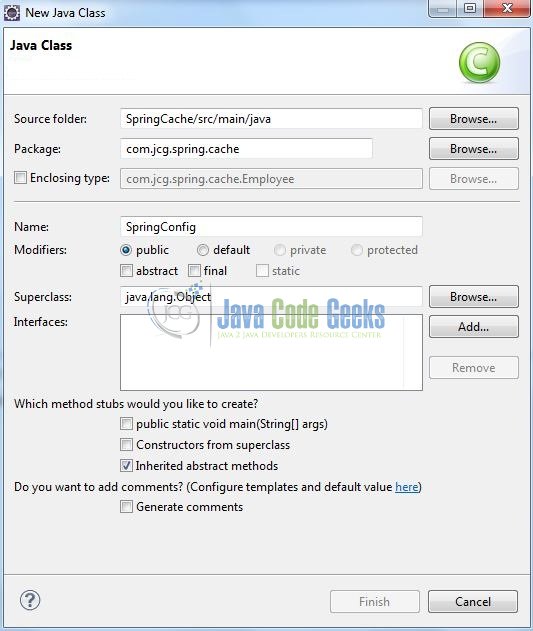
Repeat the step (i.e. Fig. 7) and enter the filename as: SpringConfig. The cache configuration class enables the caching with the help of @EnableCaching tag and declares the EhCacheCacheManager.

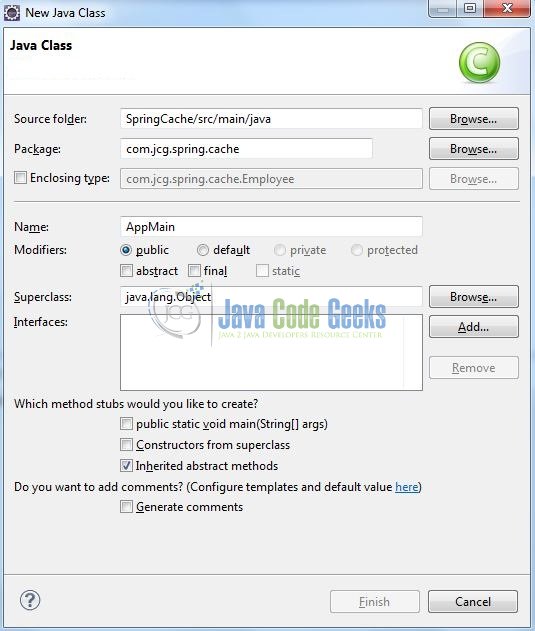
Again, repeat the step (i.e. Fig. 7) and enter the filename as: AppMain. The implementation class will get the bean from the cache configuration and calls the getEmployeeName() method of the Employee bean class.
3.2.1 Implementation of Model Class
In this example, we have a cache named as employeeCache in ehcache.xml and this same name is provided in the @Cacheable annotation. Spring framework will hit the getEmployeeName() method for the first time and the result of this method will be cached and for the same argument value, the framework will not hit the method every time. Once the cache is expired, then the spring framework will hit the method again for the same argument value.
Add the following code to it:
Employee.java
package com.jcg.spring.cache;

import org.springframework.cache.annotation.Cacheable;

public class Employee  {

	private String emp_name = "";

	//This 'employeeCache' Is Declared In The 'ehcache.xml'
	@Cacheable(value="employeeCache")
	public String getEmployeeName(int emp_id) {
		if(emp_id == 101) {
			emp_name = "Java Code Geek";
		} else {
			emp_name = "Daniel Atlas";
		}
		return emp_name;
	}
}
3.2.2 Implementation of Cache Configuration Class
This class will be annotated with @EnableCaching annotation and developers need to create the bean for EhCacheManagerFactoryBean and EhCacheCacheManager class. Add the following code to it:
SpringConfig.java
package com.jcg.spring.cache;

import org.springframework.beans.factory.annotation.Configurable;
import org.springframework.cache.CacheManager;
import org.springframework.cache.annotation.EnableCaching;
import org.springframework.cache.ehcache.EhCacheCacheManager;
import org.springframework.cache.ehcache.EhCacheManagerFactoryBean;
import org.springframework.context.annotation.Bean;
import org.springframework.core.io.ClassPathResource;

@Configurable @EnableCaching
public class SpringConfig {

	private static EhCacheManagerFactoryBean cacheManagerfactoryBean;

	@Bean
	public Employee getEmployee(){
		return  new Employee();
	}

	@Bean
	public CacheManager getEhCacheManager() {
		return  new EhCacheCacheManager(getEhCacheFactory().getObject());
	}

	@Bean
	public EhCacheManagerFactoryBean getEhCacheFactory() {
		cacheManagerfactoryBean = new EhCacheManagerFactoryBean();
		cacheManagerfactoryBean.setShared(true);
		cacheManagerfactoryBean.setConfigLocation(new ClassPathResource("ehcache.xml"));
		return cacheManagerfactoryBean;
	}
}
3.2.3 Implementation of Utility Class
This class will get the bean from the cache configuration and calls the getEmployeeName() method of the Employee bean class to display the values. Add the following code to it:
AppMain.java
package com.jcg.spring.cache;

import org.springframework.context.annotation.AnnotationConfigApplicationContext;

public class AppMain {

	static int emp_id;

	public static void main(String[] args) {

		AnnotationConfigApplicationContext  contextObj = new AnnotationConfigApplicationContext ();
		contextObj.register(SpringConfig.class);
		contextObj.refresh();

		Employee empObj = (Employee) contextObj.getBean(Employee.class);

		// Calling 'getEmployeeName' Method For The First Time.
		emp_id = 101;
		System.out.println("Fetching Employee Name With Id?= " + emp_id);
		System.out.println("Name?= " + empObj.getEmployeeName(emp_id));

		// Calling 'getEmployeeName' Method For The Second Time & This Time Method Will Not Execute As Result Will Be Fetched From Cache.
		System.out.println("\n!--- Again Fetching Employee Name With Id?= " + emp_id + ". Result Will Be Fetched From The Cache ---!");
		System.out.println("Name?= " + empObj.getEmployeeName(emp_id));

		// Calling 'getEmployeeName' Method For The Third Time With A Different Value.
		emp_id = 102;
		System.out.println("\nFetching Employee Name With Id?= " + emp_id);
		System.out.println("Name?= " + empObj.getEmployeeName(emp_id));

		// Closing The Spring Context.
		contextObj.close();
	}
}
3.3 EhCache Configuration File
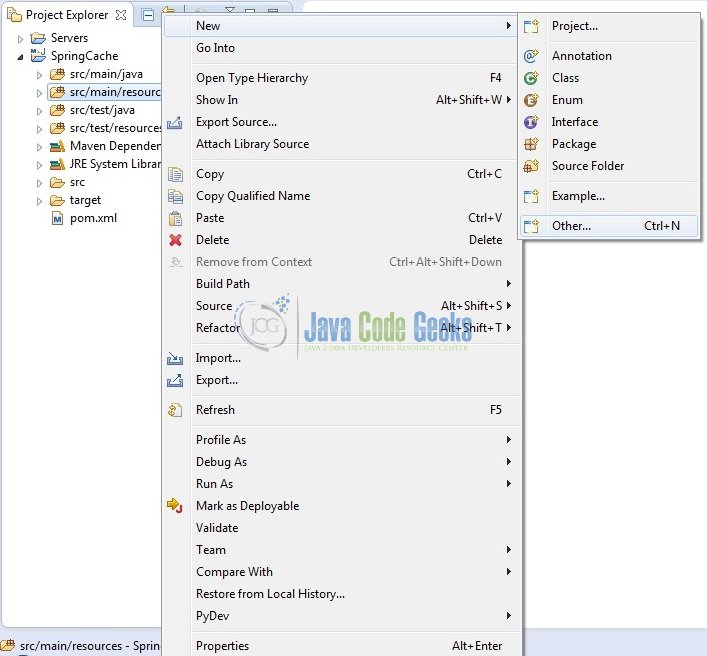
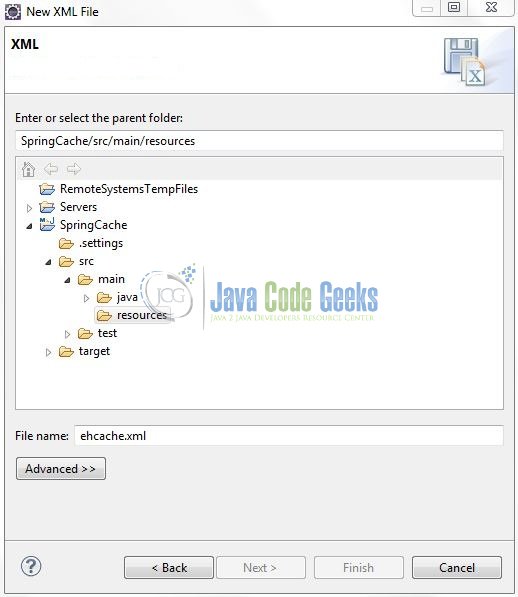
To configure the ehcache, developers need to implement a configuration file i.e. ehcache.xml which provides the cache implementations to the spring application. Right-click on SpringCache/src/main/resources folder, New -> Other.
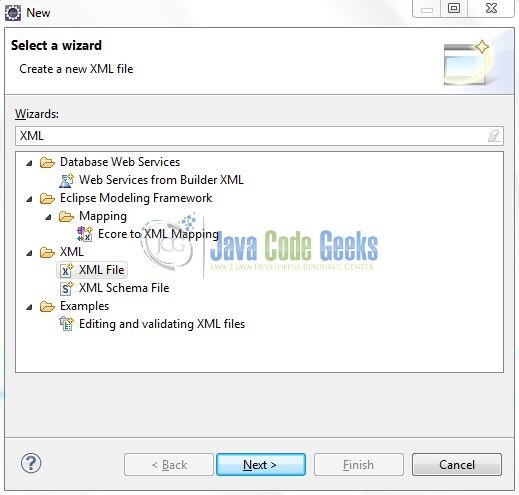
A new pop window will open and select the wizard as an XML file.
Again, a pop-up window will open. Verify the parent folder location as: SpringCache/src/main/resources and enter the file name as: ehcache.xml. Click Finish.
Once the XML file is created, we will add the following code to it:
ehcache.xml
<?xml version="1.0" encoding="UTF-8"?>
<ehcache xmlns:xsi="http://www.w3.org/2001/XMLSchema-instance" xsi:noNamespaceSchemaLocation="ehcache.xsd" updateCheck="true" monitoring="autodetect" dynamicConfig="true">
    <cache name="employeeCache" maxEntriesLocalHeap="5000" maxEntriesLocalDisk="1000" eternal="false" diskSpoolBufferSizeMB="20" timeToIdleSeconds="200" timeToLiveSeconds="500" memoryStoreEvictionPolicy="LFU" transactionalMode="off">
        <persistence strategy="localTempSwap" />
    </cache>
</ehcache>
Notes:
Let’s look at some basic details:
- Here, a maximum of 5000 elements will be cached in the memory and after that, they will overflow to the local disk
- Any element will expire if it is idle for more than 200 seconds and it will be alive for more than 500 seconds
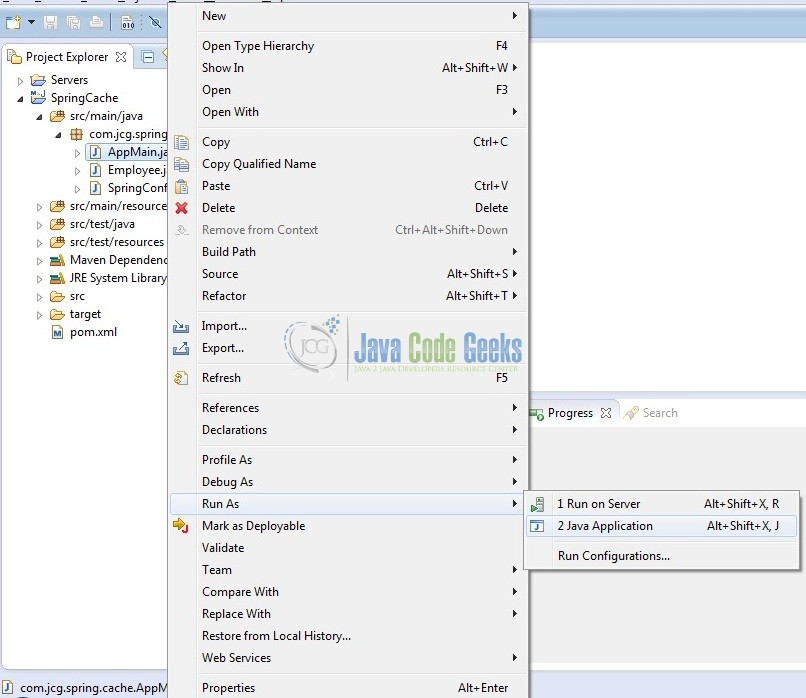
4. Run the Application
To run the application, Right click on the AppMain class, Run As -> Java Application. Developers can debug the example and see what happens after every step. Enjoy!
5. Project Demo
The application will hit the getEmployeeName() method by passing the emp_id value as an argument for the first time. But for the next hit, if the developers pass the same argument value, the application will fetch the result from the cache but not by running the action method. The code shows the following status as output.
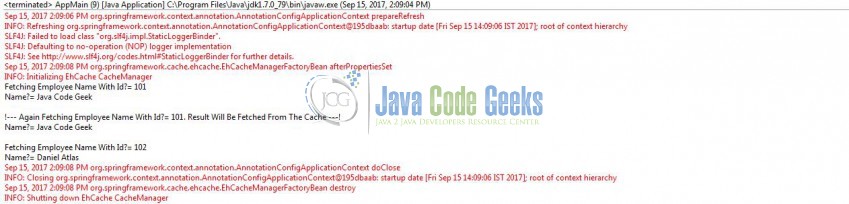
That’s all for this post. Happy Learning!
6. Summary
This tutorial uses a simple example to illustrate the functionality of the caching in the spring framework and helps developers understand the basic configuration required to achieve this. That’s all for this tutorial and I hope this article served you whatever you were looking for.
7. Download the Eclipse Project
This was an example of Spring Cache.
You can download the full source code of this example here: Spring Caching Tutorial
