In this article, we will explain the Spring Bean Life-Cycle. We will learn what Spring Bean is and discuss its life-cycle with an example.
Sometimes when the spring beans are created developers need to perform the initialization and the cleanup operations before the bean is destroyed. To achieve this, we can use the InitializingBean and the DisposableBean interfaces in the spring model classes. This tutorial will explore these callback interfaces to briefly understand the initialization and destruction process in the spring framework.
1. Introduction
- Spring is an open-source framework created to address the complexity of an enterprise application development
- One of the chief advantages of the Spring framework is its layered architecture, which allows the developer to be selective about which of its components they can use while providing a cohesive framework for J2EE application development
- Spring framework provides support and integration to various technologies for e.g.:
- Support for Transaction Management
- Support for interaction with the different databases
- Integration with the Object Relationship frameworks for e.g. Hibernate, iBatis, etc
- Support for Dependency Injection which means all the required dependencies will be resolved with the help of containers
- Support for
RESTstyle web-services
1.1 What is Spring Bean
Spring bean is the object that is managed by spring IOC container, that is bean is a simple object that is being initialized and handled by spring. The Spring IOC container takes charge of initializing the bean and inject all its dependencies.
1.2 Properties of Bean Definition
To configure a Spring bean we need to have certain properties in the definition to make up a spring bean work. Those properties are listed below
- class: This is the most important property which describes the type of the spring bean object
- name: The name acts as an identifier for the spring bean.
- scope: scope is an important property of spring bean definition, which specifies the scope of the given spring bean object, for example, singleton, prototype, etc.
- constructor-arg: This property is used to inject a dependency into the spring bean using constructor type injection
- properties: This is used to inject a dependency using a property injection
- init-method: This property is to set a method to be called while initializing the bean object
- auto wiring-mode: This property is used to specify how we want to inject the dependency like by using the name, type, etc.
- lazy-init: This property is used to tell the spring container to hold the initialization of the spring bean until requested
- destroy-method: This property is to set a method to be called once the spring bean is destroyed
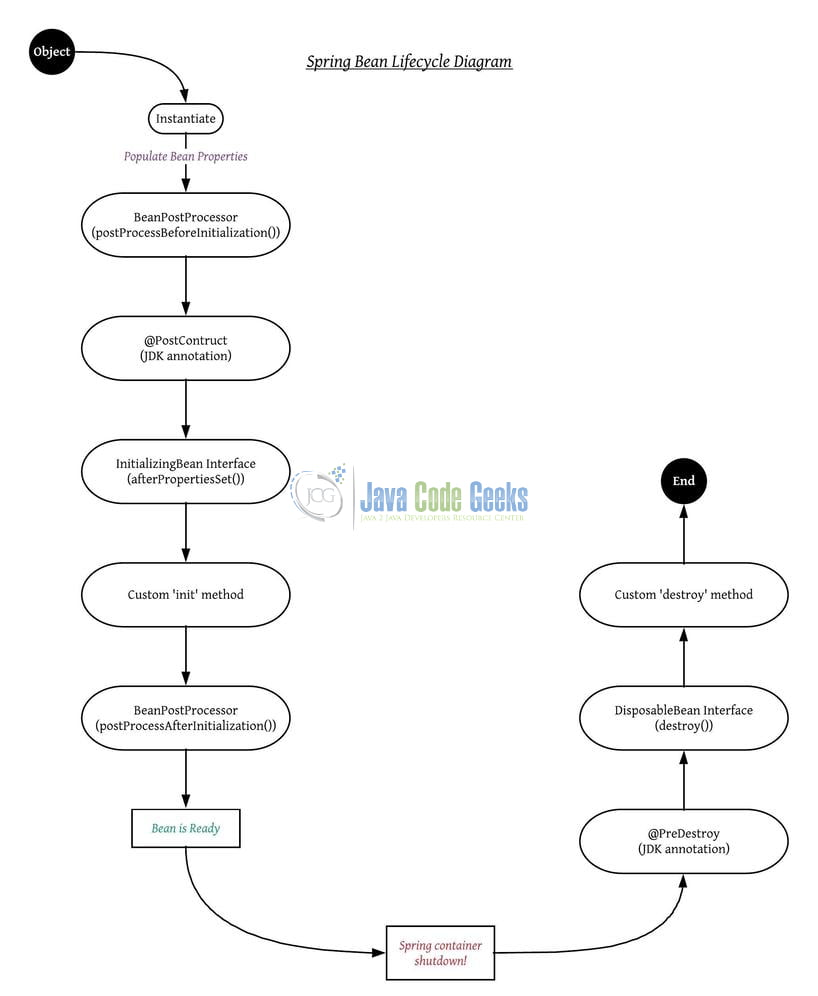
1.2 Spring Bean Lifecycle
Spring bean is responsible for managing the lifecycle of beans created through the spring container. The bean lifecycle consists of post-initialization and pre-destruction callback methods. The following flowchart diagram illustrates the bean lifecycle diagram.
Now, open the Eclipse IDE and let us see how to implement these callback interfaces in the spring framework!
2. Spring Bean Lifecycle Example
Here is a systematic guide for implementing this tutorial in the spring framework.
2.1 Tools Used
We are using Eclipse Kepler SR2, JDK 8, and Maven. Having said that, we have tested the code against JDK 1.7 and it works well.
2.2 Project Structure
Firstly, let us review the final project structure, in case you are confused about where you should create the corresponding files or folder later!
2.3 Project Creation
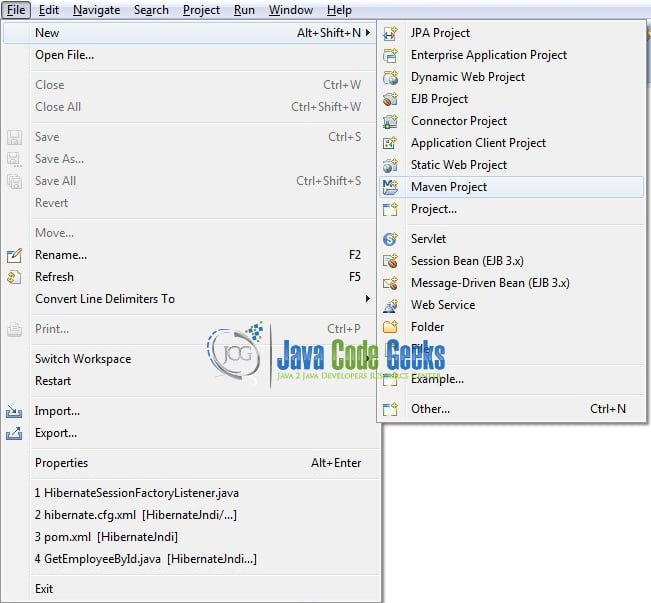
This section will demonstrate how to create a Java-based Maven project with Eclipse. In Eclipse IDE, go to File -> New -> Maven Project.

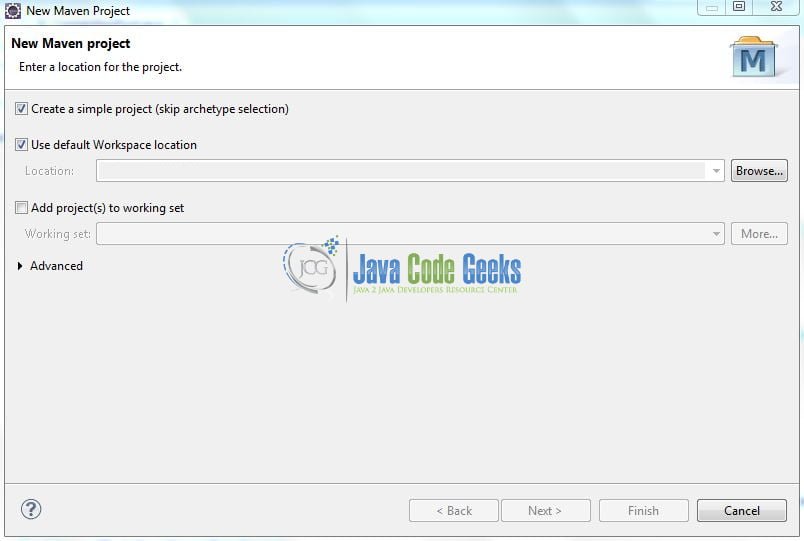
In the New Maven Project window, it will ask you to select a project location. By default, ‘Use default workspace location’ will be selected. Select the ‘Create a simple project (skip archetype selection)’ checkbox and just click on the next button to proceed.
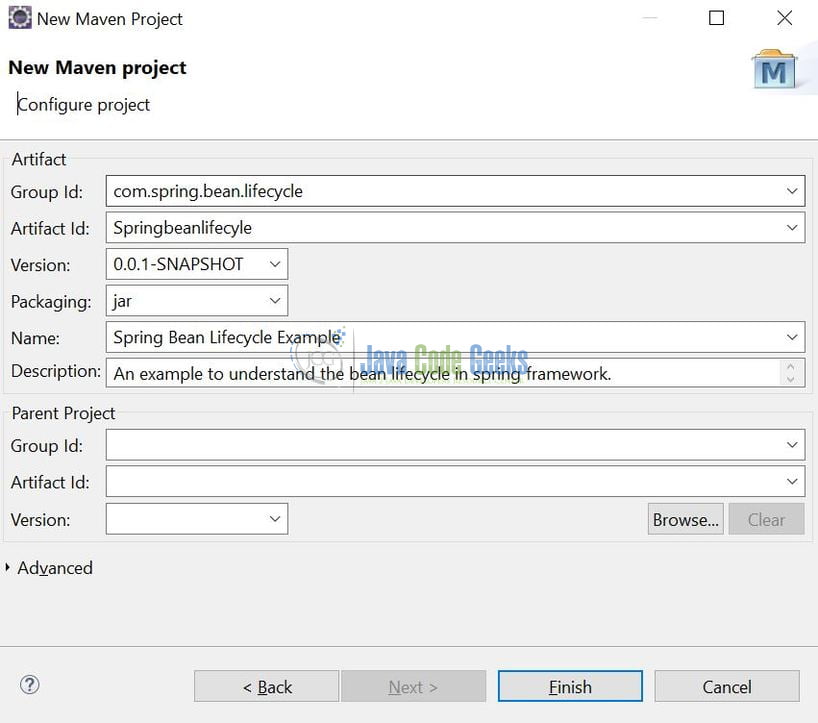
It will ask you to ‘Enter the group and the artifact id for the project’. We will input the details as shown in the below image. The version number will be by default: 0.0.1-SNAPSHOT.
Click on Finish and the creation of a maven project is completed. If you observe, it has downloaded the maven dependencies and a pom.xml file will be created. It will have the following code:
pom.xml
1 2 3 4 5 6 7 | <project xmlns="http://maven.apache.org/POM/4.0.0" xmlns:xsi="http://www.w3.org/2001/XMLSchema-instance" xsi:schemaLocation="http://maven.apache.org/POM/4.0.0 http://maven.apache.org/xsd/maven-4.0.0.xsd"> <modelVersion>4.0.0</modelVersion> <groupId>com.spring.bean.lifecycle</groupId> <artifactId>Springbeanlifecyle</artifactId> <version>0.0.1-SNAPSHOT</version> <packaging>jar</packaging></project> |
We can start adding the dependencies that developers want like Spring Core, Spring Context, etc. Let us start building the application!
3. Application Building
Below are the steps involved in developing this application.
3.1 Maven Dependencies
Here, we specify the dependencies for the spring framework. Maven will automatically resolve the rest dependencies such as Spring Beans, Spring Core, etc. The updated file will have the following code:
pom.xml
01 02 03 04 05 06 07 08 09 10 11 12 13 14 15 16 17 18 19 20 21 22 23 24 25 26 27 | <modelVersion>4.0.0</modelVersion> <groupId>com.spring.bean.lifecycle</groupId> <artifactId>Springbeanlifecyle</artifactId> <version>0.0.1-SNAPSHOT</version> <name>Spring Bean Lifecycle Example</name> <description>An example to understand the bean lifecycle in spring framework.</description> <dependencies> <dependency> <groupId>org.springframework</groupId> <artifactId>spring-beans</artifactId> <version>5.1.3.RELEASE</version> </dependency> <dependency> <groupId>org.springframework</groupId> <artifactId>spring-context</artifactId> <version>5.1.3.RELEASE</version> </dependency> </dependencies> <build> <finalName>${project.artifactId}</finalName> </build></project> |
3.2 Java Class Creation
Let us write the Java classes involved in this application.
3.2.1 Implementation of Person bean
We have a simple Person bean with one attribute and implements the InitializingBean and DisposableBean interfaces. Add the following code to the bean definition.
Person.java
01 02 03 04 05 06 07 08 09 10 11 12 13 14 15 16 17 18 19 20 21 22 23 24 25 26 27 28 29 30 31 32 | package com.spring.model;import org.springframework.beans.factory.DisposableBean;import org.springframework.beans.factory.InitializingBean;public class Person implements DisposableBean, InitializingBean { private String name; Person() { System.out.println("Constructor of person bean is invoked!"); } public String getName() { return name; } public void setName(String name) { this.name = name; } //Bean initialization code @Override public void afterPropertiesSet() throws Exception { System.out.println("Initializing method of person bean is invoked!"); } //Bean destruction code @Override public void destroy() throws Exception { System.out.println("Destroy method of person bean is invoked!"); }} |
3.2.2 Implementation of Utility Class
Add the following code to the implementation class for testing the lifecycle of a spring bean.

Demoapp.java
01 02 03 04 05 06 07 08 09 10 11 12 13 14 15 16 17 18 19 20 21 22 | package com.spring.main;import org.springframework.context.ConfigurableApplicationContext;import org.springframework.context.support.ClassPathXmlApplicationContext;import com.spring.model.Person;public class Demoapp { public static void main(String[] args) { // Reading configuration from the spring configuration file. ConfigurableApplicationContext context = new ClassPathXmlApplicationContext("spring-config.xml"); Person myperson = context.getBean("personBean", Person.class); System.out.println("Name= " + myperson.getName()); // Closing the context object. context.close(); }} |
3.3 Bean Configuration file
Add the following code to the spring configuration file for injecting the properties of the bean.
spring-config.xml
01 02 03 04 05 06 07 08 09 10 | <?xml version="1.0" encoding="UTF-8"?> xsi:schemaLocation=" http://www.springframework.org/schema/beans http://www.springframework.org/schema/beans/spring-beans.xsd"> <bean name="personBean" class="com.spring.model.Person"> <property name="name" value="Jason Clarke" /> </bean></beans> |
4. Run the Application
To execute the application, right-click on the Demoapp class, Run As -> Java Application. Developers can debug the example and see what happens after every step. Enjoy!

5. Project Demo
The code shows the following log as the output of this tutorial.
1 2 3 4 | Constructor of person bean is invoked!Initializing method of person bean is invoked!Name= Jason ClarkeDestroy method of person bean is invoked! |
That is all for this tutorial and I hope the article served you whatever you were looking for. Happy Learning and do not forget to share!
6. Summary
This post defines the initialization and destruction of a spring bean and helps developers understand the basic configuration required to achieve this. Developers can download the sample application as an Eclipse project in the Downloads section.
7. Download the Eclipse Project
This was an example of a spring bean life-cycle for beginners.
You can download the full source code of this example here: Spring Bean Life Cycle Example
Last updated on Nov. 04th, 2020

please do provide Directory Structure for above Example it will be very useful
for beginners like us we are facing lot of obstacles
hope you understand
ThankYou…