Hello readers. In this tutorial, we will show how to use the JAX-RS (RESTful) jar files to implement a simple Hello World Web Service in Java.
1. Introduction
JAX-RS stands for RESTful Web Services. JAX-RS is a set of APIs to develop the REST services. It is part of the Java EE6 and makes developers to develop the REST web application easily. JAX-RS makes extensive use of annotations available from Java SE 5 to simplify the coding and development of Java-based Web Services.
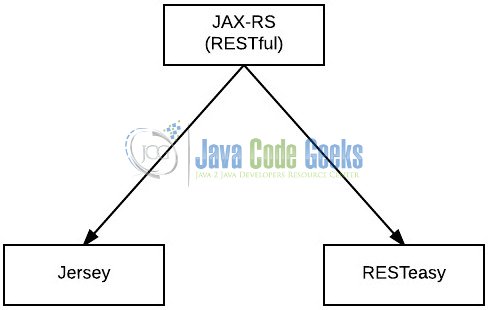
There are two main implementations of the JAX-RS API:
- Jersey
- RESTEasy
Following are the commonly used annotations in JAX-RS to map a resource as a web service resource.
| Annotation | Description |
|---|---|
@Path | The @Path annotation’s value is a relative URI path indicating where the Java class will be hosted. For e.g.,/helloworld Developers can also embed variables in the URIs to make a URI path template. For e.g., Developers could ask for the name of a user and pass it to the application as a variable in the URI i.e. /helloworld/{username}. |
@GET | This annotation indicates that the following method should respond to the HTTP GET request only. The HTTP Get request is used to fetch the resource. |
@POST | This annotation indicates that the following method should respond to the HTTP POST request only. The HTTP POST request is used to create/or update the resource. |
@PUT | This annotation indicates that the following method should respond to the HTTP PUT request only. The HTTP PUT request is used to create a resource. |
@DELETE | This annotation indicates that the following method should respond to the HTTP DELETE request only. The HTTP DELETE request is used to delete a resource. |
@HEAD | This annotation indicates that the following method should respond to the HTTP HEAD request only. The HTTP HEAD request is used to get the status of the method availability. |
@Produces(MediaTypes.TEXT_PLAIN[,more –types]) | It defines which MIME type is delivered by a method annotated with @GET. |
@Consumes( type[, more-types]) | It defines MIME type which is consumed by this method. |
@PathParam | Used to inject values from the URL into a method parameter. For e.g., developers can inject the id of the resource into the method to get the correct object. |
Now, open up the Eclipse IDE and let’s see how to develop a RESTful Hello World web application with JAX-RS!
2. Java Web Service Example
Here is a step-by-step guide for implementing the Web Service framework in Java.
2.1 Tools Used
We are using Eclipse Kepler SR2, JDK 8 and Maven. Having said that, we have tested the code against JDK 1.7 and it works well.
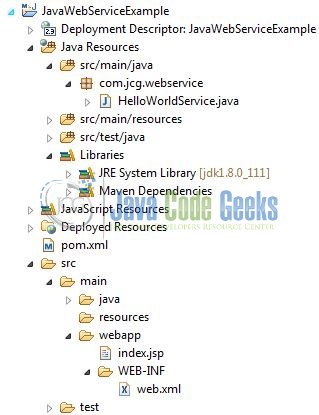
2.2 Project Structure
Firstly, let’s review the final project structure, in case you are confused about where you should create the corresponding files or folder later!
2.3 Project Creation
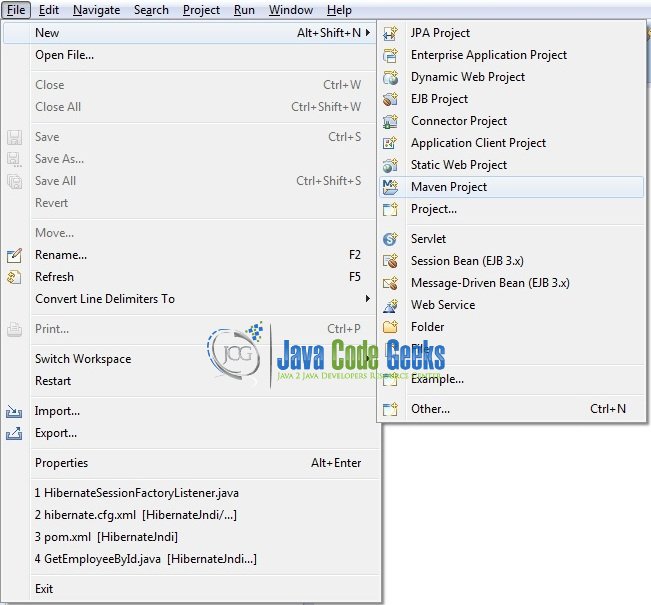
This section will demonstrate on how to create a Java-based Maven project with Eclipse. In Eclipse IDE, go to File -> New -> Maven Project.
In the New Maven Project window, it will ask you to select project location. By default, ‘Use default workspace location’ will be selected. Just click on next button to proceed.

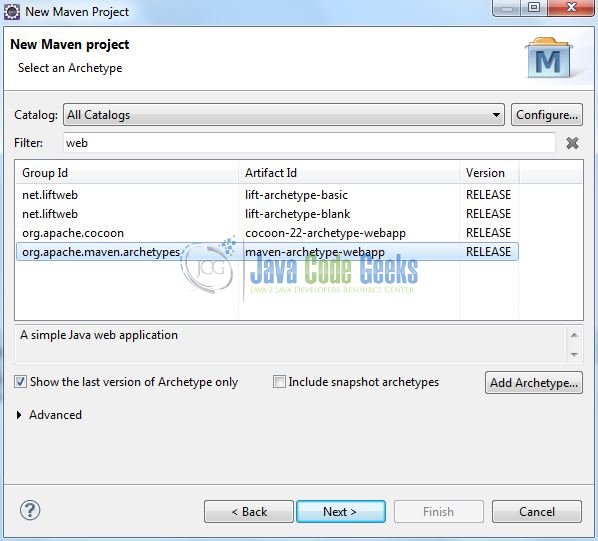
Select the ‘Maven Web App’ Archetype from the list of options and click next.
It will ask you to ‘Enter the group and the artifact id for the project’. We will input the details as shown in the below image. The version number will be by default: 0.0.1-SNAPSHOT.
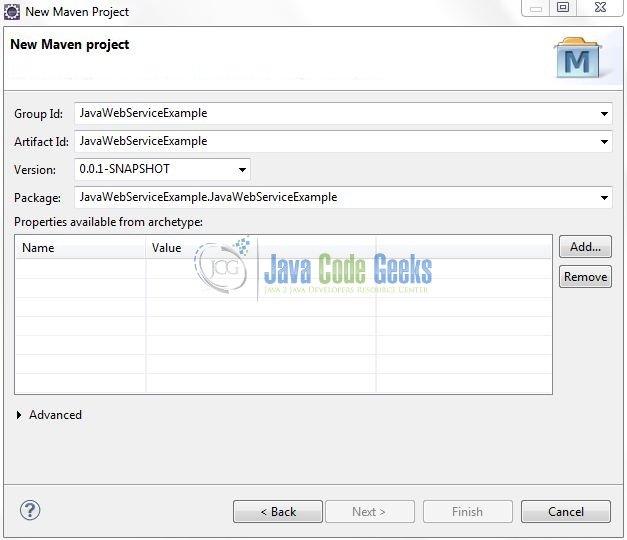
Click on Finish and the creation of a maven project is completed. If you observe, it has downloaded the maven dependencies and a pom.xml file will be created. It will have the following code:
pom.xml
<project xmlns="http://maven.apache.org/POM/4.0.0" xmlns:xsi="http://www.w3.org/2001/XMLSchema-instance" xsi:schemaLocation="http://maven.apache.org/POM/4.0.0 http://maven.apache.org/xsd/maven-4.0.0.xsd">
	<modelVersion>4.0.0</modelVersion>
	<groupId>JavaWebServiceExample</groupId>
	<artifactId>JavaWebServiceExample</artifactId>
	<version>0.0.1-SNAPSHOT</version>
	<packaging>war</packaging>
</project>
We can start adding the dependencies that developers want like Jersey, Junit etc. Let’s start building the application!
3. Application Building
Below are the steps involved in developing this application.
3.1 Maven Dependencies
Here, we specify the dependencies for the Web Service framework. The rest dependencies will be automatically resolved by the Maven framework and the updated file will have the following code:
pom.xml
<project xmlns="http://maven.apache.org/POM/4.0.0" xmlns:xsi="http://www.w3.org/2001/XMLSchema-instance"
	xsi:schemaLocation="http://maven.apache.org/POM/4.0.0 http://maven.apache.org/maven-v4_0_0.xsd">
	<modelVersion>4.0.0</modelVersion>
	<groupId>JavaWebServiceExample</groupId>
	<artifactId>JavaWebServiceExample</artifactId>
	<packaging>war</packaging>
	<version>0.0.1-SNAPSHOT</version>
	<name>JavaWebServiceExample Maven Webapp</name>
	<url>http://maven.apache.org</url>
	<dependencies>
		<!-- https://mvnrepository.com/artifact/com.sun.jersey/jersey-server -->
		<dependency>
			<groupId>com.sun.jersey</groupId>
			<artifactId>jersey-server</artifactId>
			<version>1.19</version>
		</dependency>
		<!-- https://mvnrepository.com/artifact/com.sun.jersey/jersey-servlet -->
		<dependency>
			<groupId>com.sun.jersey</groupId>
			<artifactId>jersey-servlet</artifactId>
			<version>1.19</version>
		</dependency>
		<!-- https://mvnrepository.com/artifact/javax.ws.rs/jsr311-api -->
		<dependency>
			<groupId>javax.ws.rs</groupId>
			<artifactId>jsr311-api</artifactId>
			<version>1.1.1</version>
		</dependency>
		<!-- https://mvnrepository.com/artifact/com.sun.jersey/jersey-client -->
		<dependency>
			<groupId>com.sun.jersey</groupId>
			<artifactId>jersey-client</artifactId>
			<version>1.19</version>
		</dependency>
	</dependencies>
	<build>
		<finalName>${project.artifactId}</finalName>
	</build>
</project>
3.2 Java Class Creation
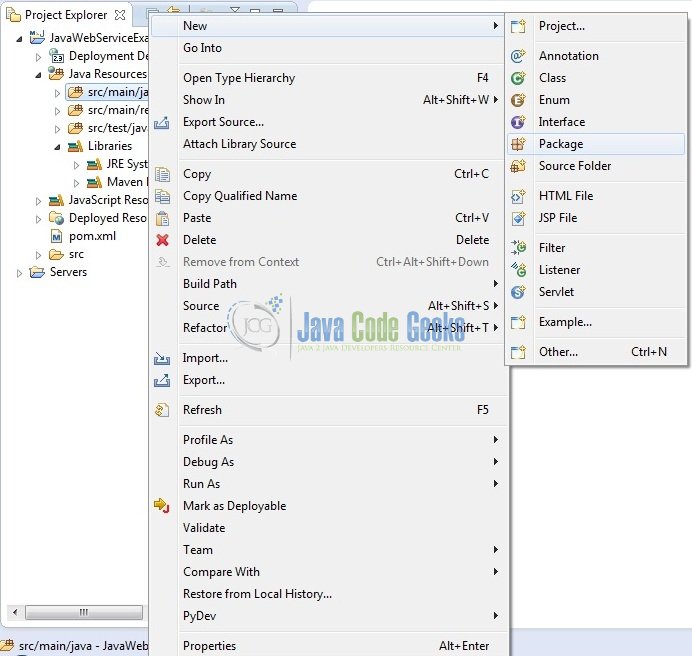
Let’s create the required Java files. Right-click on src/main/java folder, New -> Package.
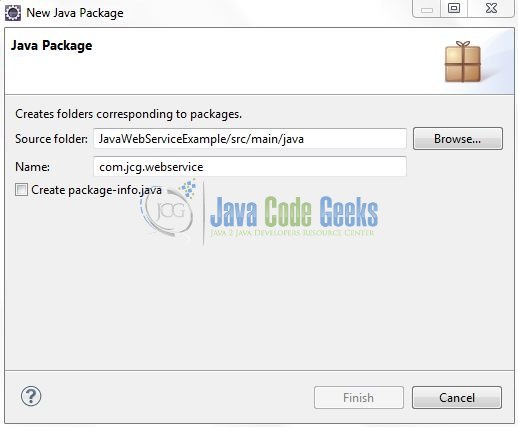
A new pop window will open where we will enter the package name as: com.jcg.webservice.
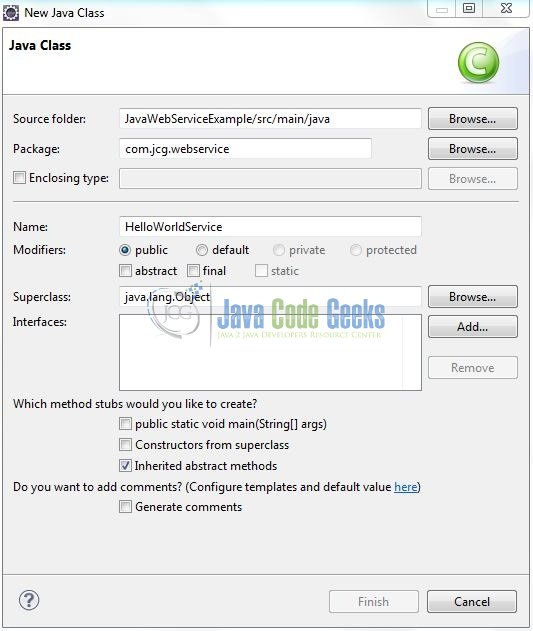
Once the package is created in the application, we will need to create the controller class. Right-click on the newly created package: New -> Class.
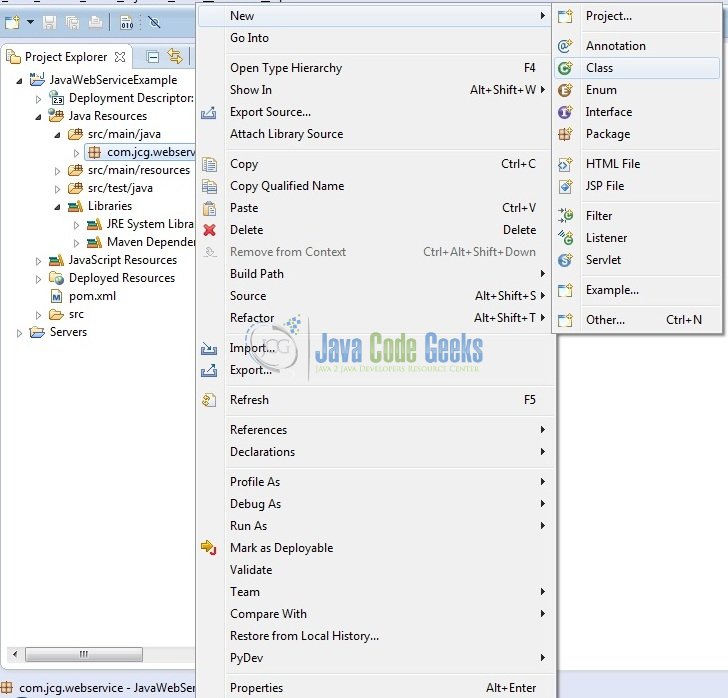
A new pop window will open and enter the file name as: HelloWorldService. The sample Service class will be created inside the package: com.jcg.webservice.
3.2.1 Implementation of Service Class
Let’s see the simple code snippet that follows the JAX-RS implementation.
HelloWorldService.java
package com.jcg.webservice;

import javax.ws.rs.GET;
import javax.ws.rs.Path;
import javax.ws.rs.PathParam;
import javax.ws.rs.core.Response;

@Path("/hello")
public class HelloWorldService {

	@GET
	@Path("/{name}")
	public Response getMsg(@PathParam("name") String name) {
		String output = "<html> " + "<title>" + "Java WebService Example" + "</title>"  + "<body><h1><div style='font-size: larger;'>"
				+ "Hello <span style='text-transform: capitalize; color: green;'>" + name + "</span></div></h1></body>" + "</html>";
		return Response.status(200).entity(output).build();
	}
}
3.3 Configuration Application’s Deployment Descriptor
Let’s write the deployment descriptor involved in this application. In web.xml, register the com.sun.jersey.spi.container.servlet.ServletContainer and put the Jersey Service folder under the <init-param> i.e.
<init-param>
	<param-name>com.sun.jersey.config.property.packages</param-name>
	<param-value>com.jcg.webservice</param-value>
</init-param>
Add the following code to it:
web.xml
<?xml version="1.0" encoding="UTF-8"?>
<web-app xmlns:xsi="http://www.w3.org/2001/XMLSchema-instance"
	xmlns="http://java.sun.com/xml/ns/javaee" xmlns:web="http://java.sun.com/xml/ns/javaee/web-app_2_5.xsd"
	xsi:schemaLocation="http://java.sun.com/xml/ns/javaee		http://java.sun.com/xml/ns/javaee/web-app_2_5.xsd" id="WebApp_ID" version="2.5">
	<display-name>JavaWebServiceExample</display-name>
	<servlet>
		<servlet-name>jersey-serlvet</servlet-name>
		<servlet-class>com.sun.jersey.spi.container.servlet.ServletContainer</servlet-class>
		<init-param>
			<param-name>com.sun.jersey.config.property.packages</param-name>
			<param-value>com.jcg.webservice</param-value>
		</init-param>
		<load-on-startup>1</load-on-startup>
	</servlet>
	<servlet-mapping>
		<servlet-name>jersey-serlvet</servlet-name>
		<url-pattern>/rest/*</url-pattern>
	</servlet-mapping>
</web-app>
4. Run the Application
As we are ready with all the changes, let us compile the project and deploy the application on the Tomcat7 server. To deploy the application on Tomat7, right-click on the project and navigate to Run as -> Run on Server.
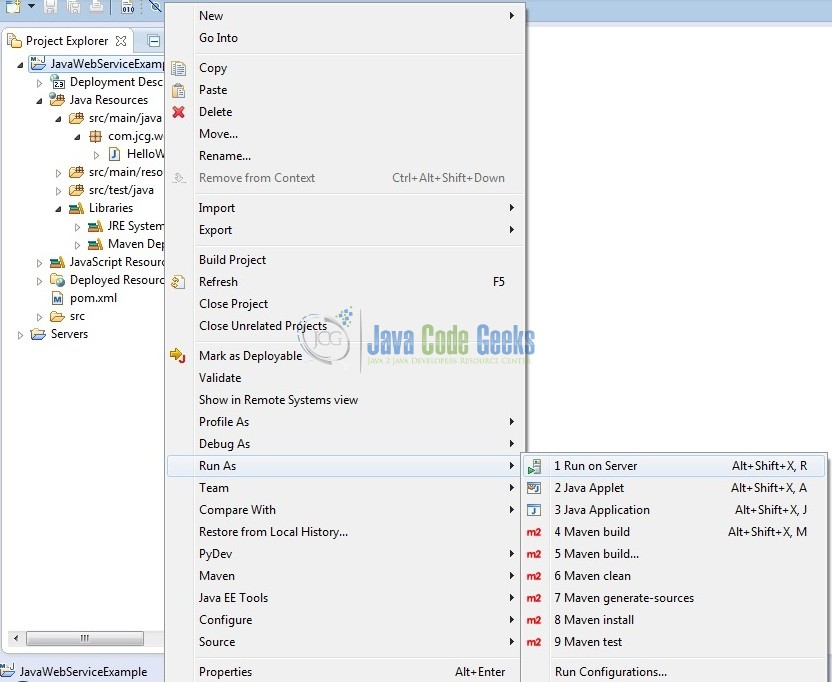
Tomcat will deploy the application in its web-apps folder and shall start its execution to deploy the project so that we can go ahead and test it on the browser.
5. Project Demo
Open your favorite browser and hit the following URL. The default page will be displayed.
http://localhost:8085/JavaWebService/
Server name (localhost) and port (8085) may vary as per your Tomcat configuration. Developers can debug the example and see what happens after every step. Enjoy!
In web.xml we have specified the URL pattern as /rest/* and in HelloWorldService.java, we specified class level @path as /hello and method level @path as {name}. So the final URL should be http://localhost:8085/JavaWebService/rest/hello/java.
Test your REST service under the updated URL and you will get the following output.

That’s all for this post. Happy Learning!!
6. Conclusion
In this section, developers learned how to implement a simple Hello World Web Service in Java. Developers can download the sample application as an Eclipse project in the Downloads section. I hope this article served you with whatever developers were looking for.
7. Download the Eclipse Project
This was an example of Servlet Application Login.
You can download the full source code of this example here: JavaWebServiceExample

When I download this sample, I cannot get it to work. Using Windows 10, Java 8 and Tomcat 8. Are you sure the downloadable sample isn’t missing anything? The empty index.jsp will load an empty page, but the /hello/whatever jax-rs servlet gives a 404.
The description in the tutorial is incomplete (no comment on how to create the web.xml file), and the download code doesn’t work because problems with the jersey libraries