Hello readers, in this tutorial, we will show how to map the Composite Primary Key with JPA and Hibernate using Eclipse Link and MySQL in Java. Because this is a recurrent question, I decided to write a tutorial in which I have described this mapping in a detailed manner.
Table Of Contents
1. Introduction
Java Persistence API (JPA), is a standard interface which wraps the different Object Relational Mapping (ORM) tools such as Hibernate, EclipseLink, OpenJPA etc. JPA provides a javax.persistence.EntityManager interface which is used to interact with the database. The instance of EntityManager plays around the persistence context and the EntityManagerFactory interacts with the EntityManager object.
- Persistence Context is the set of entity instances where for any persistence entity identity, there is a unique entity instance. The lifecycle of entity instances is managed within the persistence context using the
EntityManager. We can detach and merge the entity instances within a persistence context - Entity Manager is a model borrowed from the traditional JDBC frameworks i.e. making it easier for the developers to perform the basic database operations with a very little code
In this standalone JPA example, we are using EclipseLink with MySQL Database. EclipseLink is a popular open source ORM (Object Relation Mapping) tool for Java platform used for mapping an entity to a traditional relational database like Oracle, MySQL etc.
Developers can check the below table for the different databases which are available with EclipseLink examples:
| Database | Driver class | Jar name |
|---|---|---|
| MySQL | com.mysql.jdbc.Driver | mysql-connector-java-5.1.25-bin.jar (exact name depends on version) http://www.mysql.com/downloads/connector/j/ |
| HSQLDB | org.hsqldb.jdbcDriver | hsqldb.jar http://hsqldb.sourceforge.net |
| Sybase | com.sybase.jdbc3.jdbc.SybDriver | jconnect.jar http://www.sybase.com/products/allproductsa-z/softwaredeveloperkit/jconnect |
| Apache Derby | org.apache.derby.jdbc.EmbeddedDriver | derby.jar http://db.apache.org/derby/ |
| IBM DB2 | com.ibm.db2.jcc.DB2Driver | db2jcc4.jar http://www-01.ibm.com/software/data/db2/linux-unix-windows/download.html |
| PostgreSQL | org.postgresql.Driver | postgresql-8.4-701.jdbc4.jar (exact name depends on PostgreSQL version) http://jdbc.postgresql.org |
| SQL Server (Microsoft driver) | com.microsoft.sqlserver.jdbc.SQLServerDriver | sqljdbc4.jar http://msdn.microsoft.com/en-gb/data/aa937724%28en-us%29.aspx |
1.1 JPA Benefits
There are many advantages of using the JPA framework, for e.g.
- The benefit of using the JPA framework over any specific Object Relational Model (ORM) related libraries like Hibernate, iBatis etc. is that developers do not change the code when they change the vendor
- The code is loosely coupled with the underlying ORM framework
- Improves data security and data access to the users by using host and query languages
- Improves application performance by reducing the data redundancy
- Greater data integrity and independence of applications programs
- Provides simple querying of data
1.2 How it can be achieved?
Programmers can achieve persistence in their application by introducing the persistence.xml in their code, which has to be located in the META-INF directory in the project classpath. One persistence.xml file can include definitions for one or more persistence units. This file plays a crucial role in the concept of JPA as in this configuration file, developers will register the database and specify the entity class. Let’s take a look and understand the sample code.
Sample persistence.xml
<?xml version="1.0" encoding="UTF-8"?>
<persistence version="2.1"
	xmlns="http://xmlns.jcp.org/xml/ns/persistence" xmlns:xsi="http://www.w3.org/2001/XMLSchema-instance"
	xsi:schemaLocation="http://xmlns.jcp.org/xml/ns/persistence http://xmlns.jcp.org/xml/ns/persistence/persistence_2_1.xsd">
	<persistence-unit name="TestPersistence" transaction-type="RESOURCE_LOCAL">
		<class><!-- Entity Manager Class Name --></class>
		<properties>
			<property name="javax.persistence.jdbc.driver" value="Database Driver Name" />
			<property name="javax.persistence.jdbc.url" value="Database Url" />
			<property name="javax.persistence.jdbc.user" value="Database Username" />
			<property name="javax.persistence.jdbc.password" value="Database Password" />
		</properties>
	</persistence-unit>
</persistence>
The persistence.xml file indicates that there is only one Persistence Unit mapped with the name TestPersistence and the transaction type for this Persistence Unit is RESOURCE_LOCAL. There are two types of transactions:
- JTA
- RESOURCE_LOCAL
If developers select the RESOURCE_LOCAL, then the transaction will be managed by the JPA Provider Implementation in use. If JTA is specified, then the transactions will be managed by the Application Server.
Do remember, if a developer only wants to have JPA transactions, then RESOURCE_LOCAL is a good choice. But, if a developer would like the transactions to contain resources other than JPA, like EJBs, JMS then JTA is the correct choice.
1.3 Download & Install EclipseLink
You can watch this video in order to download and install the JPA in Eclipse via the EclipseLink.
1.4 Download & Install MySQL
You can watch this video in order to download and install the MySQL database on your Windows Operating system.
Now, open up the Eclipse Ide and let’s see how to define the Composite Primary Key implementation in JPA.
2. How to map a Composite Primary Key with JPA & Hibernate Example
2.1 Tools Used
We are using Eclipse Kepler SR2, JDK 8, MySQL and Maven. Having said that, we have tested the code against JDK 1.7 and it works well.
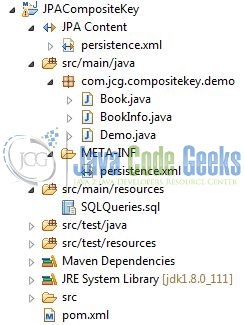
2.2 Project Structure
Firstly, let’s review the final project structure, in case you are confused about where you should create the corresponding files or folder later!
2.3 Project Creation
This section will demonstrate on how to create a Java-based Maven project with Eclipse. In Eclipse IDE, go to File -> New -> Maven Project.

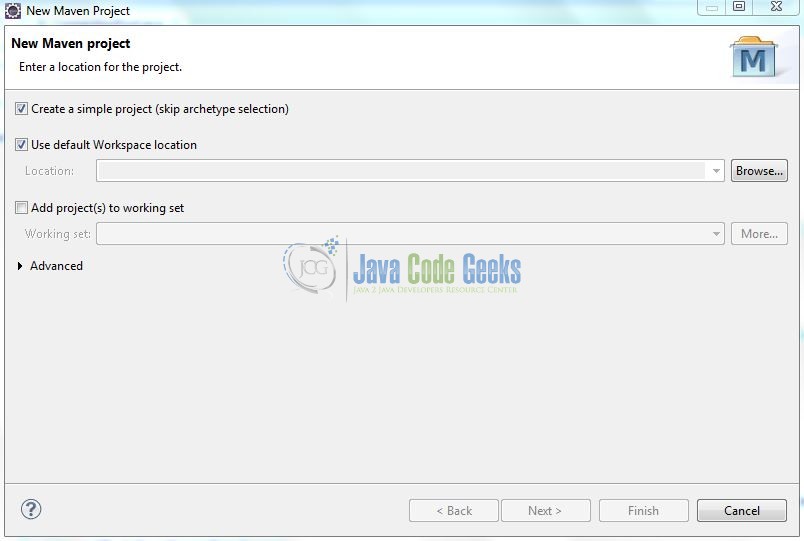
In the New Maven Project window, it will ask you to select a project location. By default, ‘Use default workspace location’ will be selected. Select the ‘Create a simple project (skip archetype selection)’ checkbox and just click on next button to proceed.
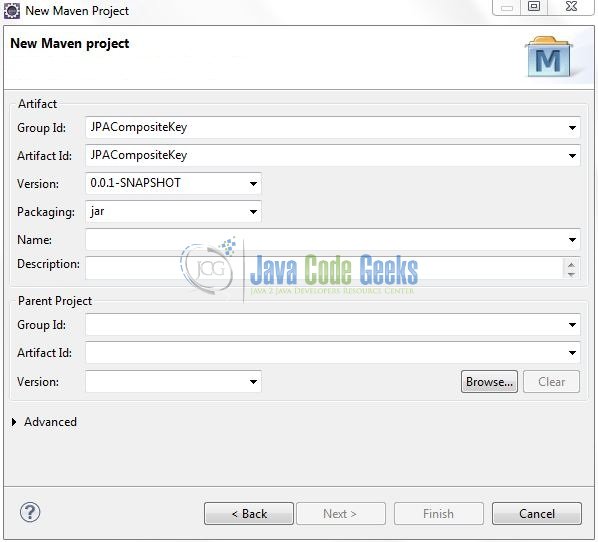
It will ask you to ‘Enter the group and the artifact id for the project’. We will input the details as shown in the below image. The version number will be by default: 0.0.1-SNAPSHOT.
Click on finish and the creation of a maven project will be completed. If you observe, it has downloaded the maven dependencies and a pom.xml file will be created. It will have the following code:
pom.xml
<project xmlns="http://maven.apache.org/POM/4.0.0" xmlns:xsi="http://www.w3.org/2001/XMLSchema-instance" xsi:schemaLocation="http://maven.apache.org/POM/4.0.0 http://maven.apache.org/xsd/maven-4.0.0.xsd">
	<modelVersion>4.0.0</modelVersion>
	<groupId>JPACompositeKey</groupId>
	<artifactId>JPACompositeKey</artifactId>
	<version>0.0.1-SNAPSHOT</version>
</project>
We can start adding the dependencies that developers want like Eclipse Link, MySQL Connector Jar, and Hibernate etc. Let’s start building the application!
3. Application Building
Below are the steps involved in developing this application.
3.1 Database & Table Creation
A Composite Primary Key is a Primary Key consisting of more than one column and the following MySQL script is used to create a database called jpacompositekey with table: book_info containing the Composite Key. Open the MySQL or the workbench terminal and execute the SQL script:
CREATE DATABASE jpacompositekey;

USE jpacompositekey;

CREATE TABLE book_info
             (
                          isbn        VARCHAR(100) NOT NULL,
                          bk_name   VARCHAR(200) NOT NULL,
                          author_name VARCHAR(200) NOT NULL,
                          PRIMARY KEY (bk_name, author_name)
             );

DESC book_info;
If everything goes well, the database and the table will be shown in the MySQL Workbench.

3.2 Maven Dependencies
In this example, we are using the stable Hibernate, MySQL, and Eclipse Link version in order to support the JPA Content and make a successful database connection. The rest dependencies will be automatically resolved by Maven and the updated file will have the following code:
pom.xml
<project xmlns="http://maven.apache.org/POM/4.0.0" xmlns:xsi="http://www.w3.org/2001/XMLSchema-instance"
	xsi:schemaLocation="http://maven.apache.org/POM/4.0.0 http://maven.apache.org/xsd/maven-4.0.0.xsd">
	<modelVersion>4.0.0</modelVersion>
	<groupId>JPACompositeKey</groupId>
	<artifactId>JPACompositeKey</artifactId>
	<version>0.0.1-SNAPSHOT</version>
	<dependencies>
		<!-- https://mvnrepository.com/artifact/org.eclipse.persistence/eclipselink -->
		<dependency>
			<groupId>org.eclipse.persistence</groupId>
			<artifactId>eclipselink</artifactId>
			<version>2.5.2</version>
		</dependency>
		<dependency>
			<groupId>org.eclipse.persistence</groupId>
			<artifactId>javax.persistence</artifactId>
			<version>2.0.0</version>
		</dependency>
		<!-- https://mvnrepository.com/artifact/mysql/mysql-connector-java -->
		<dependency>
			<groupId>mysql</groupId>
			<artifactId>mysql-connector-java</artifactId>
			<version>5.1.40</version>
		</dependency>
		<dependency>
			<groupId>org.hibernate</groupId>
			<artifactId>hibernate-entitymanager</artifactId>
			<version>5.2.11.Final</version>
		</dependency>
		<!-- https://mvnrepository.com/artifact/org.hibernate/hibernate-core -->
		<dependency>
			<groupId>org.hibernate</groupId>
			<artifactId>hibernate-core</artifactId>
			<version>5.2.11.Final</version>
		</dependency>
	</dependencies>
	<build>
		<finalName>${project.artifactId}</finalName>
	</build>
</project>
3.3 Java Class Creation
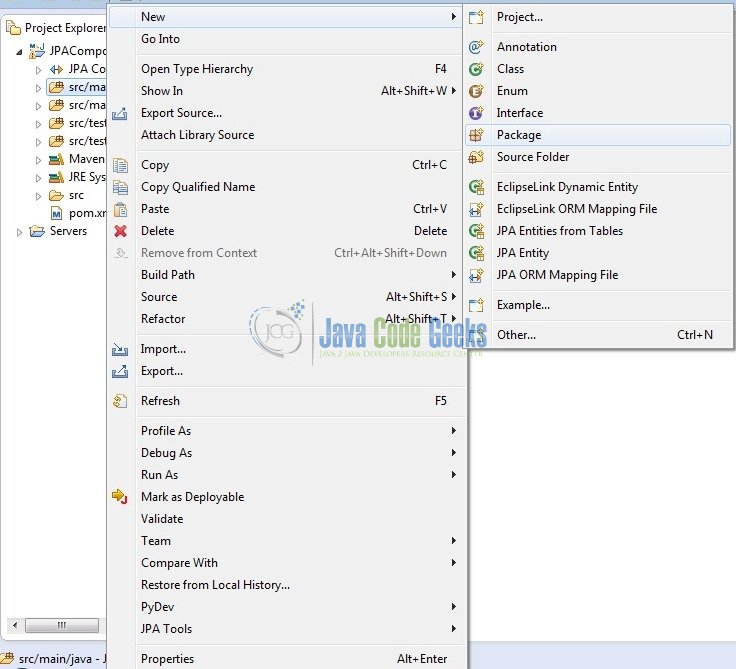
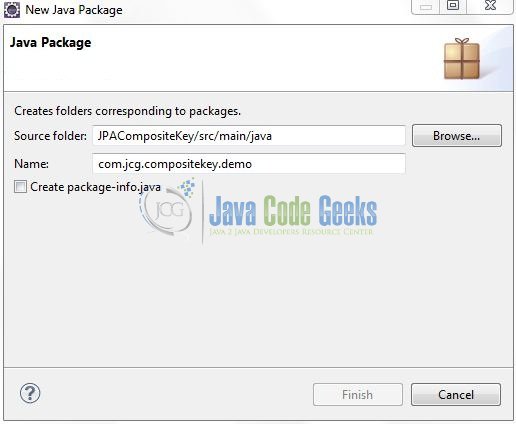
Let’s create the required Java files. Right-click on src/main/java folder, New -> Package.

A new pop window will open where we will enter the package name as: com.jcg.compositekey.demo.
Once the package is created, we will need to create the model and the implementation classes. Right-click on the newly created package, New -> Class.
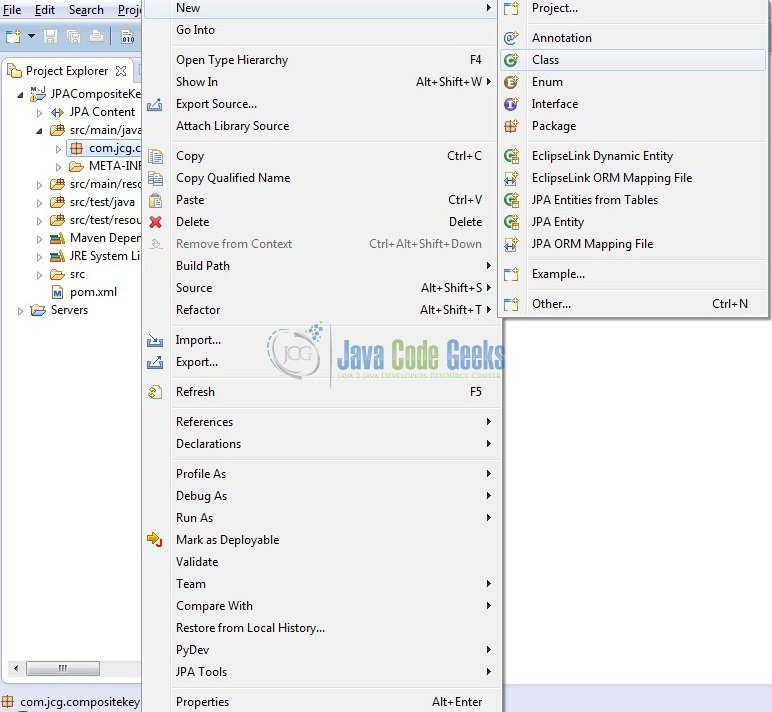
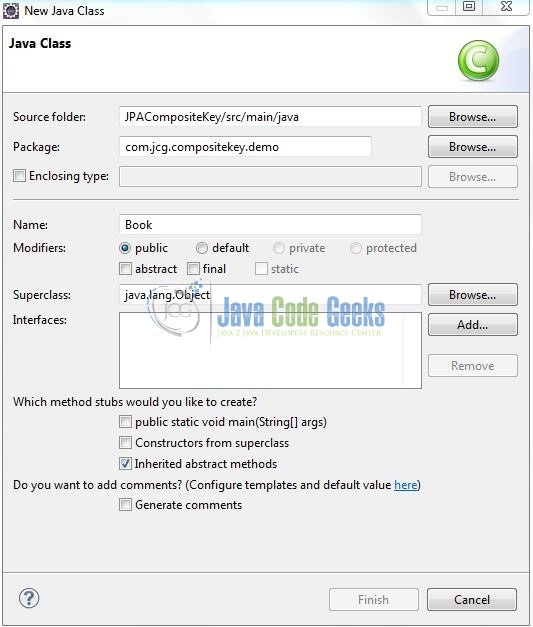
A new pop window will open and enter the file name as: Book. The model class will be created inside the package: com.jcg.compositekey.demo.
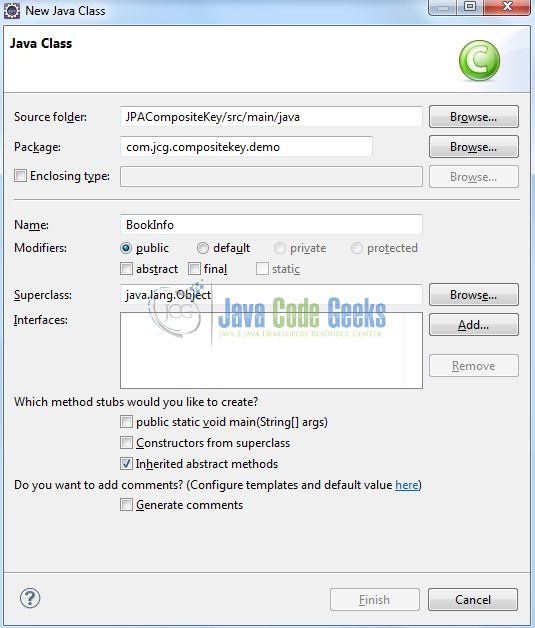
Repeat the step (i.e. Fig. 8) and enter the filename as: BookInfo. The entity model class will be created inside the package: com.jcg.compositekey.demo.
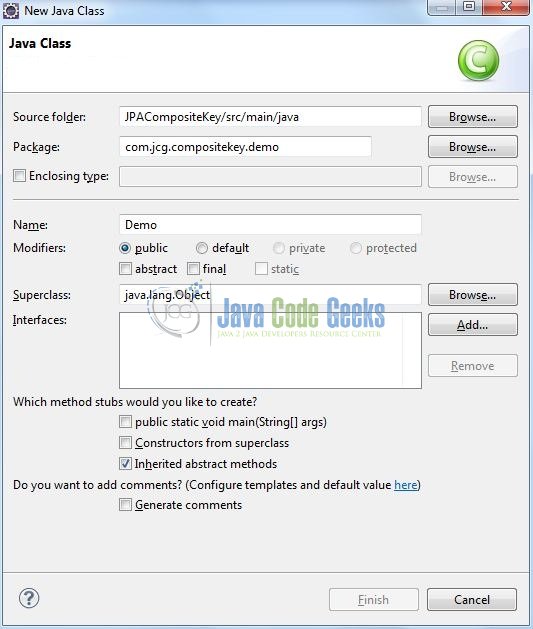
Again, repeat the step listed in Fig. 8 and enter the file name as Demo. The implementation class will be created inside the package: com.jcg.compositekey.demo.
3.3.1 Implementation of Model Class
This class model the book and the author name. The book itself relates to another Java class called BookInfo.java. An important point to note is that the class implements the Java Serializable interface and the @Embeddable annotation. A Java class with the @Embeddable annotation can itself become a subcomponent of another class. Add the following code to it:
Book.java
package com.jcg.compositekey.demo;

import java.io.Serializable;
import java.util.Objects;

import javax.persistence.Column;
import javax.persistence.Embeddable;
import javax.persistence.Id;

@Embeddable
public class Book implements Serializable {

	private static final long serialVersionUID = 1L;

	@Id
	@Column(name = "bk_name")
	private String bk_name;

	@Id
	@Column(name = "author_name")
	private String author_name;

	public Book() { }

	public Book(String book_name, String auth_name) {
		this.bk_name = book_name;
		this.author_name = auth_name;
	}

	public String getBk_name() {
		return bk_name;
	}

	public void setBk_name(String bk_name) {
		this.bk_name = bk_name;
	}

	public String getAuthor_name() {
		return author_name;
	}

	public void setAuthor_name(String author_name) {
		this.author_name = author_name;
	}

	@Override
	public boolean equals(Object o) {
		if (this == o) {
			return true;
		}
		if(!(o instanceof Book)) {
			return false;
		}
		Book bk_info = (Book) o;
		return Objects.equals(getBk_name(), bk_info.getBk_name()) && Objects.equals(getAuthor_name(), bk_info.getAuthor_name());
	}

	@Override
	public int hashCode() {
		return Objects.hash(getBk_name(), getAuthor_name());
	}
}
3.3.2 Implementation of Entity Model Class
This class implements the @Entity annotation which indicates that the class is a database entity. Add the following code to it:
BookInfo.java
package com.jcg.compositekey.demo;

import javax.persistence.AttributeOverride;
import javax.persistence.AttributeOverrides;
import javax.persistence.Column;
import javax.persistence.Entity;
import javax.persistence.Id;
import javax.persistence.IdClass;
import javax.persistence.Table;

@Entity
@Table(name = "book_info")
@IdClass(Book.class)
public class BookInfo {

	@Column(name = "isbn")
	private String isbn;

	@Id
	@Column(name = "bk_name")
	private String bk_name;

	@Id
	@Column(name = "author_name")
	private String author_name;

	public BookInfo() { }

	public BookInfo(Book bkObj) {
		bk_name = bkObj.getBk_name();
		author_name = bkObj.getAuthor_name();
	}

	@Id
	@AttributeOverrides(
			{
				@AttributeOverride(name = "bk_name",column = @Column(name="bk_name")),
				@AttributeOverride(name = "author_name", column = @Column(name="author_name"))
			}
	)

	public String getIsbn() {
		return isbn;
	}

	public void setIsbn(String isbn) {
		this.isbn = isbn;
	}
}
3.3.3 Implementation of Utility Class
This is the service class which implements the Java Persistence API to perform a database transaction (i.e. SQL INSERT Operation). Add the following code to it:
Demo.java
package com.jcg.compositekey.demo;

import javax.persistence.EntityManager;
import javax.persistence.EntityManagerFactory;
import javax.persistence.Persistence;

public class Demo {

	private static final EntityManagerFactory emFactoryObj;
	private static final String PERSISTENCE_UNIT_NAME = "JPACompositeKey";

	static {
		emFactoryObj = Persistence.createEntityManagerFactory(PERSISTENCE_UNIT_NAME);
	}

	// This Method Is Used To Retrieve The 'EntityManager' Object
	public static EntityManager getEntityManager() {
		return emFactoryObj.createEntityManager();
	}

	public static void main(String[] args) {

		EntityManager entityMgr = getEntityManager();
		entityMgr.getTransaction().begin();

		BookInfo bkInfo = new BookInfo(new Book("Harry Potter & The Philosopher's Stone", "J. K. Rowling"));
		bkInfo.setIsbn("978-1-4028-9462-6");
		entityMgr.persist(bkInfo);

		entityMgr.getTransaction().commit();

		entityMgr.clear();
		System.out.println("Record Successfully Inserted In The Database");
	}
}
3.4 Database Configuration File
Developers can achieve persistence in their application by introducing the persistence.xml in their code. This module plays a crucial role in the concept of JPA as in this configuration file we will register the database and specify the entity class. Create a directory META-INF in the src/main/java folder and create the file persistence.xml inside it. Add the following code to it:
persistence.xml
<?xml version="1.0" encoding="UTF-8"?>
<persistence version="2.1"
	xmlns="http://xmlns.jcp.org/xml/ns/persistence" xmlns:xsi="http://www.w3.org/2001/XMLSchema-instance"
	xsi:schemaLocation="http://xmlns.jcp.org/xml/ns/persistence http://xmlns.jcp.org/xml/ns/persistence/persistence_2_1.xsd">
	<persistence-unit name="JPACompositeKey" transaction-type="RESOURCE_LOCAL">
		<class>com.jcg.compositekey.demo.Book</class>
		<class>com.jcg.compositekey.demo.BookInfo</class>

                <!-- Configuring The Database Connection Details -->
		<properties>
			<property name="javax.persistence.jdbc.driver" value="com.mysql.jdbc.Driver" />
			<property name="javax.persistence.jdbc.url" value="jdbc:mysql://localhost:3306/jpacompositekey" />
			<property name="javax.persistence.jdbc.user" value="root" />
			<property name="javax.persistence.jdbc.password" value="" />
		</properties>
	</persistence-unit>
</persistence>
Notes:
- In this example, we are connecting the application with the MySQL database. So, developers must add the mysql-connector-java-<version>-bin.jar to the project
- We have kept the
javax.persistence.jdbc.passwordvalue as blank for simplicity, however, it is pure unto the user to keep it blank or set it during the MySQL configuration. If the user sets it, we need to provide the same password to this string
4. Run the Application
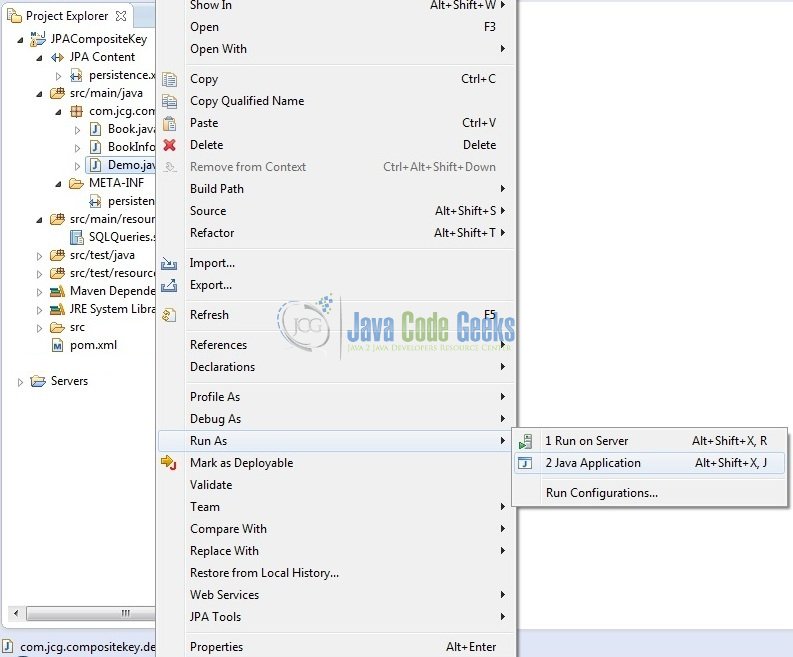
To run the application, Right click on the Demo class, Run As -> Java Application. Developers can debug the example and see what happens after every step. Enjoy!
5. Project Demo
Hereafter running the code, the application shows the following status as output:

That’s all for this post. Happy Learning!!
6. Conclusion
Through this example, we learned about the Composite Primary Key implementation. I hope this article served you whatever you were looking for. Developers can download the sample application as an Eclipse project in the downloads section.
7. Download the Eclipse Project
This was an example of JPA Composite Primary Key.
You can download the full source code of this example here: JPACompositeKey
