When using Hibernate, if developers log the Hibernate SQL statements, they will see something like this:
Hibernate: insert into student (id, first_name, last_name, email) values (?, ?, ?, ?)
However, for debugging the application, developers want to see the actual parameter values in the Hibernate logs i.e. basically, they want to get rid of the question marks in the logs. In this tutorial, we will demonstrate the use of Log4j to display the real-time SQL parameter values.
1. Introduction
1.1 Hibernate
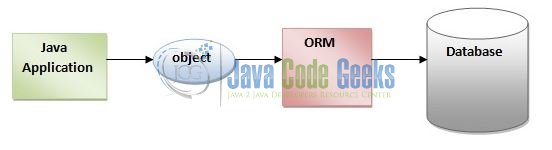
- Object-Relational Mapping or ORM is the programming technique to map application domain model objects to the relational database tables
- Hibernate is a Java-based ORM tool that provides a framework for mapping application domain objects to the relational database tables and vice versa. It provides reference implementation of Java Persistence API that makes it a great choice as an ORM tool with benefits of loose coupling
- A Framework that has an option to map plain old Java objects to the traditional database tables with the use of JPA annotations as well as
XMLbased configuration
1.1.1 Hibernate Annotations
- Hibernate annotations is the newest way to define mappings without a use of an
XMLfile - Developers use annotations to provide the metadata configuration along with the Java code
XMLprovides the ability to change the configuration without building the project. Thus, annotations are less powerful than theXMLconfiguration and should only be used for table and column mappings- Annotations are preconfigured with sensible default values, which reduce the amount of coding required. For e.g. Class name defaults to Table name and Field names default to Column names
1.2 What is Log4j?
Log4j is a simple, flexible, and fast Java-based logging framework. It is thread-safe and supports internationalization. We mainly have 3 components to work with Log4j:
- Logger: It is used to log the messages
- Appender: It is used to publish the logging information to the destination like file, database, console etc
- Layout: It is used to format logging information in different styles
1.3 Download and Install Hibernate
You can read this tutorial in order to download and install Hibernate in the Eclipse IDE.
1.4 Download and Install MySQL
You can watch this video in order to download and install the MySQL database on your Windows operating system.
Now, open up the Eclipse Ide and let’s see how to display the Hibernate SQL parameter values using the Log4j framework.
2. Hibernate SQL Parameter Values using Log4j Example
2.1 Tools Used
We are using Eclipse Kepler SR2, JDK 8, MySQL database and Maven. Having said that, we have tested the code against JDK 1.7 and it works well.
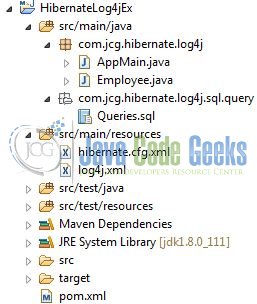
2.2 Project Structure
Firstly, let’s review the final project structure, in case you are confused about where you should create the corresponding files or folder later!
2.3 Project Creation
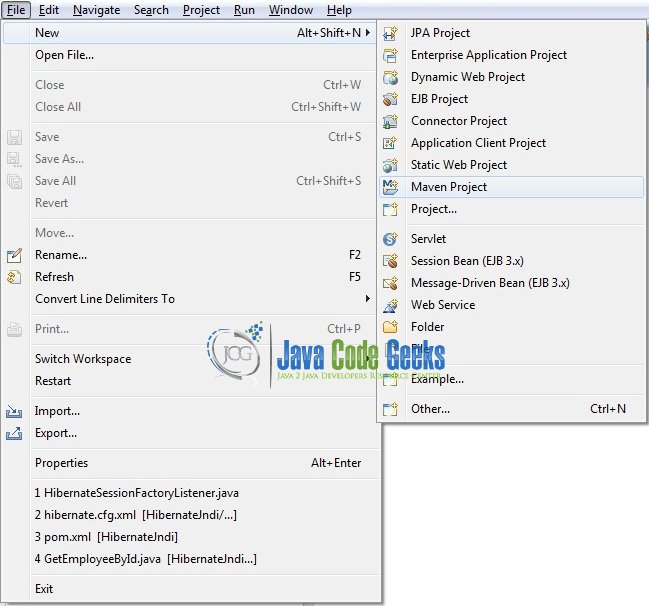
This section will demonstrate on how to create a Java-based Maven project with Eclipse. In Eclipse IDE, go to File -> New -> Maven Project.
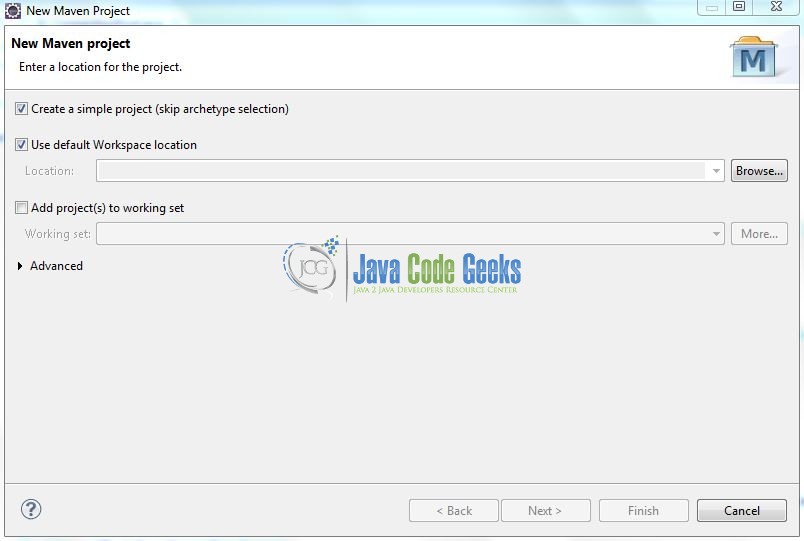
In the New Maven Project window, it will ask you to select project location. By default, ‘Use default workspace location’ will be selected. Select the ‘Create a simple project (skip archetype selection)’ checkbox and just click on next button to proceed.
It will ask you to ‘Enter the group and the artifact id for the project’. We will input the details as shown in the below image. The version number will be by default: 0.0.1-SNAPSHOT.
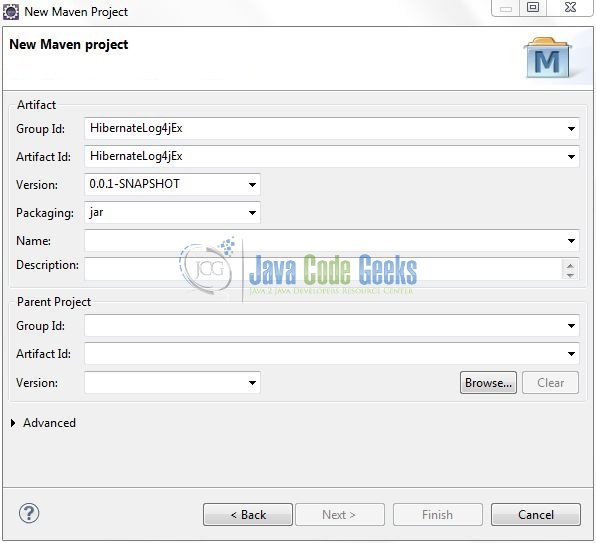
Click on Finish and the creation of a maven project is completed. If you observe, it has downloaded the maven dependencies and a pom.xml file will be created. It will have the following code:
pom.xml
<project xmlns="http://maven.apache.org/POM/4.0.0" xmlns:xsi="http://www.w3.org/2001/XMLSchema-instance" xsi:schemaLocation="http://maven.apache.org/POM/4.0.0 http://maven.apache.org/xsd/maven-4.0.0.xsd">
	<modelVersion>4.0.0</modelVersion>
	<groupId>HibernateLog4jEx</groupId>
	<artifactId>HibernateLog4jEx</artifactId>
	<version>0.0.1-SNAPSHOT</version>
</project>
We can start adding the dependencies that developers want like Hibernate, MySQL, Log4j etc. Let’s start building the application!
3. Application Building
Below are the steps involved in developing this application.
3.1 Database & Table Creation
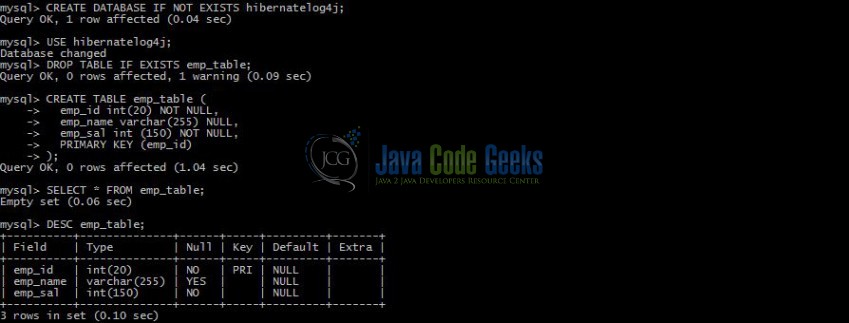
The following MySQL script is used to create a database called hibernatelog4j with table: emp_table. Open MySQL Workbench and execute the SQLscript.
CREATE DATABASE IF NOT EXISTS hibernatelog4j;

USE hibernatelog4j;

DROP TABLE IF EXISTS emp_table;

CREATE TABLE emp_table (
  emp_id int(20) NOT NULL,
  emp_name varchar(255) NULL,
  emp_sal int (150) NOT NULL,
  PRIMARY KEY (emp_id)
);

SELECT * FROM emp_table;

DESC emp_table;
If everything goes well, the table will be shown in the MySQL Workbench.
3.2 Maven Dependencies
Here, we specify the dependencies for Hibernate Core, Log4j, and MySQL Connector. The rest dependencies will be automatically resolved by Maven, such as Hibernate JPA and Hibernate Commons Annotations. The updated file will have the following code:
pom.xml
<?xml version="1.0" encoding="UTF-8"?>
<project xmlns="http://maven.apache.org/POM/4.0.0" xmlns:xsi="http://www.w3.org/2001/XMLSchema-instance" xsi:schemaLocation="http://maven.apache.org/POM/4.0.0 http://maven.apache.org/xsd/maven-4.0.0.xsd">
   <modelVersion>4.0.0</modelVersion>
   <groupId>HibernateLog4jEx</groupId>
   <artifactId>HibernateLog4jEx</artifactId>
   <version>0.0.1-SNAPSHOT</version>
   <dependencies>
      <!-- Hibernate 4.3.6 Final -->
      <dependency>
         <groupId>org.hibernate</groupId>
         <artifactId>hibernate-core</artifactId>
         <version>4.3.6.Final</version>
      </dependency>
      <!-- Mysql Connector -->
      <dependency>
         <groupId>mysql</groupId>
         <artifactId>mysql-connector-java</artifactId>
         <version>5.1.21</version>
      </dependency>
      <!-- https://mvnrepository.com/artifact/log4j/log4j -->
      <dependency>
         <groupId>log4j</groupId>
         <artifactId>log4j</artifactId>
         <version>1.2.17</version>
      </dependency>
   </dependencies>
   <build>
      <finalName>${project.artifactId}</finalName>
   </build>
</project>
3.3 Java Class Creation
Let’s create the required Java files. Right-click on src/main/java folder, New -> Package.
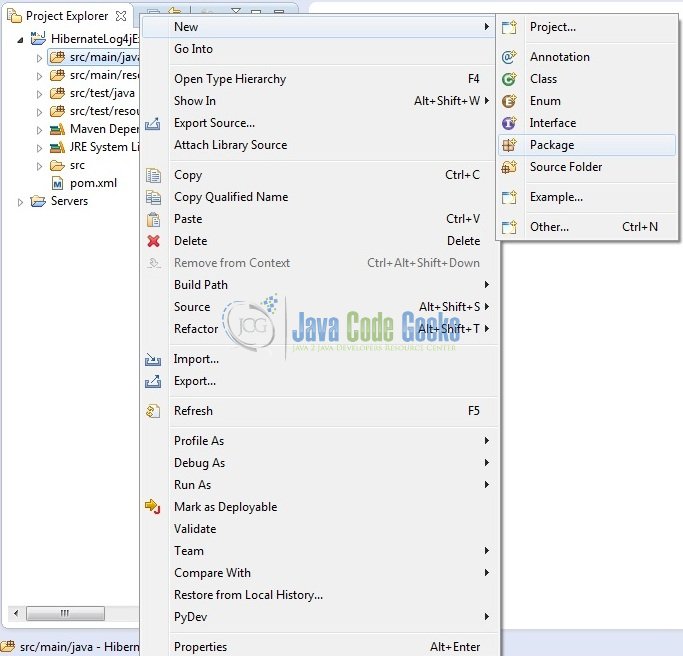
A new pop window will open where we will enter the package name as: com.jcg.hibernate.log4j.

Once the package is created in the application, we will need to create the model and the implementation classes. Right-click on the newly created package: New -> Class.
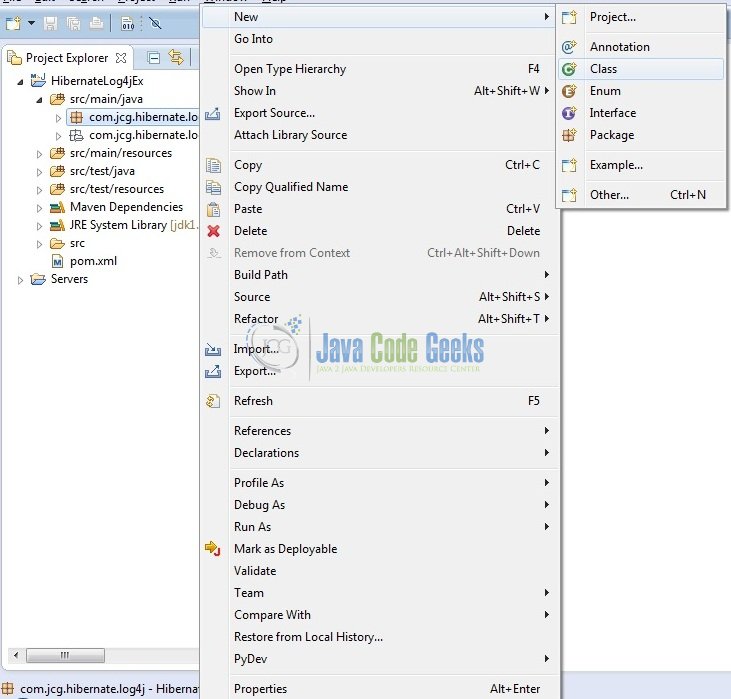
A new pop window will open and enter the file name as: Employee. The model class will be created inside the package: com.jcg.hibernate.log4j.
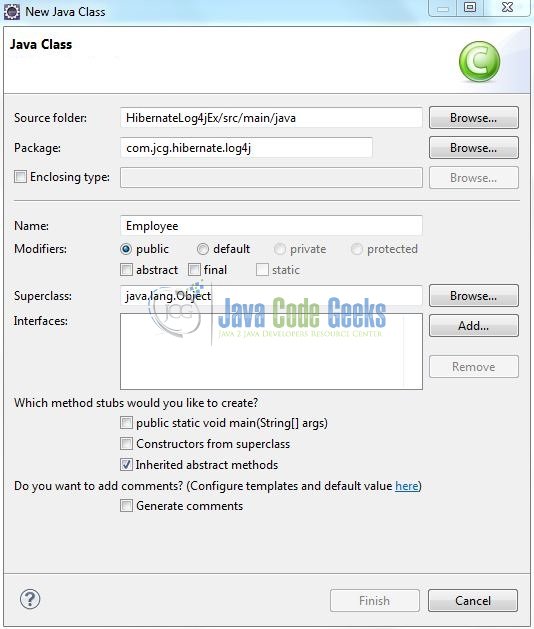
Repeat the step (i.e. Fig. 9) and enter the filename as: AppMain. The implementation class will be created inside the package: com.jcg.hibernate.log4j.

3.3.1 Implementation of Model Class
This class is used to map the model attributes with the SQL column names. Add the following code to it:
Employee.java
package com.jcg.hibernate.log4j;

import javax.persistence.Column;
import javax.persistence.Entity;
import javax.persistence.Id;
import javax.persistence.Table;

@Entity
@Table(name = "emp_table")
public class Employee {

	@Id
	@Column(name = "emp_id")
	private int empId;

	@Column(name = "emp_name")
	private String empName;

	@Column(name = "emp_sal")
	private int empSal;

	public int getEmpId() {
		return empId;
	}

	public void setEmpId(int empId) {
		this.empId = empId;
	}

	public String getEmpName() {
		return empName;
	}

	public void setEmpName(String empName) {
		this.empName = empName;
	}

	public int getEmpSal() {
		return empSal;
	}

	public void setEmpSal(int empSal) {
		this.empSal = empSal;
	}
}
3.3.2 Implementation of Utility Class
This class helps in creating the SessionFactory object from the Hibernate configuration file and interacts with the database to perform the INSERT operation. Add the following code to it:
AppMain.java
package com.jcg.hibernate.log4j;

import org.apache.log4j.Logger;
import org.hibernate.Session;
import org.hibernate.SessionFactory;
import org.hibernate.boot.registry.StandardServiceRegistryBuilder;
import org.hibernate.cfg.Configuration;
import org.hibernate.service.ServiceRegistry;

public class AppMain {

	static Logger logger = Logger.getLogger(AppMain.class);

	private static SessionFactory buildSessionFactory() {
		// Creating Configuration Instance & Passing Hibernate Configuration File
		Configuration configObj = new Configuration();
		configObj.configure("hibernate.cfg.xml");

		// Since Hibernate Version 4.x, ServiceRegistry Is Being Used
		ServiceRegistry serviceRegistryObj = new StandardServiceRegistryBuilder().applySettings(configObj.getProperties()).build();

		// Creating Hibernate SessionFactory Instance
		SessionFactory sessionFactoryObj = configObj.buildSessionFactory(serviceRegistryObj);
		return sessionFactoryObj;
	}

	public static void main(String[] args) {
		Employee empObj = null;
		Session sessionObj = null;
		try {
			sessionObj = buildSessionFactory().openSession();
			sessionObj.beginTransaction();

			for(int i = 101; i <= 105; i++) {
				empObj = new Employee();
				empObj.setEmpId(i);
				empObj.setEmpName("Emp. " + i);
				empObj.setEmpSal(10000);
				sessionObj.save(empObj);
			}

			// Committing The Transactions To The Database
			sessionObj.getTransaction().commit();

			logger.info(".......Records Saved Successfully To The Database.......");
		} catch(Exception exObj) {
			sessionObj.getTransaction().rollback();
			logger.error(".......Transaction Is Being Rolled Back......." + exObj);
		} finally {
			sessionObj.flush();
			sessionObj.close();
		}
	}
}
3.4 Configuration Files
Let’s write all the configuration files involved in this application.

3.4.1 Log4j Configuration File
Log4j will be usually configured using a properties file or an XML file. So once the log statements are in place developers can easily control them using the external configuration file without modifying the source code. The log4j.xml file is a Log4j configuration file which keeps properties in key-value pairs. By default, the LogManager looks for a file named log4j.xml in the CLASSPATH.
To configure the logging framework, we need to implement a configuration file i.e. log4j.xml and put it into the src/main/resources folder. Add the following code to it:
log4j.xml
<?xml version="1.0" encoding="UTF-8"?>
<!DOCTYPE log4j:configuration SYSTEM "http://logging.apache.org/log4j/1.2/apidocs/org/apache/log4j/xml/doc-files/log4j.dtd">
<log4j:configuration xmlns:log4j="http://jakarta.apache.org/log4j/">
   <appender name="console" class="org.apache.log4j.ConsoleAppender">
      <layout class="org.apache.log4j.PatternLayout">
         <param name="ConversionPattern" value="%-5p | %d{yyyy-MM-dd HH:mm:ss} | [%t] %C{2} (%F:%L) - %m%n" />
      </layout>
   </appender>
   <logger name="org.hibernate" additivity="false">
    	<level value="INFO" />
    	<appender-ref ref="console" />
	</logger>
	<logger name="org.hibernate.type" additivity="false">
    	<level value="TRACE" />
    	<appender-ref ref="console" />
	</logger>
   <root>
      <level value="INFO" />
      <appender-ref ref="console" />
   </root>
</log4j:configuration>
Note: This file has an important setting i.e. org.hibernate.type which allows developers to see the real-time SQL parameter values in the Hibernate framework.
3.4.2 Hibernate Configuration File
To configure the Hibernate framework, we need to implement a configuration file i.e. hiberncate.cfg.xml which will include the database configuration and the mapping class details. This XML file is put in the HibernateLog4jEx/src/main/resources folder and add the following code to it:
hibernate.cfg.xml
<?xml version="1.0" encoding="UTF-8"?>
<!DOCTYPE hibernate-configuration PUBLIC "-//Hibernate/Hibernate Configuration DTD 3.0//EN" "http://www.hibernate.org/dtd/hibernate-configuration-3.0.dtd">
<hibernate-configuration>
   <session-factory>
      <!-- SQL Dialect -->
      <property name="hibernate.dialect">org.hibernate.dialect.MySQLDialect</property>

      <!-- Database Connection Settings -->
      <property name="hibernate.connection.driver_class">com.mysql.jdbc.Driver</property>
      <property name="hibernate.connection.url">jdbc:mysql://localhost:3306/hibernatelog4j</property>
      <property name="hibernate.connection.username"><-- Database Username --></property>
      <property name="hibernate.connection.password"><-- Database Password --></property>
      <property name="hibernate.connection.pool_size">10</property>
      <property name="show_sql">true</property>

      <!-- Specifying Session Context -->
      <property name="hibernate.current_session_context_class">org.hibernate.context.internal.ThreadLocalSessionContext</property>

      <!-- Mapping With Model Class Containing Annotations -->
      <mapping class="com.jcg.hibernate.log4j.Employee" />
   </session-factory>
</hibernate-configuration>
Let’s look at some basic details:
- Here, we instructed Hibernate to connect to a MySQL database named
hibernatelog4jand the Mapping classes to be loaded - We have also instructed Hibernate framework to use
MySQLDialecti.e. Hibernate will optimize the generated SQL statements for MySQL - This configuration will be used to create a Hibernate
SessionFactoryobject show_sqltag will instruct the Hibernate framework to log all theSQLstatements on the console
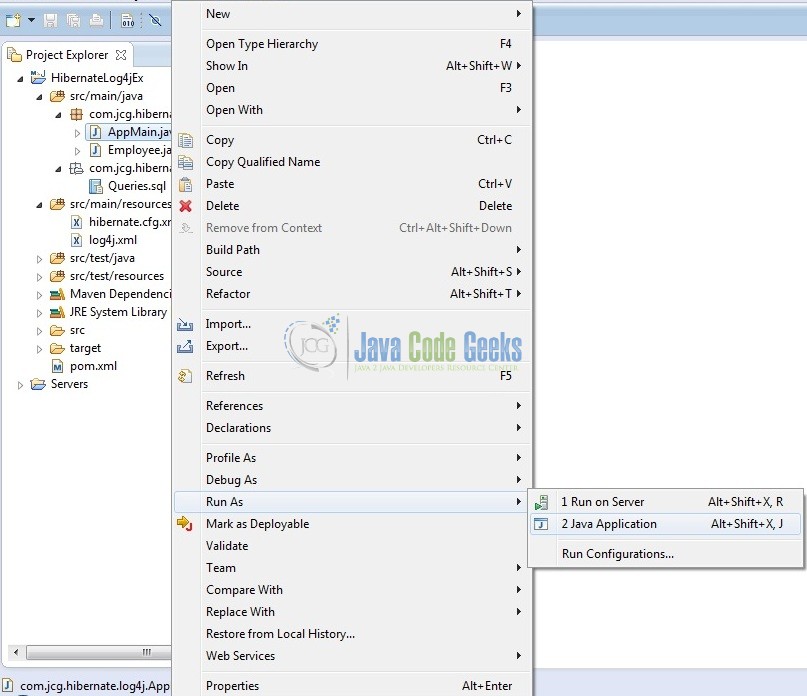
4. Run the Application
To run the Hibernate application, Right-click on the AppMain class -> Run As -> Java Application. Developers can debug the example and see what happens after every step!
5. Project Demo
In the above code, developers will now see a lot of low-level TRACE logs in the Eclipse Console window i.e. the real-time SQL parameter values will be displayed.
Hibernate: insert into emp_table (emp_name, emp_sal, emp_id) values (?, ?, ?)
TRACE | 2017-11-25 10:45:19 | [main] sql.BasicBinder (BasicBinder.java:81) - binding parameter [1] as [VARCHAR] - [Emp. 101]
TRACE | 2017-11-25 10:45:19 | [main] sql.BasicBinder (BasicBinder.java:81) - binding parameter [2] as [INTEGER] - [10000]
TRACE | 2017-11-25 10:45:19 | [main] sql.BasicBinder (BasicBinder.java:81) - binding parameter [3] as [INTEGER] - [101]

Hibernate: insert into emp_table (emp_name, emp_sal, emp_id) values (?, ?, ?)
TRACE | 2017-11-25 10:45:19 | [main] sql.BasicBinder (BasicBinder.java:81) - binding parameter [1] as [VARCHAR] - [Emp. 102]
TRACE | 2017-11-25 10:45:19 | [main] sql.BasicBinder (BasicBinder.java:81) - binding parameter [2] as [INTEGER] - [10000]
TRACE | 2017-11-25 10:45:19 | [main] sql.BasicBinder (BasicBinder.java:81) - binding parameter [3] as [INTEGER] - [102]

Hibernate: insert into emp_table (emp_name, emp_sal, emp_id) values (?, ?, ?)
TRACE | 2017-11-25 10:45:19 | [main] sql.BasicBinder (BasicBinder.java:81) - binding parameter [1] as [VARCHAR] - [Emp. 103]
TRACE | 2017-11-25 10:45:19 | [main] sql.BasicBinder (BasicBinder.java:81) - binding parameter [2] as [INTEGER] - [10000]
TRACE | 2017-11-25 10:45:19 | [main] sql.BasicBinder (BasicBinder.java:81) - binding parameter [3] as [INTEGER] - [103]

Hibernate: insert into emp_table (emp_name, emp_sal, emp_id) values (?, ?, ?)
TRACE | 2017-11-25 10:45:19 | [main] sql.BasicBinder (BasicBinder.java:81) - binding parameter [1] as [VARCHAR] - [Emp. 104]
TRACE | 2017-11-25 10:45:19 | [main] sql.BasicBinder (BasicBinder.java:81) - binding parameter [2] as [INTEGER] - [10000]
TRACE | 2017-11-25 10:45:19 | [main] sql.BasicBinder (BasicBinder.java:81) - binding parameter [3] as [INTEGER] - [104]

Hibernate: insert into emp_table (emp_name, emp_sal, emp_id) values (?, ?, ?)
TRACE | 2017-11-25 10:45:19 | [main] sql.BasicBinder (BasicBinder.java:81) - binding parameter [1] as [VARCHAR] - [Emp. 105]
TRACE | 2017-11-25 10:45:19 | [main] sql.BasicBinder (BasicBinder.java:81) - binding parameter [2] as [INTEGER] - [10000]
TRACE | 2017-11-25 10:45:19 | [main] sql.BasicBinder (BasicBinder.java:81) - binding parameter [3] as [INTEGER] - [105]

INFO  | 2017-11-25 10:45:19 | [main] log4j.AppMain (AppMain.java:45) - .......Records Saved Successfully To The Database.......
That’s all for this post. Happy Learning!!
6. Conclusion
This tutorial uses a simple example to illustrate the Log4j functionality in the Hibernate framework and helps developers understand the basic configuration required to achieve this. I hope this article served you whatever you were looking for.
7. Download the Eclipse Project
This was an example of Hibernate Log4j Example.
You can download the full source code of this example here: HibernateLog4jEx
