Hibernate Session provide different methods to fetch the data (or a single record) from the database. In this tutorial, we will demonstrate the use of Session.byId() method in Hibernate using the annotation based configuration.
1. Introduction
1.1 Hibernate
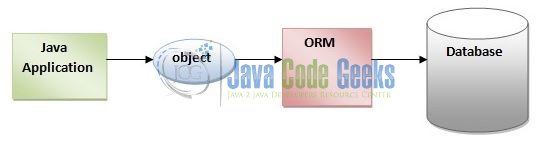
- Object-Relational Mapping or ORM is the programming technique to map application domain model objects to the relational database tables
- Hibernate is a Java-based ORM tool that provides the framework for mapping application domain objects to the relational database tables and vice versa. It provides reference implementation of Java Persistence API that makes it a great choice as an ORM tool with benefits of loose coupling
- A Framework that has an option to map plain old Java objects to the traditional database tables with the use of JPA annotations as well as
XMLbased configuration
1.2 Hibernate Annotations
- Hibernate annotations is the newest way to define mappings without a use of a
XMLfile - Developers use annotations to provide metadata configuration along with the Java code. Thus, making the code easy to understand
XMLprovides the ability to change the configuration without building the project. Thus, annotations are less powerful than theXMLconfiguration and should only be used for table and column mappings- Annotations are preconfigured with sensible default values, which reduce the amount of coding required. For e.g. Class name defaults to Table name and Field names default to Column names
1.2.1 Reference Guide on Hibernate Annotations
Hibernate Annotations are based on the JPA 2 specification. All the JPA annotations are defined in the javax.persistence.* package. The basic JPA annotations of Hibernate that can be used in an entity are the ones below.
| Annotation | Modifier | Description |
@Entity | Marks a class as a Hibernate Entity (Mapped class) | |
@Table | Name | Maps this class with a database table specified by name modifier. If the name is not supplied it maps the class with a table having the same name as the class. |
@Id | Marks this class field as a Primary Key column. | |
@GeneratedValue | Instructs database to generate a value for this field automatically. | |
@Column | Name | Maps this field with table column specified by name and uses the field name if name modifier is absent. |
1.3 Hibernate Session Interface
In Hibernate, an entity (or a single record) can be obtained from the database using the following Session interface methods:
Session.get(): This method returns a persistence object of the given class with the given identifier. It will return null if there is no persistence objectSession.load(): This method returns a persistence object of the given class with the given identifier. It will throw an exceptionObjectNotFoundException, if an entity does not exist in the database. Theload()method may return a proxy object instead of a real persistence objectSession.byId(): This method is used to obtain a persistence object by its primary identifier
1.3.1 Session byId() Method
Hibernate’s Session interface provides one or more byId() methods for loading the entities from the database. The org.hibernate.Session.byId() method returns the instance of the IdentifierLoadAccess class whose methods either accepts the Class entityName or the String entityName as an input parameter.
The org.hibernate.IdentifierLoadAccess class loads an entity from the database by using the primary identifier. Let’s look at the different flavors of the methods available with the IdentifierLoadAccess class:
getReference(Serializable id): Here in this method developers pass the value of the primary identifier and in return they get the entity from the database, assuming the value exists in the database. If there is no value corresponding to the given identifier, the method throws an exceptionload(Serializable id): Here in this method developers pass the value of the primary identifier and in return they get the entity from the database, assuming the value exists in the database. If there is no value corresponding to the given identifier, the method returns a null valuewith(LockOptions options): This method returns the same value as the calling instance i.e. theIdentifierLoadAccessbut with lock options, for e.g.READ,NO_WAIT,NONEetc
1.4 Download and Install Hibernate
You can read this tutorial in order to download and install Hibernate in the Eclipse IDE.
1.5 Download and Install MySQL
You can watch this video in order to download and install the MySQL database on your Windows operating system.
Now, open up the Eclipse IDE and let’s see how to implement the Session.byId() method in Hibernate using Annotation!
2. Hibernate Session byId Example
2.1 Tools Used
We are using Eclipse Kepler SR2, JDK 8, MySQL database and Maven. Having said that, we have tested the code against JDK 1.7 and it works well.
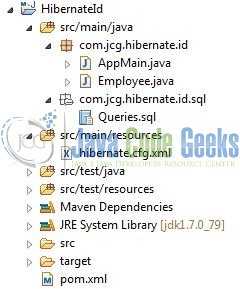
2.2 Project Structure
Firstly, let’s review the final project structure, in case you are confused about where you should create the corresponding files or folder later!
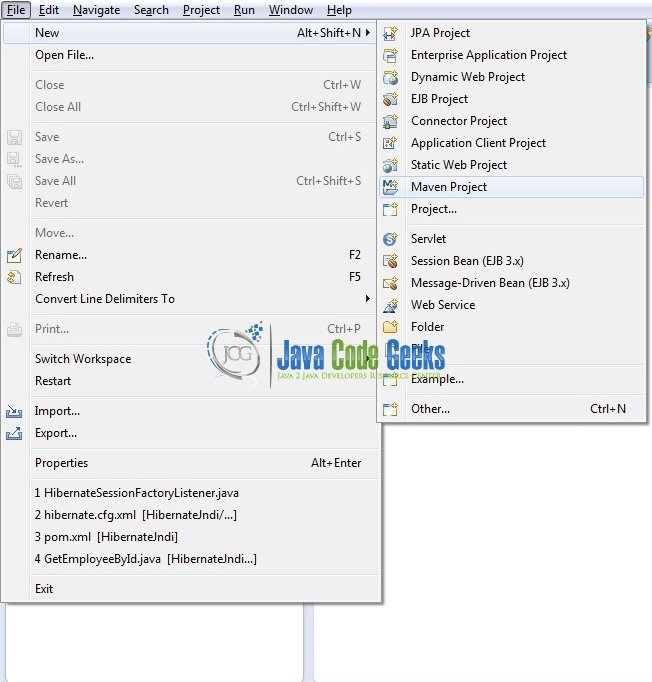
2.3 Project Creation
This section will demonstrate on how to create a Java-based Maven project with Eclipse. In Eclipse IDE, go to File -> New -> Maven Project.
In the New Maven Project window, it will ask you to select project location. By default, ‘Use default workspace location’ will be selected. Select the ‘Create a simple project (skip archetype selection)’ checkbox and just click on next button to proceed.

It will ask you to ‘Enter the group and the artifact id for the project’. We will input the details as shown in the below image. The version number will be by default: 0.0.1-SNAPSHOT.

Click on Finish and the creation of a maven project is completed. If you observe, it has downloaded the maven dependencies and a pom.xml file will be created. It will have the following code:
pom.xml
<project xmlns="http://maven.apache.org/POM/4.0.0" xmlns:xsi="http://www.w3.org/2001/XMLSchema-instance" xsi:schemaLocation="http://maven.apache.org/POM/4.0.0 http://maven.apache.org/xsd/maven-4.0.0.xsd">
	<modelVersion>4.0.0</modelVersion>
	<groupId>HibernateId</groupId>
	<artifactId>HibernateId</artifactId>
	<version>0.0.1-SNAPSHOT</version>
</project>
We can start adding the dependencies that developers want like Hibernate, MySQL etc. Let’s start building the application!
3. Application Building
Below are the steps involved in developing this application.
3.1 Database & Table Creation
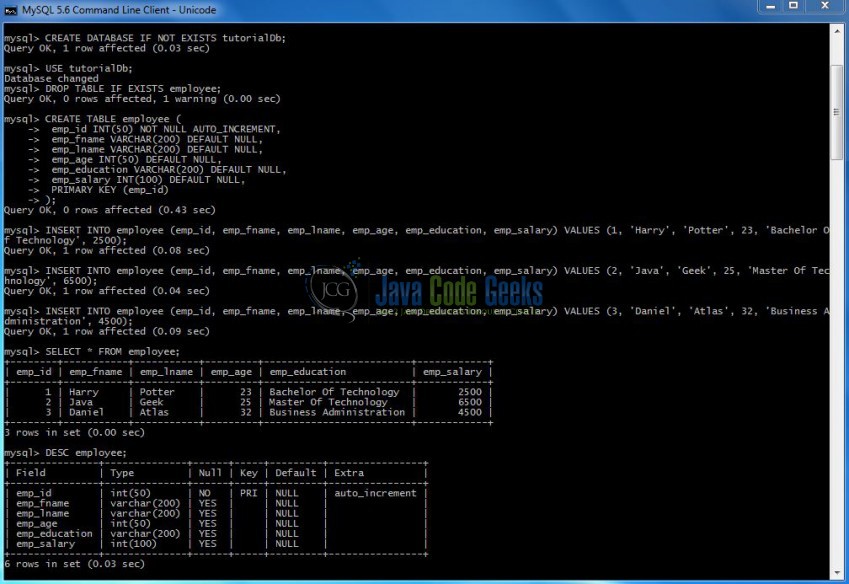
The following MySQL script is used to create a database called tutorialDb with table: employee. Open MySQL terminal or workbench terminal and execute the SQLscript.
CREATE DATABASE IF NOT EXISTS tutorialDb;

USE tutorialDb;

DROP TABLE IF EXISTS employee;

CREATE TABLE employee (
	emp_id INT(50) NOT NULL AUTO_INCREMENT,
	emp_fname VARCHAR(200) DEFAULT NULL,
	emp_lname VARCHAR(200) DEFAULT NULL,
	emp_age INT(50) DEFAULT NULL,
	emp_education VARCHAR(200) DEFAULT NULL,
	emp_salary INT(100) DEFAULT NULL,
	PRIMARY KEY (emp_id)
);

INSERT INTO employee (emp_id, emp_fname, emp_lname, emp_age, emp_education, emp_salary) VALUES (1, 'Harry', 'Potter', 23, 'Bachelor Of Technology', 2500);

INSERT INTO employee (emp_id, emp_fname, emp_lname, emp_age, emp_education, emp_salary) VALUES (2, 'Java', 'Geek', 25, 'Master Of Technology', 6500);

INSERT INTO employee (emp_id, emp_fname, emp_lname, emp_age, emp_education, emp_salary) VALUES (3, 'Daniel', 'Atlas', 32, 'Business Administration', 4500);
If everything goes well, the table will be shown in the MySQL Workbench.
3.2 Maven Dependencies
Here, we specify only two dependencies for Hibernate Core and MySQL Connector. The rest dependencies will be automatically resolved by Maven, such as Hibernate JPA and Hibernate Commons Annotations. The updated file will have the following code:
pom.xml
<project xmlns="http://maven.apache.org/POM/4.0.0" xmlns:xsi="http://www.w3.org/2001/XMLSchema-instance"
	xsi:schemaLocation="http://maven.apache.org/POM/4.0.0 http://maven.apache.org/xsd/maven-4.0.0.xsd">
	<modelVersion>4.0.0</modelVersion>
	<groupId>HibernateId</groupId>
	<artifactId>HibernateId</artifactId>
	<version>0.0.1-SNAPSHOT</version>
	<packaging>jar</packaging>
	<dependencies>
		<!-- Hibernate 4.3.6 Final -->
		<dependency>
			<groupId>org.hibernate</groupId>
			<artifactId>hibernate-core</artifactId>
			<version>4.3.6.Final</version>
		</dependency>
		<!-- Mysql Connector -->
		<dependency>
			<groupId>mysql</groupId>
			<artifactId>mysql-connector-java</artifactId>
			<version>5.1.21</version>
		</dependency>
	</dependencies>
	<build>
		<finalName>${project.artifactId}</finalName>
	</build>
</project>
3.3 Java Class Creation
Let’s create the required Java files. Right-click on src/main/java folder, New -> Package.
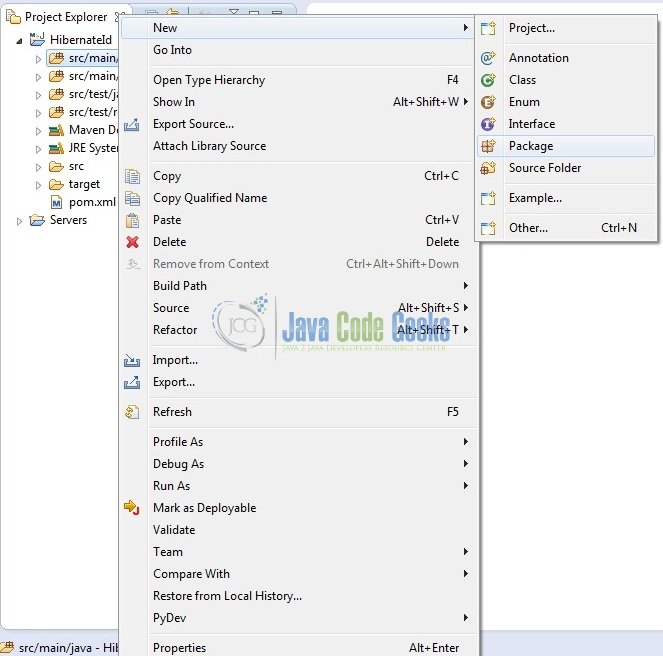
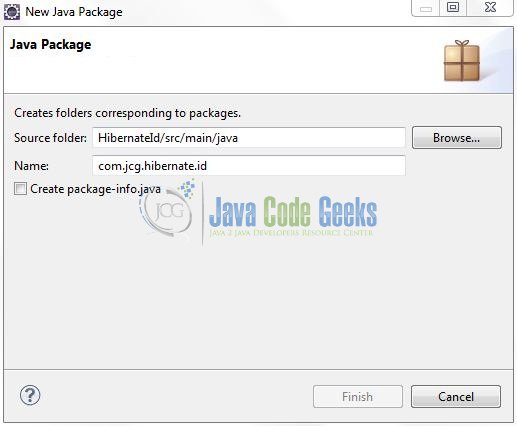
A new pop window will open where we will enter the package name as: com.jcg.hibernate.id.
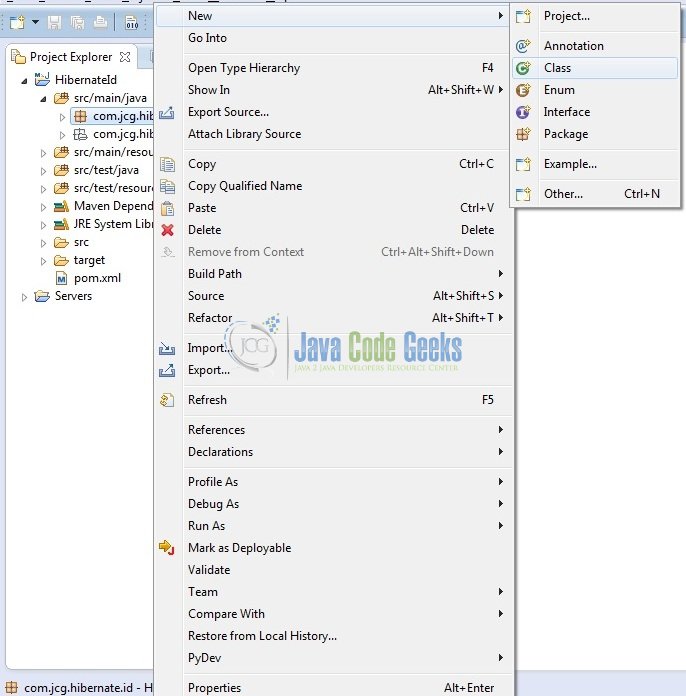
Once the package is created in the application, we will need to create the model and the implementation classes. Right-click on the newly created package: New -> Class.
A new pop window will open and enter the file name as: Employee. The model class will be created inside the package: com.jcg.hibernate.id.
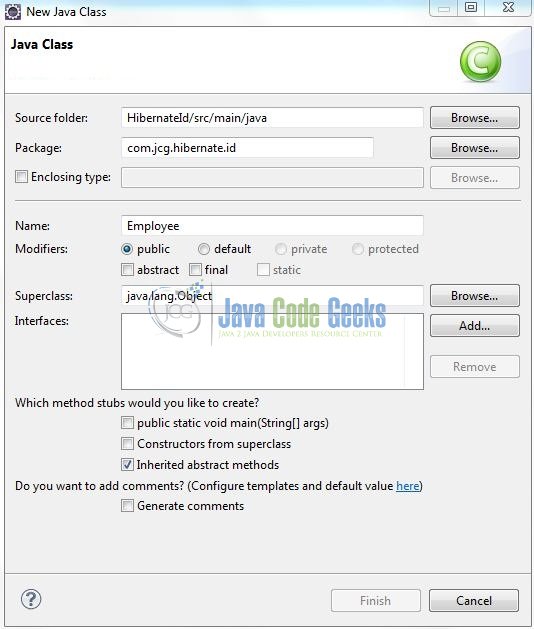
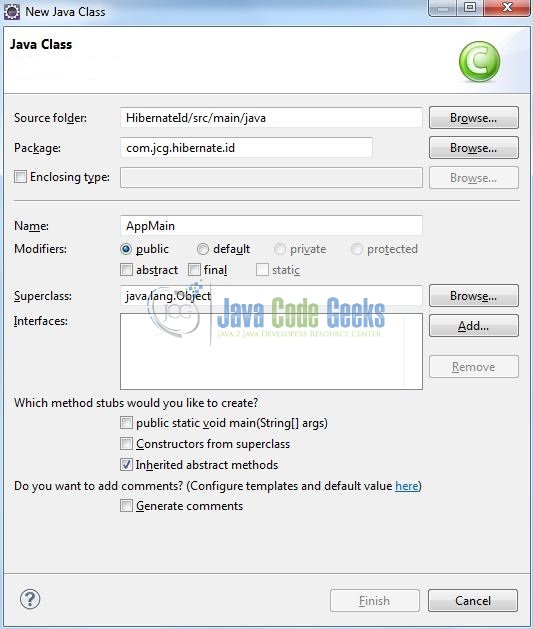
Repeat the step (i.e. Fig. 9) and enter the filename as: AppMain. The implementation class will be created inside the package: com.jcg.hibernate.id.
3.3.1 Implementation of Model Class
This class is used to map the model attributes with the SQL column names. Add the following code to it:
Employee.java
package com.jcg.hibernate.id;

import javax.persistence.Column;
import javax.persistence.Entity;
import javax.persistence.GeneratedValue;
import javax.persistence.GenerationType;
import javax.persistence.Id;
import javax.persistence.Table;

@Entity
@Table(name="employee")
public class Employee {

	@Id
	@Column(name = "emp_id")
	@GeneratedValue(strategy = GenerationType.AUTO)
	private int employeeId;

	@Column(name = "emp_fname")
	private String firstName;

	@Column(name = "emp_lname")
	private String lastName;

	@Column(name = "emp_age")
	private int age;

	@Column(name = "emp_education")
	private String education;

	@Column(name = "emp_salary")
	private int salary;

	public int getEmployeeId() {
		return employeeId;
	}

	public void setEmployeeId(int employeeId) {
		this.employeeId = employeeId;
	}

	public String getFirstName() {
		return firstName;
	}

	public void setFirstName(String firstName) {
		this.firstName = firstName;
	}

	public String getLastName() {
		return lastName;
	}

	public void setLastName(String lastName) {
		this.lastName = lastName;
	}

	public int getAge() {
		return age;
	}

	public void setAge(int age) {
		this.age = age;
	}

	public String getEducation() {
		return education;
	}

	public void setEducation(String education) {
		this.education = education;
	}

	public int getSalary() {
		return salary;
	}

	public void setSalary(int salary) {
		this.salary = salary;
	}

	public String toString() {
		return "Id: " + employeeId + ", Name: " + firstName + " " + lastName + ", Age: " + age + ", Education: " + education + ", Salary:" + salary + "$\n";
	}
}
3.3.2 Implementation of Utility Class
This class helps in creating the SessionFactory object from the Hibernate configuration file and interacts with the database to perform the SELECT operation. Add the following code to it:

AppMain.java
package com.jcg.hibernate.id;

import org.hibernate.IdentifierLoadAccess;
import org.hibernate.Session;
import org.hibernate.SessionFactory;
import org.hibernate.boot.registry.StandardServiceRegistryBuilder;
import org.hibernate.cfg.Configuration;
import org.hibernate.service.ServiceRegistry;

public class AppMain {

	static Session sessionObj;
	static SessionFactory sessionFactoryObj;
	static IdentifierLoadAccess identifierObj;

	// This Method Is Used To Create The Hibernate's SessionFactory Object
	private static SessionFactory buildSessionFactory() {
		// Creating Configuration Instance & Passing Hibernate Configuration File.
		Configuration configObj = new Configuration();
		configObj.configure("hibernate.cfg.xml");

		// Since Hibernate Version 4.x, ServiceRegistry Is Being Used.
		ServiceRegistry serviceRegistryObj = new StandardServiceRegistryBuilder().applySettings(configObj.getProperties()).build();

		// Creating Hibernate SessionFactory Instance.
		sessionFactoryObj = configObj.buildSessionFactory(serviceRegistryObj);
		return sessionFactoryObj;
	}

	// This Method Is Used To Display The Records From The Database Table (i.e. Assuming The Records Are Already Present In The Database Table)
	public static void displayRecords() {
		Employee empObj;

		// Opening The Hibernate's Session Object To Start The Database Transactions.
		sessionObj = buildSessionFactory().openSession();

		identifierObj = sessionObj.byId(Employee.class);

		// Accessing The Employee Details For The Existing Identifier Using The 'getReference()' Method.
		int emp_id1 = 1;
		empObj = (Employee)identifierObj.getReference(new Integer(emp_id1));
		if(empObj != null) {
			System.out.println(empObj.toString());
		}

		// Accessing The Employee Details For The Existing Identifier Using The 'load()' Method.
		int emp_id2 = 3;
		empObj = (Employee)identifierObj.load(new Integer(emp_id2));
		if(empObj != null) {
			System.out.println(empObj.toString());
		}

		// Accessing The Employee Details For The Non-Existing Identifier Using The 'load()' Method. This Will Return 'null'.
		int emp_id3 = 5;
		empObj = (Employee)identifierObj.load(new Integer(emp_id3));
		if(empObj != null) {
			System.out.println(empObj.toString());
		} else {
			System.out.println(empObj);
		}

		// Accessing The Employee Details For The Non-Existing Identifier Using The 'getReference()' Method. This Will Return 'ObjectNotFoundException'.
		int emp_id4 = 7;
		empObj = (Employee)identifierObj.getReference(new Integer(emp_id4));
		if(empObj != null) {
			System.out.println(empObj.toString());
		} else {
			System.out.println("\n"+empObj);
		}

		// Closing The Hibernate's Session Object To Close The Database Transactions.
		sessionObj.close();
	}

	public static void main(String[] args) {
		displayRecords();
	}
}
3.4. Hibernate Configuration File
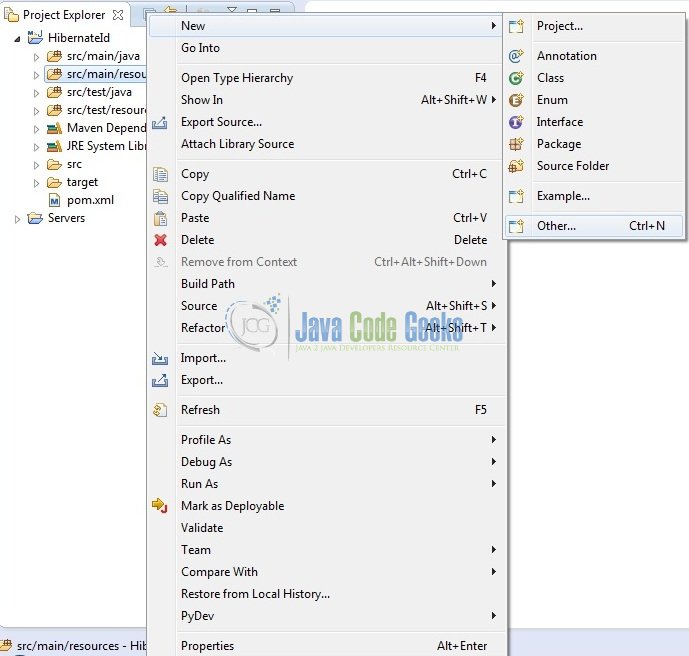
To configure the Hibernate framework, we need to implement a configuration file i.e. hiberncate.cfg.xml. Right-click on src/main/resources folder, New -> Other.
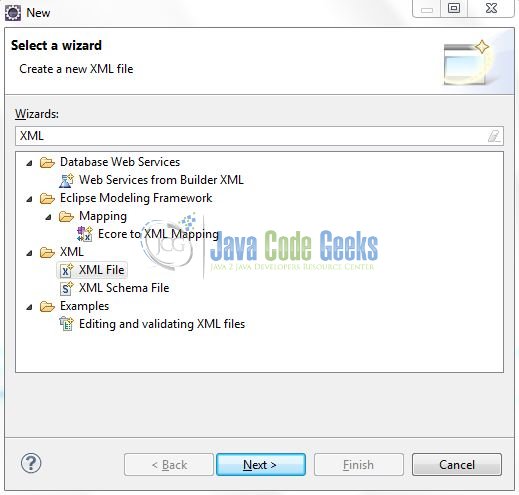
A new pop window will open and select the wizard as an XML file.
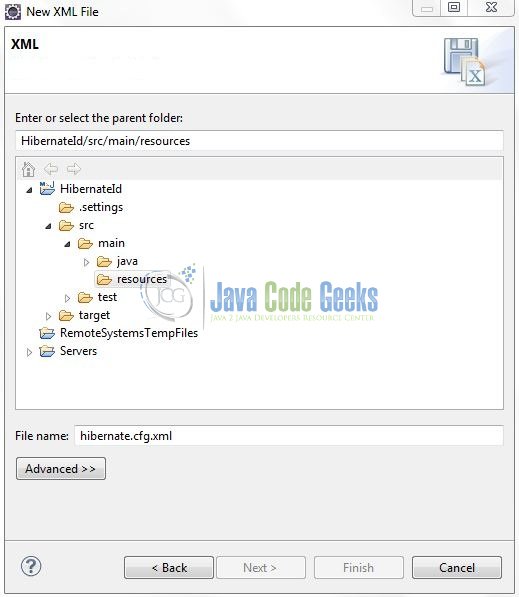
Again, a pop-up window will open. Verify the parent folder location as HibernateId/src/main/resources and enter the file name as: hibernate.cfg.xml. Click Finish.
Once the file is created, we will include the database configuration and the mapping class details. Add the following code to it:
hibernate.cfg.xml
<?xml version='1.0' encoding='UTF-8'?>
<!DOCTYPE hibernate-configuration PUBLIC
        "-//Hibernate/Hibernate Configuration DTD 3.0//EN"
        "http://www.hibernate.org/dtd/hibernate-configuration-3.0.dtd">

<hibernate-configuration>
	<session-factory>
		<!-- SQL Dialect -->
		<property name="hibernate.dialect">org.hibernate.dialect.MySQLDialect</property>

		<!-- Database Connection Settings -->
		<property name="hibernate.connection.driver_class">com.mysql.jdbc.Driver</property>
		<property name="hibernate.connection.url">jdbc:mysql://localhost:3306/tutorialDb</property>
		<property name="hibernate.connection.username">root</property>
		<property name="hibernate.connection.password"></property>

		<!-- Echo All Executed SQL To Console -->
		<property name="show_sql">true</property>

		<!-- Specifying Session Context -->
		<property name="hibernate.current_session_context_class">org.hibernate.context.internal.ThreadLocalSessionContext</property>

		<!-- Mapping With Model Class Containing Annotations -->
		<mapping class="com.jcg.hibernate.id.Employee" />
	</session-factory>
</hibernate-configuration>
Let’s look at some basic details:
- Here, we instructed Hibernate to connect to a MySQL database named
tutorialDband the Mapping classes to be loaded - We have also instructed Hibernate framework to use
MySQLDialecti.e. Hibernate will optimize the generated SQL statements for MySQL - This configuration will be used to create a Hibernate
SessionFactoryobject show_sqltag will instruct the Hibernate framework to log all theSQLstatements on the console
4. Run the Application
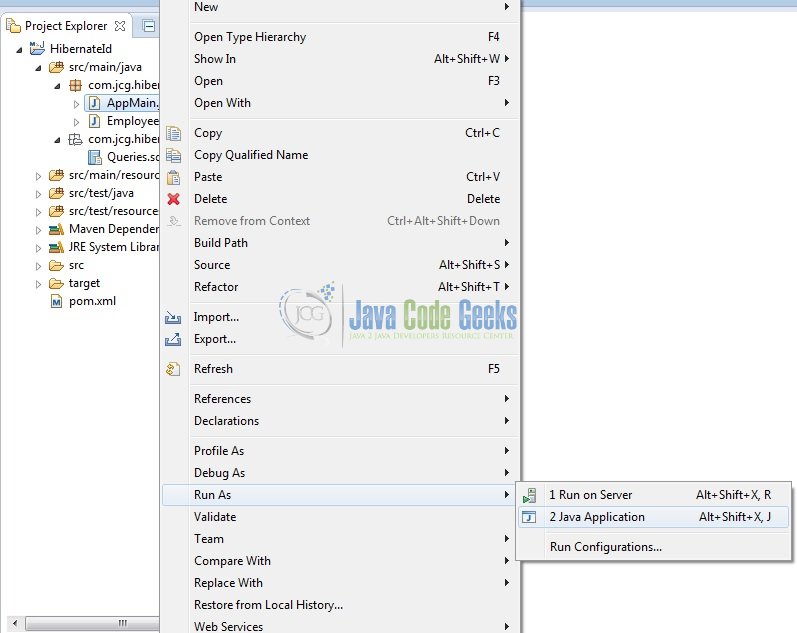
To run the Hibernate application, Right-click on the AppMain class -> Run As -> Java Application. Developers can debug the example and see what happens after every step!
5. Project Demo
In the above code, we have used the Session.byId() method to retrieve the Employees with employee id as: 1 and 3. Hibernate returns the entity (or the record) from the database.

While in the case of employee id as: 5 and 7, Hibernate returns a null value in case of identifierObj.load() operation or throws a ObjectNotFoundException exception in case of identifierObj.getReference() operation.

That’s all for this post. Happy Learning!!
6. Conclusion
This tutorial uses a simple example to illustrate the functionality of the Session.byId() method in the Hibernate framework and helps developers understand the basic configuration required to achieve this. That’s all for Hibernate byId tutorial and I hope this article served you whatever you were looking for.
7. Download the Eclipse Project
This was an example of Hibernate byId.
You can download the full source code of this example here: HibernateId
