A database connection is expensive to make, yet all web applications use it. That is why most of the servlet containers provide built-in support for connection pooling. We can leverage this connection pooling in any webserver by registering the datasource via the JNDI context. In this tutorial, we will explain how to configure a datasource in Tomcat and how to obtain an instance of this datasource via JNDI.
Table Of Contents
1. Introduction
Using Hibernate framework in a web application is very easy, all we need is to configure datasource properties in hibernate configuration file. But before we move on, let’s take a look and understand the Hibernate framework and JNDI.
1.1 What is Hibernate?
- Hibernate is the Opensource lightweight ORM (Object Relational Mapping) based framework to communicate with a database. ORM is a programming technique that maps the object to the data stored in the database.
- Hibernate framework makes the development of Java application to interact with the database in a simple manner.
- Hibernate handles mapping of Java classes to database tables (i.e. Java data types and SQL data types).
- Hibernate also provides data query and retrieval facilities.
- Hibernate is purely used for data persistence (i.e. to store/retrieve data from the database).
- Hibernate framework internally uses the JDBC API to interact with the database. It hides internal JDBC implementations from end users.
1.2 Hibernate Architecture
There are 4 layers in Hibernate architecture i.e. Java Application Layer, Hibernate Framework Layer, Backhand API Layer and Database Layer. Let’s understand the diagram of hibernate architecture:
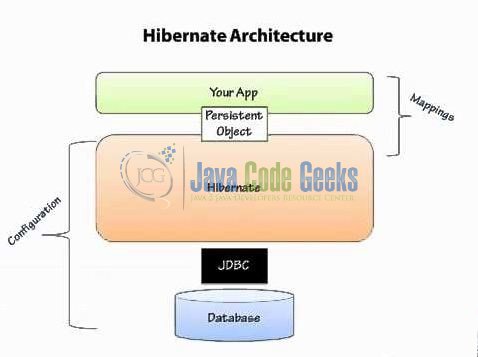
For creating the first Hibernate application, we must know the elements of Hibernate architecture. They are as follows:
| Element | Description |
|---|---|
| SessionFactory | The SessionFactory is a factory of session and client of Connection Provider. It holds second level cache (optional) of data. |
| Session | The session object provides an interface between the application and data stored in the database. It is a short-lived object and wraps the JDBC connection. It is a factory of Transaction, Query, and Criteria and holds a first-level cache (mandatory) of data. The Session interface provides methods to INSERT, UPDATE and DELETE the object. |
| Transaction | The transaction object specifies the atomic unit of work and is an optional parameter in Hibernate framework. |
| ConnectionProvider | It is a factory of JDBC connections and abstracts the application from Driver Manager or DataSource. It is an optional parameter in Hibernate framework. |
| TransactionFactory | It is a factory of Transaction and is again an optional parameter in Hibernate framework. |
1.3 Hibernate Benefits
There are many advantages of using the hibernate framework, for e.g.
- Takes care of mapping Java classes to database tables using XML files and without writing any line of code.
- Provides simple APIs for storing and retrieving Java objects directly to and from the database.
- Provides the facility to create the tables of the database automatically. So, there is no need to create tables in the database manually.
- If there is a change in a database or in any table then the only need to change XML file properties.
- Minimize database access with smart fetching strategies as Hibernate framework internally uses the cache technique.
- Provides simple querying of data.
1.4 What is JNDI?
- JNDI stands for Java Naming and Directory Interface.
- It’s a Java API for a directory service that allows Java clients to discover and look up data and objects via a name.
- It’s just an interface and hence it is independent of the underlying implementation.
- In simple words, JNDI provides a mechanism to bind an object to a name.
1.5 Why we need to use JNDI?
JNDI allows distributed applications to look up services in a resource-independent way.
Since it is independent of any specific naming or directory service implementation, it enables applications to access different naming and directory services like DNS, LDAP, CORBA and RMI using a common API.
1.6 When to use JNDI?
The most common use case is to set up a database connection pool on a Java EE application server.
Any application that is deployed on such server (where JNDI is configured) can gain access to the connections they need using the JNDI name without having any knowledge about the connection and the underlying database.
For E.g.:
java:comp/env/testDatabasePool
1.7 Download and Install Hibernate
You can read this tutorial in order to download and install Hibernate in the Eclipse IDE.
1.8 Download and Install MySQL
You can watch this video in order to download and install the MySQL database on your windows operations system.
Now, open up the Eclipse IDE and let’s start building the application!
2. Hibernate JNDI Example
2.1 Tools Used
We are using Eclipse Kepler SR2, JDK 8 (1.8.0_131), Tomcat7 application server, MySQL database, and Maven (to download the MySQL connector jar and Hibernate libraries). Having said that, we have tested the code against JDK 1.7 and it works well.
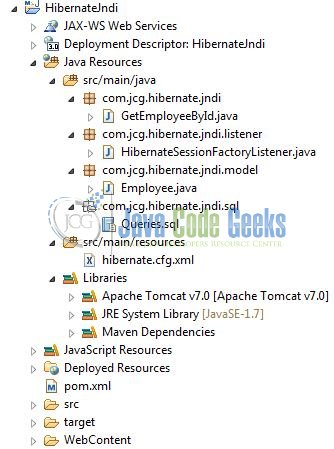
2.2 Project Structure
Firstly, let’s review the final project structure, in case you are confused about where you should create the corresponding files or folder later!
You may skip project creation and jump directly to the beginning of the example below.
2.3 Project Creation
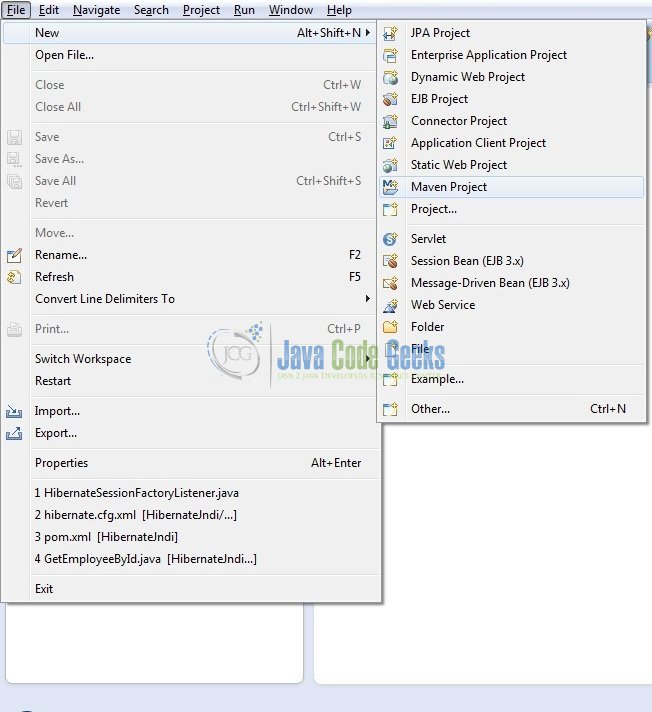
This section will demonstrate on how to create a Dynamic Web Java Maven project with Eclipse. In Eclipse IDE, go to File -> New -> Maven Project
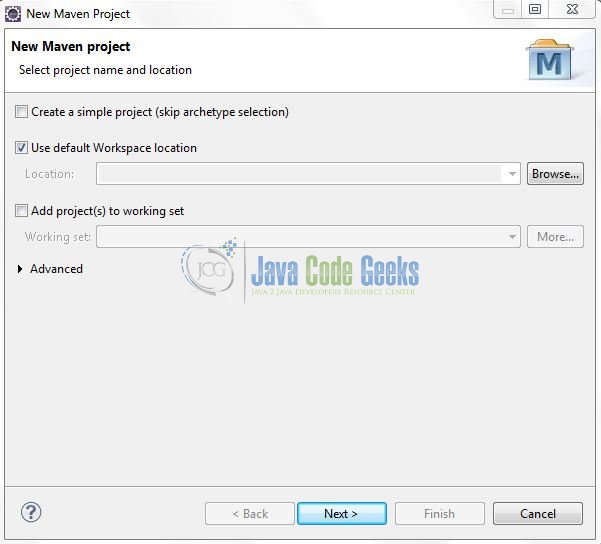
In the New Maven Project window, it will ask you to select project location. By default, ‘Use default workspace location‘ will be selected. Just click on Next button to proceed without making any changes.
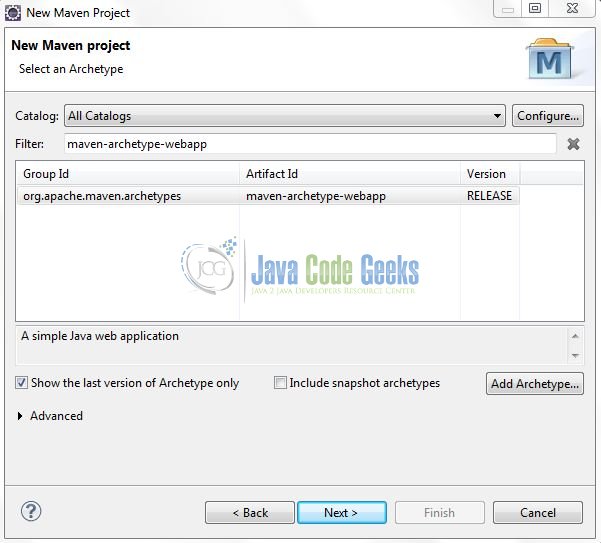
In the next screen, it will ask you to select an archetype. Depending on the type of project that you are working, you need to choose the archetype. Select the maven archetype as maven-archetype-webapp and click on next.
It will ask you to ‘Enter a group id for the artifact.’ We will input the details as shown in the below image. The version number will be by default 0.0.1-SNAPSHOT.
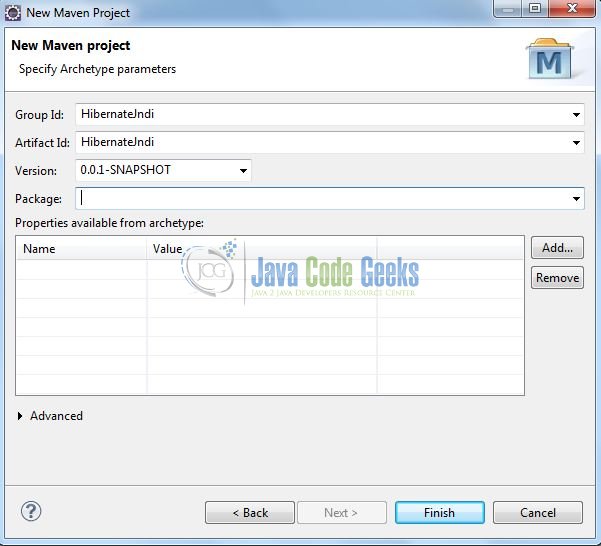
Click on Finish. The creation of a maven project is completed. If you see, it has downloaded the maven dependencies and a pom.xml file will be created. It will have the following code:
pom.xml
<?xml version="1.0" encoding="UTF-8"?>
<project xmlns="http://maven.apache.org/POM/4.0.0" xmlns:xsi="http://www.w3.org/2001/XMLSchema-instance" xsi:schemaLocation="http://maven.apache.org/POM/4.0.0 http://maven.apache.org/maven-v4_0_0.xsd">
   <modelVersion>4.0.0</modelVersion>
   <groupId>HibernateJndi</groupId>
   <artifactId>HibernateJndi</artifactId>
   <packaging>war</packaging>
   <version>0.0.1-SNAPSHOT</version>
   <name>HibernateJndi Maven Webapp</name>
   <url>http://maven.apache.org</url>
   <dependencies>
      <dependency>
         <groupId>junit</groupId>
         <artifactId>junit</artifactId>
         <version>3.8.1</version>
         <scope>test</scope>
      </dependency>
   </dependencies>
   <build>
      <finalName>HibernateJndi</finalName>
   </build>
</project>
We can start adding which ever dependencies you want like Hibernate, MySQL, Apache jars etc. By default, it has added JUnit dependency and as said earlier it will add the dependencies based on the archetype we select.
Let’s start building the application!
3. Application Building
Below are the steps involved in developing this application:
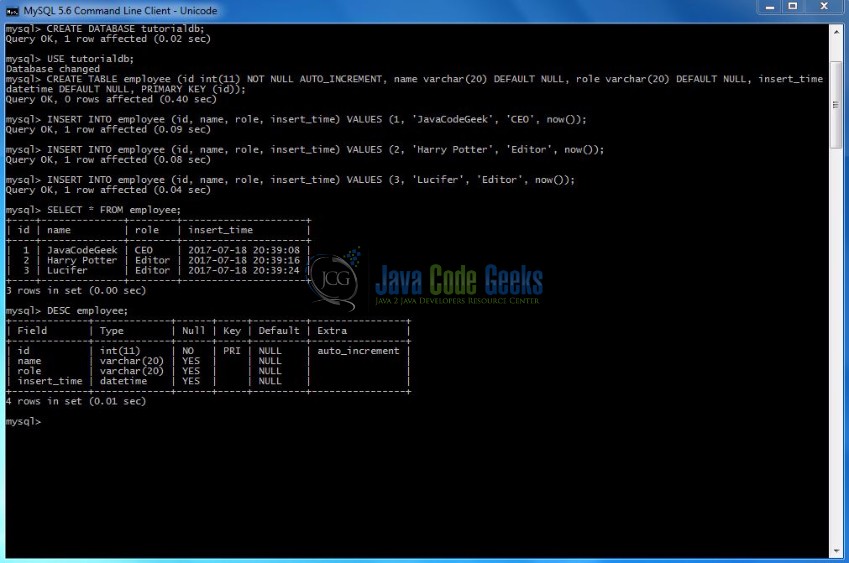
3.1 Database & Table Creation
This tutorial uses a database called tutorialdb. The database is not included when you create the project in eclipse so you need to first create the database to follow this tutorial.
- Create a new database
tutorialdbas:
CREATE DATABASE tutorialdb;
- Use the created database
tutorialdbto create table as:
USE tutorialdb;
- Create the table
employeeas shown below:
CREATE TABLE employee (id int(11) NOT NULL AUTO_INCREMENT, name varchar(20) DEFAULT NULL, role varchar(20) DEFAULT NULL, insert_time datetime DEFAULT NULL, PRIMARY KEY (id));
- Insert records in the
employeetable as shown below:
INSERT INTO employee (id, name, role, insert_time) VALUES (1, 'JavaCodeGeek', 'CEO', now());
INSERT INTO employee (id, name, role, insert_time) VALUES (2, 'Harry Potter', 'Editor', now());
INSERT INTO employee (id, name, role, insert_time) VALUES (3, 'Lucifer', 'Editor', now());
If everything goes well, the table will be shown as below in the MySQL workbench:
3.2 Hibernate Maven Dependencies
In this example, we are using Hibernate latest version i.e. hibernate-core-4.3.5.Final and MySQL-connector-java dependency.
A quick note, even if we don’t add MySQL driver dependency, the project will compile and run fine. However, it’s better to include it so that if someone will look at the project dependencies, it will be clear for him/her to understand that we are using MySQL database.
The updated file will have the following code:
pom.xml
<?xml version="1.0" encoding="UTF-8"?>
<project xmlns="http://maven.apache.org/POM/4.0.0" xmlns:xsi="http://www.w3.org/2001/XMLSchema-instance" xsi:schemaLocation="http://maven.apache.org/POM/4.0.0 http://maven.apache.org/xsd/maven-4.0.0.xsd">
   <modelVersion>4.0.0</modelVersion>
   <groupId>HibernateJndi</groupId>
   <artifactId>HibernateJndi</artifactId>
   <version>0.0.1-SNAPSHOT</version>
   <packaging>war</packaging>
   <dependencies>
      <dependency>
         <groupId>org.hibernate</groupId>
         <artifactId>hibernate-core</artifactId>
         <version>4.3.5.Final</version>
      </dependency>
      <dependency>
         <groupId>javax.servlet</groupId>
         <artifactId>javax.servlet-api</artifactId>
         <version>3.0.1</version>
         <scope>provided</scope>
      </dependency>
      <dependency>
         <groupId>org.slf4j</groupId>
         <artifactId>slf4j-simple</artifactId>
         <version>1.7.5</version>
      </dependency>
      <dependency>
         <groupId>mysql</groupId>
         <artifactId>mysql-connector-java</artifactId>
         <version>5.0.5</version>
         <scope>provided</scope>
      </dependency>
   </dependencies>
   <build>
      <plugins>
         <plugin>
            <artifactId>maven-war-plugin</artifactId>
            <version>2.3</version>
            <configuration>
               <warSourceDirectory>WebContent</warSourceDirectory>
               <failOnMissingWebXml>false</failOnMissingWebXml>
            </configuration>
         </plugin>
         <plugin>
            <artifactId>maven-compiler-plugin</artifactId>
            <version>3.1</version>
            <configuration>
               <source>1.7</source>
               <target>1.7</target>
            </configuration>
         </plugin>
      </plugins>
      <finalName>${project.artifactId}</finalName>
   </build>
</project>
3.3 Java Class Creation
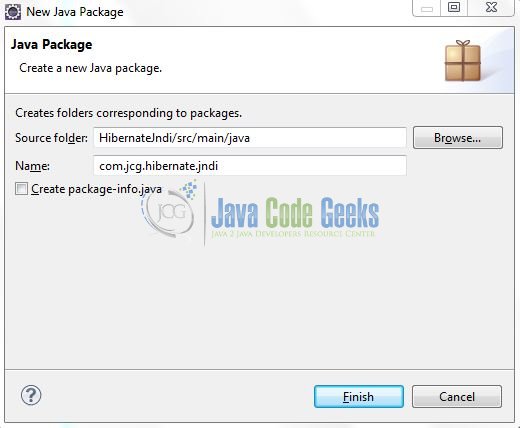
Let’s create the required java files. Right click on src folder New -> Package
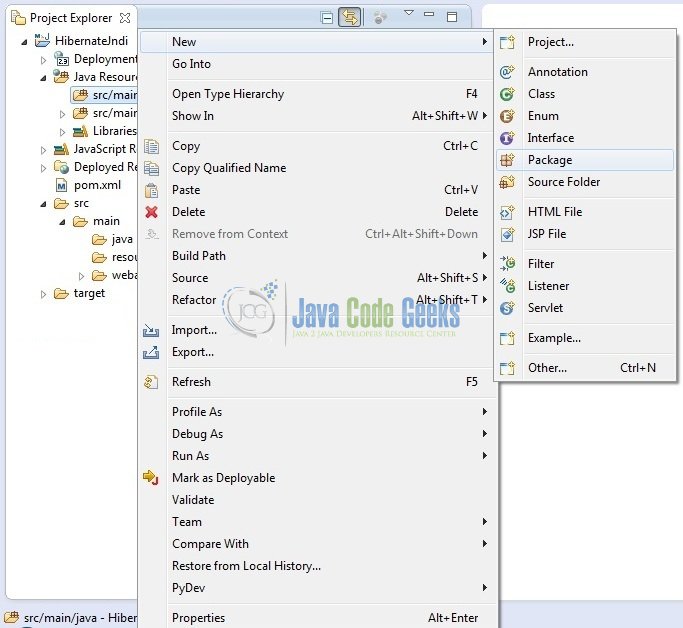
A new pop window will open where we will enter the package name as com.jcg.hibernate.jndi.model
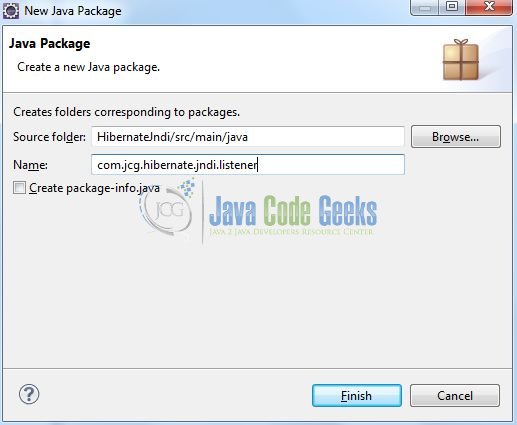
Repeat the above step (i.e. Fig. 8) and enter the package name com.jcg.hibernate.jndi.listener
Again, repeat the step listed in Fig. 8 and enter the package name com.jcg.hibernate.jndi
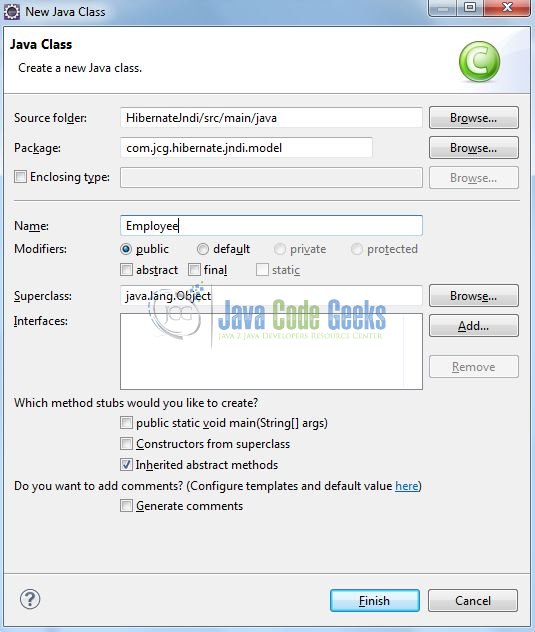
Once the packages are created in the application, we will need to create the required model, session factory listener and servlet implementation class. Right click on the newly created package New -> Class

A new pop window will open and enter the file name as Employee. The model class will be created inside the package: com.jcg.hibernate.jndi.model
Repeat the step (i.e. Fig. 12) and enter the filename as HibernateSessionFactoryListener. The listener class will be created inside the package: com.jcg.hibernate.jndi.listener
Again, repeat the step listed in Fig. 12 and enter the file name as GetEmployeeById. The servlet implementation class will be created inside the package – com.jcg.hibernate.jndi
3.3.1 Implementation of Model Class
In this class, we are using annotations to map the objects to the defined employee table. Add the following code to it:
Employee.java
package com.jcg.hibernate.jndi.model;

import java.util.Date;

import javax.persistence.Column;
import javax.persistence.Entity;
import javax.persistence.GeneratedValue;
import javax.persistence.GenerationType;
import javax.persistence.Id;
import javax.persistence.Table;
import javax.persistence.UniqueConstraint;

@Entity
@Table(name="employee", uniqueConstraints={@UniqueConstraint(columnNames={"id"})})
public class Employee {

	@Id
	@GeneratedValue(strategy=GenerationType.IDENTITY)
	@Column(name="id", nullable=false, unique=true, length=11)
	private int empId;

	@Column(name="name", length=20, nullable=true)
	private String empName;

	@Column(name="role", length=20, nullable=true)
	private String empRole;

	@Column(name="insert_time", nullable=true)
	private Date createdDate;

	public int getEmpId() {
		return empId;
	}

	public void setEmpId(int empId) {
		this.empId = empId;
	}

	public String getEmpName() {
		return empName;
	}

	public void setEmpName(String empName) {
		this.empName = empName;
	}

	public String getEmpRole() {
		return empRole;
	}

	public void setEmpRole(String empRole) {
		this.empRole = empRole;
	}

	public Date getCreatedDate() {
		return createdDate;
	}

	public void setCreatedDate(Date createdDate) {
		this.createdDate = createdDate;
	}
}
3.3.2 Implementation of Servlet Listener Class
This class helps in creating the SessionFactory from the Hibernate configuration file. The SessionFactory is threadsafe, so it is not necessary to obtain one for each thread. Add the following code to it:

HibernateSessionFactoryListener.java
package com.jcg.hibernate.jndi.listener;

import javax.servlet.ServletContextEvent;
import javax.servlet.ServletContextListener;
import javax.servlet.annotation.WebListener;

import org.hibernate.SessionFactory;
import org.hibernate.boot.registry.StandardServiceRegistryBuilder;
import org.hibernate.cfg.Configuration;
import org.hibernate.service.ServiceRegistry;
import org.jboss.logging.Logger;

@WebListener
public class HibernateSessionFactoryListener implements ServletContextListener {

	public final Logger logger = Logger.getLogger(HibernateSessionFactoryListener.class);
	public void contextDestroyed(ServletContextEvent servletContextEvent) {
		SessionFactory sessionFactoryObj = (SessionFactory) servletContextEvent.getServletContext().getAttribute("SessionFactory");
		if(sessionFactoryObj != null && !sessionFactoryObj.isClosed()) {
			logger.info("Closing Session Factory Object!");
			sessionFactoryObj.close();
		}
		logger.info("Hibernate Session Factory Object Released!");
	}

	public void contextInitialized(ServletContextEvent servletContextEvent) {
		// Creating Configuration Instance & Passing Hibernate Configuration File
		Configuration configObj = new Configuration();
		configObj.configure("hibernate.cfg.xml");

		// Since Hibernate Version 4.x, Service Registry Is Being Used
		ServiceRegistry serviceRegistryObj = new StandardServiceRegistryBuilder().applySettings(configObj.getProperties()).build();

		// Creating Hibernate Session Factory Instance
		SessionFactory factoryObj = configObj.buildSessionFactory(serviceRegistryObj);

		// Saving Hibernate Session Factory Object In The Request Scope
		servletContextEvent.getServletContext().setAttribute("SessionFactory", factoryObj);
		logger.info("Hibernate Session Factory Configured Successfully!");
	}
}
3.3.3 Implementation of Servlet Class
This class is a simple servlet where we will pass employee id as a requested parameter and will print out the employee information from the database. In this, we are using @WebServlet annotation to provide the URI pattern for it. Add the following code to it:
GetEmployeeById.java
package com.jcg.hibernate.jndi;

import java.io.IOException;
import java.io.PrintWriter;

import javax.servlet.ServletException;
import javax.servlet.annotation.WebServlet;
import javax.servlet.http.HttpServlet;
import javax.servlet.http.HttpServletRequest;
import javax.servlet.http.HttpServletResponse;

import org.hibernate.Session;
import org.hibernate.SessionFactory;
import org.hibernate.Transaction;
import org.jboss.logging.Logger;

import com.jcg.hibernate.jndi.model.Employee;

@WebServlet("/GetEmployeeById")
public class GetEmployeeById extends HttpServlet {

	private static Employee employeeObj;
	private static final long serialVersionUID = 1L;
	public final Logger logger = Logger.getLogger(GetEmployeeById.class);

	protected void doGet(HttpServletRequest request, HttpServletResponse response) throws ServletException, IOException {
		int employeeId = Integer.parseInt(request.getParameter("empId"));
		logger.info("Selected Employee Id?= "+ employeeId);

		SessionFactory sessionFactoryObj = (SessionFactory) request.getServletContext().getAttribute("SessionFactory");

		// Get Current Session For Performing The Transaction Queries
		Session sessionObj = sessionFactoryObj.getCurrentSession();

		// Begin Transaction
		Transaction transObj = sessionObj.beginTransaction();
		if(sessionObj.isOpen() && sessionObj.isConnected()) {
			employeeObj = (Employee) sessionObj.get(Employee.class, employeeId);
			transObj.commit();
		}

		PrintWriter out = response.getWriter();
		response.setContentType("text/html");
		if(employeeObj != null) {
			out.print("<html><title>Hibernate Jndi Example</title><body><center><h2>Hibernate Jndi Example</h2></center><br /><h3>Employee Details</h3>");
			out.print("<table id='employeeTable' cellspacing=10 cellpadding=5><thead>");
			out.print("<th>Id</th>");
			out.print("<th>Name</th>");
			out.print("<th>Role</th>");

			out.print("</thead><tbody><tr>");
			out.print("<td>" + employeeId + "</td>");
			out.print("<td>" + employeeObj.getEmpName() + "</td>");
			out.print("<td>" + employeeObj.getEmpRole() + "</td>");
			out.print("</tr></tbody>");
			out.print("</table></body>");

			out.print("</html>");
		} else {
			out.print("<html><body><h2>No Employee Found with ID= "+ employeeId +"</h2></body></html>");
		}
	}
}
4. DataSource Configuration
Below are the steps involved in configuring the DataSource properties in the Hibernate and Tomcat configuration files.
4.1 Hibernate DataSource Configuration
To configure the hibernate framework, we need to implement configuration file i.e. hiberncate.cfg.xml. Right click on resources folder New -> Other
A new pop window will open and select the wizard as XML file
Again, a pop-up window will open. Verify the parent folder location as HibernateJndi/src/main/resources and enter the file name as hibernate.cfg.xml. Click Finish.
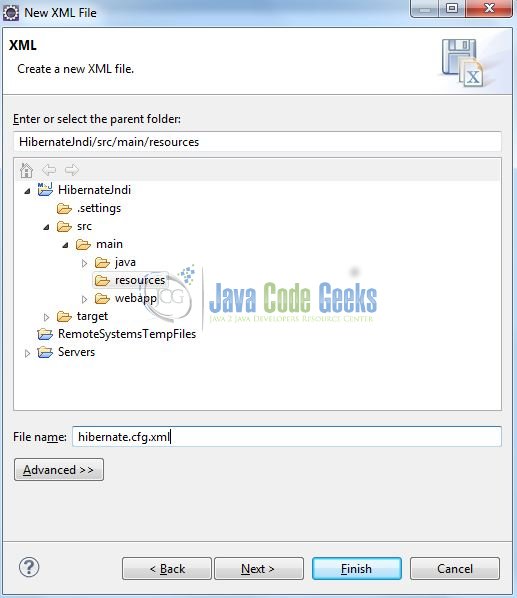
Once the file is created, we will include the JNDI datasource configuration. Add the following code to it:
hibernate.cfg.xml
<?xml version="1.0" encoding="UTF-8"?>
<!DOCTYPE hibernate-configuration PUBLIC "-//Hibernate/Hibernate Configuration DTD 3.0//EN" "http://hibernate.sourceforge.net/hibernate-configuration-3.0.dtd">
<hibernate-configuration>
   <session-factory>
      <!-- Database Connection Settings -->
      <property name="hibernate.connection.driver_class">com.mysql.jdbc.Driver</property>
      <property name="hibernate.connection.datasource">java:comp/env/jdbc/TestDb</property>
      <property name="show_sql">true</property>

      <!-- SQL Dialect -->
      <property name="hibernate.dialect">org.hibernate.dialect.MySQLDialect</property>

      <!-- Specifying Session Context -->
      <property name="hibernate.current_session_context_class">org.hibernate.context.internal.ThreadLocalSessionContext</property>

      <!-- Mapping With Model Class Containing Annotations -->
      <mapping class="com.jcg.hibernate.jndi.model.Employee" />
   </session-factory>
</hibernate-configuration>
Note: hibernate.connection.datasource property is used to provide the DataSource name that will be used by Hibernate for database operations.
4.2 Tomcat JNDI DataSource Configuration
For configuring Tomcat container to initialize DataSource, we need to make some changes in tomcat’s server.xml and context.xml files.
4.2.1 Configure Datasource in Tomcat – server.xml
Add the following resource element to the GlobalNamingResource element inside the $TOMCAT_HOME/conf/server.xml file. Here we are creating a resource of type javax.sql.DataSource with a JNDI name of jdbc/TestDb. Add the following code to it:
server.xml
<Resource name="jdbc/TestDb" auth="Container" type="javax.sql.DataSource" driverClassName="com.mysql.jdbc.Driver" url="jdbc:mysql://localhost:3306/tutorialdb" username="root" password="" />
Note: We have kept the password value as blank for simplicity, however, it is pure unto user to keep it blank or set it during the MySQL configuration. If the user sets it, we need to provide the same password to this string.
4.2.2 Configure ResourceLink – context.xml
Next, we add the ResourceLink element to the Context element inside the $TOMCAT_HOME/conf/context.xml. This will create a linked resource to the global JNDI resource. Add the following code to it:
context.xml
<ResourceLink name="jdbc/TestDb" global="jdbc/TestDb" auth="Container" type="javax.sql.DataSource" />
At this point, we have successfully configured a DataSource in tomcat. When you run tomcat, the data source should be available under the JNDI name: jdbc/TestDb.
Note: Developers need to make sure that MySQL driver jar file is inside the tomcat’s $TOMCAT_HOME/lib directory, otherwise, it will not be able to create a database connection and we will get ClassNotFoundException in logs.
4.3 Preconfigured JNDI Datasource
We need to register the ResourceLink JNDI name (under which application will look up the preconfigured data source) inside the /WEB-INF/web.xml servlet descriptor of application.
I noticed this isn’t mandatory, but it helps to inform other developers about which data sources are available. Add the following code to it:
web.xml
<resource-ref>
      <description>MySQL Hibernate JNDI Datasource</description>
      <res-ref-name>jdbc/TestDb</res-ref-name>
      <res-type>javax.sql.DataSource</res-type>
      <res-auth>Container</res-auth>
</resource-ref>
5. Project Deploy
Once we are ready with all the changes done, lets compile and deploy the application on tomcat7 server. In order to deploy the application on Tomcat7, right-click on the project and navigate to Run as -> Run on Server
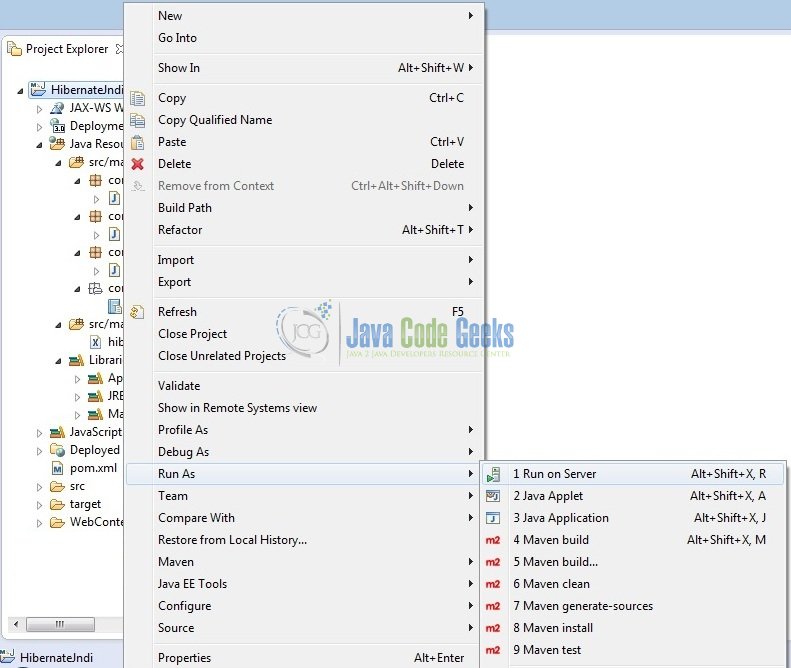
Tomcat will deploy the application in its webapps folder and shall start its execution to deploy the project so that we can go ahead and test it on the browser.
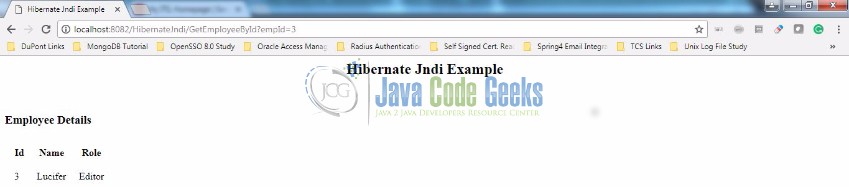
Open your favorite browser and hit the following URL,
http://localhost:8082/HibernateJndi/GetEmployeeById?empId=1
Server name (localhost) and port (8082) may vary as per your Tomcat configuration
6. Project Demo
Now, we are done with the application creation and it’s time to test out the application. Accessing the page, we will see the employee details.
Employee Id: 1

Employee Id: 2

Employee Id: 3
7. Conclusion
That’s all for Hibernate JNDI example for the Tomcat7 container. I hope it’s easy to understand and implement. Download the project from the below link and play around to learn more.
8. Download the Eclipse Project
This was a Hibernate JNDI example with Eclipse, MySQL, and Tomcat.
You can download the full source code of this example here: Hibernate Jndi Example
