Generating .hbm.cfg files or creating annotated files to map your classes is always a bit boring and it involves writing a lot of boilerplate code. In Eclipse you can use JBoss Hibernatate Tools, with which you can automatically generate all the files you need to work with Hibernate. In this tutorial we are going to see how to install Hibernate Tools in Eclipse and explore how you can generate mapping files automatically.
So these are the tools we are going to use on a Windows 7 platform:
- JDK 1.7
- Maven 3.0.5
- Hibernate 4.2.3.Final
- MySQL JDBC driver 5.1.9
- Eclipse 4.3 Kepler
And this is the project I am going to use as the basis for the example : HibernateMySQLExample.zip. Download it and open it with Eclipse IDE.
JBoss Hibernate Tools Installation
In this example I’m using the brand new Eclipse IDE 4.3 Kepler. The same steps should apply basically on all versions of Eclipse.
1. Go to JBoss Hibernate Tools Web Site
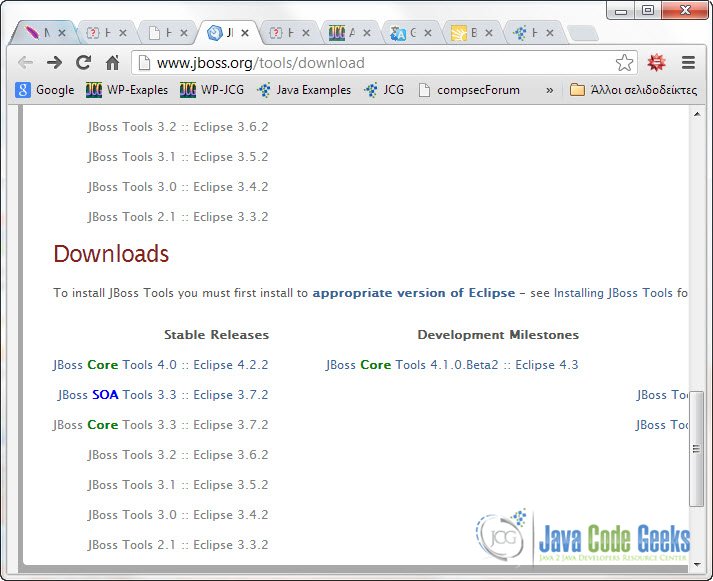
Go to http://www.jboss.org/tools/download. And in the Downloads section click on the link that suits your IDE :
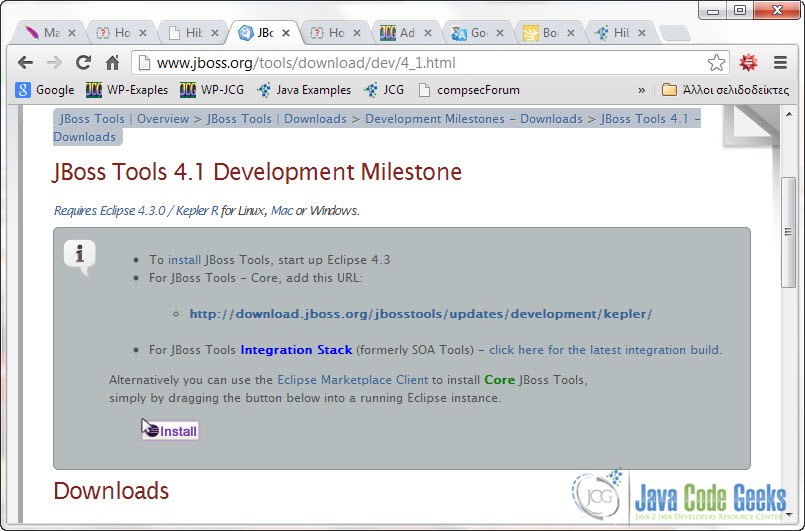
In the next window copy the repository URL. For my version of Eclipse that would be: http://download.jboss.org/jbosstools/updates/development/kepler/
2. Install to Eclipse IDE
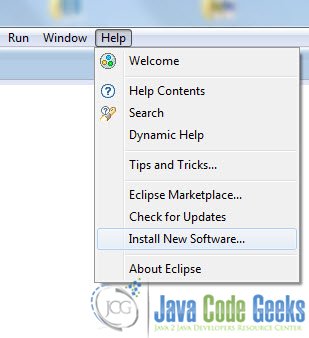
Now Open Eclipse IDE and go to Help -> Install New Software :
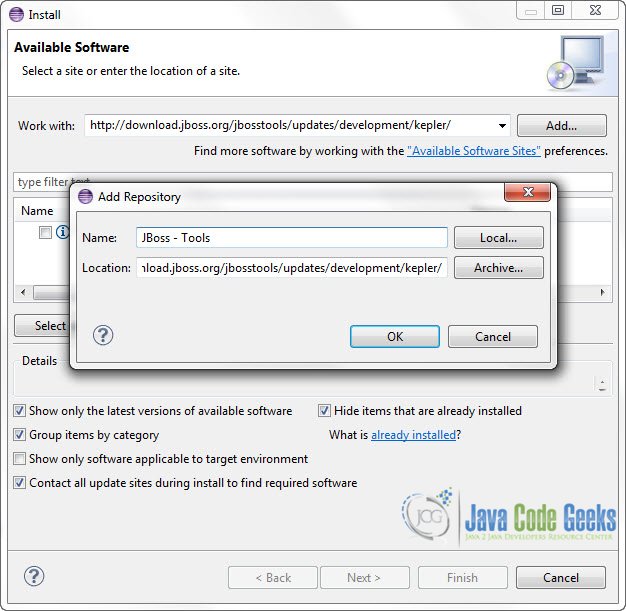
In the “Work with:” text field paste the repository URL and click Add.
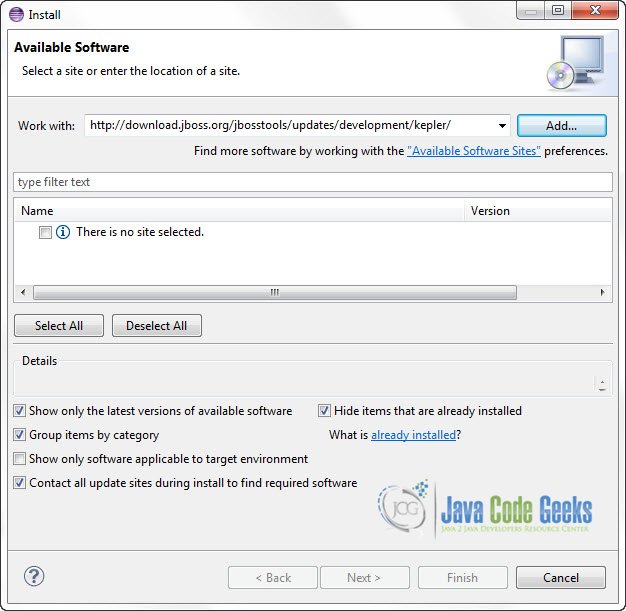
Then fill the form as shown in the picture below (You can put any name you like):
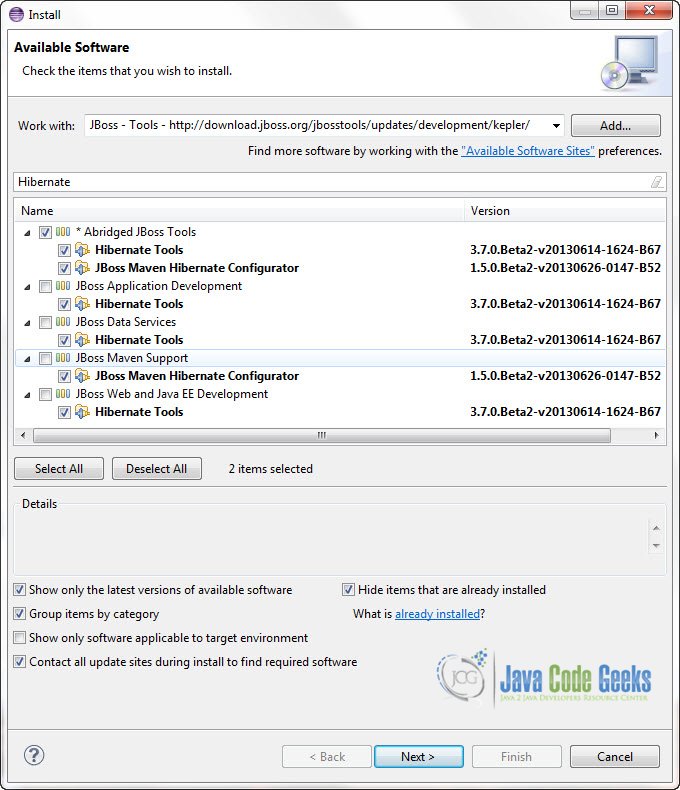
After that, type “Hibernate” in the “type filter text” text field. It will bring up just what you need to work with Hibernate and not the full stack of JBoss Tools. If you want you can download them all but it will take much longer and not all of them are necessary for Hibernate:
Click Next. Accept the license and wait for the installion to finish. At some point you migh get a warning (very common when installing third party software on Eclipse). Just click OK and the installation will be continued:

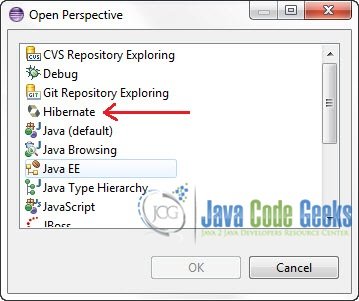
When the installation is completed you will be asked to restart the IDE. When the IDE is up again you will notice the new Hibernate Perspective. If it doesn’t show up click the button in the left of the Java Perspective button :

And check weather Hibernate Perspective exists:
Hibernate Code Generation
1. Hibernate configuration
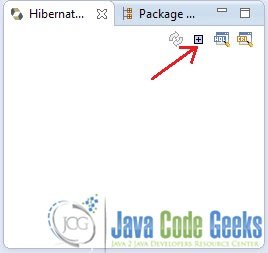
Now open Hibernate Perspective and select “Add configuration”:
In the next Window:
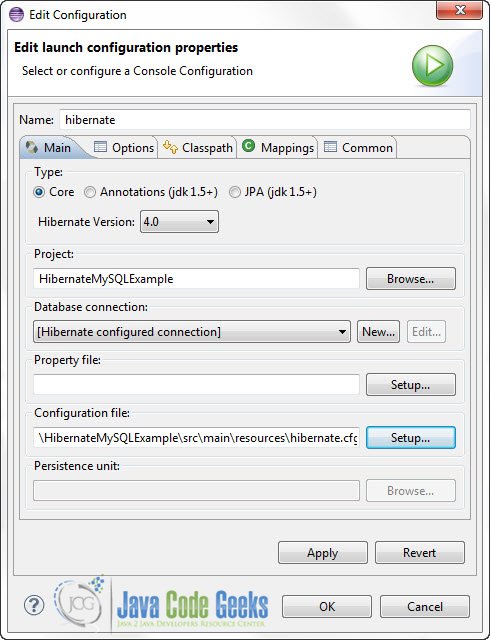
- In the “Project” text field click “Browse” and navigate to the Project you want to use.
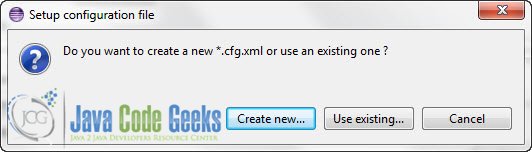
- In the “Configuration files” text field click Setup and choose “Use existing…”:

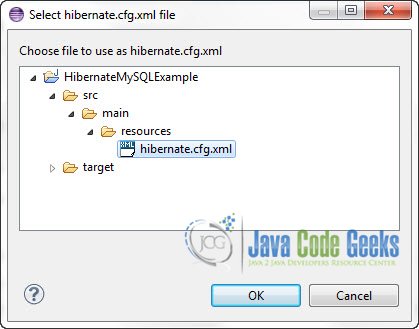
And the browse to the hibernate.cfg.xml of your project:
- In “Database Connections” you can click “New” if you want to create your own connection.
This is the hibernate.cfg.xml file we used to configure the connection:
hibernate.cfg.xml:
<?xml version="1.0" encoding="utf-8"?>
<!DOCTYPE hibernate-configuration PUBLIC
"-//Hibernate/Hibernate Configuration DTD 3.0//EN"
"http://hibernate.sourceforge.net/hibernate-configuration-3.0.dtd">
<hibernate-configuration>
	<session-factory>
		<property name="hibernate.bytecode.use_reflection_optimizer">false</property>
		<property name="hibernate.connection.driver_class">com.mysql.jdbc.Driver</property>
		<property name="hibernate.connection.username">root</property>
		<property name="hibernate.connection.password"></property>
		<property name="hibernate.connection.url">jdbc:mysql://localhost:3306/tutorials</property>
		<property name="hibernate.dialect">org.hibernate.dialect.MySQLDialect</property>
		<property name="show_sql">true</property>
		<mapping resource="com/javacodegeeks/Student.hbm.xml"></mapping>
	</session-factory>
</hibernate-configuration>
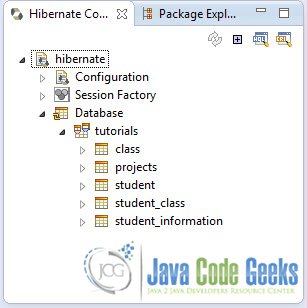
After that you ou can see all the databases and the tables you’ve created:
2. Code Generation
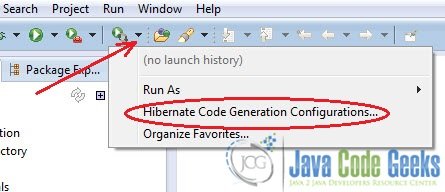
While in Hibernate Perspective click the “Hibernate Run” button and select “Hibernate Code Generation Configurations”:
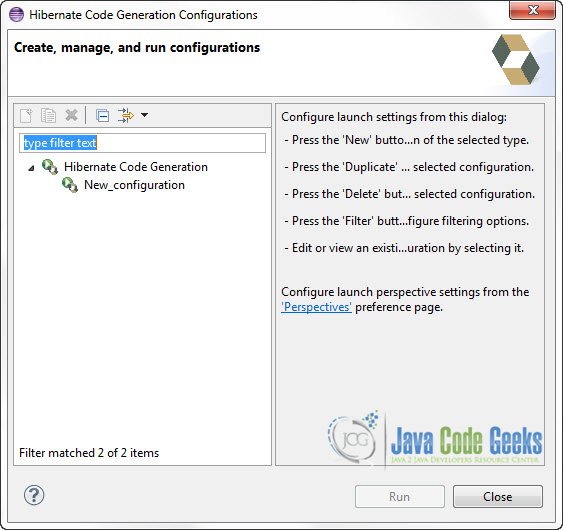
In the next window click on New Configuration:
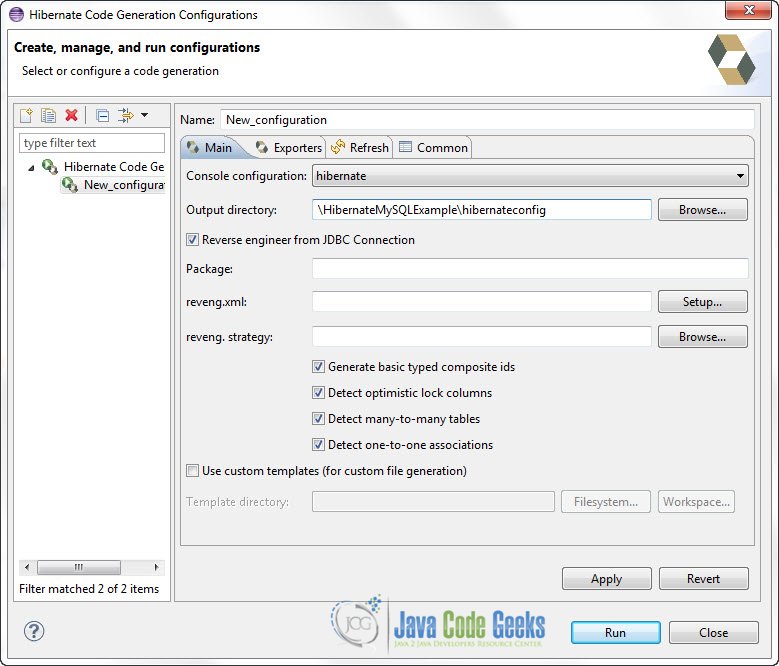
In the “Output Direcotory” choose the folder you want Eclipse to put the generated files into. I’ve created a hibernateconfig folder inside the folder of the project. Make sure “Reverse Engineering from JDBC Connection” is checked. The click “Apply” and “Run”:
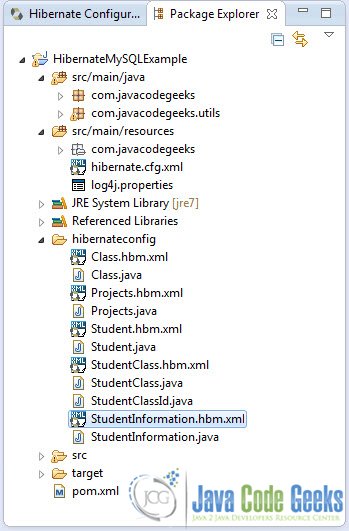
Now, if you go back to the Package Exlorer you will see that Eclipse has generated mapping files and the corresponding classes for all the tables in the database:
This was an example on Hibernate JBoss Tools Installation in Eclipse and Mapping Generation. Download the completed Eclipse project of this example: HibernateMySQLExample.zip
