Introduction
The radio button is a one of the core components that has been introduced ever since the early foundations of graphical user interface development. The very aspects of it is that it allows the user to select one value from a group of values.
In this post, I’ll be walking you through how it’s easy to create a radio button using the JRadioButton object from the swing framework.
1. Create the parent/frame or class
In the class, we need to create container that we will eventually use to put it the radio buttons. We first create the JFrame object as it’s container, we set it’s title, size, layout and add a window listener so that we can call a method once the frame is closed by the user. We then create the control panel object where in we will put our JRadioButton later. After creating the layout and panel, we then put them on the JFrame container we initialize and made them visible to the user.
2. Initialize the Radio button
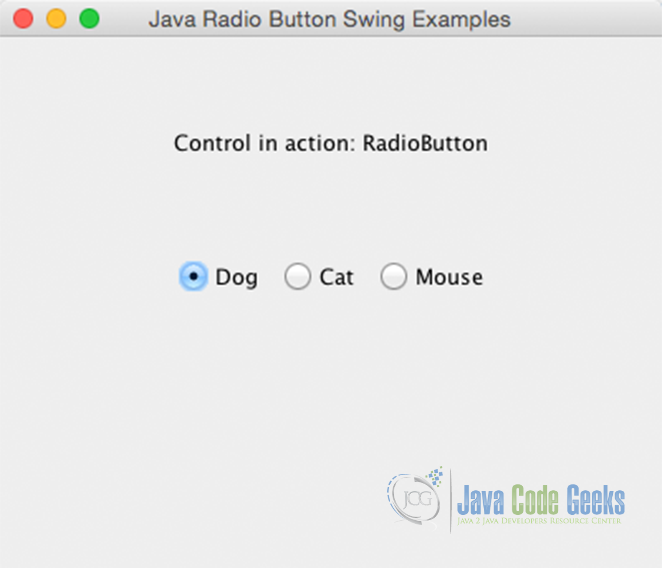
We basically initialize the JRadioButton for our example. The example will have 3 JRadioButton , with value Dog, Cat and Mouse respectively. We set the Dog as the default value by setting the default selected to true (via constructor shown above).
3. Put it on the container and run
Make it visible to the user by putting it on the container and setting them to be visible.
Here’s the entire source code:
JRadioButtonSample.java
public class JRadioButtonSample {

   private JFrame mainFrame;
   private JLabel headerLabel;
   private JLabel statusLabel;
   private JPanel controlPanel;

   public JRadioButtonSample(){
      prepareGUI();
   }

   public static void main(String[] args){
	  JRadioButtonSample  swingControlDemo = new JRadioButtonSample();
      swingControlDemo.showRadioButtonDemo();
   }

   private void prepareGUI(){

      mainFrame = new JFrame("Java Radio Button Swing Examples");
      mainFrame.setSize(400,400);
      mainFrame.setLayout(new GridLayout(3, 1));
      mainFrame.addWindowListener(new WindowAdapter() {
         public void windowClosing(WindowEvent windowEvent){
            System.exit(0);
         }
      });
      headerLabel = new JLabel("", JLabel.CENTER);
      statusLabel = new JLabel("",JLabel.CENTER);

      statusLabel.setSize(350,100);

      controlPanel = new JPanel();
      controlPanel.setLayout(new FlowLayout());


      mainFrame.add(headerLabel);
      mainFrame.add(controlPanel);
      mainFrame.add(statusLabel);
      mainFrame.setVisible(true);
   }

   private void showRadioButtonDemo(){
      headerLabel.setText("Control in action: RadioButton");

      final JRadioButton radDog = new JRadioButton("Dog", true);
      final JRadioButton radCat = new JRadioButton("Cat");
      final JRadioButton radMouse = new JRadioButton("Mouse");

      radDog.setMnemonic(KeyEvent.VK_C);
      radCat.setMnemonic(KeyEvent.VK_M);
      radMouse.setMnemonic(KeyEvent.VK_P);

      radDog.addItemListener(new ItemListener() {
         public void itemStateChanged(ItemEvent e) {
            statusLabel.setText("DOG RadioButton: "
            + (e.getStateChange()==1?"checked":"unchecked"));
         }
      });

      radCat.addItemListener(new ItemListener() {
         public void itemStateChanged(ItemEvent e) {
            statusLabel.setText("CAT RadioButton: "
            + (e.getStateChange()==1?"checked":"unchecked"));
         }
      });

      radMouse.addItemListener(new ItemListener() {
         public void itemStateChanged(ItemEvent e) {
            statusLabel.setText("MOUSE RadioButton: "
            + (e.getStateChange()==1?"checked":"unchecked"));
         }
      });

      //Group the radio buttons.
      ButtonGroup group = new ButtonGroup();
      group.add(radDog);
      group.add(radCat);
      group.add(radMouse);

      controlPanel.add(radDog);
      controlPanel.add(radCat);
      controlPanel.add(radMouse);

      mainFrame.setVisible(true);
   }
}
4. Test it out!
Run the sample. You should be seeing the screen as per below.
5. Download the Eclipse project of this tutorial:
You can download the full source code of this example here : jradio-sample
