1. Introduction
A lot of IDEs supports dragging and dropping components to create a Java Desktop application, it’s always good to know by hand what is going on in the code to piece together the components. For this post, I’m going to show you step by step on how to create your own JMenu swing component.
2. Step by Step guide:
2.1 Create the Frame – we need to create the actual mother frame where we will put the jmenu bar
Let’s create the Frame first. Initialize the JFrame from your entry point class
createGUI() method
...
private static void createGUI() {
     JFrame.setDefaultLookAndFeelDecorated(true);
     JFrame frame = new JFrame("JMenu Demo");
	....
}
public static void main(String[] args) {
     javax.swing.SwingUtilities.invokeLater(new Runnable() {
	     public void run() {
	         createGUI();
	     }
     });
}
...
2.2 Create the JMenu Bar
We then create the JMenuBar Object. This will be the container of our JMenu object.
createJMenuBar() method
...

public JMenuBar createJMenuBar() {
	JMenuBar mainMenuBar;
	JMenu menu1, menu2, submenu;
	JMenuItem plainTextMenuItem, textIconMenuItem, iconMenuItem, subMenuItem;
	JRadioButtonMenuItem rbMenuItem;
	JCheckBoxMenuItem cbMenuItem;
	ImageIcon icon = createImageIcon("jmenu.jpg");
	mainMenuBar = new JMenuBar();

        // add jmenu here
	return mainMenuBar;
}
...
2.3 Create a JMenu and add it on the JMenu Bar
Now we create the JMenu and add it to the JMenuBar
createJMenuBar() method
...
public JMenuBar createJMenuBar() {
	JMenuBar mainMenuBar;
	JMenu menu1, menu2, submenu;
	JMenuItem plainTextMenuItem, textIconMenuItem, iconMenuItem, subMenuItem;
	JRadioButtonMenuItem rbMenuItem;
	JCheckBoxMenuItem cbMenuItem;
	ImageIcon icon = createImageIcon("jmenu.jpg");
	mainMenuBar = new JMenuBar();
	menu1 = new JMenu("Menu 1");
	menu1.setMnemonic(KeyEvent.VK_M);
	mainMenuBar.add(menu1);
	return mainMenuBar;
}
...
2.4 Set the JMenuBar on to the frame
Now we add the JMenuBar on the frame
createGUI() method
...
private static void createGUI() {
	JFrame.setDefaultLookAndFeelDecorated(true);
	// Create and set up the window.
	JFrame frame = new JFrame("JMenu Demo");
	frame.setDefaultCloseOperation(JFrame.EXIT_ON_CLOSE);
	JMenuSampleClass app = new JMenuSampleClass();
	frame.setJMenuBar(app.createJMenuBar());
	frame.setVisible(true);
}
...
2.5 Run the Application!
After running the application, you should see the following.
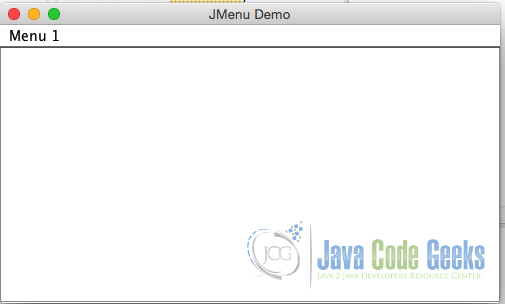
A close look shows that we didn’t just create the jmenu, we also created a bunch of object such as the Frame that holds the pieces of components together and the jmenubar where the jmenu is placed.
3. Download the Eclipse project
This was an example of JMenu Swing.
You can download the full source code of this example here : java-jmenu-sample
