A nested transaction is used to provide a transactional guarantee for a subset of operations performed within the scope of a larger transaction. Doing this allows us to commit and abort the subset of operations independently of the larger transaction.
This operation is theoretically possible, however, in JDBC 3.0 we can’t achieve this as easily as the definition looks. In JDBC, programmers can achieve this effect using savepoints.
1. Introduction
In this JDBC Nested Transactions example, we will see how to achieve this phenomenon by using the JDBC Savepoints.
1.1 Why JDBC Transactions?
In the database systems, Transaction is a set of actions to be carried out as a single or an atomic action. Either all of the actions are carried out, or none of them.
The classic example of when transactions are necessary is the example of bank accounts. Let’s say you need to transfer $100 from one account to the other. You do so by subtracting $100 from the first account, and adding $100 to the second account. If this process fails after you have subtracted the $100 from the first bank account, the $100 are never added to the second bank account and hence the money is lost in the cyber space.
To solve this problem, the subtraction and addition of the $100 are grouped into a transaction. If the subtraction succeeds, but the addition fails, you can roll-back the first subtraction. That way the database is left in the same state as before the subtraction was executed.
1.2 What are JDBC Transactions?
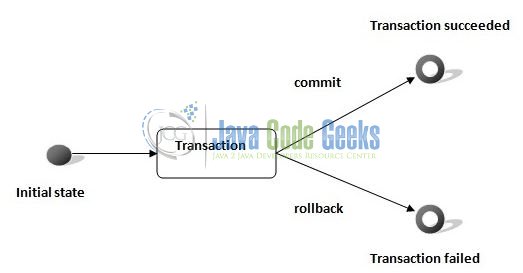
A transaction is a group of operation used to perform a single task; if all operations in the group are a success then the task is finished and the transaction is successfully completed. But if anyone operation in the group is failed, then the task is failed and the transaction is failed.
Let’s consider a movie ticket booking is a transaction. This task contains 4 operations:
- Choose the seats.
- Reserve the seats.
- Payment.
- Issue the movie tickets.
If all the above 4 operations are done successfully then a transaction is finished successfully. But if any one operation is failed in the middle then all operations are canceled and the transaction is failed.
1.3 Properties of Transaction Management
Every JDBC Transaction follows some transaction properties and these are called as ACID properties. ACID stands for Atomicity, Consistency, Isolation, and Durability.

- Atomicity: Atomicity of a transaction is defined as either all the operations can be done or all the operation can be undone, but some operations are done and some operation is undone should not occur.
- Consistency: Consistency means, after a transaction is completed successfully, the data in the datastore should be a reliable data and this reliable data is also called as consistent data.
- Isolation: Isolation means if two transactions are going on the same data than one transaction will not disturb the another transaction.
- Durability: Durability means after a transaction is completed the data in the datastore will be permanent until another transaction is going to be performed on that data.
1.4 Types of Transaction Management
- Local Transaction: A local transaction means, all operation in a transaction is executed against one database. For e.g.: If transfer money from first account to second account belongs to the same bank then the transaction is a local transaction.
- Distributed or Global Transaction: A global transaction means, all operations in a transaction are executed against multiple databases. For e.g.: If transfer money from first account to second account belongs to different banks then the transaction is a global transaction.
JDBC technology only performs the Local Transactions. For Global Transaction in Java, we need either
EJB or Spring framework.1.5 Advantage of Transaction Management
- Fast Performance: JDBC Transactions makes the performance fast because the database is hit only at the time of commit.
1.6 Things Required for JDBC Transactions
To perform the transaction management in JDBC, we need to follow the below steps:
- Disable auto commit mode of JDBC.
- Put all operations of a transaction in
tryblock. - If all operations are done successfully then commit in the
tryblock, otherwise rollback in acatchblock.
By default, in JDBC auto-commit mode is enabled but developers need to disable it. To disable, call the setAutoCommit() method of the connection interface.
Method Syntax
connObj.setAutoCommit(false);
1.7 Download and Install MySQL
In this example, we are using the MySQL database to perform the JDBC Transaction Management. You can watch this video in order to download and install the MySQL database on your Windows operating system.
Now, open up the Eclipse IDE and let’s start building the application!
2. JDBC Nested Transactions Example
2.1 Tools Used
We are using Eclipse Kepler SR2, JDK 7, MySQL Database and Maven. Having said that, we have tested the code against JDK 1.8 and it works well.
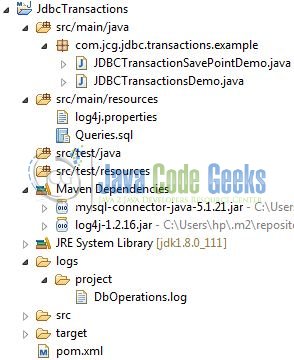
2.2 Project Structure
Firstly, let’s review the final project structure, in case you are confused about where you should create the corresponding files or folder later!
2.3 Project Creation
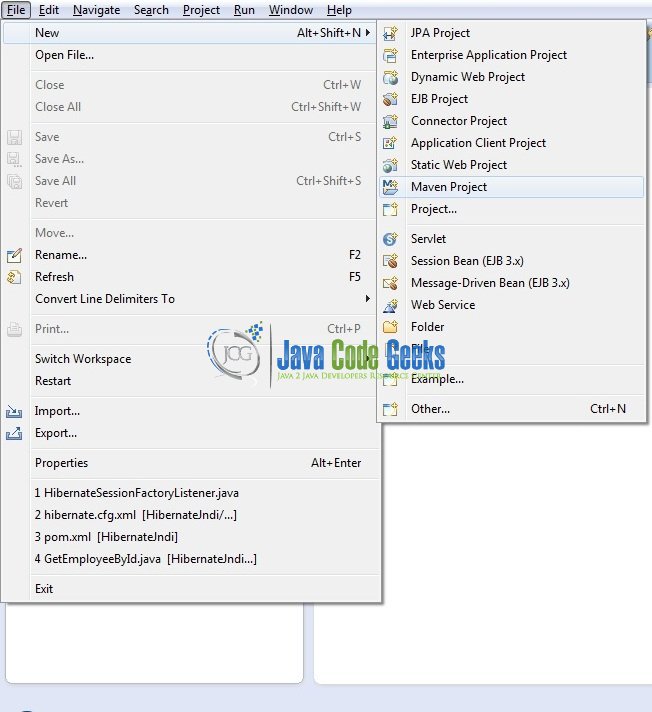
This section will demonstrate on how to create a Java Maven project with Eclipse. In Eclipse IDE, go to File -> New -> Maven Project.
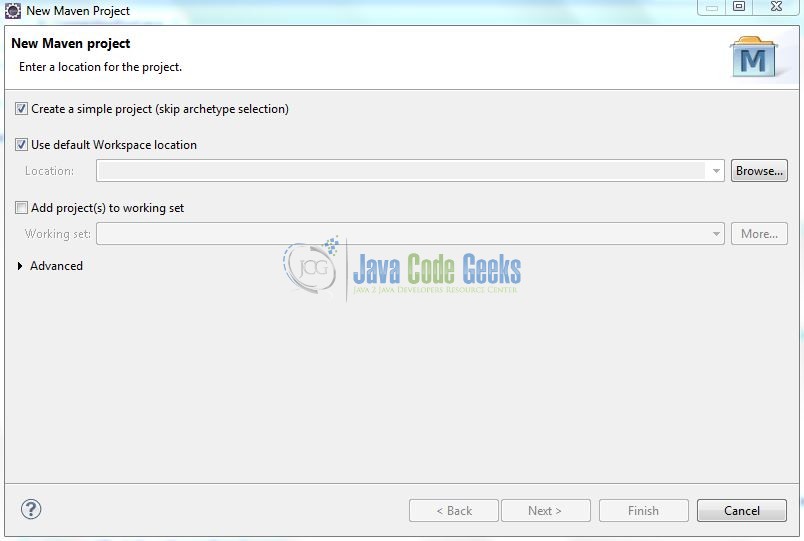
In the New Maven Project window, it will ask you to select a project location. By default, ‘Use default workspace location‘ will be selected. Select the ‘Create a simple project (skip archetype selection)‘ checkbox and just click on next button to proceed.
It will ask you to ‘Enter a group and artifact id for the project.’ We will input the details as shown in the below image. The version number will be by default 0.0.1-SNAPSHOT.
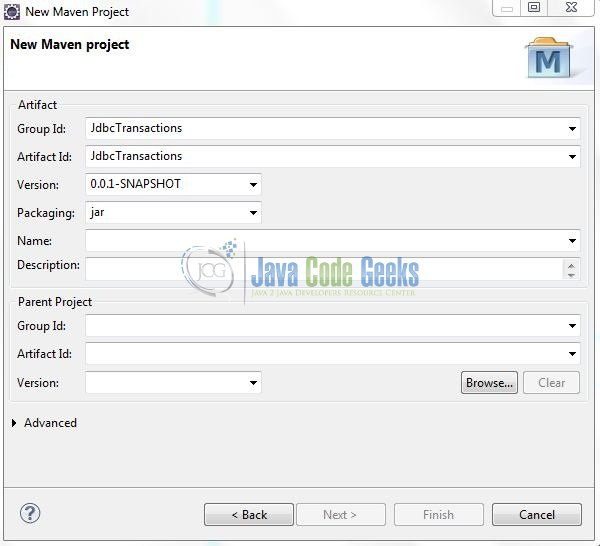
Click on Finish and the creation of a maven project will be completed. If you observe, it has downloaded the maven dependencies and a pom.xml file will be created. It will have the following code:
pom.xml
<project xmlns="http://maven.apache.org/POM/4.0.0" xmlns:xsi="http://www.w3.org/2001/XMLSchema-instance" xsi:schemaLocation="http://maven.apache.org/POM/4.0.0 http://maven.apache.org/xsd/maven-4.0.0.xsd">
	<modelVersion>4.0.0</modelVersion>
	<groupId>JdbcTransactions</groupId>
	<artifactId>JdbcTransactions</artifactId>
	<version>0.0.1-SNAPSHOT</version>
</project>
We can start adding the dependencies that developers want like MySQL, Log4J etc. Let’s start building the application!
3. Application Building
Below are the steps involved in developing this application.
3.1 Database & Table Creation
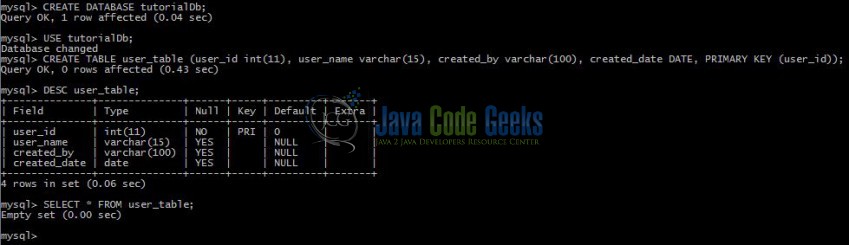
This tutorial uses a database called tutorialDb. The database is not included when you create the project in eclipse so you need to first create the database to follow this tutorial.
- Create a new database
tutorialDbas:
CREATE DATABASE tutorialDb;
- Use the created database
tutorialDbto create table as:
USE tutorialDb;
- Create the table
user_tableas shown below:
CREATE TABLE user_table (user_id int(11), user_name varchar(15), created_by varchar(100), created_date DATE, PRIMARY KEY (user_id));
If everything goes well, the table will be shown as below in the MySQL workbench:
3.2 Maven Dependencies
In this example, we are using the latest MySQL version (i.e. mysql-connector-java-5.1.21) and Log4J dependencies. The updated file will have the following code:
pom.xml
<project xmlns="http://maven.apache.org/POM/4.0.0" xmlns:xsi="http://www.w3.org/2001/XMLSchema-instance" xsi:schemaLocation="http://maven.apache.org/POM/4.0.0 http://maven.apache.org/xsd/maven-4.0.0.xsd">
	<modelVersion>4.0.0</modelVersion>
	<groupId>JdbcTransactions</groupId>
	<artifactId>JdbcTransactions</artifactId>
	<version>0.0.1-SNAPSHOT</version>
	<packaging>jar</packaging>
	<dependencies>
		<dependency>
			<groupId>mysql</groupId>
			<artifactId>mysql-connector-java</artifactId>
			<version>5.1.21</version>
		</dependency>
		<dependency>
			<groupId>log4j</groupId>
			<artifactId>log4j</artifactId>
			<version>1.2.16</version>
		</dependency>
	</dependencies>
	<build>
		<finalName>${project.artifactId}</finalName>
	</build>
</project>
3.3 Java Class Creation
Let’s create the required Java files. Right click on src/main/java folder, New -> Package.
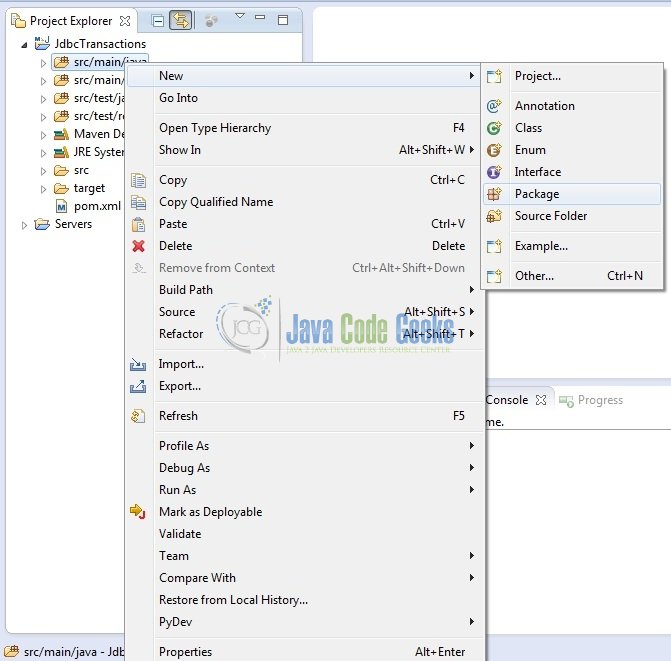
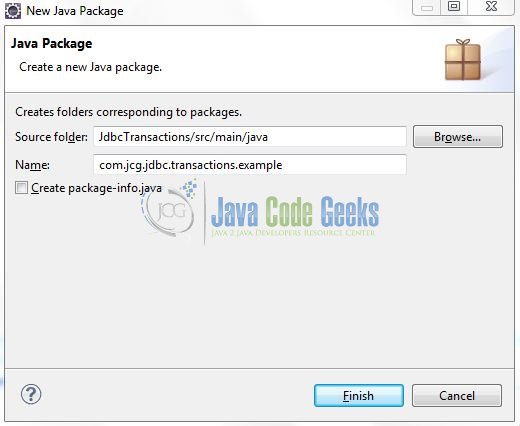
A new pop window will open where we will enter the package name as: com.jcg.jdbc.transactions.example.
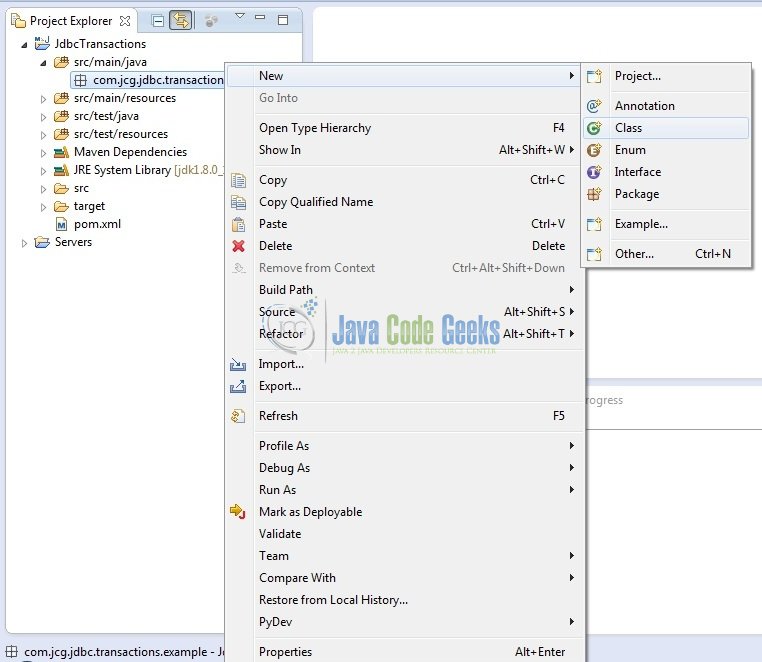
Once the package is created, we will need to create the implementation classes. Right click on the newly created package, New -> Class.
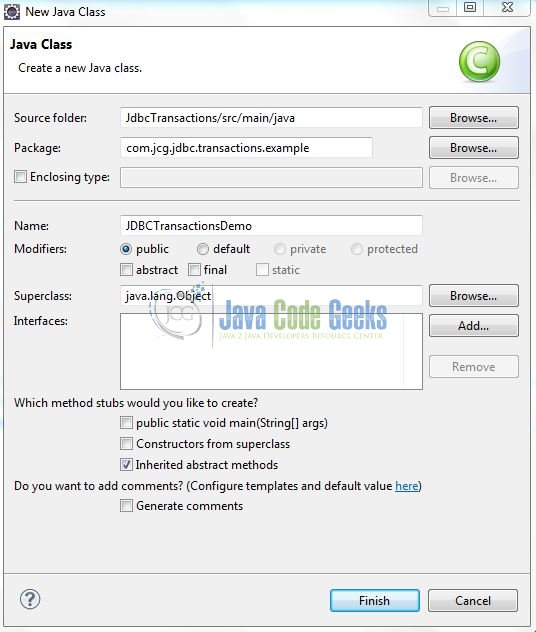
A new pop window will open and enter the file name as: JDBCTransactionsDemo. The implementation class will be created inside the package: com.jcg.jdbc.transactions.example.
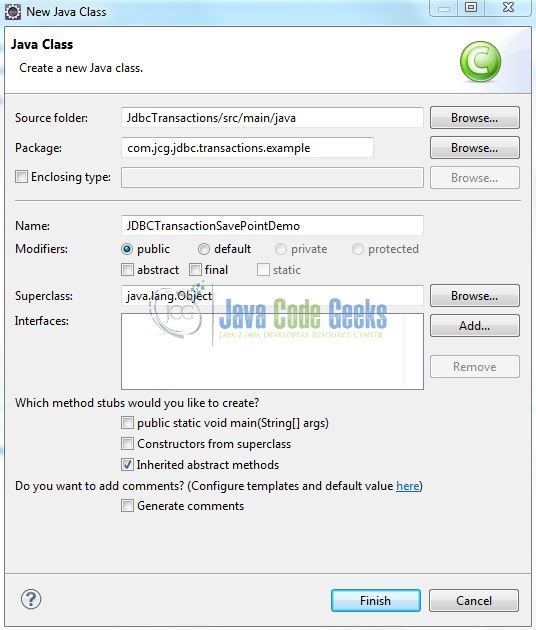
Repeat the step (i.e. Fig. 10) and enter the filename as JDBCTransactionSavePointDemo. The Savepoint implementation class will be created inside the package: com.jcg.jdbc.transactions.example.
3.3.1 Implementation of Main Class
In JDBC, Connection interface provides different methods to carefully manage the JDBC Transactions,
| Method | Description |
|---|---|
void setAutoCommit(boolean status) | It is set by default to true i.e. each transaction is auto committed to the database. Developers need to set it to false so that they themselves can commit or rollback the data based on the conditions. |
void commit() | Commits the transaction (i.e. data) to the database. |
void rollback() | Cancels the transaction from the database. Usually, developers add this statement in catch block. |
setSavepoint() | Allows developers to assign or create a logical group and by using rollback(String) method we can roll-back all the statements after the given savepoint has been set. |
Let’s see the simple example of transaction management using PreparedStatement. Add the following code to it:
JDBCTransactionsDemo.java
package com.jcg.jdbc.transactions.example;

import java.sql.Connection;
import java.sql.DriverManager;
import java.sql.PreparedStatement;
import java.sql.ResultSet;
import java.sql.SQLException;
import java.sql.Statement;

import org.apache.log4j.Logger;

public class JDBCTransactionsDemo {

	// JDBC Driver Name & Database URL
	private final static String JDBC_DRIVER = "com.mysql.jdbc.Driver";
	private final static String JDBC_DB_URL = "jdbc:mysql://localhost:3306/tutorialDb";

	// JDBC Database Credentials
	private final static String JDBC_USER = "root";
	private final static String JDBC_PASS = "";

	private static Connection connObj;
	public final static Logger logger = Logger.getLogger(JDBCTransactionsDemo.class);

	public static void connectDb() {
		try {
			Class.forName(JDBC_DRIVER);
			connObj = DriverManager.getConnection(JDBC_DB_URL, JDBC_USER, JDBC_PASS);
			logger.info("\n=======DATABASE CONNECTION OPEN=======\n");
		} catch(Exception sqlException) {
			sqlException.printStackTrace();
		}
	}

	public static void disconnectDb() {
		try {
			connObj.close();
			logger.info("\n=======DATABASE CONNECTION CLOSED=======\n");
		} catch (Exception sqlException) {
			sqlException.printStackTrace();
		}
	}

	public static void showTableRecords(String table_name) throws SQLException {
		ResultSet rsObj = null;
		Statement stmtObj = connObj.createStatement();
		rsObj = stmtObj.executeQuery("select user_id, user_name, created_date from " + table_name + ";");
		if(!rsObj.next()) {
			logger.info("No Records In The Table\n");
		} else {
			logger.info("Id: "+ rsObj.getInt("user_id") + ", Name: " + rsObj.getString("user_name") + ", Joining Date: " + rsObj.getInt("created_date") + "\n");
		}
	}

	public static void saveUserDetails(int userId, String userName, String sysName) {

		PreparedStatement insertStatement = null,
				updateStatement = null;

		try {
			connObj.setAutoCommit(false);

			logger.info("\n=======Inserting Data In The Table=======\n");
			String insertTableSQL = "insert into user_table (user_id, user_name, created_by, created_date) VALUES (?, ?, ?, ?);";

			insertStatement = connObj.prepareStatement(insertTableSQL);
			insertStatement.setInt(1, userId);
			insertStatement.setString(2, userName);
			insertStatement.setString(3, sysName);
			insertStatement.setTimestamp(4, new java.sql.Timestamp(new java.util.Date().getTime()));
			insertStatement.executeUpdate();		// Record Is Not Committed In Database At This Moment

			logger.info("\n=======Updating Value In The Table=======\n");
			String updateTableSQL = "update user_table set user_name =? where user_id = ?";

			updateStatement = connObj.prepareStatement(updateTableSQL);

			// Line No. 79 - This line Will Result In An Exception & The Data Will Rollback Including The 'Insert' Statement.
			updateStatement.setString(1, "A Very Very Long String Resulting In A Database Error");

			// updateStatement.setString(1, "Lucifer Star");
			updateStatement.setInt(2, userId);
			updateStatement.executeUpdate();

			connObj.commit();
			showTableRecords("user_table");
		} catch (Exception sqlException) {
			try {
				connObj.rollback();
				logger.info("\n=======!Db Exception! Rolling Back Data=======\n");
				showTableRecords("user_table");
			} catch (SQLException sqlEx) {
				sqlEx.printStackTrace();
			}
		} finally {
			try {
				if (insertStatement != null ) {
					insertStatement.close();
				}
				if (updateStatement != null ) {
					updateStatement.close();
				}
				connObj.setAutoCommit(true);
			} catch (Exception sqlException) {
				sqlException.printStackTrace();
			}
		}
	}

	public static void main(String[] args) {
		connectDb();
		saveUserDetails(101, "Harry Potter", "sys_admin");
		disconnectDb();
	}
}
We will try to execute the transaction in the above example and the below result will be displayed.


Here we should note that, UPDATE operation does not run correctly, hence the INSERT entry isn’t made and the database remains unchanged.

3.3.2 Implementation of Savepoints Main Class
The JDBC API provides the connObj.setSavepoint() method that marks a point to which the transaction can be rolled back. The rollback() method is an overloaded method to take a savepoint as its argument: connObj.rollback(savepointObj).
The following code will help you understand how the savepoints are used in a JDBC Transaction:
JDBCTransactionSavePointDemo.java
package com.jcg.jdbc.transactions.example;

import java.sql.Connection;
import java.sql.DriverManager;
import java.sql.PreparedStatement;
import java.sql.ResultSet;
import java.sql.SQLException;
import java.sql.Savepoint;
import java.sql.Statement;

import org.apache.log4j.Logger;

public class JDBCTransactionSavePointDemo {

	// JDBC Driver Name & Database URL
	private final static String JDBC_DRIVER = "com.mysql.jdbc.Driver";
	private final static String JDBC_DB_URL = "jdbc:mysql://localhost:3306/tutorialDb";

	// JDBC Database Credentials
	private final static String JDBC_USER = "root";
	private final static String JDBC_PASS = "";

	private static Connection connObj;
	public final static Logger logger = Logger.getLogger(JDBCTransactionsDemo.class);

	public static void connectDb() {
		try {
			Class.forName(JDBC_DRIVER);
			connObj = DriverManager.getConnection(JDBC_DB_URL, JDBC_USER, JDBC_PASS);
			logger.info("\n=======DATABASE CONNECTION OPEN=======\n");
		} catch(Exception sqlException) {
			sqlException.printStackTrace();
		}
	}

	public static void disconnectDb() {
		try {
			connObj.close();
			logger.info("\n=======DATABASE CONNECTION CLOSED=======\n");
		} catch (Exception sqlException) {
			sqlException.printStackTrace();
		}
	}

	public static void showTableRecords(String table_name) throws SQLException {
		ResultSet rsObj = null;
		Statement stmtObj = connObj.createStatement();
		rsObj = stmtObj.executeQuery("select user_id, user_name, created_date from " + table_name + ";");
		if(!rsObj.next()) {
			logger.info("No Records In The Table\n");
		} else {
			logger.info("Id: "+ rsObj.getInt("user_id") + ", Name: " + rsObj.getString("user_name") + ", Joining Date: " + rsObj.getInt("created_date") + "\n");
		}
	}

	public static void saveUserDetails(int userId, String userName, String sysName) {

		PreparedStatement insertStatement = null,
				updateStatement = null;

		Savepoint saveObj =null;

		try {
			connObj.setAutoCommit(false);

			logger.info("\n=======Inserting Data In The Table=======\n");
			String insertTableSQL = "insert into user_table (user_id, user_name, created_by, created_date) VALUES (?, ?, ?, ?);";

			insertStatement = connObj.prepareStatement(insertTableSQL);
			insertStatement.setInt(1, userId);
			insertStatement.setString(2, userName);
			insertStatement.setString(3, sysName);
			insertStatement.setTimestamp(4, new java.sql.Timestamp(new java.util.Date().getTime()));
			insertStatement.executeUpdate();		// Record Is Not Committed In Database At This Moment

			saveObj = connObj.setSavepoint();	// Savepoint Will Allow To RollBack Only Till This Checkpoint Incase An Exception Occurs.

			logger.info("\n=======Updating Value In The Table=======\n");
			String updateTableSQL = "update user_table set user_name =? where user_id = ?";

			updateStatement = connObj.prepareStatement(updateTableSQL);

			// Line No. 84 - This line Will Result In An Exception & The Data Will Rolled-Back
			updateStatement.setString(1, "A Very Very Long String Resulting In A Database Error");

			// updateStatement.setString(1, "Lucifer Star");
			updateStatement.setInt(2, userId);
			updateStatement.executeUpdate();

			connObj.commit();
			showTableRecords("user_table");
		} catch (Exception sqlException) {
			try {
				connObj.rollback(saveObj);					// Here, The Rollback Command Will Execute But The 'Insert' Will Still Be Committed To The Database As We Have Introduced A Savepoint at Line No. 76
				logger.info("\n=======!Db Exception! Rolling Back The Update Data But Not Insert=======\n");
				showTableRecords("user_table");
			} catch (SQLException sqlEx) {
				sqlEx.printStackTrace();
			}
		} finally {
			try {
				if (insertStatement != null ) {
					insertStatement.close();
				}
				if (updateStatement != null ) {
					updateStatement.close();
				}
				connObj.setAutoCommit(true);
			} catch (Exception sqlException) {
				sqlException.printStackTrace();
			}
		}
	}

	public static void main(String[] args) {
		connectDb();
		saveUserDetails(101, "Harry Potter", "sys_admin");
		disconnectDb();
	}
}
Do Note:
- The JDBC API provides the
connObj.releaseSavepoint(savepointObj)method that removes the specified savepoint from the current transaction. A savepoint that has been released become invalid and cannot be rolled back to. Any attempt to roll back the transaction to a released savepoint causes aSQLException. - A savepoint is automatically released and becomes invalid when the transaction is committed or when the entire transaction is rolled back.
4. Run the Application
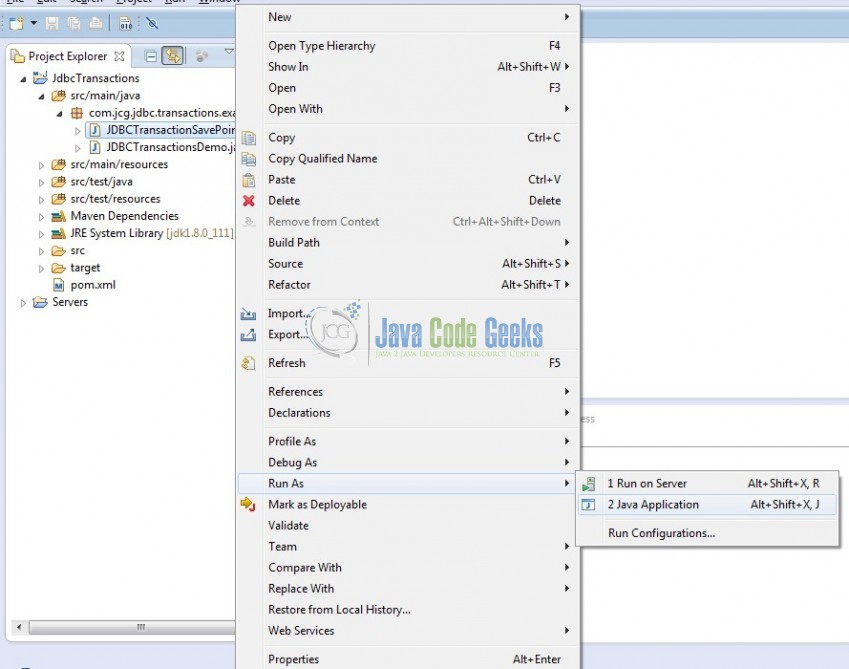
To run the application, Right click on the JDBCTransactionSavePointDemo class, Run As -> Java Application.
5. Project Demo
The code shows the following status as output:

That’s all for this post. Happy Learning!!
6. Conclusion
Here, in this example, we tried to understand how to manage the JDBC Operations through transactions and how to make check points by means of Savepoint class.
7. Download the Eclipse Project
This was an example of JBDC Transactions Using Savepoints.
You can download the full source code of this example here: Jdbc Transactions

I want to implement connection pool along with jdbc transaction management into my code which is having a number of sql updates queries.Need reference how to implement.