In this example, we shall show users how to use JUnit Testcase. JUnit Testcase example will follow you to the scenarios of how we can use and test our methods with the help of the JUnit Testcase.
As a regular reader, you are already familiar with the JUnit and its usage. If you are new to it you are recommend to visit JUnit Series on Java Code Geeks.
Before this article, I have shown many different uses of JUnit and its many different properties. But in this example, we will show something different which we haven’t done in previous articles.
1. Introduction
JUnit provides a class known as TestCase. This class will help us to run all our test cases. In previous articles, we have used the @Test annotation on all our test cases. But, here we will not use any annotation and see how we can test the methods with the help of the TestCase class.
We will create a class by extending the TestCase class and then proceed further for testing. Let’s start creating a project.
2. Technologies Used
Following technologies are used in this example.
- Java 8: Language for example
- JUnit 4.12: Testing Framework
- Maven: Dependency and build tool
- Eclipse: IDE for coding
3. Project Setup
You may skip project creation and jump directly to the beginning of the example below.
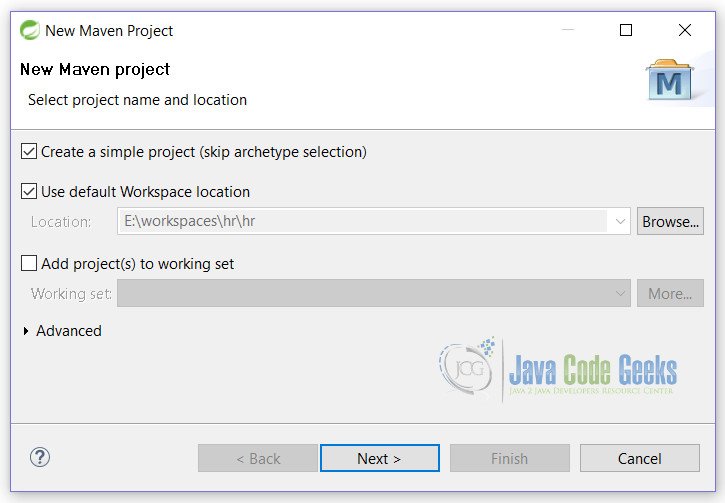
We will be using the Eclipse and Maven for our project. Click File -> New -> Maven Project On the first screen simply check the check mark corresponding to the “Create a simple project” and click on Next button.
Fill in all the details and click on Finish button.
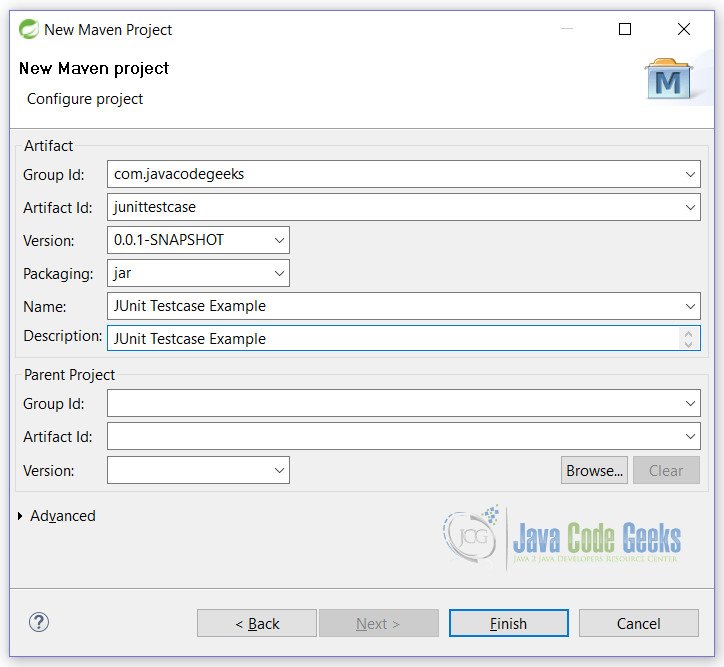
Now our blank project is ready.
4. JUnit Testcase Example
We will be doing 2 things here. First configure the JUnit by adding dependency in the pom.xml and secondly, creating java classes for testing.
4.1 xml configuration
Firstly, put the following code in the pom.xml.
pom.xml
    <dependencies>
        <dependency>
            <groupId>junit</groupId>
            <artifactId>junit</artifactId>
            <version>4.12</version>
        </dependency>
    </dependencies>

    <properties>
        <maven.compiler.source>1.8</maven.compiler.source>
        <maven.compiler.target>1.8</maven.compiler.target>
    </properties>
Here we are simply telling maven to pull dependency of JUnit 4.12 and use Java 8 for compile.
4.2 Java classes
Next step is to create a model class which will help in testing.
ListTest.java
package junittestcase;

import java.util.ArrayList;
import java.util.List;

public class ListTest {

    private List lstFruits = new ArrayList();

    public void add(String fruit) {
        lstFruits.add(fruit);
    }

    public void remove(String fruit) {
        lstFruits.remove(fruit);
    }

    public int size() {
        return lstFruits.size();
    }

    public void removeAll(){
        lstFruits.clear();
    }
}
Now we are ready to write our main class that will actually run our test cases. We need to follow some points so that we run our test cases:

- We need to extend the
TestCaseclass of JUnit setUp()andtearDown()methods, which are optional and runs before and after every test case.- Every test case shouls be public and name should begin with test. They should not take any argument.
- Test case should not return any value.
MyTestCase.java
package junittestcase;

import junit.framework.TestCase;

public class MyTestCase extends TestCase {

    protected ListTest lstTest = new ListTest();

    protected void setUp() {
        lstTest.add("Apple");
        lstTest.add("Orange");
        lstTest.add("Grapes");
    }

    public void testSize() {
        assertEquals("Checking size of List", 3, lstTest.size());
    }

    public void testAdd() {
        lstTest.add("Banana");
        assertEquals("Adding 1 more fruit to list", 4, lstTest.size());
    }

    public void testRemove() {
        lstTest.remove("Orange");
        assertEquals("Removing 1 fruit from list", 2, lstTest.size());
    }

    protected void tearDown() {
        lstTest.removeAll();
    }
}
Let’s analyze all the details line by line of this class.
At line no 5, we have extended the TestCase class.
Line no 9, specifies a setUp() method that will run before any test method.
Line 15,19,24 are our test cases.
Line no 29 specifies the tearDown() method that will be called after each test case.
It is to be noted that, setUp() and tearDown() are not mandatory at all. We have used here only to illustrate the usage of them.
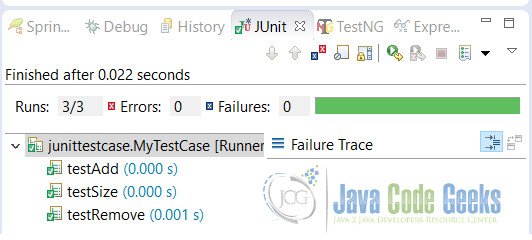
Output
5. Conclusion
We have learned a way to test our test cases with the help of the TestCase class of JUnit. Now a days we are using annotations instead of the TestCase class. But through JUnit Testcase example we have learned a new way to test.
6. Download the Eclipse Project
This is a JUnit Testcase Example.
You can download the full source code of this example here: JUnitTestcaseExample
