In JUnit Test Constructor Example, we shall show you the process of testing the constructor of a class. It is as simple as we are testing other methods. Since the constructor is called before any other methods of the class we need to see the relevance of testing it.
Constructors are used for initializing the class and then do some processing on it. We will examine the different ways of testing the constructor of a class.
1. Introduction
JUnit provides lot of methods to test our cases. We can test the constructor of a class using the same techniques we have used in our previous examples. Sometimes we need to initialize the objects and we do them in a constructor. In JUnit we can also do same using the @Before method. But what will be the difference between them?
They are following the same scenario as both all called before any test case is executed.
Constructor and @Before both are same. But constructor has a drawback that it will not give proper error message, whereas @Before method will give proper error message in case of failing.
We will see in the below example the way to test our constructor.
2. Technologies Used
We will be using following technologies in out below example.
- Java 1.8 – language to code
- JUnit 4.12 – testing framework
- Maven – build tool
- Eclipse – IDE for code
3. Project Setup
Let’s start creating our project.
You may skip project creation and jump directly to the beginning of the example below.
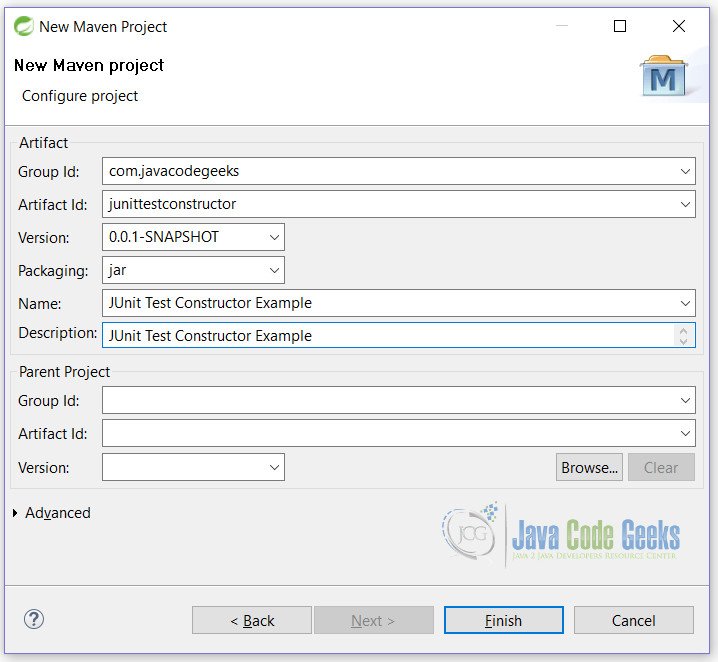
Open Eclipse. Click File -> New -> Maven Project. You will be taken to below screen. Fill in the details and click on Next button.

On this screen, fill in all the details and click on the Finish button.
This will create a blank Maven project. You are now ready to start coding the example.
4. JUnit Test Constructor Example
Let’s start creating classes our example.
First of all, open pom.xml file and copy and paste below line into it.
pom.xml
    <dependencies>
        <dependency>
            <groupId>junit</groupId>
            <artifactId>junit</artifactId>
            <version>4.12</version>
        </dependency>
    </dependencies>

    <properties>
        <maven.compiler.source>1.8</maven.compiler.source>
        <maven.compiler.target>1.8</maven.compiler.target>
    </properties>
Here, we have ask Maven to pull JUnit 4.12 dependency and use Java 1.8 for compiling our example.
4.1 Java Classes
Start by create a model class that will help in testing our example. Here we are creating a simple class called Calculator.
Calculator.java
package junittestconstructor;

public class Calculator {

    private int numA;
    private int numB;

    Calculator(int numA,int numB){
        this.numA = numA;
        this.numB = numB;
        if(numA<0 || numB<0){
            throw new IllegalArgumentException();
        }
    }

    public int sum(){
        return this.numA + this.numB;
    }
}
As we can see, this class 2 variables numA and numB. One constructor which is also throwing IllegalArgumentException().

We will test both scenarios where we will pass positive as well as negative values. We will also see how we can handle the exceptions in test class so that test cases don’t fail.
Now, we will create a test class that will test our constructor.
CalculatorTest.java
package junittestconstructor;

import static org.hamcrest.CoreMatchers.is;
import static org.junit.Assert.assertThat;

import org.junit.Test;

public class CalculatorTest {

    private Calculator c;

    @Test
    public void constructorTest(){
        c = new Calculator(4, 5);
        assertThat(9, is(c.sum()));
    }

    @Test(expected = IllegalArgumentException.class)
    public void constructorExceptionTest(){
        c = new Calculator(-4, 5);
    }

}
Here we can see that at line no 14 we are testing with the positive values and at line no 20 we are testing negative scenario.
See how we have handled the exception. If we do not handle it, this method will fail. To comply standards and to test our case to pass, we need to catch the exception. We have done by passing the arguments to the @Test annotation. See line no 18.
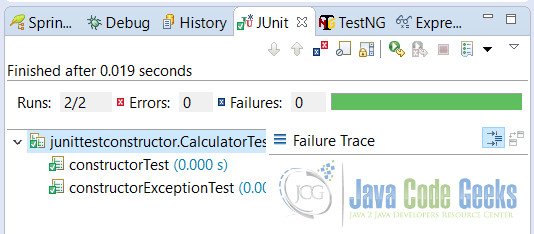
Output
Here is the output seen in Eclipse JUnit window.
5. Conclusion
In this example, we have learned that constructor testing is way similar to the other method testing. We can use @Before method also for initializing other than the constructor. Constructor will not give details about the exceptions clearly, but @Before does.
6. Download the Eclipse Project
This is JUnit Test Constructor Example.
You can download the full source code of this example here: JUnitTestConstructorExample.zip

It is not good method for test construktor, becouse it is test through another method. Test should be test unit one by one. For this is neccesary to use reflection.