In this example, we will demonstrate how we can create and maintain PDF Files using ITEXT
1. Why use PDF?
PDF stands for Portable Document Format, was a proprietary file format owned by Adobe Systems. However, it was released as an open standard in July, 2008. The PDF format is independent of the underlying software and hardware of the system on which it is viewed. The electronic documents in general also have many advantages, some of which are listed below:
- Easy to access and search
- Secure
- Ease of store.
Itext provides a number of operations to create and effectively manage PDF documents. Itext is not a end-user tool and its utilities need to be used in Programming language to perform the operations. We will look in detail at the operations using JAVA as the programming language:
2. Implementation
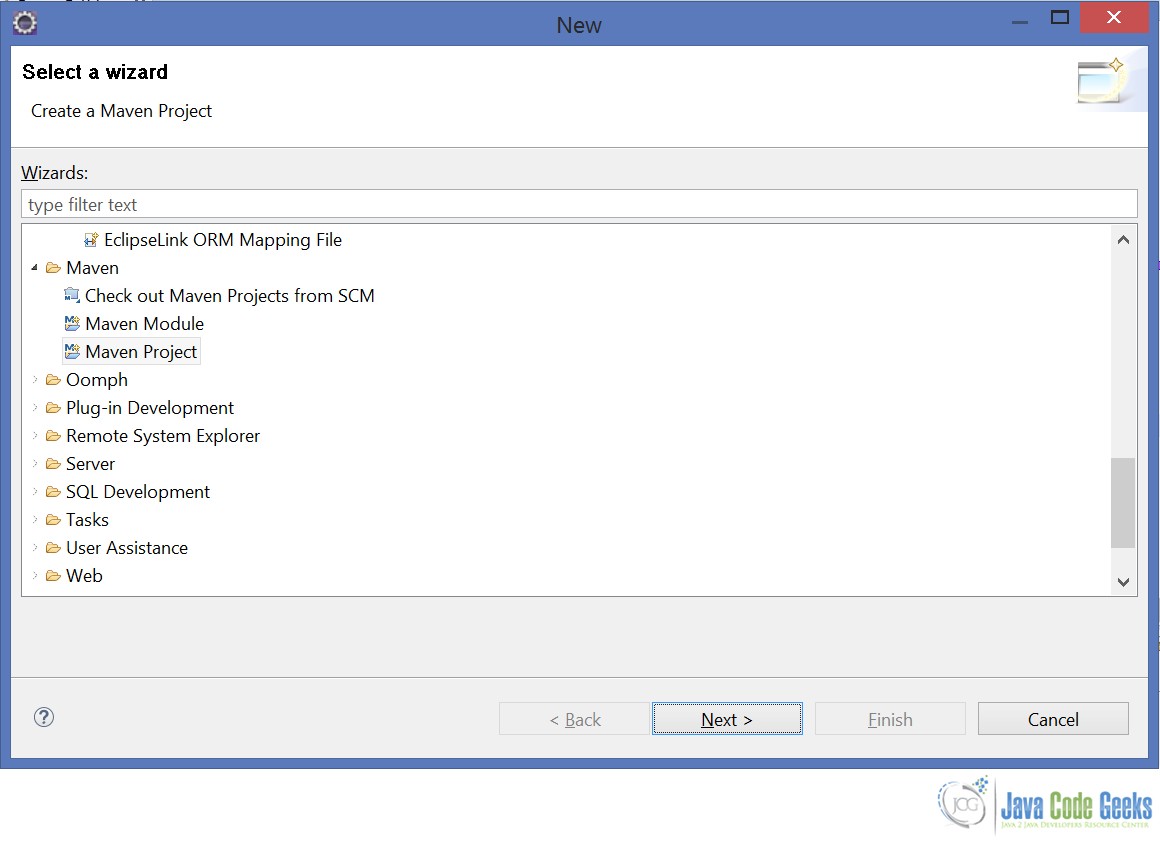
Create a new Maven project as shown below and select create simple Maven project:
Here is the final project structure:

We will need to import the dependencies for the IText. Here is the pom.xml:
pom.xml
<project xmlns="http://maven.apache.org/POM/4.0.0" xmlns:xsi="http://www.w3.org/2001/XMLSchema-instance"
	xsi:schemaLocation="http://maven.apache.org/POM/4.0.0 http://maven.apache.org/xsd/maven-4.0.0.xsd">
	<modelVersion>4.0.0</modelVersion>
	<groupId>ITextExample</groupId>
	<artifactId>ITextExample</artifactId>
	<version>0.0.1-SNAPSHOT</version>

	<dependencies>
		<dependency>
			<groupId>com.itextpdf</groupId>
			<artifactId>itextpdf</artifactId>
			<version>5.5.6</version>
		</dependency>

	</dependencies>

</project>
This adds the dependency for Itextpdf.jar which contains the required class files to create the PDF document.
Now let’s create a simple “Hello World” PDF:
CreatePdf.java
package com.jcg.examples;

import java.io.FileNotFoundException;
import java.io.FileOutputStream;

import com.itextpdf.text.Document;
import com.itextpdf.text.DocumentException;
import com.itextpdf.text.Paragraph;
import com.itextpdf.text.pdf.PdfWriter;

public class CreatePdf
{
		public static void main(String[] args) throws FileNotFoundException, DocumentException
		{
				Document document = new Document();
				@SuppressWarnings("unused")
				PdfWriter pdfWriter = PdfWriter.getInstance(document, new FileOutputStream("HelloWorld.pdf"));
				document.open();

				Paragraph paragraph = new Paragraph();
				paragraph.add("Hello World!");

				document.add(paragraph);
				document.close();
		}

}
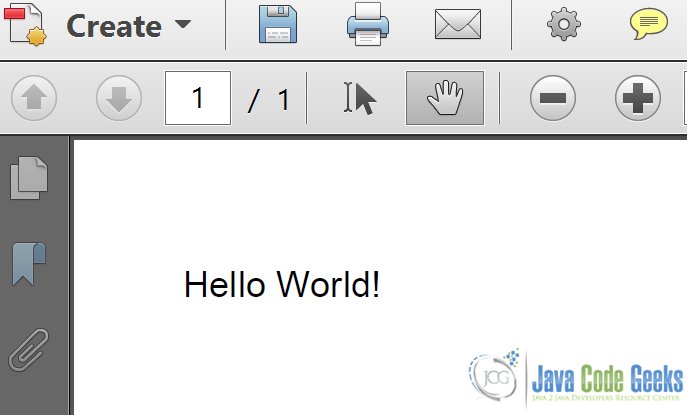
We create an object of com.itextpdf.text.Document. Then we pass this object to com.itextpdf.text.pdf.PdfWriter along-with the qualified file-name we want to be created. Next we create a com.itextpdf.text.Paragraph object and add a Hello World! String to it to be written to the PDF file. We append this paragraph to the document and close the document. Closing the document causes the content to be flushed and written to the file by the PdfWriter we created earlier. Note that, once the document has been closed, nothing can written to the document body.
Here’s the output:
We can add any number of com.itextpdf.text.Element objects to the document. We will discuss a number of classes that implement the Element interface.
We will see an example where we will use different Elements to style our PDF document and understand the difference between them.
ChunkExample.java
package com.jcg.examples;

import java.io.FileNotFoundException;
import java.io.FileOutputStream;

import com.itextpdf.text.Chunk;
import com.itextpdf.text.Document;
import com.itextpdf.text.DocumentException;
import com.itextpdf.text.pdf.PdfWriter;

public class ChunkExample
{
		public static void main(String[] args) throws FileNotFoundException, DocumentException
		{
				Document document = new Document();
				@SuppressWarnings("unused")
				PdfWriter pdfWriter = PdfWriter.getInstance(document, new FileOutputStream("HelloWorld.pdf"));
				document.open();

				for(int count = 0;count<10;count++)
				{
						Chunk chunk = new Chunk("Hello World!!");
						document.add(chunk);
				}

				document.close();
		}

}
Here’s how the output file looks like:
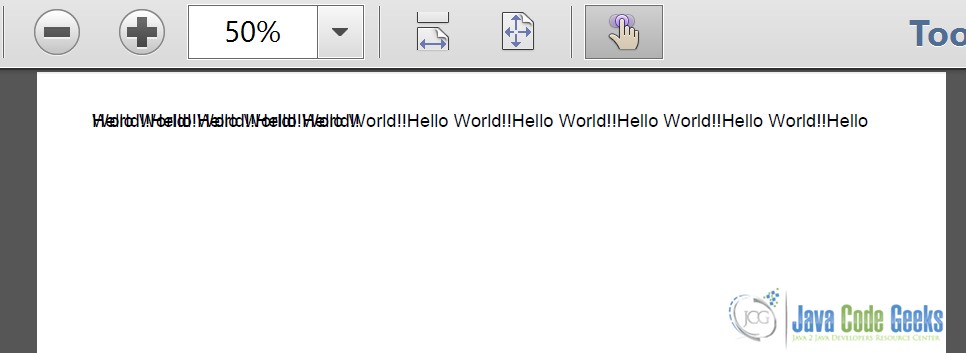
As you can see the com.itextpdf.text.Chunk just keeps writing from right from left. If the line ends, it again starts writing on the same line. It does not know when to add a new line. That is why, it is considered better to wrap it in other elements like Phrase or Paragraph and then write to avoid overwriting as shown in the image.
we will see how we can do this using a Phrase.
PhraseExample.java
package com.jcg.examples;

import java.io.FileNotFoundException;
import java.io.FileOutputStream;

import com.itextpdf.text.Chunk;
import com.itextpdf.text.Document;
import com.itextpdf.text.DocumentException;
import com.itextpdf.text.Phrase;
import com.itextpdf.text.pdf.PdfWriter;

public class PhraseExample
{
		public static void main(String[] args) throws FileNotFoundException, DocumentException
		{
				Document document = new Document();
				@SuppressWarnings("unused")
				PdfWriter pdfWriter = PdfWriter.getInstance(document, new FileOutputStream("HelloWorld.pdf"));
				document.open();

				Phrase phrase = new Phrase();
				for(int count = 0;count<10;count++)
				{
						Chunk chunk = new Chunk("Hello World!!");
						phrase.add(chunk);

				}
				document.add(phrase);
				document.close();
		}

}
Here is the output:
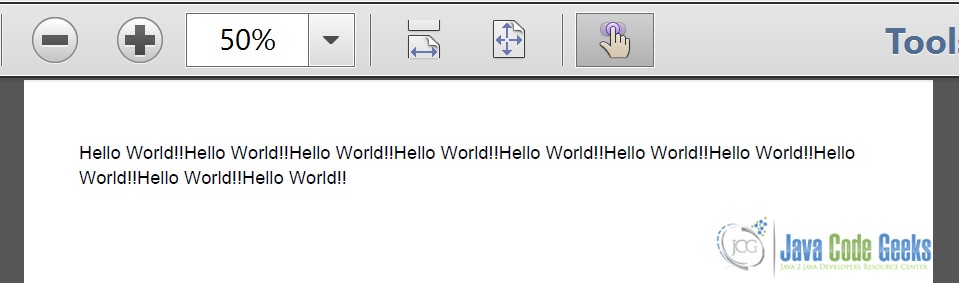
As you can see in the generated PDF file, the com.itextpdf.text.Phrase element knows to insert a new line when it reaches end on the right side of the current line. However, Phrase cannot be used to to adjust indentation, alignment etc in the document. We will use com.itextpdf.text.Paragraph for adjusting indentation, alignment , spacing between two paragraphs of the same document.
Here’s how a Paragraph can be formatted:
ParagraphExample.java
package com.jcg.examples;

import java.io.FileNotFoundException;
import java.io.FileOutputStream;

import com.itextpdf.text.Document;
import com.itextpdf.text.DocumentException;
import com.itextpdf.text.Element;
import com.itextpdf.text.Paragraph;
import com.itextpdf.text.Phrase;
import com.itextpdf.text.pdf.PdfWriter;

public class ParagraphExample
{
		public static void main(String[] args) throws FileNotFoundException, DocumentException
		{
				Document document = new Document();
				@SuppressWarnings("unused")
				PdfWriter pdfWriter = PdfWriter.getInstance(document, new FileOutputStream("HelloWorld.pdf"));
				document.open();

				Paragraph paragraph1 = new Paragraph("This is Paragraph 1");
				Paragraph paragraph2 = new Paragraph("This is Paragraph 2");
				paragraph1.setIndentationLeft(80);
				paragraph1.setIndentationRight(80);
				paragraph1.setAlignment(Element.ALIGN_CENTER);
				paragraph1.setSpacingAfter(15);
				paragraph2.setSpacingBefore(15);
				paragraph2.setAlignment(Element.ALIGN_LEFT);
				Phrase phrase = new Phrase("This is a large sentence.");
				for(int count = 0;count<10;count++)
				{
						paragraph1.add(phrase);
						paragraph2.add(phrase);
				}

				document.add(paragraph1);
				document.add(paragraph2);

				document.close();
		}

}
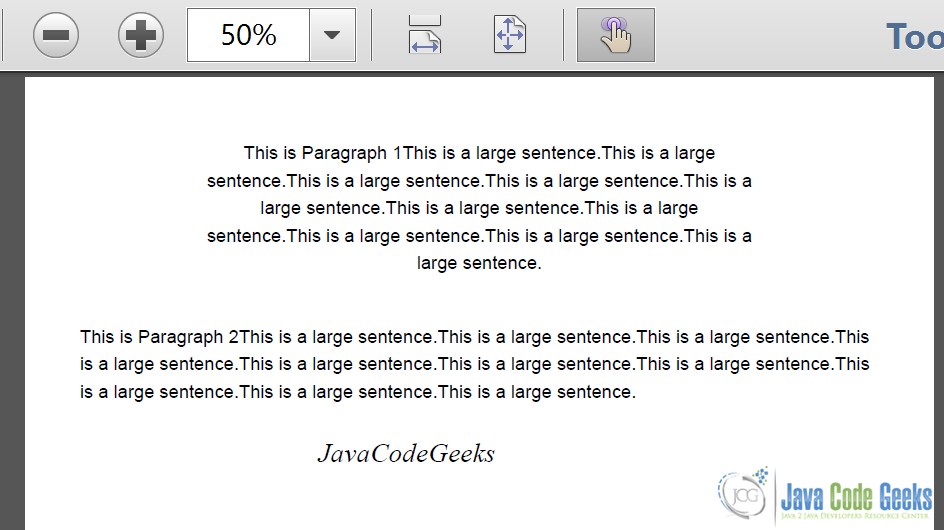
We create a couple of objects of com.itextpdf.text.Paragraph Element with different indentations and spacing. We indent the first on the left and right side by 80 units and align it to the centre. The second paragraph element is aligned to the left.
Personally, I think it would have been better to use java.lang.Enum to provide Alignment information instead of using public final integers. Using Enums makes for more readable and type-safe code.
Let’s have a look how the paragraph looks like in a document:

We now have a good idea of how the various text elements in a Itext look like and how they are used. Let’s see now, as to how we can modify fonts in the document using the utilities offered by IText
FontExample.java
package com.jcg.examples;

import java.io.FileNotFoundException;
import java.io.FileOutputStream;

import com.itextpdf.text.Chunk;
import com.itextpdf.text.Document;
import com.itextpdf.text.DocumentException;
import com.itextpdf.text.Element;
import com.itextpdf.text.Font;
import com.itextpdf.text.Paragraph;
import com.itextpdf.text.Phrase;
import com.itextpdf.text.pdf.PdfWriter;

public class FontExample
{
		public static void main(String[] args) throws FileNotFoundException, DocumentException
		{
				Document document = new Document();
				@SuppressWarnings("unused")
				PdfWriter pdfWriter = PdfWriter.getInstance(document, new FileOutputStream("HelloWorld.pdf"));
				document.open();

				Phrase phrase = new Phrase();
				Paragraph paragraph = new Paragraph();

				Font timesRomanfont = new Font(Font.FontFamily.TIMES_ROMAN,16,Font.BOLDITALIC);
				Chunk timesRomanChunk = new Chunk("Java Code Geeks",timesRomanfont);
				phrase.add(timesRomanChunk);
				phrase.add(Chunk.NEWLINE);

				Font strikeThruFont = new Font(Font.FontFamily.COURIER,20,Font.STRIKETHRU);
				Chunk strikeThruChunk = new Chunk("Strike Through",strikeThruFont);
				phrase.add(strikeThruChunk);
				phrase.add(Chunk.NEWLINE);

				Font underlineFont = new Font(Font.FontFamily.HELVETICA,20,Font.UNDERLINE);
				Chunk underlineChunk = new Chunk("This is underLined",underlineFont);
				phrase.add(underlineChunk);

				paragraph.add(phrase);
				paragraph.setAlignment(Element.ALIGN_CENTER);
				document.add(paragraph);

				document.close();
		}

}
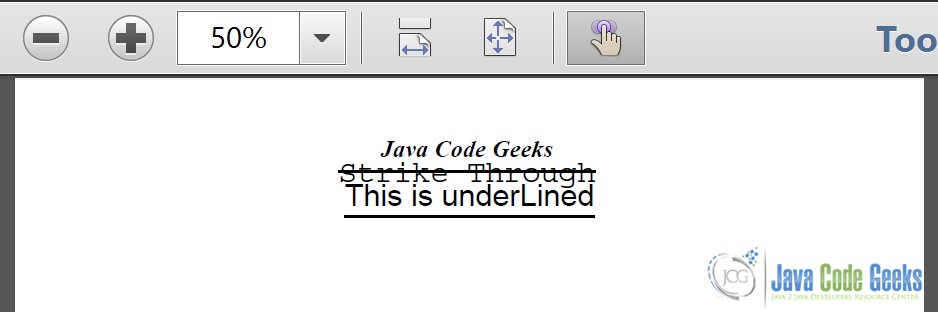
Here’s how the different fonts used in the FontExample class look like when used in a document:

This was all about creating the PDF. Now, we will see how we can modify the existing PDF to add the contents.
We will modify the PDF shown in Fig 6 to add a JavaCodeGeeks phrase with Roman Italic font below the existing content.Here’s the code:
ModifyPdf.java
package com.jcg.examples;

import java.io.FileOutputStream;
import java.io.IOException;

import com.itextpdf.text.DocumentException;
import com.itextpdf.text.pdf.BaseFont;
import com.itextpdf.text.pdf.PdfContentByte;
import com.itextpdf.text.pdf.PdfReader;
import com.itextpdf.text.pdf.PdfStamper;

public class ModifyPdf
{
public static void main(String[] args)
{
		try
		{
				PdfReader pdfReader = new PdfReader("HelloWorld.pdf");
				PdfStamper pdfStamper = new PdfStamper(pdfReader, new FileOutputStream("HelloWorldModified.pdf"));
				PdfContentByte content = pdfStamper.getUnderContent(1);

				BaseFont bf = BaseFont.createFont(BaseFont.TIMES_ITALIC, BaseFont.CP1250, BaseFont.EMBEDDED);
        content.beginText();
        content.setFontAndSize(bf, 18);
        content.showTextAligned(PdfContentByte.ALIGN_CENTER, "JavaCodeGeeks", 250,590,0);
        content.endText();

				pdfStamper.close();
				pdfReader.close();
		}
		catch (IOException e)
		{
				e.printStackTrace();
		}
		catch (DocumentException e)
		{
				e.printStackTrace();
		}

}
}
And here’s the output PDF:
We use the com.itextpdf.text.pdf.PdfReader class to read the existing PDF Document. The com.itextpdf.text.pdf.PdfStamper is then used to write extra content to the PDF Document using com.itextpdf.text.pdf.PdfContentByte class. The PdfStamper#getUnderContent is used to write the content under the existing text elements of the PDF. For writing above the existing content we use PdfStamper#getOverContent method.
Many a times while creating a PDF report or document, we need to put some water-mark in the pages of the document. We will put the JavaCodeGeeks logo to the PDF Document shown in the Figure 6.
AddWaterMark.java
package com.jcg.examples;


import java.io.FileOutputStream;
import java.io.IOException;

import com.itextpdf.text.DocumentException;
import com.itextpdf.text.Image;
import com.itextpdf.text.pdf.PdfContentByte;
import com.itextpdf.text.pdf.PdfReader;
import com.itextpdf.text.pdf.PdfStamper;


public class AddWaterMark
{
		public static void main(String[] args)
		{
				try
				{
						PdfReader pdfReader = new PdfReader("WaterMarked.pdf");
						PdfStamper pdfStamper = new PdfStamper(pdfReader, new FileOutputStream("HelloWorldModified1.pdf"));
						PdfContentByte content = pdfStamper.getUnderContent(1);

						Image background = Image.getInstance("src\\main\\resources\\JavaCodeGeeks-water3.png");

						background.setAbsolutePosition(150f, 650f);
						content.addImage(background);

						pdfStamper.close();
						pdfReader.close();
				}
				catch (IOException e)
				{
						e.printStackTrace();
				}
				catch (DocumentException e)
				{
						e.printStackTrace();
				}
		}

}
Here’s how the water-marked document looks like:
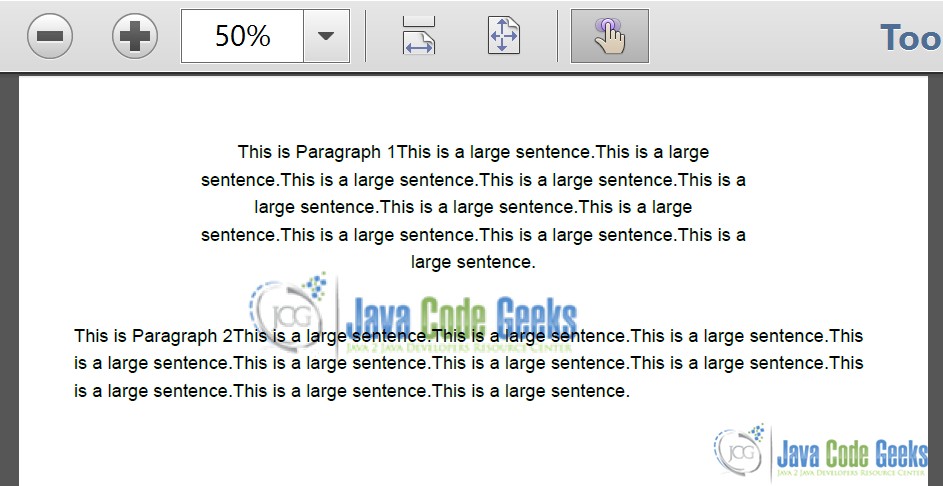
In this example, we read the PDF document and add the image at a location on the document. When the requirement is to add the watermark at the creation time , we have to implement the com.itextpdf.text.pdf.PdfPageEventHelper and override the onEndPage method. The logic to add the watermark goes in this overridden method. Then set the instance of the class implementing the above interface to the pageEvent property of the PdfWriter. This adds the water-mark when each page in the PDF Document ends.
Here’s the relevant snippet that demonstrates this:
PdfWriter writer = PdfWriter.getInstance(document, new FileOutputStream(File_Name));
writer.setPageEvent(new AddWaterMarkEvent());
//rest of the code
And the AddWaterMarkEvent would look something like this:
package com.jcg.examples;


import java.io.IOException;
import java.net.MalformedURLException;

import com.itextpdf.text.BadElementException;
import com.itextpdf.text.Document;
import com.itextpdf.text.DocumentException;
import com.itextpdf.text.Image;
import com.itextpdf.text.pdf.PdfPageEventHelper;
import com.itextpdf.text.pdf.PdfWriter;


class PDFBackground extends PdfPageEventHelper
{

		@Override
		public void onEndPage(PdfWriter writer, Document document)
		{
				try
				{
						Image background = Image.getInstance("src\\main\\resources\\JavaCodeGeeks-water3.png");
						float width = background.getWidth();
						float height = background.getHeight();
						writer.getDirectContentUnder().addImage(background, width, 0, 0, height, 0, 0);
				}
				catch (BadElementException e)
				{
						e.printStackTrace();
				}
				catch (MalformedURLException e)
				{
						e.printStackTrace();
				}
				catch (IOException e)
				{
						e.printStackTrace();
				}
				catch (DocumentException e)
				{
						e.printStackTrace();
				}
		}

}
3. Download the Source Code
Here we studied how we can use IText to create and/or update our PDF Files using JAVA as the programming language.
You can download the source code of this example here: ITextExample.zip
