The Honeycomb Android version, introduced some interesting widgets with collections. One of them is the Android StackView, a stacked card view where the front view-item can be flipped to give room for the item after it. The StackView collection may be found in several widgets, because of its view behaviour.
Generally, StackView is an AdapterView thus working with StackView is not significantly different than is working with any other AdapterView. You create an Adapter defining the contents (in this case, defining the cards), you attach the Adapter to the StackView, and put the StackView somewhere on the screen. However StackView seems to work best with children that have explicit sizes.
In this example we are going to see how to design and implement a simple Android StackView. For this example we are using the following tools in a Windows 64-bit or an OS X platform:
- JDK 1.7
- Android Studio 2.1.2
- Android SDK 6.0
Let’s take a closer look:
1. Create a New Android Studio Project
You may skip project creation and jump directly to the beginning of the example below.
Open Android Studio and choose “Start a new Android Studio Project” in the welcome screen.

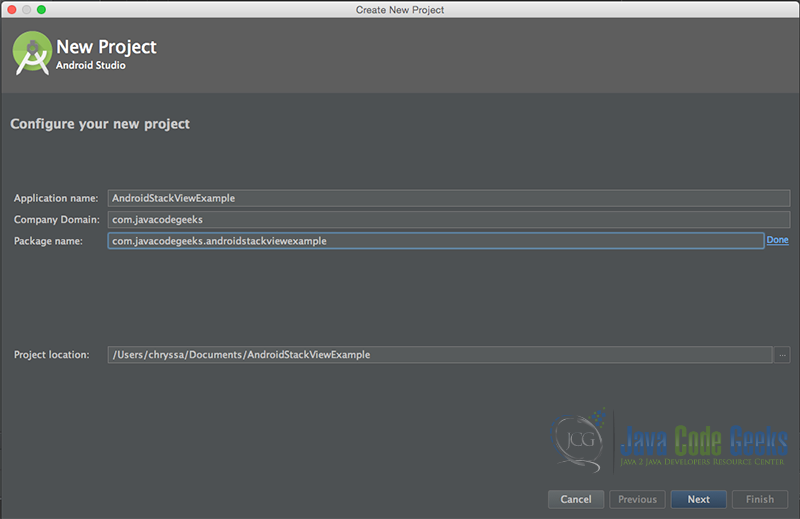
Specify the name of the application, the project and the package.
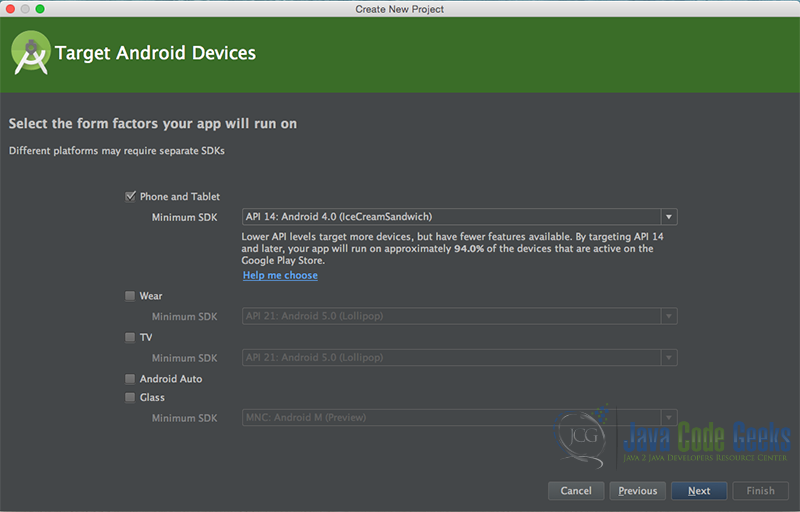
In the next window, select the form factors your app will run on.
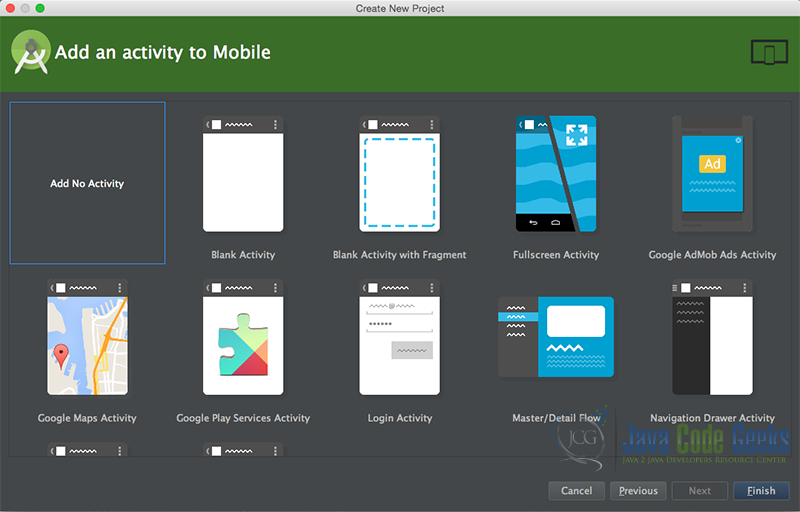
In the next window you should choose to “Add an activity to Mobile”. In our example, we will choose to create a project with no activity, so choose: “Add no activity”.
Now press finish, and our project has just been created!
2. Create the layout of the AndroidStackViewActivity
Add a new xml file inside /res/layout folder, with name activity_main.xml. We should have /layout/activity_main.xml file and paste the code below.
activity_main.xml
<?xml version="1.0" encoding="utf-8"?>
<RelativeLayout xmlns:android="http://schemas.android.com/apk/res/android"
    android:layout_width="match_parent"
    android:layout_height="match_parent"
    android:background="#ffcc00">

    <StackView
        android:id="@+id/stack_view"
        android:layout_width="fill_parent"
        android:layout_height="wrap_content"
        android:animateLayoutChanges="true"></StackView>

</RelativeLayout>
3. Create the layout of the StackView items
Add a new xml file inside /res/layout folder, with name item.xml. We should have /layout/item.xml file and paste the code below.
item.xml
<?xml version="1.0" encoding="utf-8"?>
<FrameLayout xmlns:android="http://schemas.android.com/apk/res/android"
    android:layout_width="wrap_content"
    android:layout_height="wrap_content"
    android:background="#454545">

    <ImageView
        android:id="@+id/image"
        android:layout_width="420dp"
        android:layout_height="300dp"
        android:layout_centerHorizontal="true" />

</FrameLayout>
4. Create the source code of the StackItems
Add a new Java class inside src/com.javacodegeeks.AndroidStackViewExample/ so that we are going to have the src/com.javacodegeeks.AndroidStackViewExample/StackItems.java file and paste the code below.
StackItems.java
package com.javacodegeeks.AndroidStackViewExample;

public class StackItems {
    Integer image;

    public StackItems(String name, Integer image) {
        this.image = image;
    }

    public int getImage() {
        return image;
    }

}
5. Create the source code of the StackAdapter
Add a new Java class inside src/com.javacodegeeks.AndroidStackViewExample/ so that we are going to have the src/com.javacodegeeks.AndroidStackViewExample/StackItems.java file and paste the code below.
StackAdapter.java
package com.javacodegeeks.AndroidStackViewExample;

import android.content.Context;
import android.view.LayoutInflater;
import android.view.View;
import android.view.ViewGroup;
import android.widget.BaseAdapter;
import android.widget.ImageView;

import java.util.ArrayList;

public class StackAdapter extends BaseAdapter {

    ArrayList arrayList;
    LayoutInflater inflater;
    ViewHolder holder = null;

    public StackAdapter(Context context, ArrayList arrayList) {
        this.arrayList = arrayList;
        this.inflater = LayoutInflater.from(context);
    }

    @Override
    public int getCount() {
        return arrayList.size();
    }

    @Override
    public StackItems getItem(int pos) {
        return arrayList.get(pos);
    }

    @Override
    public long getItemId(int pos) {
        return pos;
    }

    @Override
    public View getView(int pos, View view, ViewGroup parent) {
        if (view == null) {
            view = inflater.inflate(R.layout.item, parent, false);
            holder = new ViewHolder();
            holder.image = (ImageView) view.findViewById(R.id.image);
            view.setTag(holder);
        } else {
            holder = (ViewHolder) view.getTag();
        }
        holder.image.setBackgroundResource(arrayList.get(pos).getImage());

        return view;
    }

    public class ViewHolder {
        ImageView image;
    }

}
6. Create the source code of the AndroidStackViewActivity
Add a new Java class inside src/com.javacodegeeks.AndroidStackViewExample/ so that we are going to have the src/com.javacodegeeks.AndroidStackViewExample/AndroidStackViewActivity.java file and paste the code below.

AndroidStackViewActivity.java
package com.javacodegeeks.AndroidStackViewActivity;

import android.app.Activity;
import android.os.Bundle;
import android.widget.StackView;

import java.util.ArrayList;

public class AndroidStackViewActivity extends Activity {

    private static StackView stackView;
    private static ArrayList list;

    private static final Integer[] icons = {R.drawable.jellybean, R.drawable.kitkat,
            R.drawable.lollipop, R.drawable.marshmellow, R.drawable.nougat};

    @Override
    protected void onCreate(Bundle savedInstanceState) {
        super.onCreate(savedInstanceState);
        setContentView(R.layout.activity_main);

        stackView = (StackView) findViewById(R.id.stack_view);
        list = new ArrayList();

        for (int i = 0; i < icons.length; i++) {
            list.add(new StackItems("Item " + i, icons[i]));
        }
        StackAdapter adapter = new StackAdapter(AndroidStackViewActivity.this, list);
        stackView.setAdapter(adapter);
        adapter.notifyDataSetChanged();
    }
}
7. AndroidManifest.xml
The AndroidManifest.xml of our project has no special permissions.
AndroidManifest.xml
<manifest xmlns:android="http://schemas.android.com/apk/res/android"
    package="com.javacodegeeks.AndroidStackViewExample">

    <application
        android:allowBackup="true"
        android:icon="@mipmap/ic_launcher"
        android:label="@string/app_name"
        android:supportsRtl="true"
        android:theme="@style/AppTheme">
        <activity
            android:name=".AndroidStackViewActivity"
            android:label="@string/app_name"
            android:screenOrientation="portrait">
            <intent-filter>
                <action android:name="android.intent.action.MAIN" />
                <category android:name="android.intent.category.LAUNCHER" />
            </intent-filter>
        </activity>
    </application>
</manifest
>
8. build.gradle
The build.gradle of our project is simple.
build.gradle
apply plugin: 'com.android.application'

android {
    compileSdkVersion 23
    buildToolsVersion "23.0.2"

    defaultConfig {
        applicationId "com.javacodegeeks.AndroidStackViewExample"
        minSdkVersion 15
        targetSdkVersion 23
        versionCode 1
        versionName "1.0"
    }
    buildTypes {
        release {
            minifyEnabled false
            proguardFiles getDefaultProguardFile('proguard-android.txt'), 'proguard-rules.pro'
        }
    }
}

dependencies {
    compile fileTree(dir: 'libs', include: ['*.jar'])
    testCompile 'junit:junit:4.12'
    compile 'com.android.support:appcompat-v7:23.4.0'
}
9. Build, compile and run
When we build, compile and run our project, the main AndroidStackViewActivity should look like this:

10. Download the Android Studio Project
This was an example of Android StackView.
You can download the full source code of this example here: AndroidStackViewExample

Great Tutorial thank you I use a Stackview Widget for my note taking app, which simply displays a few lines from each of the users Note cards. My Stackview has been working fine from API 14 through 23. But I just updated my targetSdkVersion to 27 (Android Oreo) in my App level build.gradle running the latest Android Studio 3.1.2 (as of May, 2018)…and for some reason my Stackview (which still works) does not show the data (Notes) coming my App. Not sure what has changed between API 23 to API 27, to cause this. I would greatly appreciate some help… Read more »