The Android platform provides several sensors that let you monitor the motion of a device. Some of these sensors are hardware-based and some are software-based.
The Android platform supports three broad categories of sensors:
• Motion sensors
• Environmental sensors thermometers.
• Position sensors
Motion sensors are useful for monitoring device movement, such as tilt, shake, rotation, or swing. In our example, we are going to disscuss about a motion – hardware based sensor, the Android Accelerometer sensor.
This sensor can measure the acceleration force in m/s2 that is applied to a device on all three physical axes (x, y, and z), including the force of gravity.
So, in this example, we will make an Activity that can listen to Android Accelerometer changes, that can show the current and max x,y,z values, and can vibrate when the accelerometer values are over a certain threshold.
For this tutorial, we will use the following tools in a Windows 64-bit platform:
- JDK 1.7
- Eclipse 4.2 Juno
- Android SDK 4.4
Let’s take a closer look:
1. Create a New Android Application Project
You may skip project creation and jump directly to the beginning of the example below.
Open Eclipse IDE and go to File → New → Project → Android Application Project.
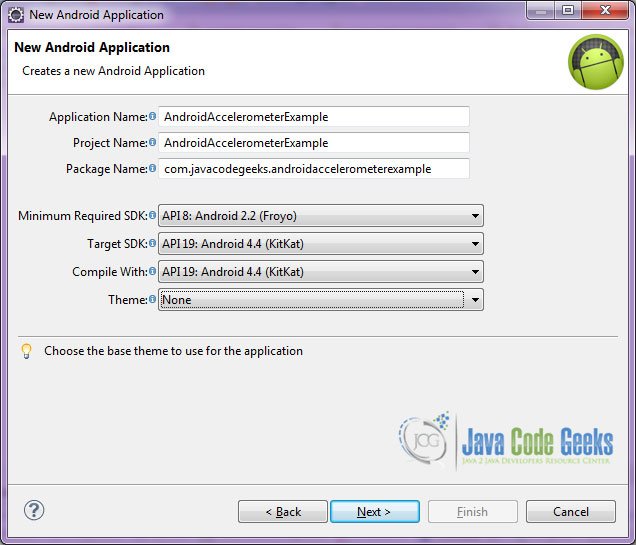
Specify the name of the application, the project and the package and then click Next.
In the next window, the “Create Activity” option should be checked. The new created activity will be the main activity of your project. Then press Next button.
In “Configure Launcher Icon” window you should choose the icon you want to have in your app. We will use the default icon of android, so click Next.

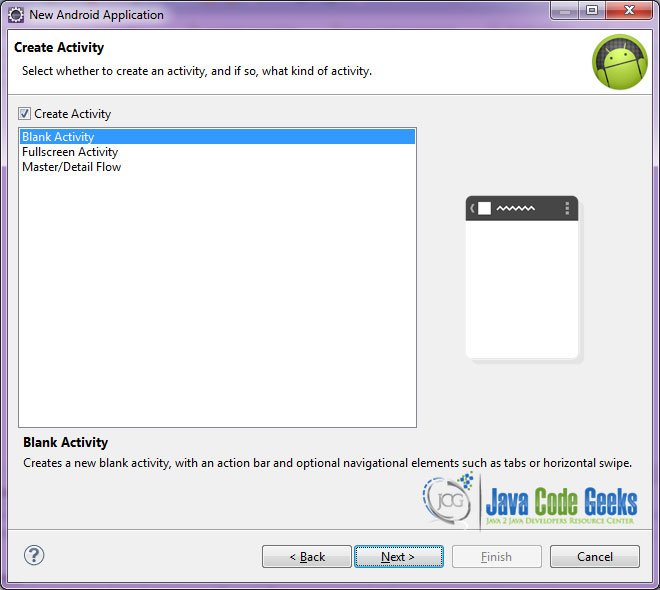
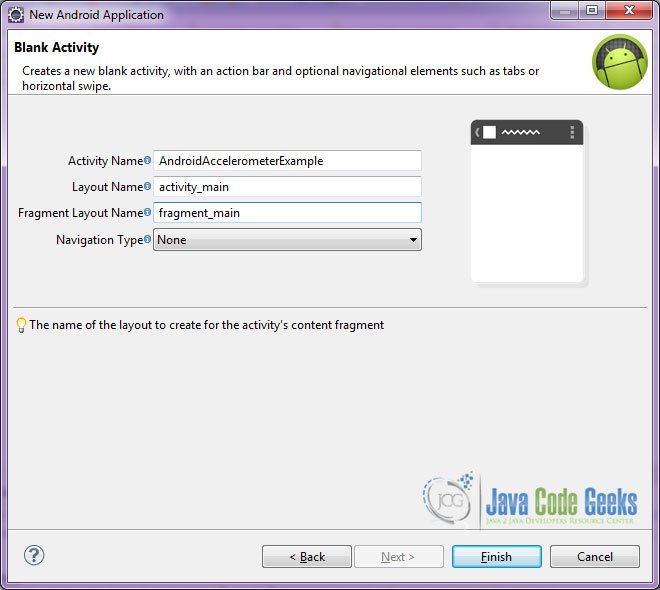
Select the “Blank Activity” option and press Next.
You have to specify a name for the new Activity and a name for the layout description of your app. The .xml file for the layout will automatically be created in the res/layout folder. It will also be created a fragment layout xml, that we are not going to use in this project and you can remove it if you want. Then press Finish.
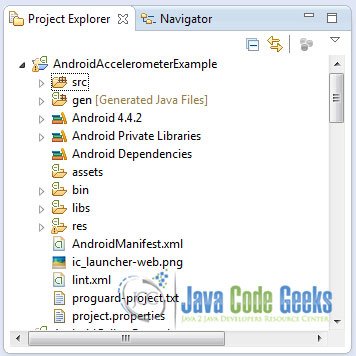
You can see the structure of the project:
2. Creating the layout of the main Activity
We are going to make a very simple layout xml for our activity, that only consists of a LinearLayout that contains the TextViews for the labels and the values of the maximum acceleration values, and three LinearLayouts that contain the TextViews for the labels and the values of the current acceleration values.
Open res/layout/activity_main.xml, go to the respective xml tab and paste the following:
activity_main.xml
<?xml version="1.0" encoding="utf-8"?>
<LinearLayout xmlns:android="http://schemas.android.com/apk/res/android"
    android:layout_width="match_parent"
    android:layout_height="match_parent"
    android:layout_gravity="center"
    android:background="#ffffff"
    android:gravity="center"
    android:orientation="vertical"
    android:paddingTop="20dp" >

    <TextView
        android:layout_width="wrap_content"
        android:layout_height="wrap_content"
        android:layout_gravity="center"
        android:layout_marginBottom="10dp"
        android:text="Max Acceleration:"
        android:textSize="20dp" />

    <TextView
        android:layout_width="wrap_content"
        android:layout_height="wrap_content"
        android:layout_gravity="center"
        android:layout_marginTop="20dp"
        android:text="Max Acceleration: X-Axis"
        android:textSize="15dp" />

    <TextView
        android:id="@+id/maxX"
        android:layout_width="wrap_content"
        android:layout_height="wrap_content"
        android:layout_gravity="center"
        android:layout_marginTop="10dp"
        android:text="0.0"
        android:textSize="20dp" />

    <TextView
        android:layout_width="wrap_content"
        android:layout_height="wrap_content"
        android:layout_gravity="center"
        android:layout_marginTop="20dp"
        android:text="Max Acceleration: Y-Axis"
        android:textSize="15dp" />

    <TextView
        android:id="@+id/maxY"
        android:layout_width="wrap_content"
        android:layout_height="wrap_content"
        android:layout_gravity="center"
        android:layout_marginTop="10dp"
        android:text="0.0"
        android:textSize="20dp" />

    <TextView
        android:layout_width="wrap_content"
        android:layout_height="wrap_content"
        android:layout_gravity="center"
        android:layout_marginTop="20dp"
        android:text="Max Acceleration: Z-Axis"
        android:textSize="15dp" />

    <TextView
        android:id="@+id/maxZ"
        android:layout_width="wrap_content"
        android:layout_height="wrap_content"
        android:layout_gravity="center"
        android:layout_marginTop="10dp"
        android:text="0.0"
        android:textSize="20dp" />

    <TextView
        android:layout_width="wrap_content"
        android:layout_height="wrap_content"
        android:layout_gravity="center"
        android:layout_marginBottom="10dp"
        android:layout_marginTop="30dp"
        android:text="Current Acceleration:"
        android:textSize="20dp" />

    <LinearLayout
        android:layout_width="match_parent"
        android:layout_height="match_parent"
        android:background="#ffffff"
        android:gravity="center|top"
        android:orientation="horizontal" >

        <LinearLayout
            android:layout_width="0dp"
            android:layout_height="wrap_content"
            android:layout_weight="0.33"
            android:background="#ffffff"
            android:gravity="center"
            android:orientation="vertical" >

            <TextView
                android:layout_width="wrap_content"
                android:layout_height="wrap_content"
                android:layout_gravity="center"
                android:layout_marginTop="10dp"
                android:text="X-Axis"
                android:textSize="15dp" />

            <TextView
                android:id="@+id/currentX"
                android:layout_width="wrap_content"
                android:layout_height="wrap_content"
                android:layout_gravity="center"
                android:layout_marginTop="10dp"
                android:text="0.0"
                android:textSize="15dp" />
        </LinearLayout>

        <LinearLayout
            android:layout_width="0dp"
            android:layout_height="wrap_content"
            android:layout_weight="0.33"
            android:background="#ffffff"
            android:gravity="center"
            android:orientation="vertical" >

            <TextView
                android:layout_width="wrap_content"
                android:layout_height="wrap_content"
                android:layout_gravity="center"
                android:layout_marginTop="10dp"
                android:text="Y-Axis"
                android:textSize="15dp" />

            <TextView
                android:id="@+id/currentY"
                android:layout_width="wrap_content"
                android:layout_height="wrap_content"
                android:layout_gravity="center"
                android:layout_marginTop="10dp"
                android:text="0.0"
                android:textSize="15dp" />
        </LinearLayout>

        <LinearLayout
            android:layout_width="0dp"
            android:layout_height="wrap_content"
            android:layout_weight="0.33"
            android:background="#ffffff"
            android:gravity="center"
            android:orientation="vertical" >

            <TextView
                android:layout_width="wrap_content"
                android:layout_height="wrap_content"
                android:layout_gravity="center"
                android:layout_marginTop="10dp"
                android:text="Z-Axis"
                android:textSize="15dp" />

            <TextView
                android:id="@+id/currentZ"
                android:layout_width="wrap_content"
                android:layout_height="wrap_content"
                android:layout_gravity="center"
                android:layout_marginTop="10dp"
                android:text="0.0"
                android:textSize="15dp" />
        </LinearLayout>
    </LinearLayout>

</LinearLayout>
3. Creating the source code of the main Activity
Open src/com.javacodegeeks.androidaccelerometerexample/AndroidVideoViewExample.java file and paste the code below.
AndroidAccelerometerExample .java
package com.javacodegeeks.androidaccelerometerexample;

import android.app.Activity;
import android.content.Context;
import android.hardware.Sensor;
import android.hardware.SensorEvent;
import android.hardware.SensorEventListener;
import android.hardware.SensorManager;
import android.os.Bundle;
import android.os.Vibrator;
import android.widget.TextView;

public class AndroidAccelerometerExample extends Activity implements SensorEventListener {

	private float lastX, lastY, lastZ;

	private SensorManager sensorManager;
	private Sensor accelerometer;

	private float deltaXMax = 0;
	private float deltaYMax = 0;
	private float deltaZMax = 0;

	private float deltaX = 0;
	private float deltaY = 0;
	private float deltaZ = 0;

	private float vibrateThreshold = 0;

	private TextView currentX, currentY, currentZ, maxX, maxY, maxZ;

	public Vibrator v;

	@Override
	public void onCreate(Bundle savedInstanceState) {
		super.onCreate(savedInstanceState);
		setContentView(R.layout.activity_main);
		initializeViews();

		sensorManager = (SensorManager) getSystemService(Context.SENSOR_SERVICE);
		if (sensorManager.getDefaultSensor(Sensor.TYPE_ACCELEROMETER) != null) {
			// success! we have an accelerometer

			accelerometer = sensorManager.getDefaultSensor(Sensor.TYPE_ACCELEROMETER);
			sensorManager.registerListener(this, accelerometer, SensorManager.SENSOR_DELAY_NORMAL);
			vibrateThreshold = accelerometer.getMaximumRange() / 2;
		} else {
			// fai! we dont have an accelerometer!
		}

		//initialize vibration
		v = (Vibrator) this.getSystemService(Context.VIBRATOR_SERVICE);

	}

	public void initializeViews() {
		currentX = (TextView) findViewById(R.id.currentX);
		currentY = (TextView) findViewById(R.id.currentY);
		currentZ = (TextView) findViewById(R.id.currentZ);

		maxX = (TextView) findViewById(R.id.maxX);
		maxY = (TextView) findViewById(R.id.maxY);
		maxZ = (TextView) findViewById(R.id.maxZ);
	}

	//onResume() register the accelerometer for listening the events
	protected void onResume() {
		super.onResume();
		sensorManager.registerListener(this, accelerometer, SensorManager.SENSOR_DELAY_NORMAL);
	}

	//onPause() unregister the accelerometer for stop listening the events
	protected void onPause() {
		super.onPause();
		sensorManager.unregisterListener(this);
	}

	@Override
	public void onAccuracyChanged(Sensor sensor, int accuracy) {

	}

	@Override
	public void onSensorChanged(SensorEvent event) {

		// clean current values
		displayCleanValues();
		// display the current x,y,z accelerometer values
		displayCurrentValues();
		// display the max x,y,z accelerometer values
		displayMaxValues();

		// get the change of the x,y,z values of the accelerometer
		deltaX = Math.abs(lastX - event.values[0]);
		deltaY = Math.abs(lastY - event.values[1]);
		deltaZ = Math.abs(lastZ - event.values[2]);

		// if the change is below 2, it is just plain noise
		if (deltaX < 2)
			deltaX = 0;
		if (deltaY < 2)
			deltaY = 0;
		if (deltaZ  vibrateThreshold) || (deltaY > vibrateThreshold) || (deltaZ > vibrateThreshold)) {
			v.vibrate(50);
		}
	}

	public void displayCleanValues() {
		currentX.setText("0.0");
		currentY.setText("0.0");
		currentZ.setText("0.0");
	}

	// display the current x,y,z accelerometer values
	public void displayCurrentValues() {
		currentX.setText(Float.toString(deltaX));
		currentY.setText(Float.toString(deltaY));
		currentZ.setText(Float.toString(deltaZ));
	}

	// display the max x,y,z accelerometer values
	public void displayMaxValues() {
		if (deltaX > deltaXMax) {
			deltaXMax = deltaX;
			maxX.setText(Float.toString(deltaXMax));
		}
		if (deltaY > deltaYMax) {
			deltaYMax = deltaY;
			maxY.setText(Float.toString(deltaYMax));
		}
		if (deltaZ > deltaZMax) {
			deltaZMax = deltaZ;
			maxZ.setText(Float.toString(deltaZMax));
		}
	}
}
Let’s see in detail the code above.
We set the activity_main.xml layout and we initialize our basic views by:
setContentView(R.layout.activity_main);
initializeViews();
Then, we want to check if our device supports the accelerometer sensor, and can run the specific service. If our device supports accerelometer, we initialize our sensorManager in order to bind the sensor to listen to the accelerometer events. So, we register a specific listener to catch the events by writing in the onCreate() method the following lines:
		sensorManager = (SensorManager) getSystemService(Context.SENSOR_SERVICE);
		if (sensorManager.getDefaultSensor(Sensor.TYPE_ACCELEROMETER) != null) {
			// success! we have an accelerometer

			accelerometer = sensorManager.getDefaultSensor(Sensor.TYPE_ACCELEROMETER);
			sensorManager.registerListener(this, accelerometer, SensorManager.SENSOR_DELAY_NORMAL);
			vibrateThreshold = accelerometer.getMaximumRange() / 2;
		} else {
			// fai! we dont have an accelerometer!
		}
Generally, we do not want these kind of listeners to run to our device continually, because most of the times they appear to be energy and cpu consuming, so we are going to unregister our listener onPause() of our activity, and then register them back on, onResume() of our activity. So, we have to add:
	//onResume() register the accelerometer for listening the events
	protected void onResume() {
		super.onResume();
		sensorManager.registerListener(this, accelerometer, SensorManager.SENSOR_DELAY_NORMAL);
	}
	//onPause() unregister the accelerometer for stop listening the events
	protected void onPause() {
		super.onPause();
		sensorManager.unregisterListener(this);
	}
We, have now come to the point, that we should get the accelerometer events, and use them. We are going to get the x,z,y events, by using the event.values[0], event.values[1], event.values[2] accordingly. In fact, we want to save the difference between the values of two consecutive events, because this is metric that is going to show us, if we have shaked or tilted our mobile device. We have also to keep in mind, that this change might be almost impercetible for our human sences, but our mobile device will calculate even the slightest diffence, so we have to set a low threshold value, that will be considered as noise, and therefore will not be calculated by our device.
	@Override
	public void onSensorChanged(SensorEvent event) {

		// clean current values
		displayCleanValues();
		// display the current x,y,z accelerometer values
		displayCurrentValues();
		// display the max x,y,z accelerometer values
		displayMaxValues();

		// get the change of the x,y,z values of the accelerometer
		deltaX = Math.abs(lastX - event.values[0]);
		deltaY = Math.abs(lastY - event.values[1]);
		deltaZ = Math.abs(lastZ - event.values[2]);

		// if the change is below 2, it is just plain noise
		if (deltaX < 2)
			deltaX = 0;
		if (deltaY < 2)
			deltaY = 0;
		if (deltaZ < 2)
			deltaZ = 0;

		// set the last know values of x,y,z
		lastX = event.values[0];
		lastY = event.values[1];
		lastZ = event.values[2];

		vibrate();
	}
Our device will now vibrate, if we shake it enough! This will happen, only if we add in our code the line:
	// if the change in the accelerometer value is big enough, then vibrate!
	// our threshold is MaxValue/2
	public void vibrate() {
		if ((deltaX > vibrateThreshold) || (deltaY > vibrateThreshold) || (deltaZ > vibrateThreshold)) {
			v.vibrate(50);
		}
	}
4. Android Manifest
In order to enable the vibration feature, we have to grant permission to our application to use vibration. So, we have to add in the AndroidManifest.xml the following line: <uses-permission android:name="android.permission.VIBRATE" />"
We have also blocked our orientation to portait by adding the line: android:screenOrientation="portrait"
AndroidManifest.xml
<?xml version="1.0" encoding="utf-8"?>
<manifest xmlns:android="http://schemas.android.com/apk/res/android"
    package="com.javacodegeeks.androidaccelerometerexample"
    android:versionCode="1"
    android:versionName="1.0" >

    <uses-sdk
        android:minSdkVersion="8"
        android:targetSdkVersion="19" />

    <uses-permission android:name="android.permission.VIBRATE" />

    <application
        android:allowBackup="true"
        android:icon="@drawable/ic_launcher"
        android:label="@string/app_name" >
        <activity
            android:name="com.javacodegeeks.androidaccelerometerexample.AndroidAccelerometerExample"
            android:configChanges="keyboardHidden|orientation|screenSize"
            android:label="@string/app_name"
            android:screenOrientation="portrait" >
            <intent-filter>
                <action android:name="android.intent.action.MAIN" />

                <category android:name="android.intent.category.LAUNCHER" />
            </intent-filter>
        </activity>
    </application>

</manifest>
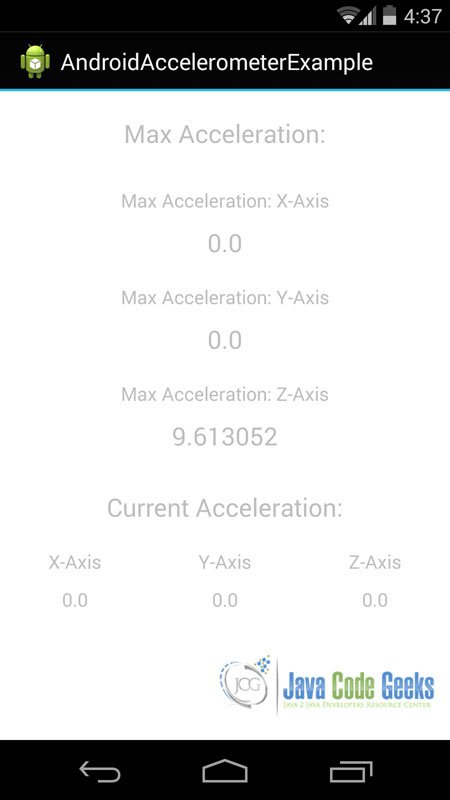
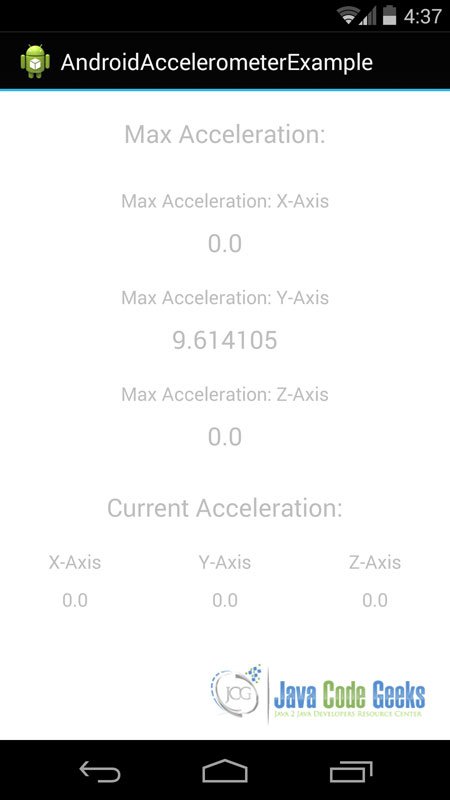
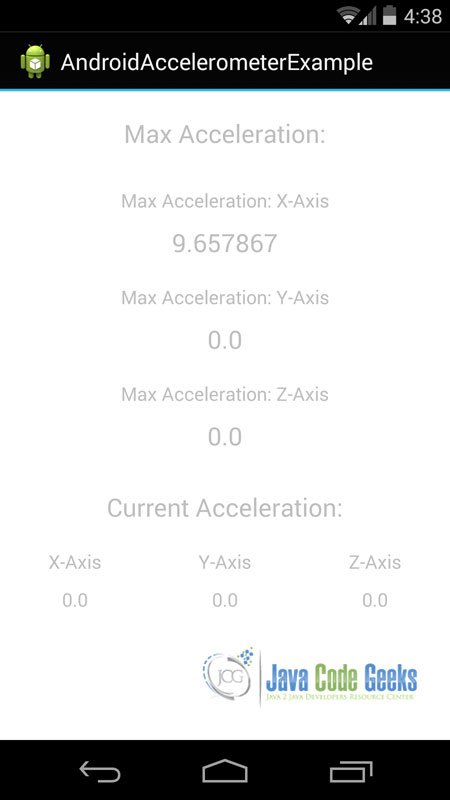
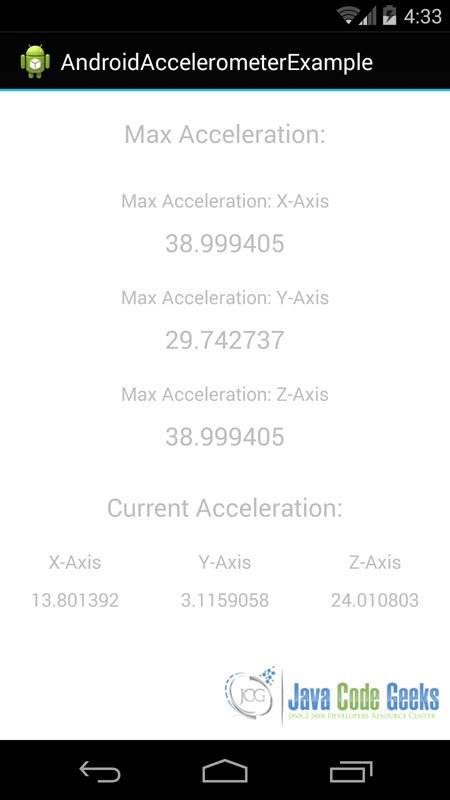
5. Build, compile and run
When we build, compile and run our project, the main Activity should look like this:
Download the Eclipse Project
This was an example of Android Accelerometer.
You can download the full source code of this example here: AndroidAccelerometerExample.zip

woowwww… what a great tutorial.. its working like a magic. thanks in advance… coolllllllllllll
Awesome
nic presentation on accelerometer. thanks you !
hello, first i wanted to say that this is a very good and claer tutorial thankyou :)
but i have a question,why when i run the emulator, i cant find the app on it?