Android provides a set of APIs for 2D-drawing that allow you to render your custom graphics on a canvas or modify the existing Views. When drawing 2D graphics, you have two choices to work with:
- Draw your graphics or animations into a View object from your layout. In this way, the drawing of your graphics is handled by the system’s normal View hierarchy drawing process and you simply define the graphics to go inside the View.
- Draw your graphics directly to a Canvas. This way, you personally call the appropriate class’s onDraw() method (passing it Canvas), or one of the Canvas draw…() methods. In doing so, you are also in control of any animation.
When we have an activity that uses 2d graphics, such a video game application, drawing to a Canvas, is the best way to work with, as our application will meet the need to regularly re-draw itself. For such an application, we can work our graphics either on the same thread, the UI Activity thread, and create custom Canvas View components in your layout, or work on a separate thread, meaning that we will work on a SurfaceView and perform draws to the canvas in a faster way.
In this example, we are going to see the use of Android Canvas on the UI Activity thread, and we are going to make a custom component, in order to achieve a small finger-drawing application. You can also read about Canvas and Drawables from the Android Developers Guide
For our example will use the following tools in a Windows 64-bit or an OS X platform:
- JDK 1.7
- Eclipse 4.2 Juno
- Android SDK 4.4.2
Let’s take a closer look:
1. Create a New Android Application Project
You may skip project creation and jump directly to the beginning of the example below.
Open Eclipse IDE and go to File → New → Project → Android Application Project.
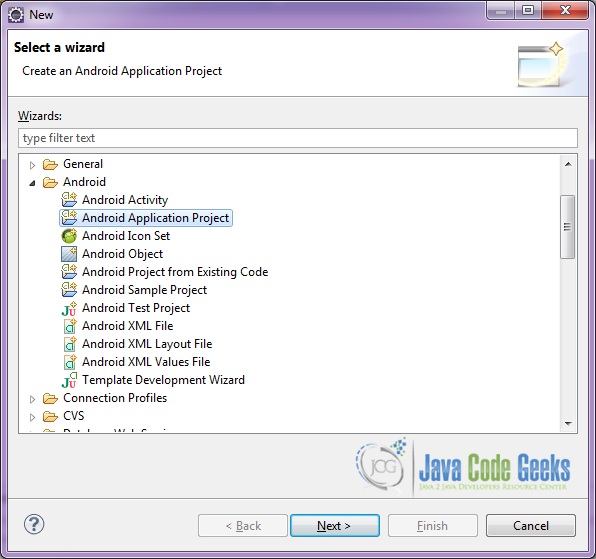
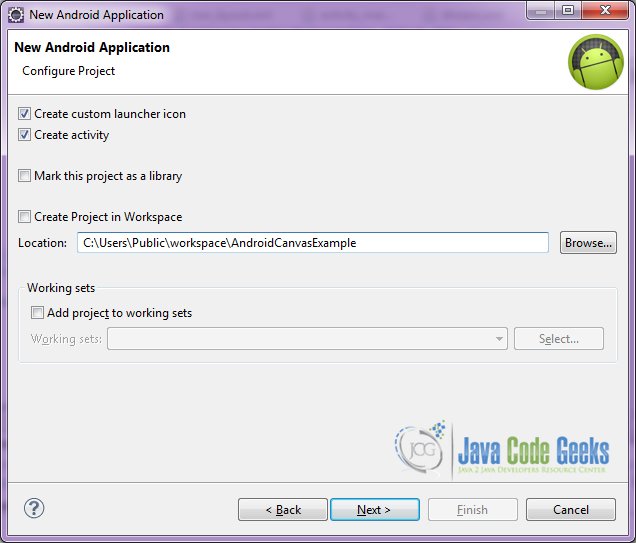
Specify the name of the application, the project and the package and then click Next.

In the next window, the “Create Activity” option should be checked. The new created activity will be the main activity of your project. Then press Next button.
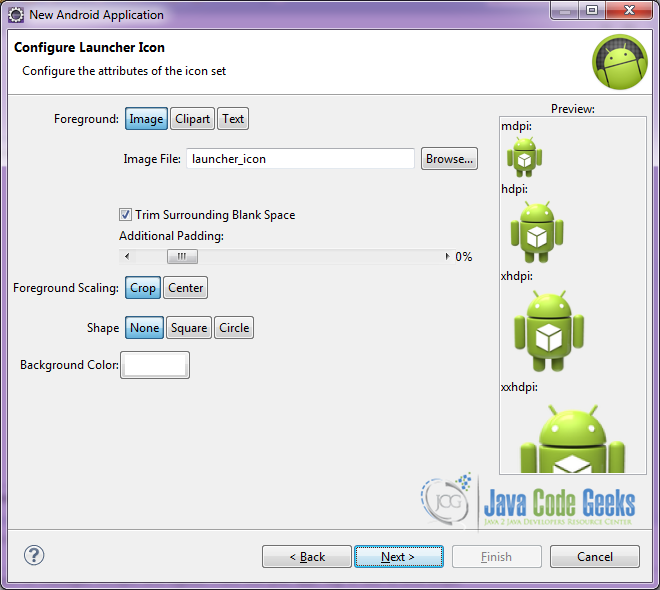
In “Configure Launcher Icon” window you should choose the icon you want to have in your app. We will use the default icon of android, so click Next.
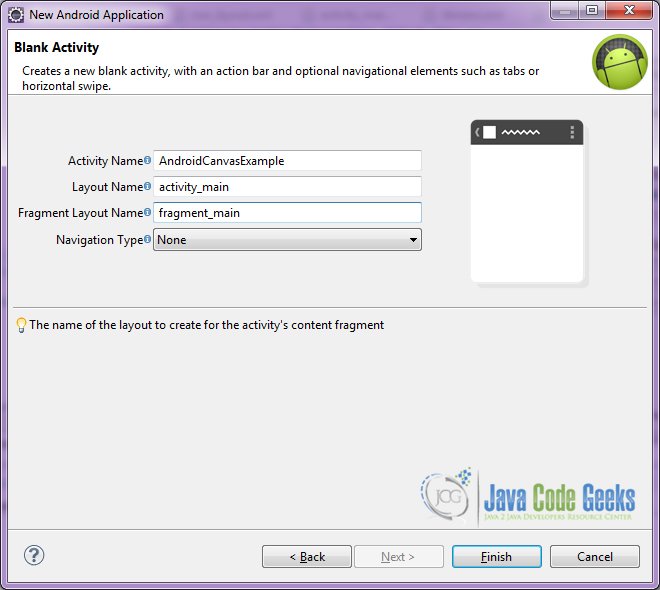
Select the “Blank Activity” option and press Next.
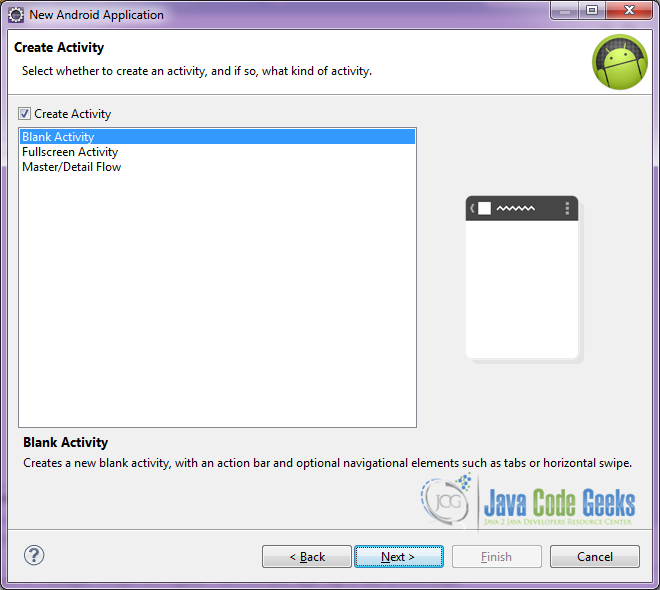
You have to specify a name for the new Activity and a name for the layout description of your app. The .xml file for the layout will automatically be created in the res/layout folder. It will also be created a fragment layout xml, that we are not going to use in this project and you can remove it if you want. Then press Finish.
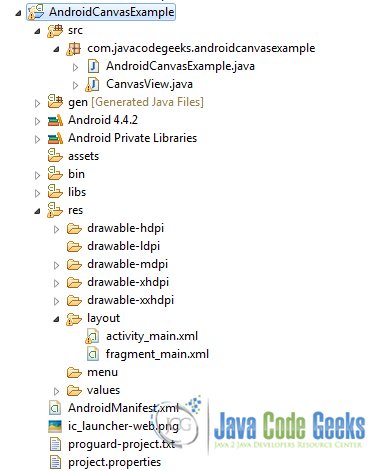
Here you can see, how will the structure of the project become when finished:
2. Creating the layout of the main AndroidCanvasExample
We are going to make a very simple layout xml for the AndroidCanvasExample.class, that only consists of a FrameLayout that contains the custom CanvasView, the component from the custom class we are going to make in the lines below. He have chosen the FrameLayout for our external layout, because we want to add a “Clear Button” that will clear, invalidate and empty our canvas. This FrameLayout helped us add the Button above the canvas, like placing it on a seperate layout on top.
Open res/layout/activity_main.xml, go to the respective xml tab and paste the following:
activity_main.xml
<?xml version="1.0" encoding="utf-8"?>
<FrameLayout xmlns:android="http://schemas.android.com/apk/res/android"
    xmlns:custom="http://schemas.android.com/apk/res-auto"
    xmlns:app="http://schemas.android.com/apk/res-auto"
    android:layout_width="match_parent"
    android:layout_height="match_parent"
    android:background="#FFFFFF"
    android:orientation="vertical" >

    <com.javacodegeeks.androidcanvasexample.CanvasView
        android:id="@+id/signature_canvas"
        android:layout_width="match_parent"
        android:layout_height="match_parent"
        android:textColor="#FFFFFF" />

    <Button
        android:id="@+id/button1"
        android:layout_width="wrap_content"
        android:layout_height="wrap_content"
        android:layout_gravity="bottom|center"
        android:onClick="clearCanvas"
        android:text="Clear Canvas" />

</FrameLayout>
3. Creating the source code of the main AndroidCanvasExample Activity
Open src/com.javacodegeeks.androidcanvasexample/AndroidCanvasExample.java file and paste the code below.
AndroidCanvasExample.java
package com.javacodegeeks.androidcanvasexample;

import android.app.Activity;
import android.os.Bundle;
import android.view.View;

public class AndroidCanvasExample extends Activity {

	private CanvasView customCanvas;

	@Override
	protected void onCreate(Bundle savedInstanceState) {
		super.onCreate(savedInstanceState);
		setContentView(R.layout.activity_main);

		customCanvas = (CanvasView) findViewById(R.id.signature_canvas);
	}

	public void clearCanvas(View v) {
		customCanvas.clearCanvas();
	}

}
This activity is just a simple helper activity, it only includes the layout in which we have added our custom CanvasView.

4. Creating the source code of the CanvasView
Open src/com.javacodegeeks.androidcanvasexample/CanvasView.java file and paste the code below.
CanvasView.java
package com.javacodegeeks.androidcanvasexample;

import android.content.Context;
import android.graphics.Bitmap;
import android.graphics.Canvas;
import android.graphics.Color;
import android.graphics.Paint;
import android.graphics.Path;
import android.util.AttributeSet;
import android.view.MotionEvent;
import android.view.View;

public class CanvasView extends View {

	public int width;
	public int height;
	private Bitmap mBitmap;
	private Canvas mCanvas;
	private Path mPath;
	Context context;
	private Paint mPaint;
	private float mX, mY;
	private static final float TOLERANCE = 5;

	public CanvasView(Context c, AttributeSet attrs) {
		super(c, attrs);
		context = c;

		// we set a new Path
		mPath = new Path();

		// and we set a new Paint with the desired attributes
		mPaint = new Paint();
		mPaint.setAntiAlias(true);
		mPaint.setColor(Color.BLACK);
		mPaint.setStyle(Paint.Style.STROKE);
		mPaint.setStrokeJoin(Paint.Join.ROUND);
		mPaint.setStrokeWidth(4f);
	}

	// override onSizeChanged
	@Override
	protected void onSizeChanged(int w, int h, int oldw, int oldh) {
		super.onSizeChanged(w, h, oldw, oldh);

		// your Canvas will draw onto the defined Bitmap
		mBitmap = Bitmap.createBitmap(w, h, Bitmap.Config.ARGB_8888);
		mCanvas = new Canvas(mBitmap);
	}

	// override onDraw
	@Override
	protected void onDraw(Canvas canvas) {
		super.onDraw(canvas);
		// draw the mPath with the mPaint on the canvas when onDraw
		canvas.drawPath(mPath, mPaint);
	}

	// when ACTION_DOWN start touch according to the x,y values
	private void startTouch(float x, float y) {
		mPath.moveTo(x, y);
		mX = x;
		mY = y;
	}

	// when ACTION_MOVE move touch according to the x,y values
	private void moveTouch(float x, float y) {
		float dx = Math.abs(x - mX);
		float dy = Math.abs(y - mY);
		if (dx >= TOLERANCE || dy >= TOLERANCE) {
			mPath.quadTo(mX, mY, (x + mX) / 2, (y + mY) / 2);
			mX = x;
			mY = y;
		}
	}

	public void clearCanvas() {
		mPath.reset();
		invalidate();
	}

	// when ACTION_UP stop touch
	private void upTouch() {
		mPath.lineTo(mX, mY);
	}

	//override the onTouchEvent
	@Override
	public boolean onTouchEvent(MotionEvent event) {
		float x = event.getX();
		float y = event.getY();

		switch (event.getAction()) {
		case MotionEvent.ACTION_DOWN:
			startTouch(x, y);
			invalidate();
			break;
		case MotionEvent.ACTION_MOVE:
			moveTouch(x, y);
			invalidate();
			break;
		case MotionEvent.ACTION_UP:
			upTouch();
			invalidate();
			break;
		}
		return true;
	}
}
Lets see the code above in detail.
In this code snippet, we set up a new Canvas. This canvas will draw onto the defined Bitmap.
	@Override
	protected void onSizeChanged(int w, int h, int oldw, int oldh) {
		super.onSizeChanged(w, h, oldw, oldh);
		mBitmap = Bitmap.createBitmap(w, h, Bitmap.Config.ARGB_8888);
		mCanvas = new Canvas(mBitmap);
	}
Here, we get the x and y event coordinates in order to make our path moves.
	@Override
	public boolean onTouchEvent(MotionEvent event) {
		float x = event.getX();
		float y = event.getY();

		switch (event.getAction()) {
		case MotionEvent.ACTION_DOWN:
			startTouch(x, y);
			invalidate();
			break;
		case MotionEvent.ACTION_MOVE:
			moveTouch(x, y);
			invalidate();
			break;
		case MotionEvent.ACTION_UP:
			upTouch();
			invalidate();
			break;
		}
		return true;
	}
We transform the x,y event coordinates into path moves.
	private void moveTouch(float x, float y) {
		float dx = Math.abs(x - mX);
		float dy = Math.abs(y - mY);
		if (dx >= TOLERANCE || dy >= TOLERANCE) {
			mPath.quadTo(mX, mY, (x + mX) / 2, (y + mY) / 2);
			mX = x;
			mY = y;
		}
	}
And by overriding the onDraw event, we draw our path onto the canvas.
	// override onDraw
	@Override
	protected void onDraw(Canvas canvas) {
		super.onDraw(canvas);
		canvas.drawPath(mPath, mPaint);
	}
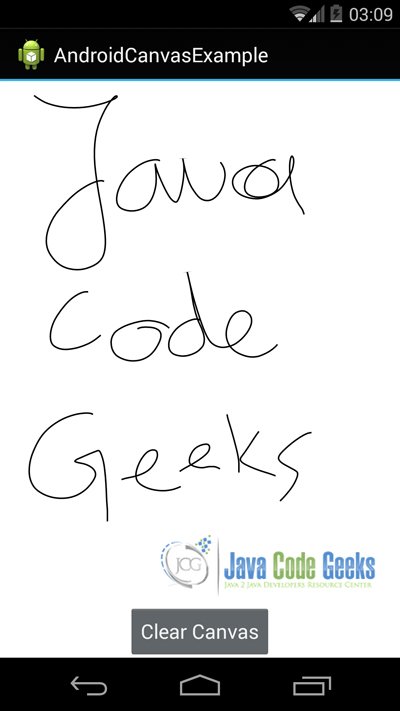
5. Build, compile and run
When we build, compile and run our project, the main AndroidCanvasExample should look like this:
Download the Eclipse Project
This was an example of Android AndroidCanvasExample.
You can download the full source code of this example here: AndroidCanvasExample.zip

Hi! Could you please help me understand something? Why did you create a new Bitmap and Canvas on the onSizeChanged() callback? Nothing seems to be using mCanvas… onDraw() is drawing straight to the preexisting view canvas, isn’t it?
Thanks!
“In order to properly draw your custom view, you need to know what size it is…onSizeChanged() is called when your view is first assigned a size, and again if the size of your view changes for any reason. Calculate positions, dimensions, and any other values related to your view’s size in onSizeChanged(), instead of recalculating them every time you draw”
Link: https://developer.android.com/training/custom-views/custom-drawing.html. Handle Layout Events Section.
Thanks a lot, this is work 100%
Hi, tnx for the explaining.
May be you can answer me, how can i use in my “class extend View”, ImageView from MainActivity
Wrong question: I override the onSizeChange method, but when i try to draw for example a rectangle, i do not see it on my screen, appreciate for help
my god this is why I don’t prefer Java all I wanted was a simple code example to be able to draw a line on a canvas good lord ooooooooffffffff. I m glad it works for everyone else but geeez . Can we get simple ?
Works as advertised. Thanks!