In Android programming, storing data into a database is not a common practice, as we have other and most suitable methods to store our data, such as the SharedPreferences way. However, we do have a very strong tool, that can help our Android Application communicate with a database, and this is SQLite. SQLite is an Open Source Database for structured data in relational databases. It is embedded in Android, to you don’t have to do anything special to set up or administer an SQLite server.
So, when we want to interact with a database, inside an Android Application, we have to grant our Activity with the right to random read-write access to the contents of this database. For this reason, Android has the Cursor interface, that provides random read-write access to the result set returned by a database query.
In this example, we will see a very easy and common use of the Cursor class, in a SQLite example.
For our example will use the following tools in a Windows 64-bit or an OS X platform:
- JDK 1.7
- Eclipse 4.2 Juno
- Android SDK 4.4.2
Let’s take a closer look:
1. Create a New Android Application Project
You may skip project creation and jump directly to the beginning of the example below.
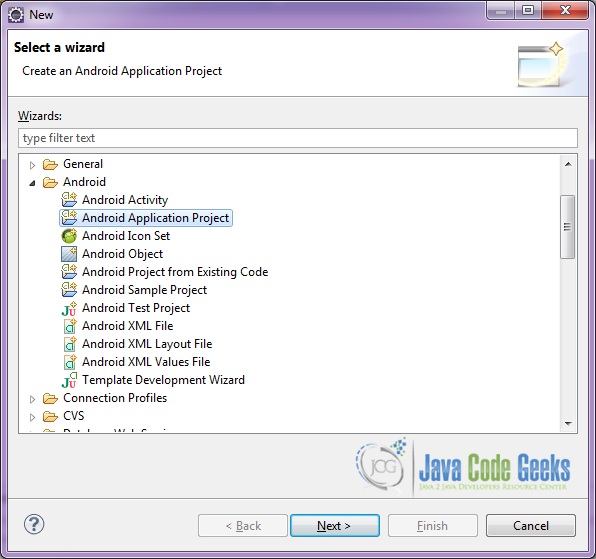
Open Eclipse IDE and go to File → New → Project → Android Application Project.
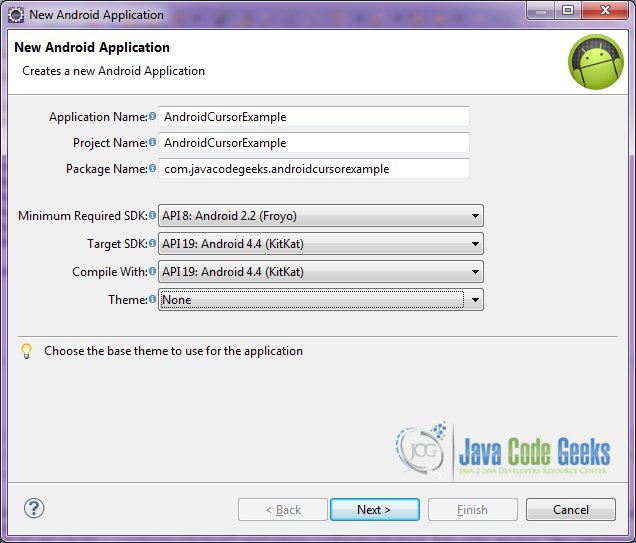
Specify the name of the application, the project and the package and then click Next.
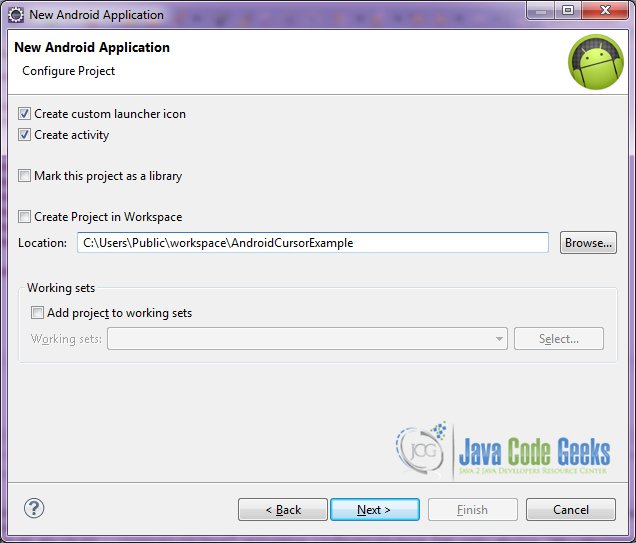
In the next window, the “Create Activity” option should be checked. The new created activity will be the main activity of your project. Then press Next button.
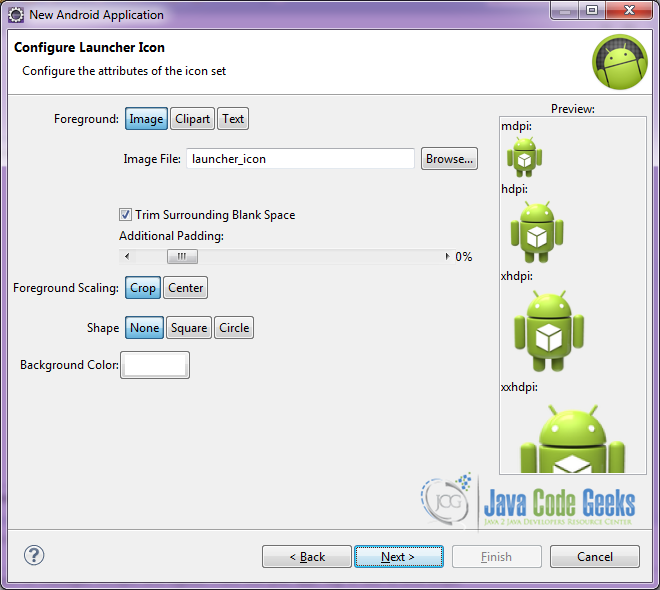
In “Configure Launcher Icon” window you should choose the icon you want to have in your app. We will use the default icon of android, so click Next.
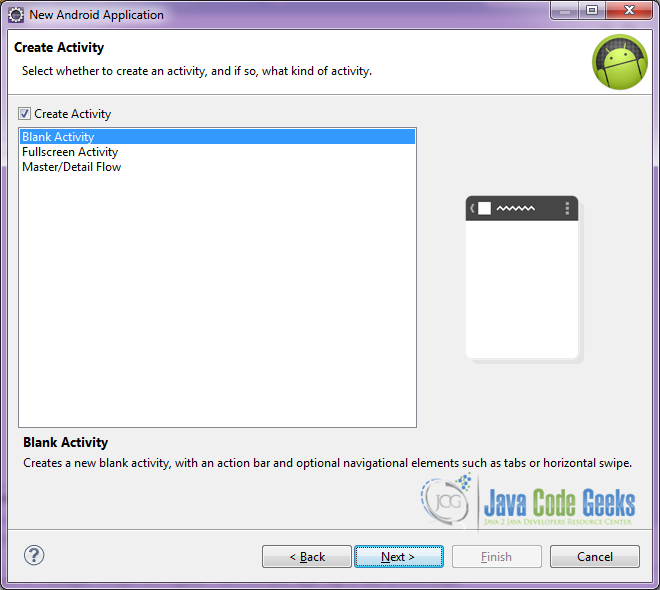
Select the “Blank Activity” option and press Next.
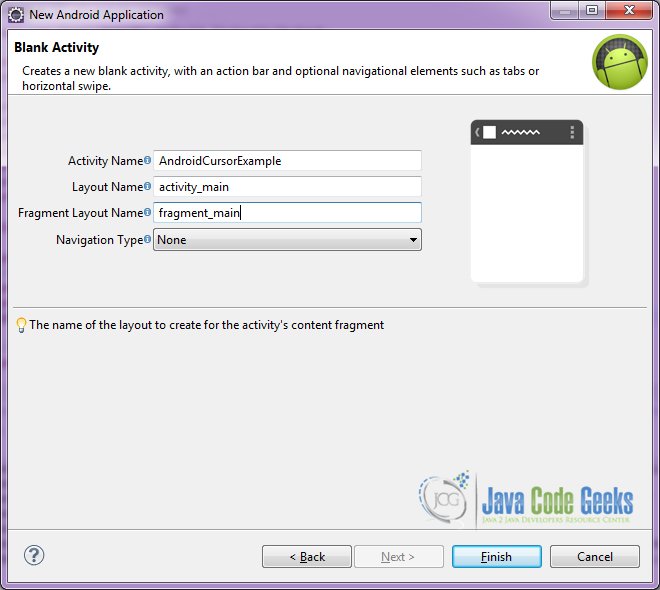
You have to specify a name for the new Activity and a name for the layout description of your app. The .xml file for the layout will automatically be created in the res/layout folder. It will also be created a fragment layout xml, that we are not going to use in this project and you can remove it if you want. Then press Finish.
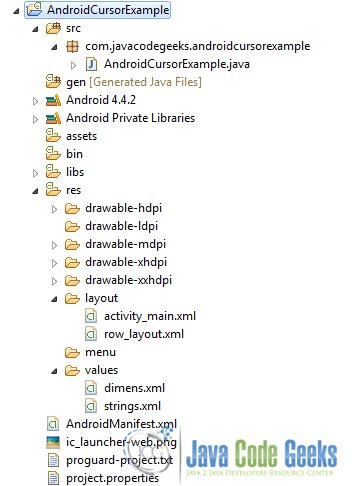
Here you can see, how will the structure of the project become when finished:
2. Creating the layout of the main AndroidCursorExample
We are going to make a very simple layout xml for the AndroidCursorExample.class, that only consists of a LinearLayout that contains the one ListView.
Open res/layout/activity_main.xml, go to the respective xml tab and paste the following:
activity_main.xml
<LinearLayout xmlns:android="http://schemas.android.com/apk/res/android"
    xmlns:tools="http://schemas.android.com/tools"
    android:layout_width="match_parent"
    android:layout_height="match_parent"
    android:background="#ffffff"
    android:orientation="vertical" >

    <ListView
        android:id="@android:id/list"
        android:layout_width="match_parent"
        android:layout_height="wrap_content" >
    </ListView>

</LinearLayout>
3. Creating the source code of the main AndroidCursorExample Activity
Open src/com.javacodegeeks.androidcursorexample/AndroidCursorExample.java file and paste the code below.
AndroidCursorExample.java
package com.javacodegeeks.androidcursorexample;

import java.util.ArrayList;
import java.util.List;

import android.app.ListActivity;
import android.database.Cursor;
import android.database.sqlite.SQLiteDatabase;
import android.database.sqlite.SQLiteException;
import android.os.Bundle;
import android.widget.ArrayAdapter;
import android.widget.Toast;

public class AndroidCursorExample extends ListActivity {

	private List bookTitles;
	// DB name
	private final String dbName = "Android";
	private static SQLiteDatabase sqliteDB = null;
	private ArrayAdapter myAdapter;

	// this is the table name
	private final String tableName = "BestSellers";

	// this is the bookTitle Array that will be entered in our SQLite Table
	private final String[] bookTitle = new String[] { "The Great Gatsby", "The Grapes of Wrath", "Invisible Man", "Gone with the Wind", "Pride and Prejudice", "Wuthering Heights", "The Color Purple", "Midnights Children", "Mrs Dalloway", "War and Peace" };

	@Override
	protected void onCreate(Bundle savedInstanceState) {
		super.onCreate(savedInstanceState);

		// set our main layout
		setContentView(R.layout.activity_main);

		// set the ArrayAdapter for the result list
		bookTitles = new ArrayList();
		myAdapter = new ArrayAdapter(this, R.layout.row_layout, R.id.listText, bookTitles);
		ArrayList results = new ArrayList();

		// Declare SQLiteDatabase object
		sqliteDB = null;

		try {
			// open or create the sqlite database
			sqliteDB = this.openOrCreateDatabase(dbName, MODE_PRIVATE, null);
			// execute the query
			sqliteDB.execSQL("CREATE TABLE IF NOT EXISTS " + tableName + " (bookTitle VARCHAR);");
			// insert bookTitle Array versions into table created
			for (String ver : bookTitle) {
				sqliteDB.execSQL("INSERT INTO " + tableName + " Values ('" + ver + "');");
			}

			// create Cursor in order to parse our sqlite results
			Cursor cursor = sqliteDB.rawQuery("SELECT bookTitle FROM " + tableName, null);
			// if Cursor is contains results
			if (cursor != null) {
				// move cursor to first row
				if (cursor.moveToFirst()) {
					do {
						// Get version from Cursor
						String bookName = cursor.getString(cursor.getColumnIndex("bookTitle"));

						// add the bookName into the bookTitles ArrayList
						bookTitles.add(bookName);
						// move to next row
					} while (cursor.moveToNext());
				}
			}
			// initiate the listadapter
			myAdapter = new ArrayAdapter(this, R.layout.row_layout, R.id.listText, bookTitles);

			// assign the list adapter
			setListAdapter(myAdapter);

		} catch (SQLiteException se) {
			Toast.makeText(getApplicationContext(), "Error creating the database", Toast.LENGTH_LONG).show();
		} finally {
			if (sqliteDB != null) {
				sqliteDB.execSQL("DELETE FROM " + tableName);
				sqliteDB.close();
			}
		}
	}
}
Let’s see in detail the code above.

We set the activity_main.xml layout and we initialize our main layout by:
setContentView(R.layout.activity_main);
Here, we instanciate the bookTitle Array that will be entered in our SQLite Table, and contains our data.
private final String[] bookTitle = new String[] { "The Great Gatsby", "The Grapes of Wrath", "Invisible Man", "Gone with the Wind", "Pride and Prejudice", "Wuthering Heights", "The Color Purple", "Midnights Children", "Mrs Dalloway", "War and Peace" };This is how we set our ArrayAdapter that will fill the List with results in our layout.
bookTitles = new ArrayList();
myAdapter = new ArrayAdapter(this, R.layout.row_layout, R.id.listText, bookTitles);
ArrayList results = new ArrayList();
In this code snipped, we open or create the sqlite database, and we try to execute our query to the database. We have to insert every book from our given array into the table.
sqliteDB = this.openOrCreateDatabase(dbName, MODE_PRIVATE, null);
sqliteDB.execSQL("CREATE TABLE IF NOT EXISTS " + tableName + " (bookTitle VARCHAR);");
for (String ver : bookTitle) {
         sqliteDB.execSQL("INSERT INTO " + tableName + " Values ('" + ver + "');");
}
Here we create a cursor in order to parse our Sqlite results and if our cursor is contains results, we move the cursor to first row and we get the specific first result. Later we add this result row into the array that we will display in our layout. We continue the iteration, until all cursor results are parsed.
Cursor cursor = sqliteDB.rawQuery("SELECT bookTitle FROM " + tableName, null);
if (cursor != null) {
    if (cursor.moveToFirst()) {
        do {
            String bookName = cursor.getString(cursor.getColumnIndex("bookTitle"));
            bookTitles.add(bookName);
        } while (cursor.moveToNext());
     }
}
4. Android Manifest
The AndroidManifest.xml of our project is simple and basic:
AndroidManifest.xml
  <?xml version="1.0" encoding="utf-8"?>
<manifest xmlns:android="http://schemas.android.com/apk/res/android"
    package="com.javacodegeeks.androidcursorexample"
    android:versionCode="1"
    android:versionName="1.0" >

    <uses-sdk
        android:minSdkVersion="8"
        android:targetSdkVersion="19" />

    <application
        android:allowBackup="true"
        android:icon="@drawable/ic_launcher"
        android:label="@string/app_name" >
        <activity
            android:name="com.javacodegeeks.androidcursorexample.AndroidCursorExample"
            android:label="@string/app_name" >
            <intent-filter>
                <action android:name="android.intent.action.MAIN" />

                <category android:name="android.intent.category.LAUNCHER" />
            </intent-filter>
        </activity>
    </application>
</manifest>
5. Build, compile and run
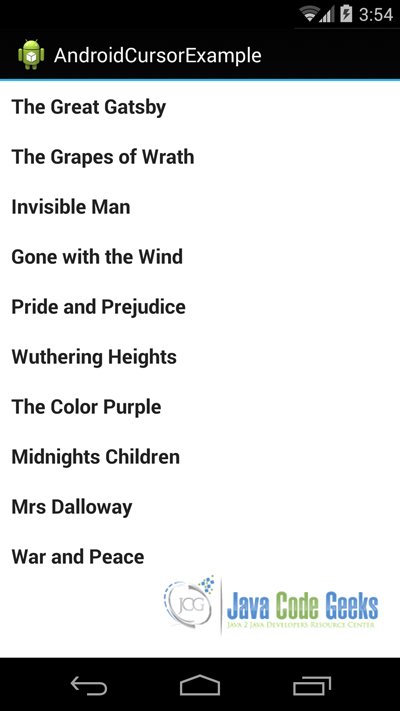
When we build, compile and run our project, the main AndroidCursorExample should look like this:
Download the Eclipse Project
This was an example of Android AndroidCursorExample.
You can download the full source code of this example here: AndroidCursorExample
