Grid layout allows you to show user interface widgets in a table like layout, also it is a layout which precisely control how you want to show your components so if you need a lot of control on the position this layout is for you.
1. The tools
- Java JDK 8
- Latest Eclipse Mars
- Vaadin 7.6.3
2. Introduction
Vaadin out of the box offers a nice grid layout, easy to use and customizable to join files and rows in any way you need, so you can arrange your components without a hassle.
3. Prerequisites
- JDK installed
- Eclipse Mars installed and working
- Vaadin plugin installed 7.6.3
- Apache Tomcat 8
4. Set up the project
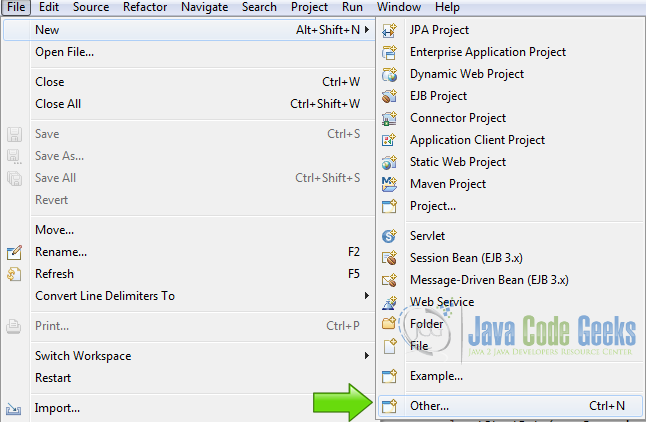
In the file menu choose File -> New -> Other.
Now from the list choose Vaadin 7 project.
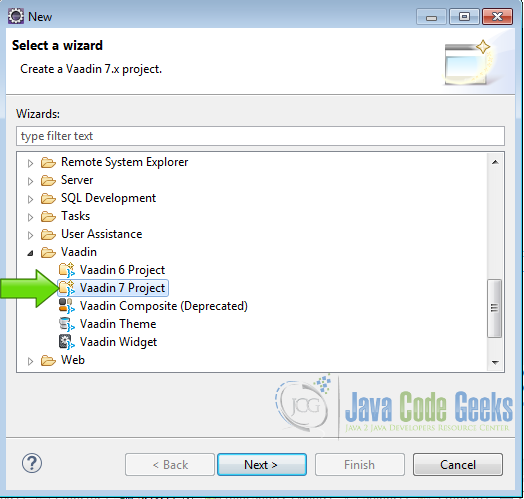
Hit next and write a name for your project then hit finish.
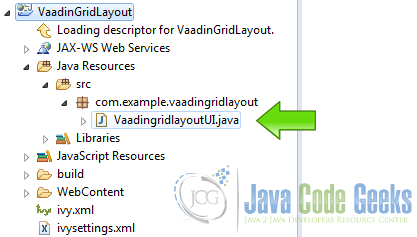
5. Coding the example
Now edit the file VaadingridlayoutUI.java.
Create the layout:
Create Layout
		final GridLayout grid = new GridLayout(5,4);
		grid.setWidth("80%");
		grid.setHeight("80%");
I created a layout with five columns and four rows then make the layout 80% width, 80% height, also you can use pixel metrics to specify the width and height of the layout.
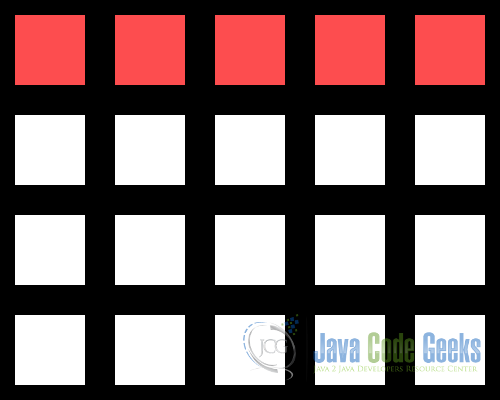
Create labels to be added to the layout first row.
Layout first row
		Label label00 = new Label("0,0");
		label00.setSizeFull();
		label00.addStyleName("blue");
		grid.addComponent(label00,0,0);

		Label label10 = new Label("1,0");
		label10.setSizeFull();
		label10.addStyleName("green");
		grid.addComponent(label10,1,0);

		Label label20 = new Label("2,0");
		label20.setSizeFull();
		label20.addStyleName("blue");
		grid.addComponent(label20,2,0);

		Label label30 = new Label("3,0");
		label30.setSizeFull();
		label30.addStyleName("green");
		grid.addComponent(label30,3,0);

		Label label40 = new Label("4,0");
		label40.setSizeFull();
		label40.addStyleName("blue");
		grid.addComponent(label40,4,0);
The labels are added to the grid first row as in the picture, grid.addComponent(component,X,Y); add the components in the correct place, also I make the labels size full to better show the results.
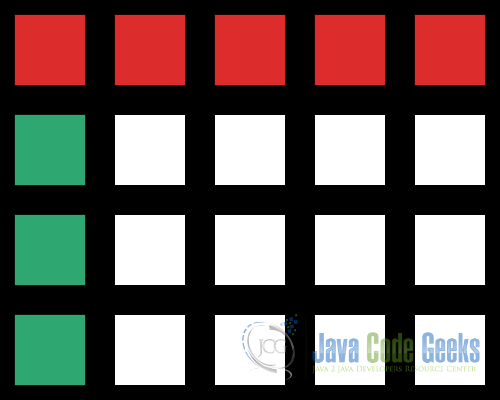
Add widgets to the first column, I already added the widget to the cell (0,0) now I add the widgets to the rest of the column.
Rest of the column 0
	Label label01 = new Label("0,1");
	label01.setSizeFull();
	label01.addStyleName("green");
	grid.addComponent(label01,0,1);

	Label label11 = new Label("1,1");
	label11.setSizeFull();
	label11.addStyleName("blue");
	grid.addComponent(label11,1,1);

	Label label02 = new Label("0,2");
	label02.setSizeFull();
	label02.addStyleName("blue");
	grid.addComponent(label02,0,2);

	Label label03 = new Label("0,3");
	label03.setSizeFull();
	label03.addStyleName("green");
	grid.addComponent(label03,0,3);
So the grid is populated like the following image.
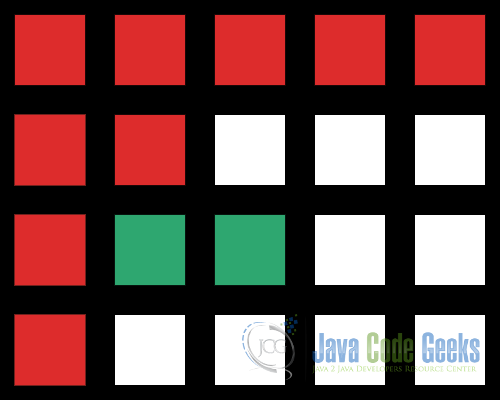
You can also combine cells and add a widget to the combined cell to those controls that need more space.
Cells (1,2), (2,2)
	    Label label2X1 = new Label("2X1");
	    label2X1.setSizeFull();
	    label2X1.addStyleName("green");
	    grid.addComponent(label2X1, 1, 2, 2, 2);
I added a component that begin filling the cell (1,2) and end in the cell (2,2).
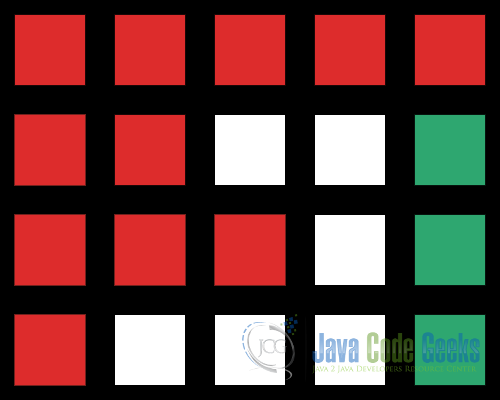
Now the next component fills the cells (4,1), (4,2) and (4,3).
(4,1), (4,2), (4,3)
	    Label label1X3 = new Label("1X3");
	    label1X3.setSizeFull();
	    label1X3.addStyleName("green");
	    grid.addComponent(label1X3, 4, 1, 4, 3);
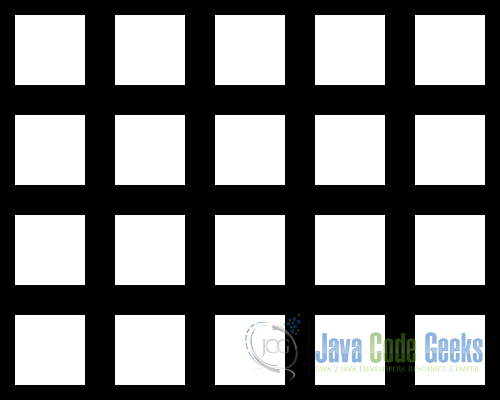
All you need is provide a range as a parameter in the addComponent method and Vaadin take care for the details to make the component fit, so the grid now is populated like this:

Now the only thing left to do is add the grid to the main layout in this case I am using the grid as my main layout setContent(grid);.
6. Edit Styles
I am using labels to demonstrate how to layout components using GridLayout you can use the same procedure to any Vaadin component. Let’s make some styles to clearly view the layout works. Edit the file VaadinGridLayout.scss.
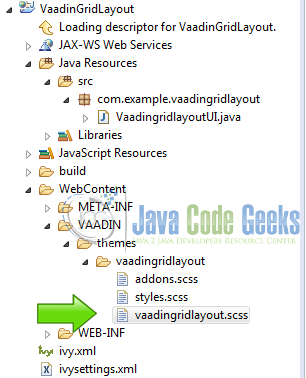
Add the following lines to the file vaadingridlayout.scss:
Edit SCSS
.blue {
	background: lightblue;
}

.green {
	background: lightgreen;
}
7. The complete source code
VaadingridlayoutUI.java
package com.example.vaadingridlayout;

import javax.servlet.annotation.WebServlet;

import com.vaadin.annotations.Theme;
import com.vaadin.annotations.VaadinServletConfiguration;
import com.vaadin.server.VaadinRequest;
import com.vaadin.server.VaadinServlet;
import com.vaadin.ui.GridLayout;
import com.vaadin.ui.Label;
import com.vaadin.ui.UI;

@SuppressWarnings("serial")
@Theme("vaadingridlayout")
public class VaadingridlayoutUI extends UI {

	@WebServlet(value = "/*", asyncSupported = true)
	@VaadinServletConfiguration(productionMode = false, ui = VaadingridlayoutUI.class)
	public static class Servlet extends VaadinServlet {
	}

	@Override
	protected void init(VaadinRequest request) {
		final GridLayout grid = new GridLayout(5,4);
		grid.setWidth("80%");
		grid.setHeight("80%");

		Label label00 = new Label("0,0");
		label00.setSizeFull();
		label00.addStyleName("blue");
		grid.addComponent(label00,0,0);

		Label label10 = new Label("1,0");
		label10.setSizeFull();
		label10.addStyleName("green");
		grid.addComponent(label10,1,0);

		Label label20 = new Label("2,0");
		label20.setSizeFull();
		label20.addStyleName("blue");
		grid.addComponent(label20,2,0);

		Label label30 = new Label("3,0");
		label30.setSizeFull();
		label30.addStyleName("green");
		grid.addComponent(label30,3,0);

		Label label40 = new Label("4,0");
		label40.setSizeFull();
		label40.addStyleName("blue");
		grid.addComponent(label40,4,0);

		Label label01 = new Label("0,1");
		label01.setSizeFull();
		label01.addStyleName("green");
		grid.addComponent(label01,0,1);

	    Label label11 = new Label("1,1");
	    label11.setSizeFull();
	    label11.addStyleName("blue");
	    grid.addComponent(label11,1,1);

	    Label label02 = new Label("0,2");
	    label02.setSizeFull();
	    label02.addStyleName("blue");
	    grid.addComponent(label02,0,2);

	    Label label03 = new Label("0,3");
	    label03.setSizeFull();
	    label03.addStyleName("green");
	    grid.addComponent(label03,0,3);

	    Label label2X1 = new Label("2X1");
	    label2X1.setSizeFull();
	    label2X1.addStyleName("green");
	    grid.addComponent(label2X1, 1, 2, 2, 2);

	    Label label1X3 = new Label("1X3");
	    label1X3.setSizeFull();
	    label1X3.addStyleName("green");
	    grid.addComponent(label1X3, 4, 1, 4, 3);

	    setContent(grid);
	}
}
8. Run the project
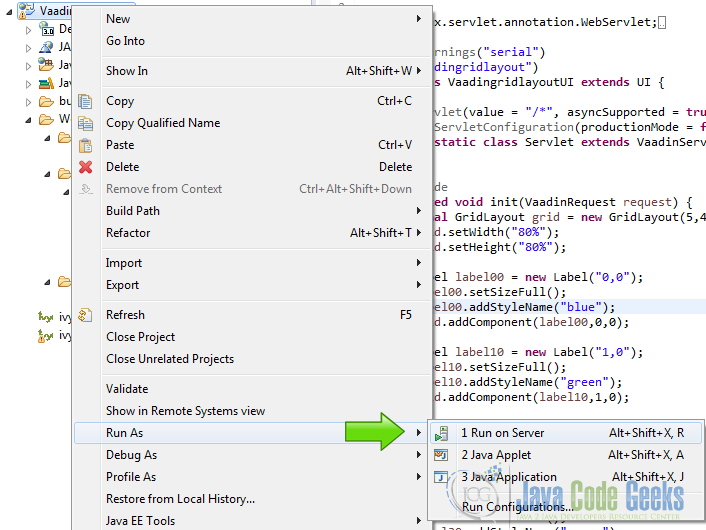
Right click on the project folder and choose Run as -> Run on server.
Choose Tomcat 8 server and hit finish.
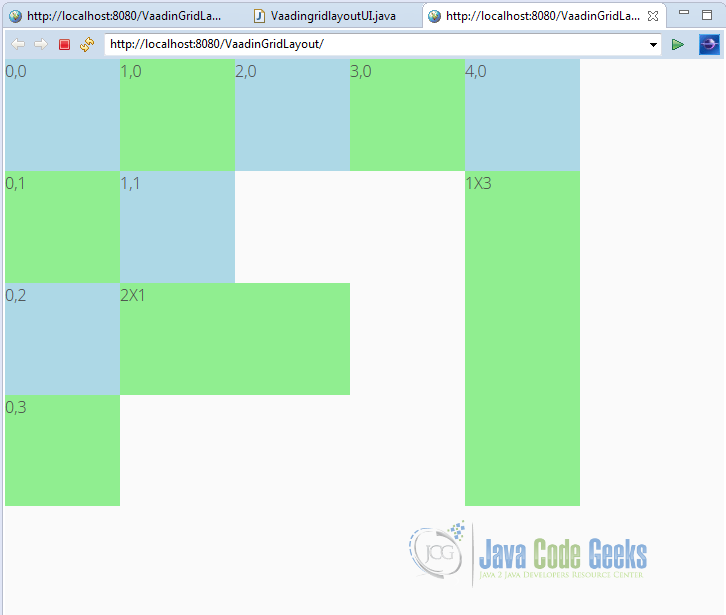
9. Results
As you can see when you run the project you get the labels in the grid layout in the exact position you need it.
10. Download the Source Code
This was an example about Vaadin GridLayout.
You can download the Eclipse project here: Vaadin GridLayout
