In this example, we will show you how to implement and execute unit testing, using the JUnit Framework and Maven.
1. Introduction.
Some developers feel that automated tests are an essential part of the development process: you can’t prove a component works until it passes a comprehensive series of test. Two developers felt that this type of unit testing was so important that it deserved its own framework. In 1997, Erich Gamma and Kent Beck created a simple but effective unit testing framework for Java, called JUnit.
JUnit (http://junit.org/) is open source software, released under IBM’s Common Public License Version 1.0 and hosted on SourceForge. JUnit became the de facto standard framework for developing unit tests in Java.
A generic description of a typical unit test could be: “Confirm that the method accepts the expected range of input and that the method returns the expected value for each input.” This description ask us to test the behavior of a method through its interface.
1.1 Maven… What is it?
The answer to this question depends on your own perspective. the great majority of Maven users are going to call Maven a “build tool”: a tool used to build deployable artifacts from source code. Build engineers and projects managers might refer to Maven as something more comprehensive: a project management tool.
What is the difference? A build tool such as Ant is focused solely on preprocessing, compilation, packaging, testing, and distribution. A project management tool such as Maven provides a superset of features found in a build tool. In addition to providing buid capabilities, Maven can also run reports, generate a web site, execute unit testing and much more. The concept of testing is built right into the Maven lifecycle.
You can access Maven project by clicking here.
1.2 Types of testing in Maven
There are many different types of tests that can be automated in build, which can be categorized in several ways (and often overlap). While testing is built into Maven, it limits itself to two stages of testing within the build lifecycle: unit testing, and integration testing. We are going to focus on unit testing.
Unit testing testing is run after compilation but before packaging, therefore it is run on nearly every build. This indicates more accurately that the purpose of tests in this stage is those to be run on every build. They should pass before the build can complete and the artifact can be used.
Note that the phase in Maven is simply called test, not unit-test. This reflects that the phase is not specific to unit testing, but rather is the main test run for the code of the current project. Due their frequency, these tests should be extremely quick. They should be expected to run every time, and if they are slow, there is a greater inclination to skip the tests.
For the same reason, the tests should be expected to never be broken on checked-in code and be resilient to failure. This includes not relying on external resources (for example, a web server or database).
Let’s get our hands on unit testing!
2. Installing the Maven Integration for Eclipse plugin
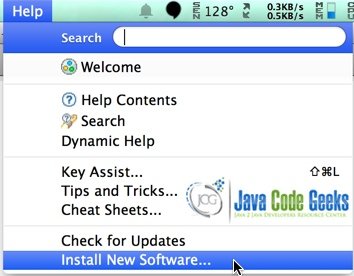
Click on the Help menu and then click on Install New Software…
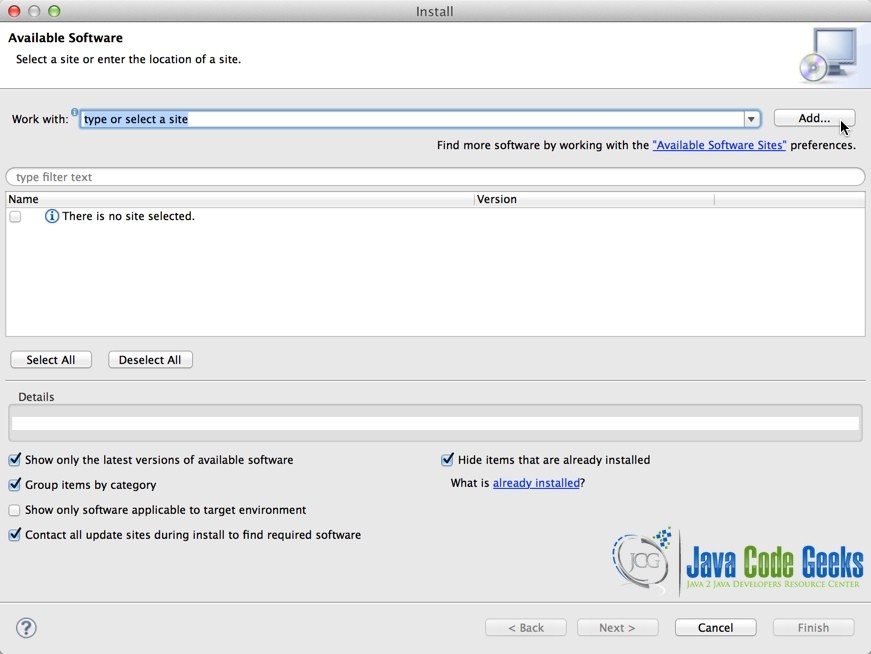
In the next window, click on Add…
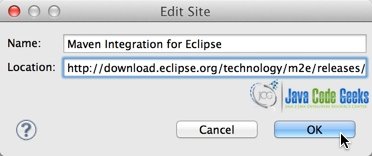
In the next window, you can type any name you want for the Name field, and for the Location field enter the following URL: http://download.eclipse.org/technology/m2e/releases/1.4/1.4.0.20130601-0317
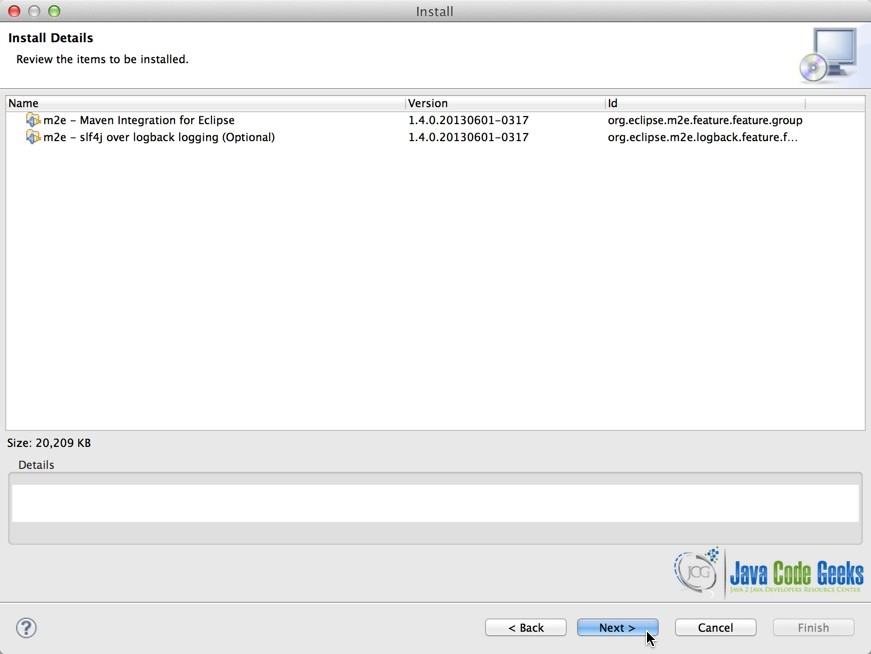
In the next window, click on the Maven Integration for Eclipse check-box, then in Next
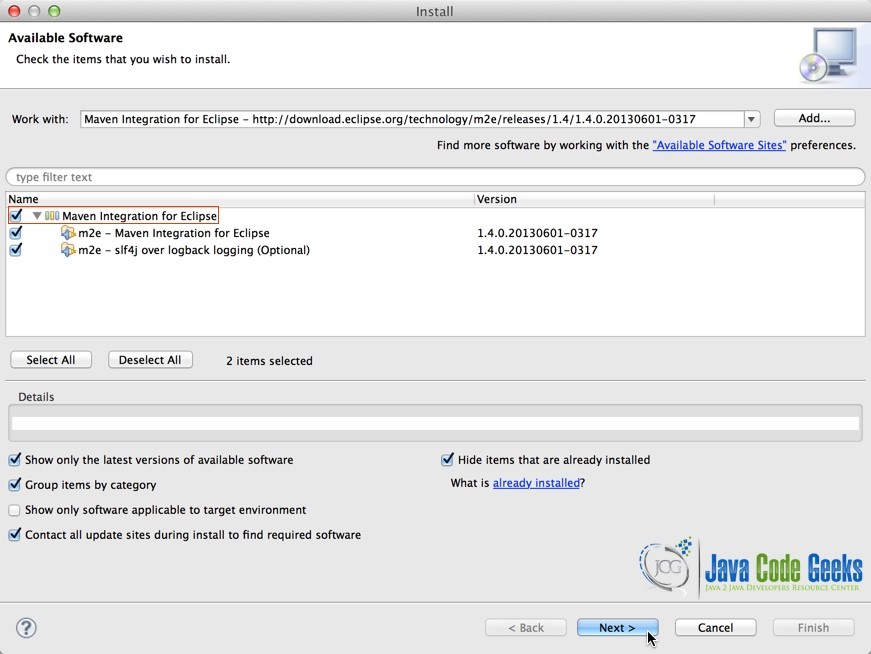
Then click on Next
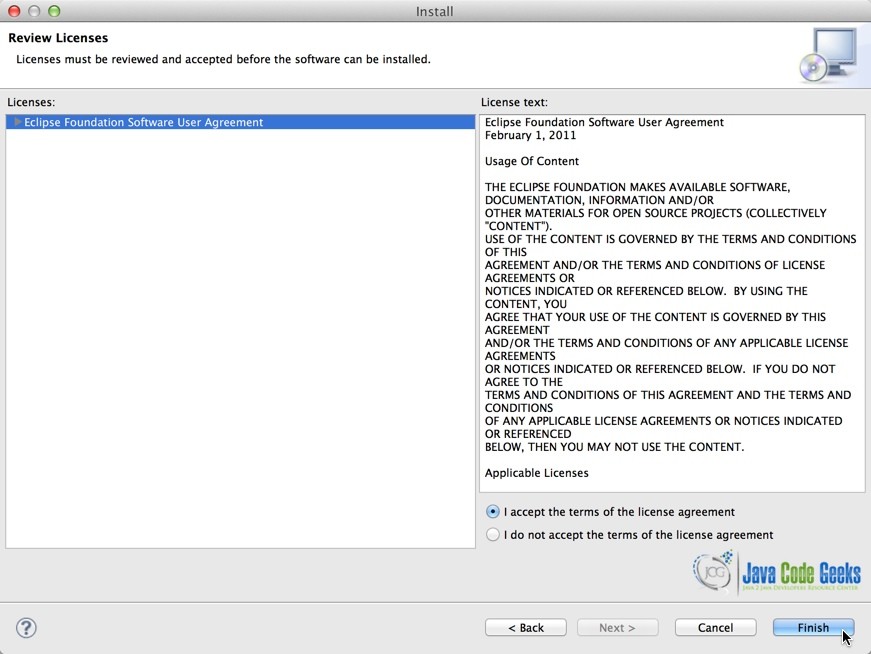
Then click on I accept the terms of license agreement and then click on Finish
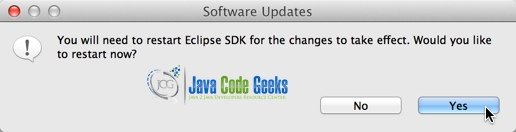
Finally, click on Yes and wait for Eclipse to restart
3. Creating a Maven project using Eclipse
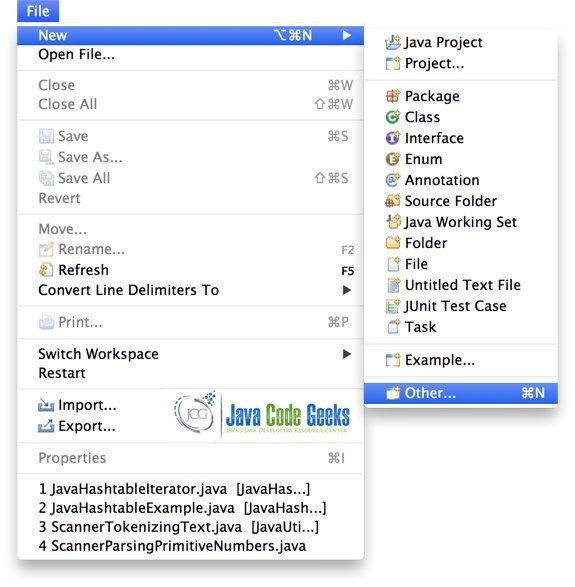
After eclipse starts, click on the File → New → Other… menu
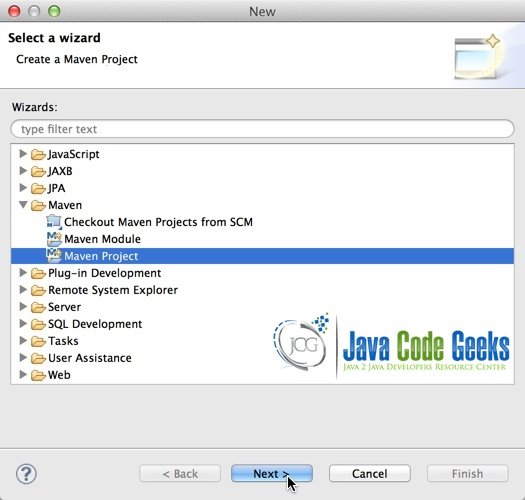
Then look for the Maven Project option and click on the Next button
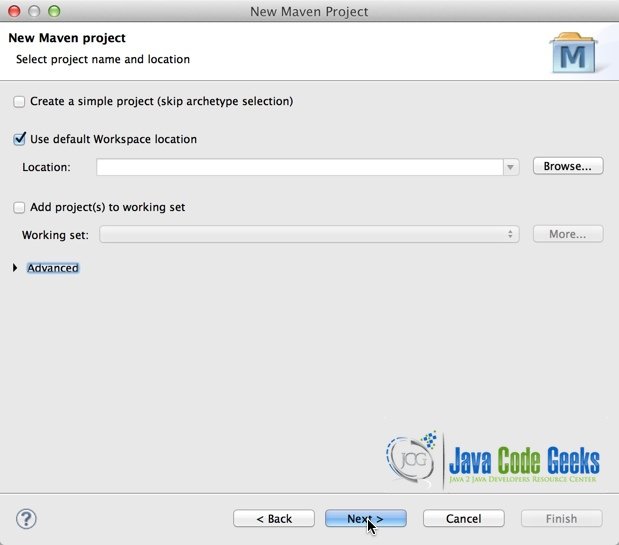
Accept the default options in the next screen and click on Next
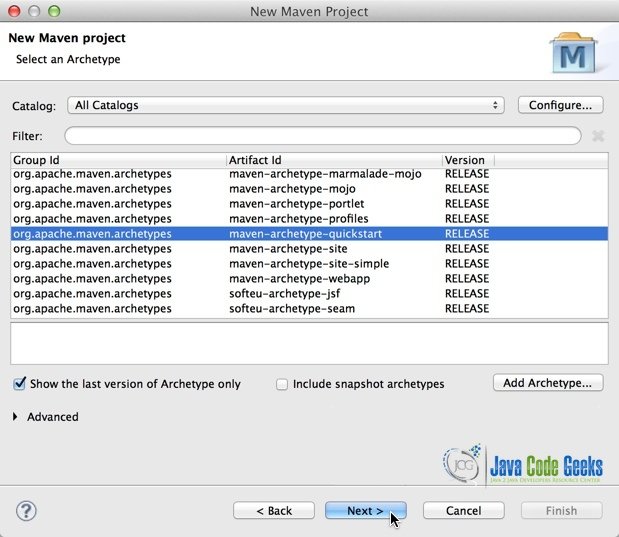
In the next screen look for the maven-archetype-quickstart option and click on Next
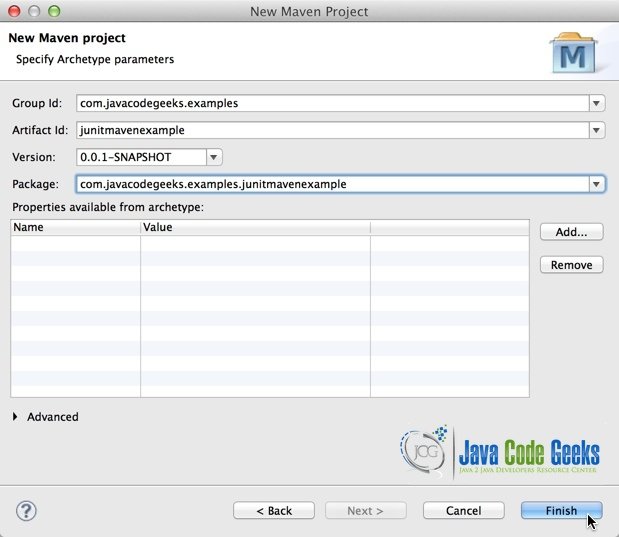
In the next screen you need to type the Group Id, Artifact Id and Package, as in the following screen and click on Finish
To finally have something like this
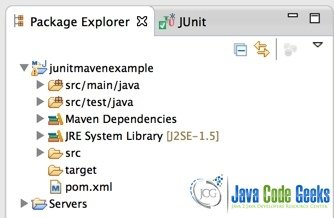
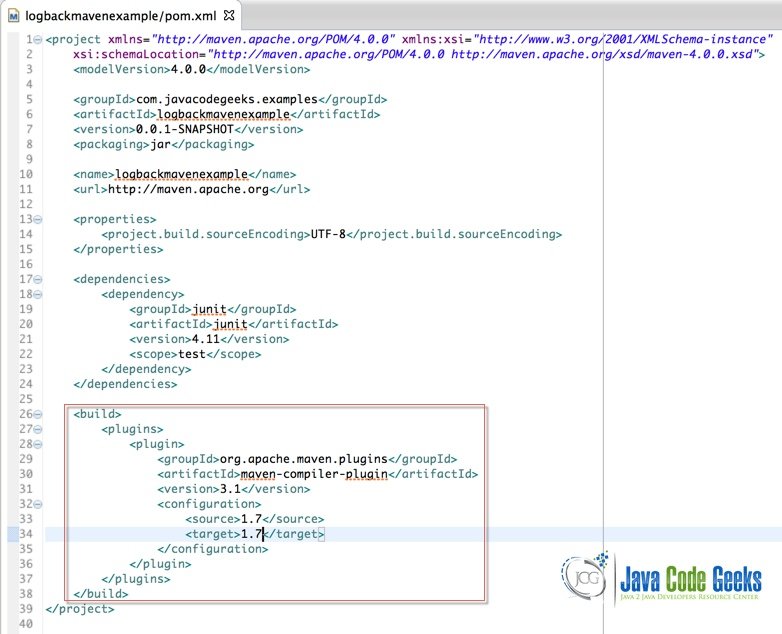
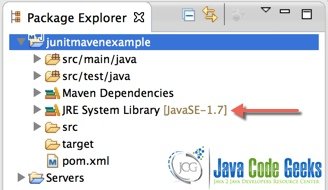
We need to change the JRE System Library used by Maven, from version 1.5 to version 1.7. To do this, we just need to add the following lines to our pom.xml file
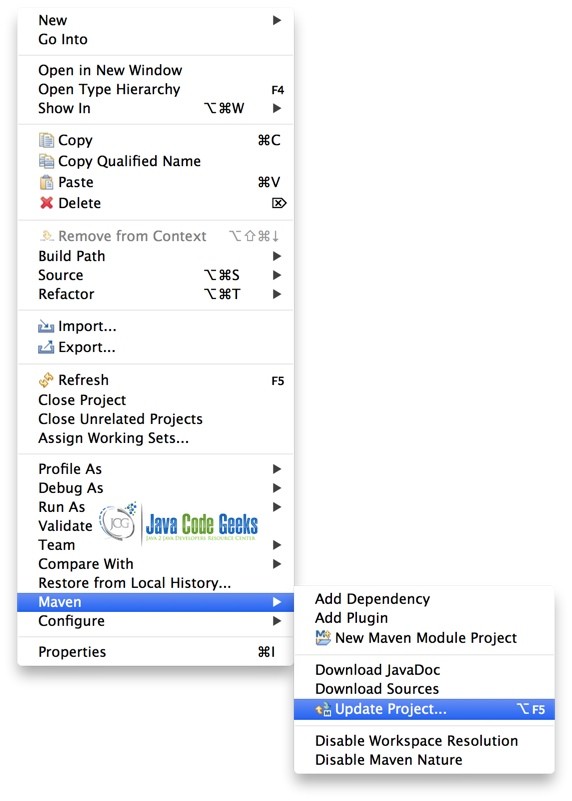
Then, right click on the name of the Project, click on the Maven menu option and then click on the Update Project… menu option
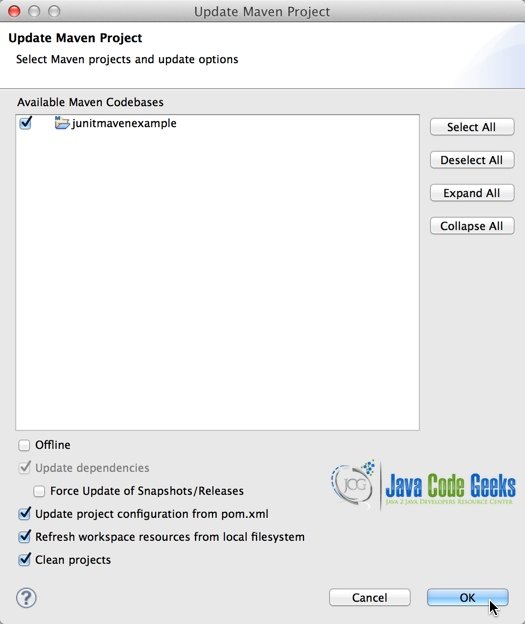
In the next window, just click on the OK button
Then, observe that the Project JRE has changed to version 1.7
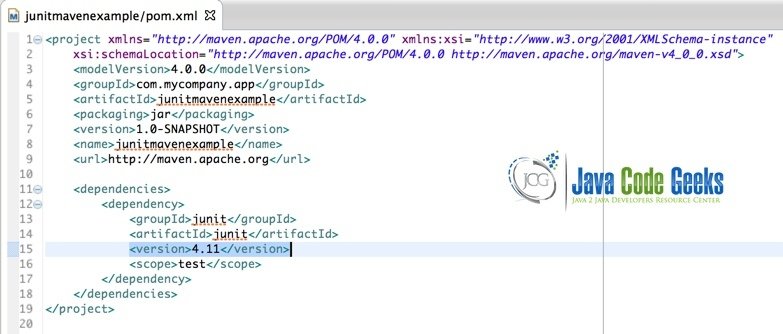
Finally, we need to modify the version of the JUnit library. For this, we just need to modify our pom.xml file and change the version from 3.8.11 to 4.11

We finally can start to do some unit testing!!!
Example of JUnit using Maven
ICalculator.java
package com.javacodegeeks.examples.junitmavenexample;

public interface ICalculator {
	int sum(int a, int b);

	int subtraction(int a, int b);

	int multiplication(int a, int b);

	int divison(int a, int b) throws Exception;

	boolean equalIntegers(int a, int b);
}
Calculator.java
package com.javacodegeeks.examples.junitmavenexample;

public class Calculator implements ICalculator {

	@Override
	public int sum(int a, int b) {
		return a + b;
	}

	@Override
	public int subtraction(int a, int b) {
		return a - b;
	}

	@Override
	public int multiplication(int a, int b) {
		return a * b;
	}

	@Override
	public int divison(int a, int b) throws Exception {
		if (b == 0) {
			throw new Exception("Divider can't be zero");
		}

		return a / b;
	}

	@Override
	public boolean equalIntegers(int a, int b) {
		boolean result = false;

		if (a == b) {
			result = true;
		}

		return result;
	}
}
CalculatorTestSuccessful.java
package com.javacodegeeks.examples.junitmavenexample;

import static org.junit.Assert.assertEquals;
import static org.junit.Assert.assertFalse;
import static org.junit.Assert.assertTrue;

import org.junit.After;
import org.junit.Before;
import org.junit.BeforeClass;
import org.junit.Ignore;
import org.junit.Test;

public class CalculatorTestSuccessful {
	private static ICalculator calculator;

	@BeforeClass
	public static void initCalculator() {
		calculator = new Calculator();
	}

	@Before
	public void beforeEachTest() {
		System.out.println("This is executed before each Test");
	}

	@After
	public void afterEachTest() {
		System.out.println("This is exceuted after each Test");
	}

	@Test
	public void testSum() {
		int result = calculator.sum(3, 4);

		assertEquals(7, result);
	}

	@Test
	public void testDivison() {
		try {
			int result = calculator.divison(10, 2);

			assertEquals(5, result);
		} catch (Exception e) {
			e.printStackTrace(System.err);
		}
	}

	@Test(expected = Exception.class)
	public void testDivisionException() throws Exception {
		calculator.divison(10, 0);
	}

	@Ignore
	@Test
	public void testEqual() {
		boolean result = calculator.equalIntegers(20, 20);

		assertFalse(result);
	}

	@Ignore
	@Test
	public void testSubstraction() {
		int result = 10 - 3;

		assertTrue(result == 9);
	}
}
In versions prior to version 4, you needed to extend the junit.framework.TestCase class. JUnit 4 added annotations to the framework and eliminated the need to extend TestCase. You can direct both the lifecycle events and other aspects of the test execution with the provided annotations.
Let’s explain the annotations used in the above example.
@BeforeClass– Sometimes several tests need to share computationally expensive setup (like logging into a database). While this can compromise the independence of tests, sometimes it is a necessary optimization. Annotating a public static void no-arg method with @BeforeClass causes it to be run once before any of the test methods in the class. The @BeforeClass methods of superclasses will be run before those the current class.@Before– When writing tests, it is common to find that several tests need similar objects created before they can run. Annotating a public void method with @Before causes that method to be run before theTestmethod. The @Before methods of superclasses will be run before those of the current class.@After– If you allocate external resources in aBeforemethod you need to release them after the test runs. Annotating a public void method with @After causes that method to be run after theTestmethod. All @After methods are guaranteed to run even if a Before or Test method throws an exception. The @After methods declared in superclasses will be run after those of the current class.@Test– The Test annotation tells JUnit that the public void method to which it is attached can be run as a test case. To run the method, JUnit first constructs a fresh instance of the class then invokes the annotated method. Any exceptions thrown by the test will be reported by JUnit as a failure. If no exceptions are thrown, the test is assumed to have succeeded.@Ignore– Sometimes you want to temporarily disable a test or a group of tests. Methods annotated withTestthat are also annotated with @Ignore will not be executed as tests. Also, you can annotate a class containing test methods with @Ignore and none of the containing tests will be executed. Native JUnit 4 test runners should report the number of ignored tests along with the number of tests that ran and the number of tests that failed.
To execute our tests, we can right click on the name of our class (CalculatorTestSuccessful.java), then click on Run As and finally click on JUnit Test (notice that our source code, is located inside the folder test/src/java)

If we run the above code, we will get the following results:
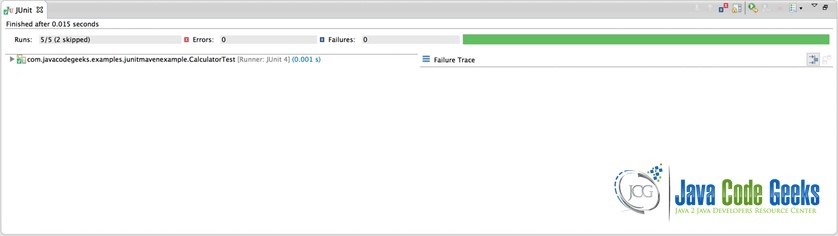
This is executed before each Test
This is exceuted after each Test
This is executed before each Test
This is exceuted after each Test
This is executed before each Test
This is exceuted after each Test
4. Download the source code
You can download the source code of this example from here: junitmavenexample.zip
