With this example, we are going to demonstrate how to install Docker on Ubuntu.
1. What is Docker?
Docker is a platform used to develop, deploy, and run applications by using containers. Docker consists of:
- Docker Engine – lightweight and powerful open source containerization technology combined with a workflow for building and containerizing your applications.
- Docker Hub – SaaS (Software as a Service) service for sharing and managing your application stacks.
Table Of Contents
2. What is Ubuntu?
Ubuntu is a free and an open-source Linux distribution based on Debian.
Ubuntu is an open source software operating system that runs from the desktop, to the cloud, to all your internet connected things.
Ubuntu is officially released in three editions:
- Ubuntu Desktop for personal computers
- Ubuntu Server for servers and the cloud, and
- Ubuntu Core for the Internet of things devices and robots.
3. Steps for Installation of Docker on Ubuntu
To complete the installation of Docker on Ubuntu, It involves two steps:
- Installation of Ubuntu Operating System
- Installation of Docker on Ubuntu System
4. Installation of Ubuntu Operating System
I am using my laptop containing Microsoft Windows 10 Pro Operating System for explaining “Docker Install on Ubuntu Example”
How to install Ubuntu on a machine containing Microsoft Windows 10 Pro Operating System and Version: 10.0.17763?
To accomplish this task, Understand the concept of Virtual Machine.
4.1 What is a Virtual Machine?
A Virtual Machine (VM) is a software program or operating system that not only exhibits the behavior of a separate computer but is also capable of performing tasks such as running applications and programs like a separate computer. A virtual machine, usually known as a guest (for this example, Virtual machine contains Ubuntu) is created within another computing environment referred to as a “host” (in my case, the host is Microsoft Windows 10 Pro Operating System). Multiple virtual machines can exist within a single host at one time. Virtual machines are becoming more common with the evolution of virtualization technology.
Virtual machines are computers whose hardware components are emulated by the host computer. A virtual machine is also known as a guest.
The following are free Virtual Machine Software available :
- VMware Workstation Player
- Oracle VM VirtualBox
- Hyper-V (Hyper-V is built into Windows as an optional feature — there is no Hyper-V download.)
I am going to explain this “Docker Install on Ubuntu example” by installing Oracle VM VirtualBox on my machine Microsoft Windows 10 Pro and Version: 10.0.17763.
4.2 What is Oracle VM Virtual Box?
Oracle VM VirtualBox is a free, open source, cross-platform application for creating, managing and running virtual machines (VMs).
Oracle VirtualBox enables you to set up one or more virtual machines (VMs) on a single physical machine, and use them simultaneously, along with the actual machine. Each virtual machine can execute its own operating system, including versions of Microsoft Windows, Linux, BSD, and MS-DOS.
VirtualBox runs on Windows, Linux, Macintosh, and Solaris hosts and supports a large number of guest operating systems including but not limited to Windows (NT 4.0, 2000, XP, Server 2003, Vista, Windows 7, Windows 8, Windows 10), DOS/Windows 3.x, Linux (2.4, 2.6, 3.x and 4.x), Solaris and OpenSolaris, OS/2, and OpenBSD.
4.3 Installation of Oracle VM Virtual Box
Download Oracle VM Virtual Box from the following links: https://www.virtualbox.org/wiki/Downloads (or) https://www.oracle.com/technetwork/server-storage/virtualbox/downloads/index.html
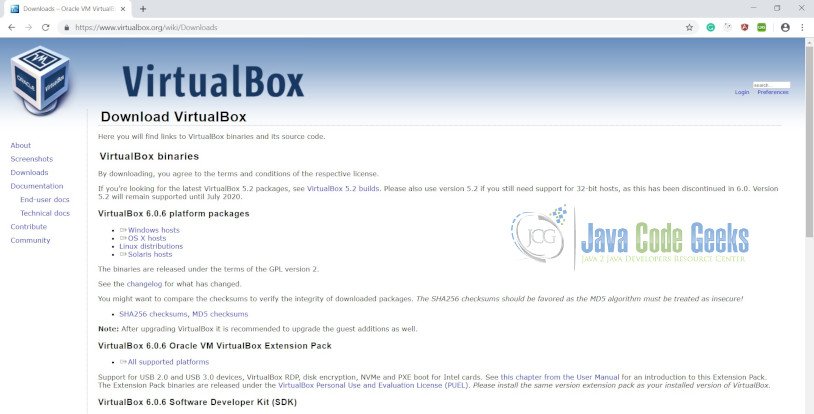
For this example: Click on Windows Hosts.
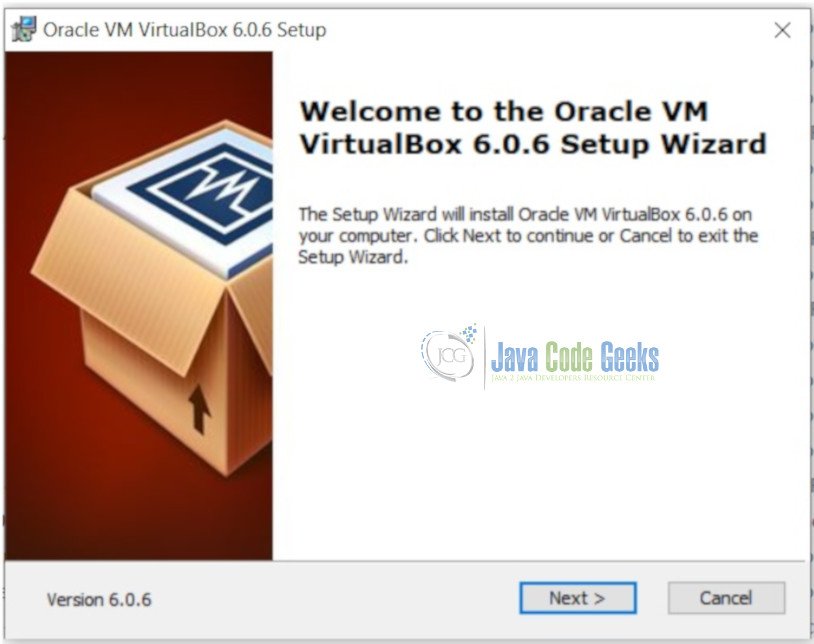
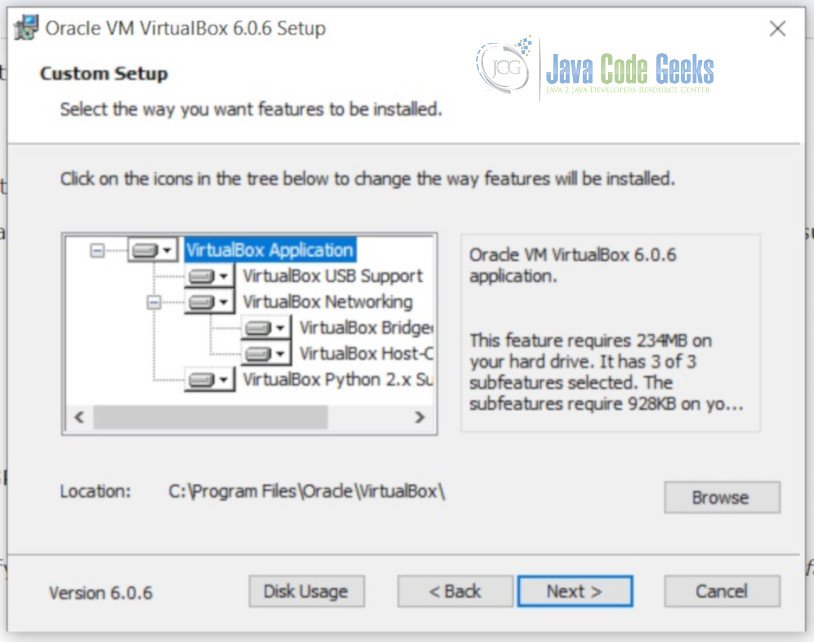
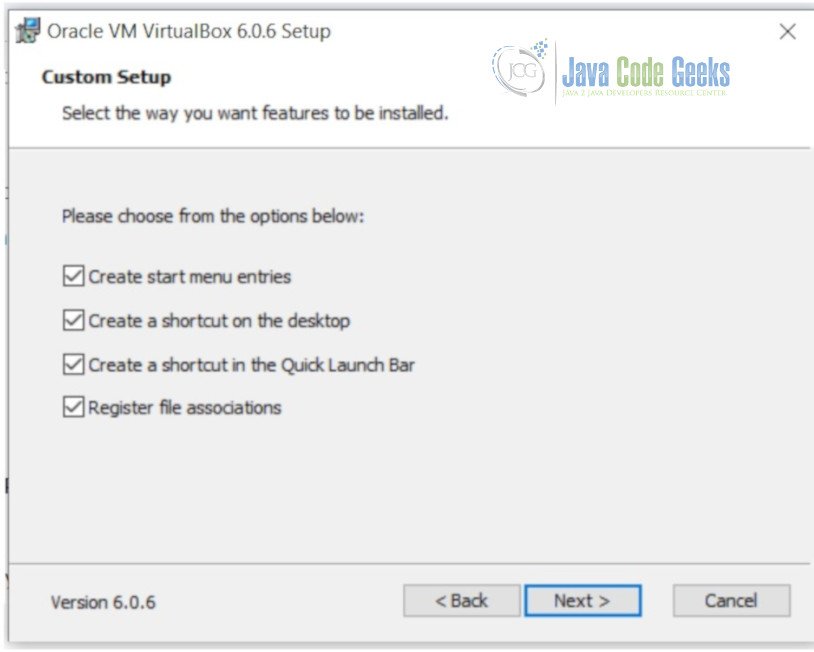
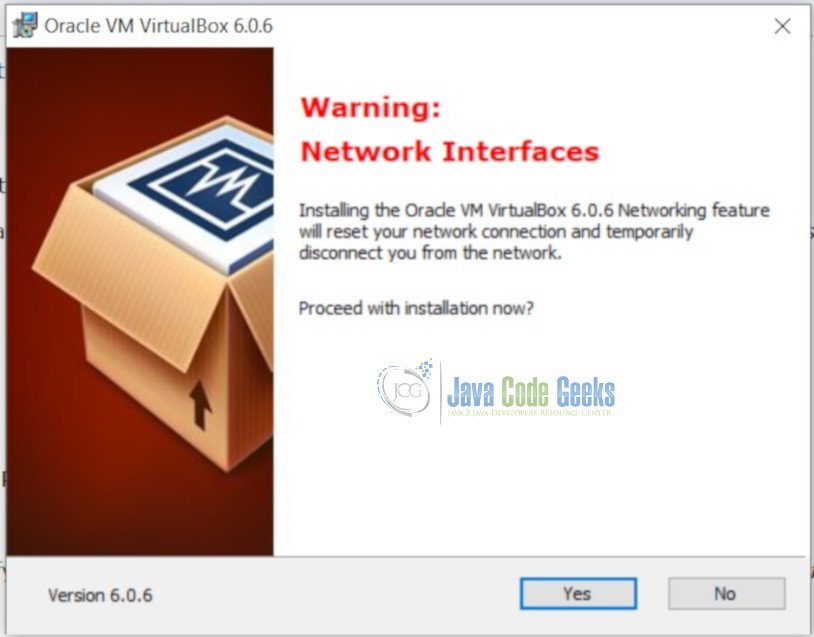
It downloads the file: VirtualBox-6.0.6-130049-Win.exe (Application) on your system. Double Click on this file. It installs this software. The steps are as shown below:
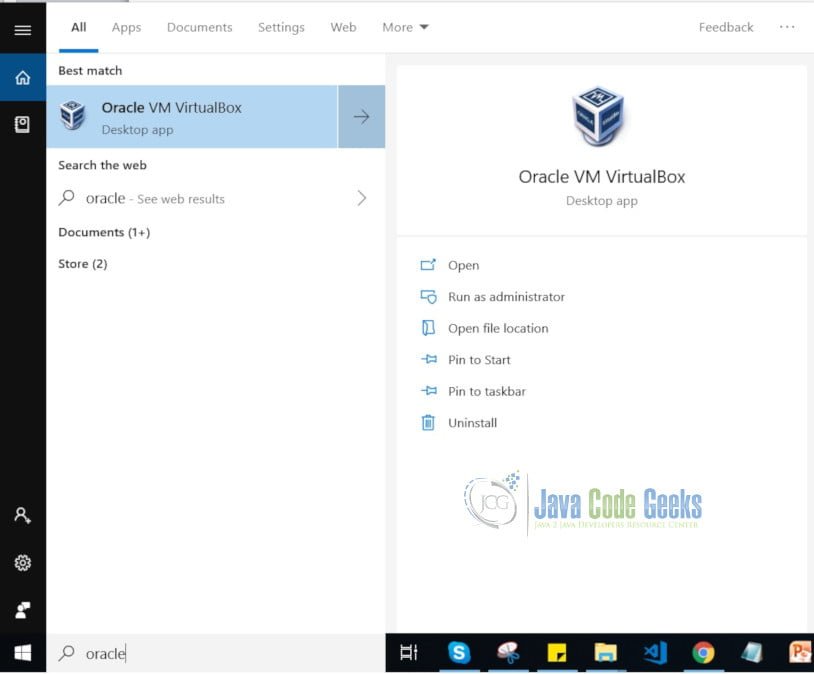
Search for Oracle VM VirtualBox desktop icon after the installation:
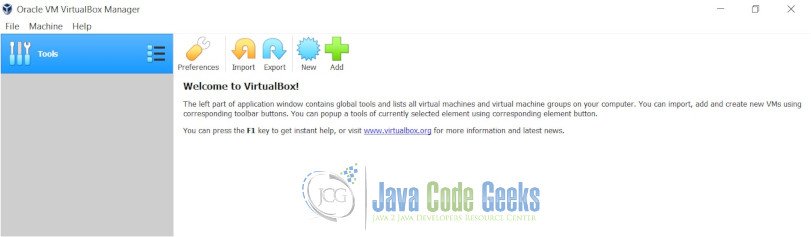
Click on it, It opens the Oracle VM VirtualBox Manager main screen as shown below:
4.4 Download Ubuntu Desktop
Ubuntu Desktop is designed for desktop and laptop PCs.
You can download the latest version of Ubuntu Desktop disk image (iso) from this website: https://www.ubuntu.com/desktop
ISO file, which is also known as a disc image, has .iso file extension.
Download Ubuntu Desktop Image (ubuntu-18.10-desktop-amd64.iso) from the following links: http://nl.releases.ubuntu.com/18.10/
http://releases.ubuntu.com/18.10/
To demonstrate “Docker Install on Ubuntu Example“, I am going to use :
ubuntu-18.10-desktop-amd64.iso ubuntu desktop image file.
Enable Virtualization Technology:
Enable Virtualization Technology by entering the PC BIOS or by accessing your PC BIOS for Windows.
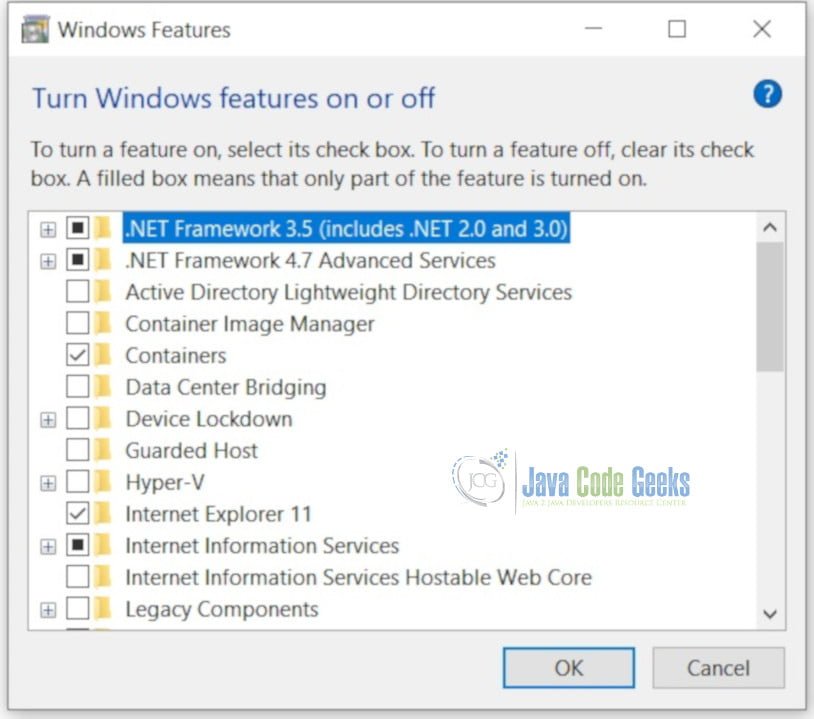
Uncheck or Disable Hyper-V on Windows OS:
Right Click on Windows Icon-> App and Features -> Click on Programs and Features -> Turn Windows Features on or off – Hyper V should be disabled (unchecked)
4.5 Create a New Virtual Machine
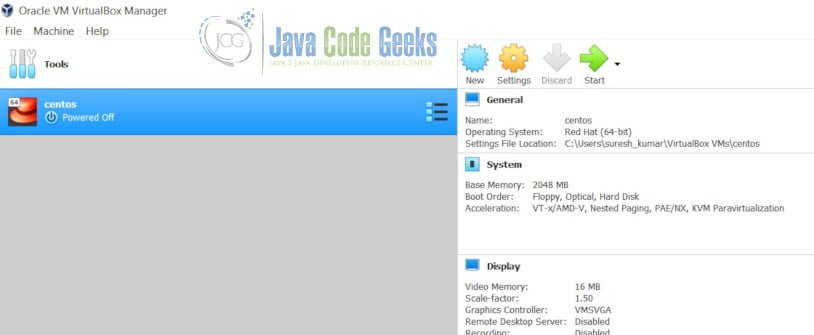
I had already installed CentOS in a Virtual Machine on the Oracle VM Virtual Manager. Please ignore this when you follow the steps.
Now, Please follow the below steps to create a new virtual machine and to install Ubuntu in the new Virtual Machine:
Select Machine -> New menu option on Oracle VM VirtualBox Manager Dashboard:

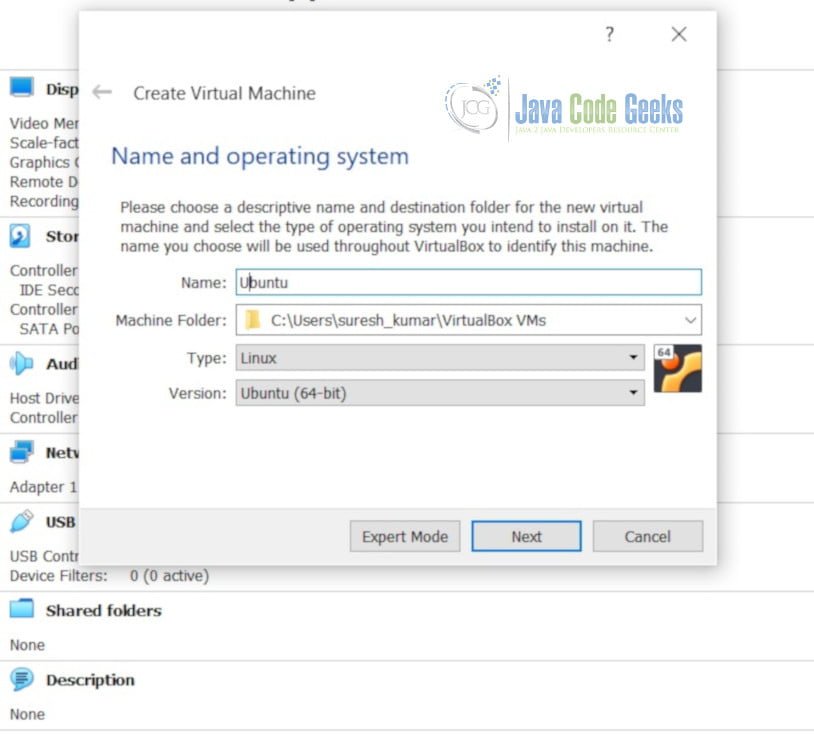
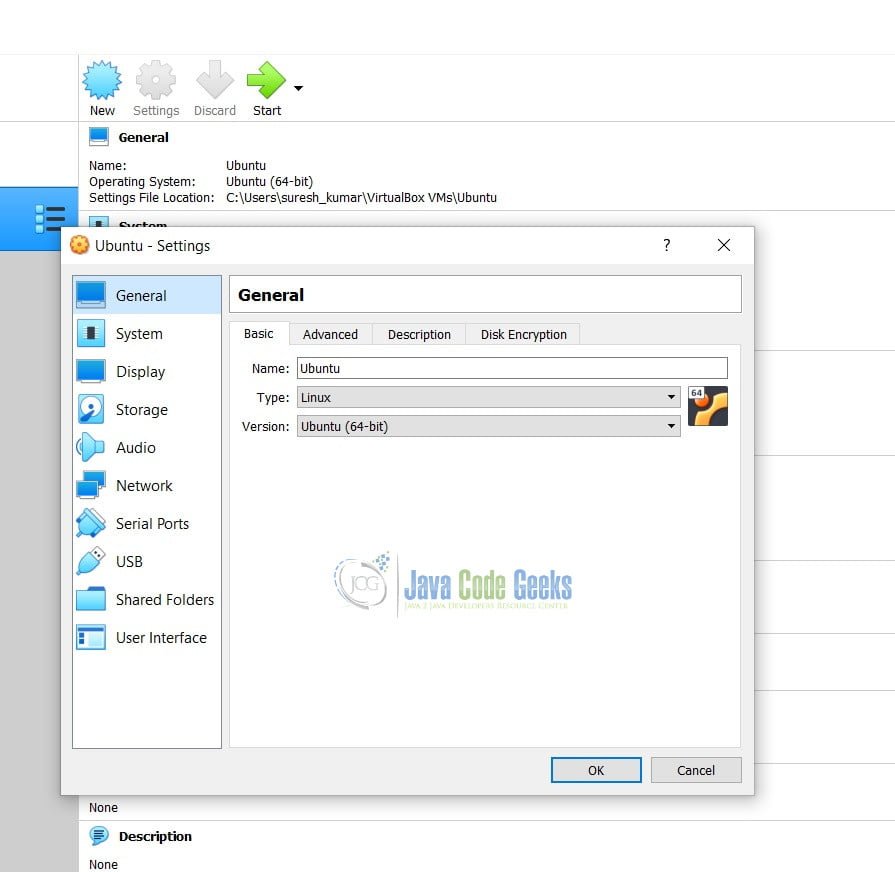
Enter the Name: Ubuntu, Type: Linux and Version: Ubuntu (64-bit).
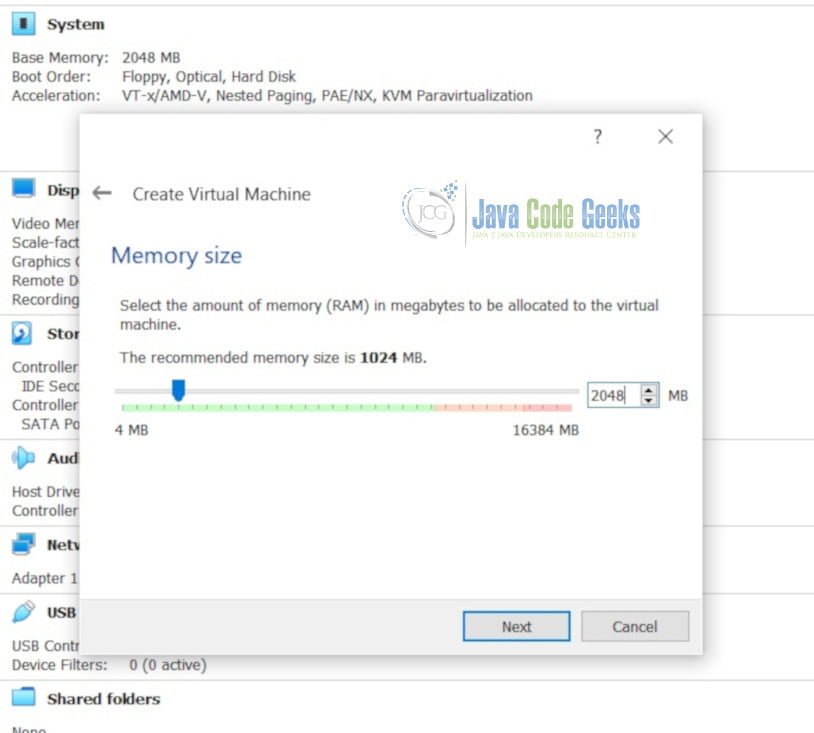
Enter 2048 MB.
Select the option as shown below:
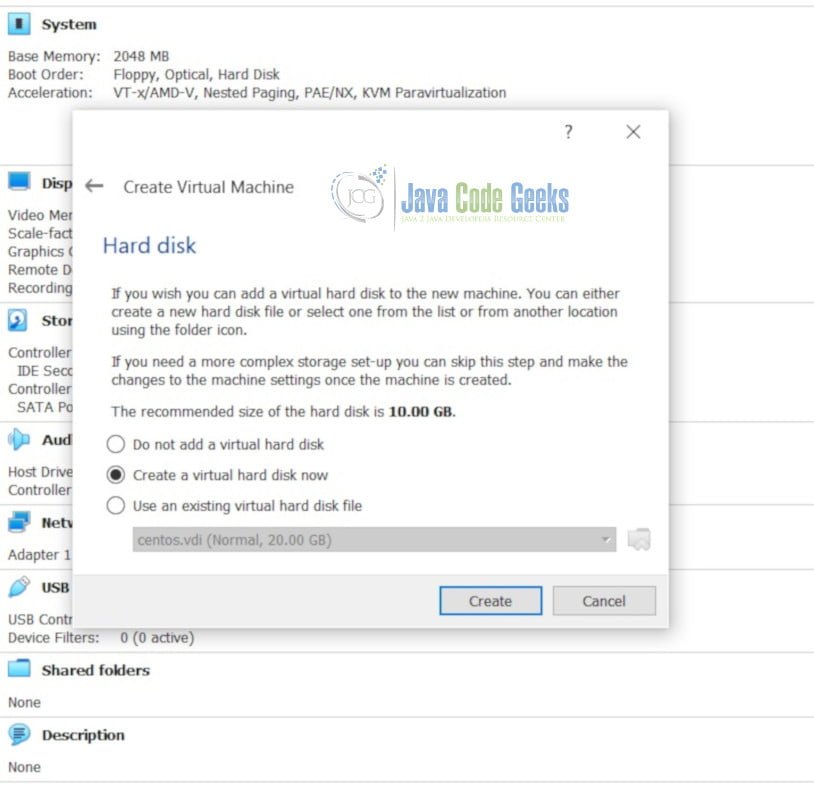
Select the option as shown below:
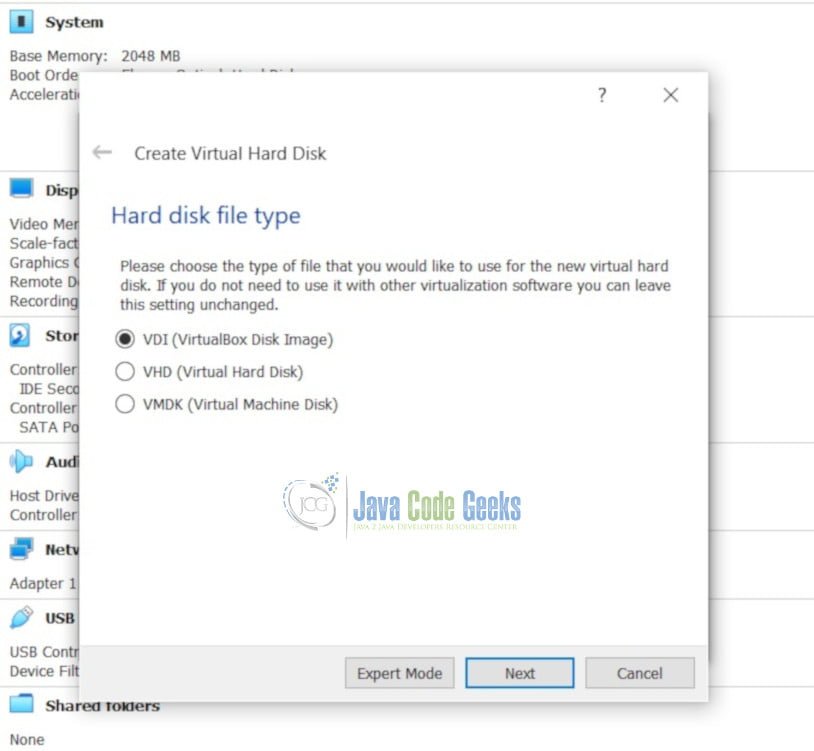
Select the option as shown below:
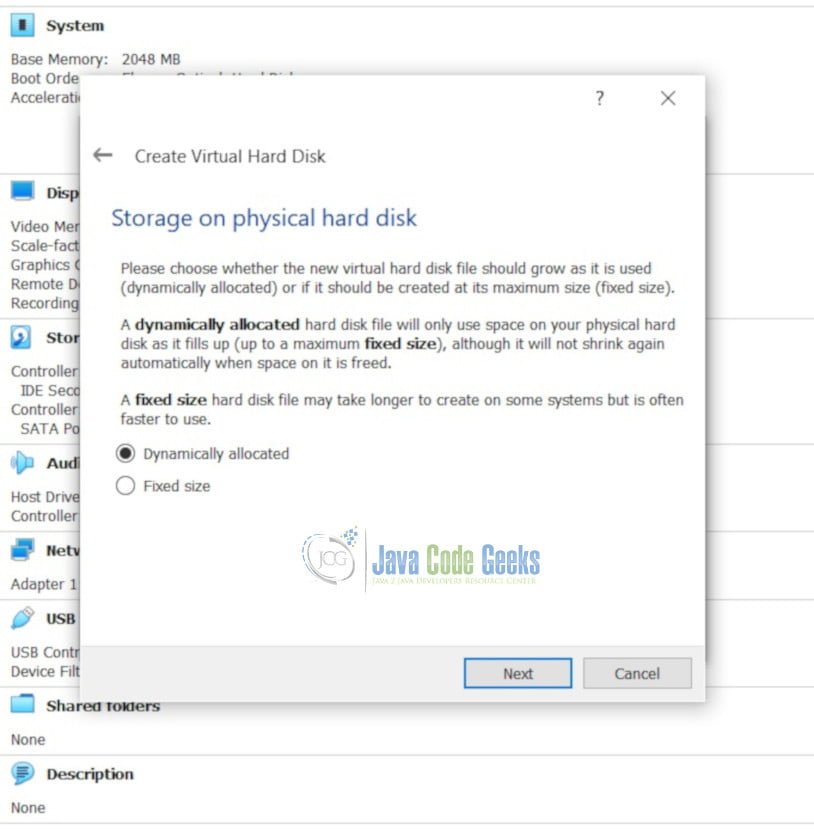
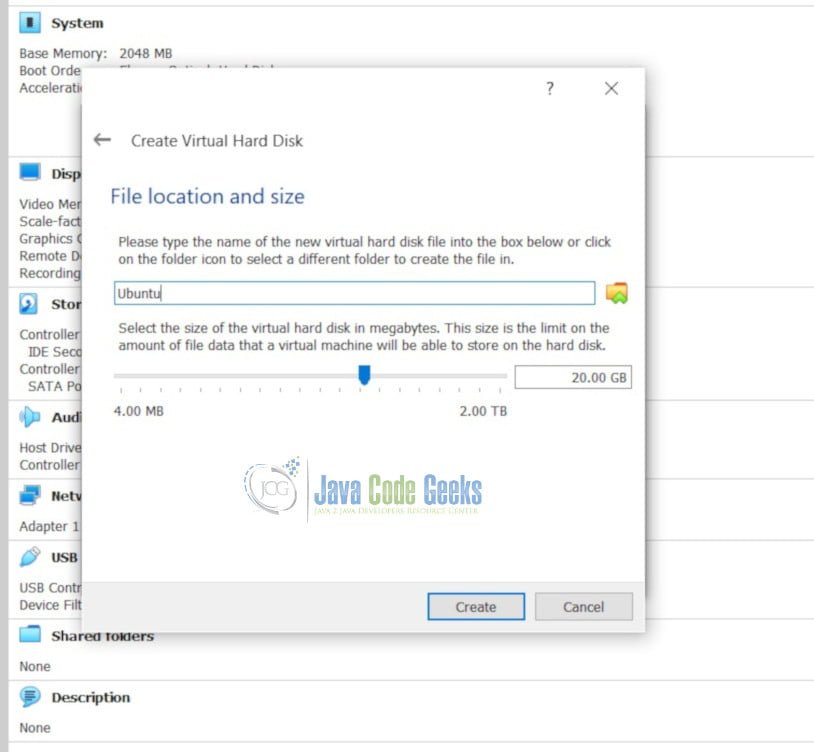
Enter the Virtual Hard Disk Size as 20 GB.
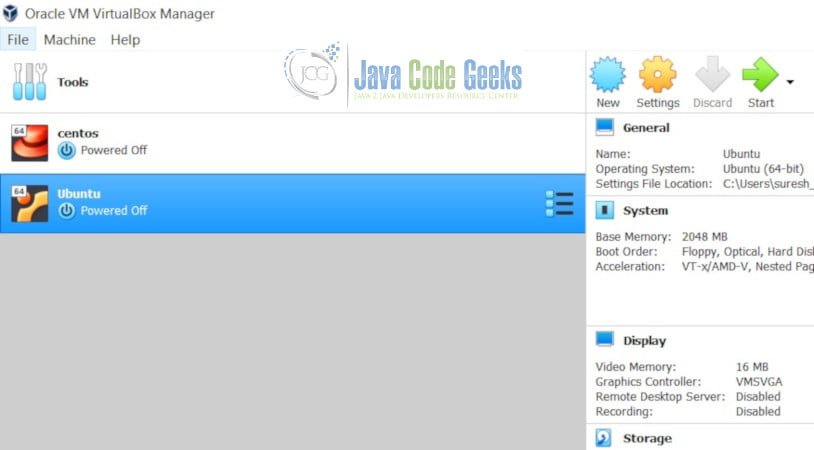
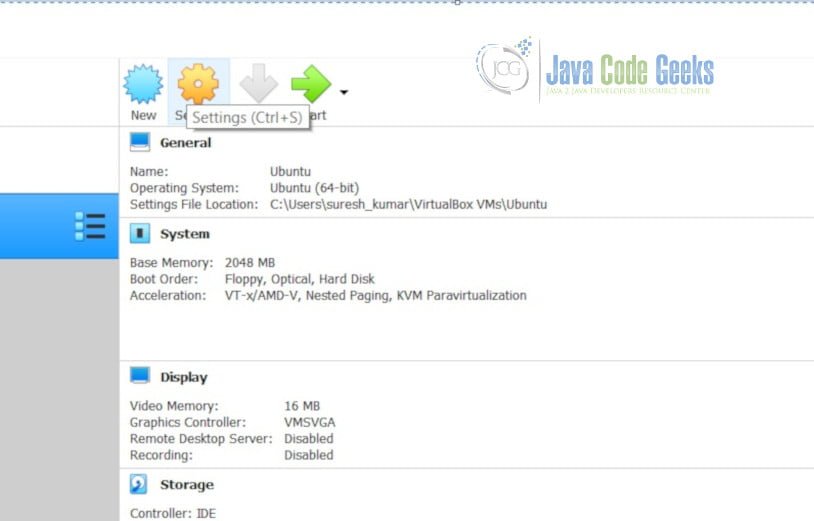
A new Virtual Machine with name Ubuntu has been created with the following configuration as shown below:
Click on Settings button:
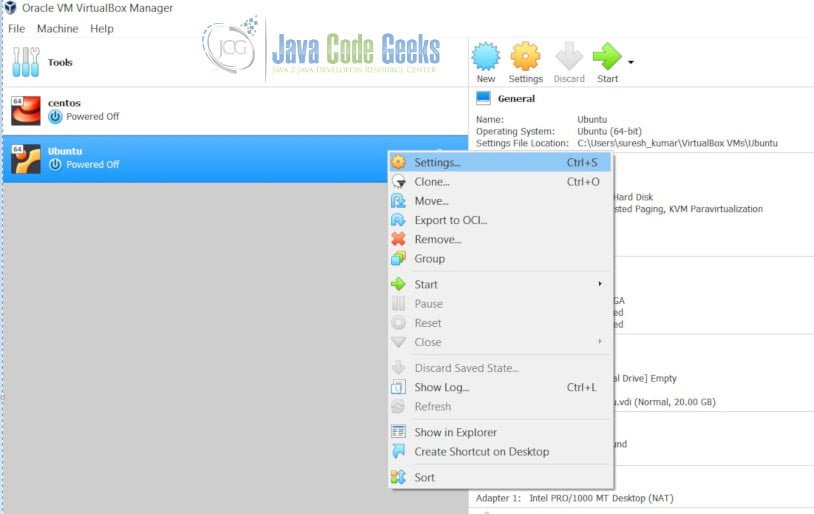
(or) click on Settings icon button:
Click on General tab:
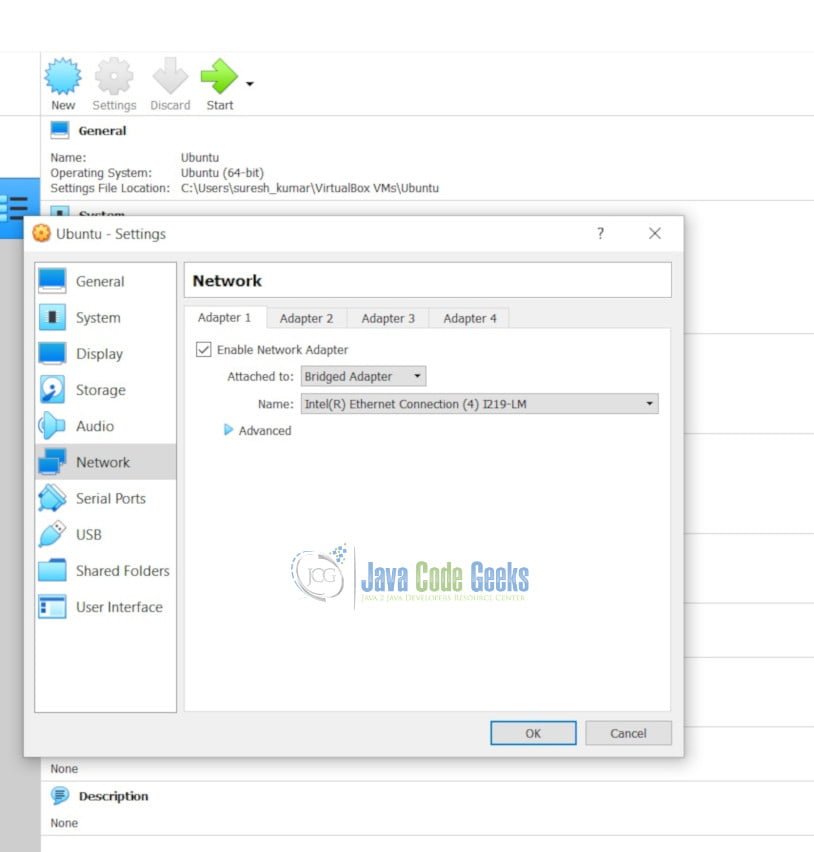
Click on Network Tab:
In Adapter 1
Enable Network Adapter.
Select Attached to: Bridged Adapter.
It automatically picks up the Name as Intel (R) Ethernet Connection (4) I219-LM based on your machine network configuration.
A new Virtual Machine with the name Ubuntu has been created with the above settings. Now, we need to install Ubuntu OS on this Virtual Machine.
4.6 Install Ubuntu on Virtual Machine
Please do the following steps to install Ubuntu OS on the new Virtual Machine named Ubuntu that we have created:
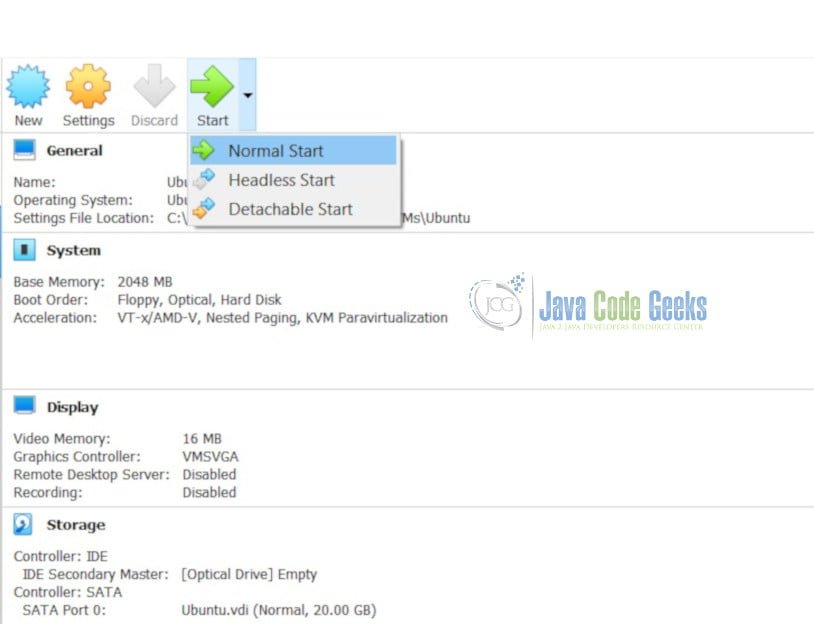
Right Click on Ubuntu Virtual Machine Name -> Click on Start -> Normal Start
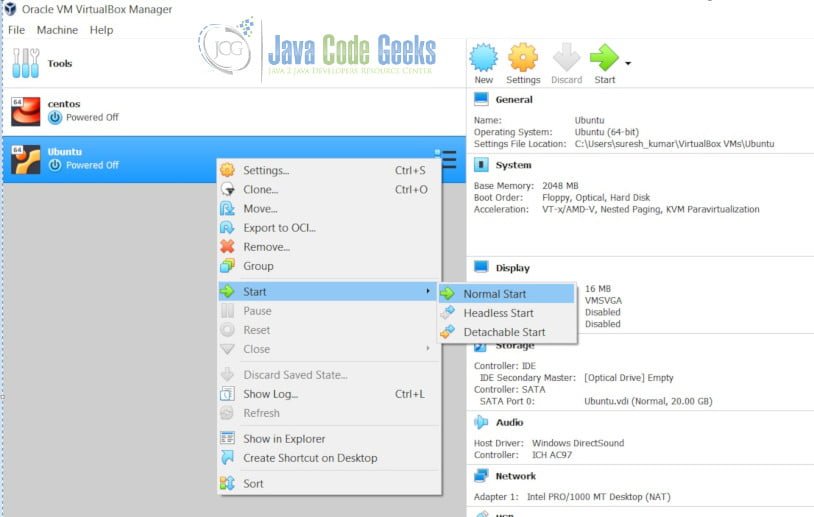
Another way: Click on Green Arrow (Start) – Normal Start:
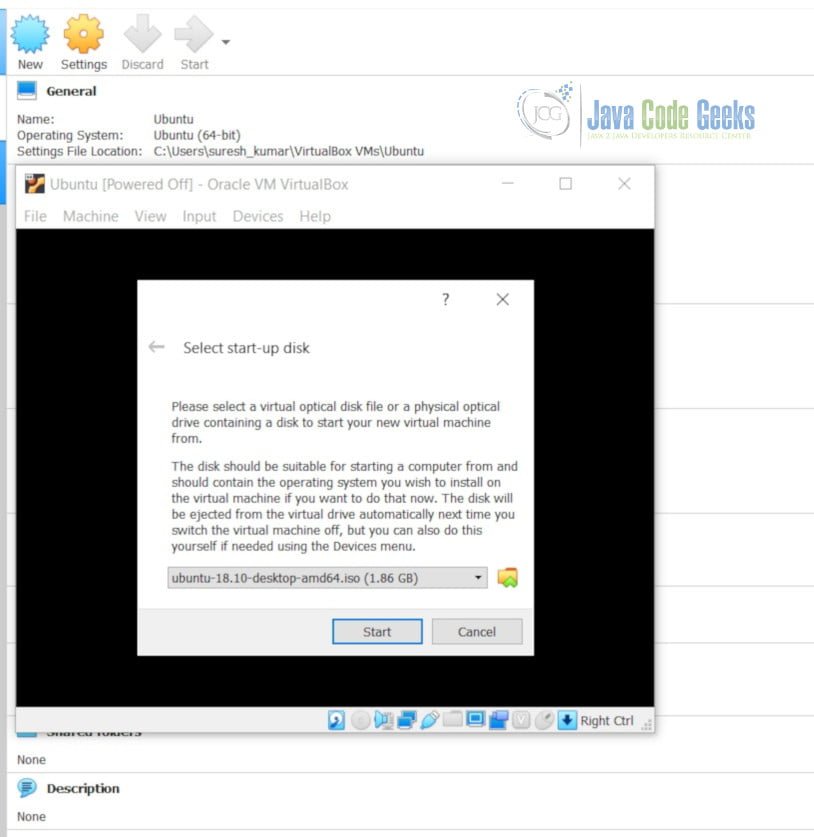
Select Start-up disk:
Select the downloaded Ubuntu desktop image (ubuntu-18.10-desktop-amd64.iso ) from your local system:
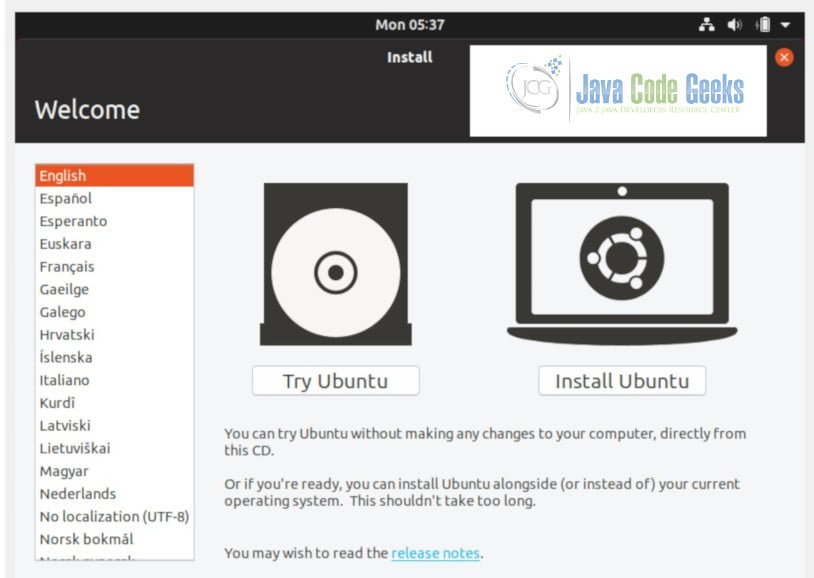
Click on “Install Ubuntu”.
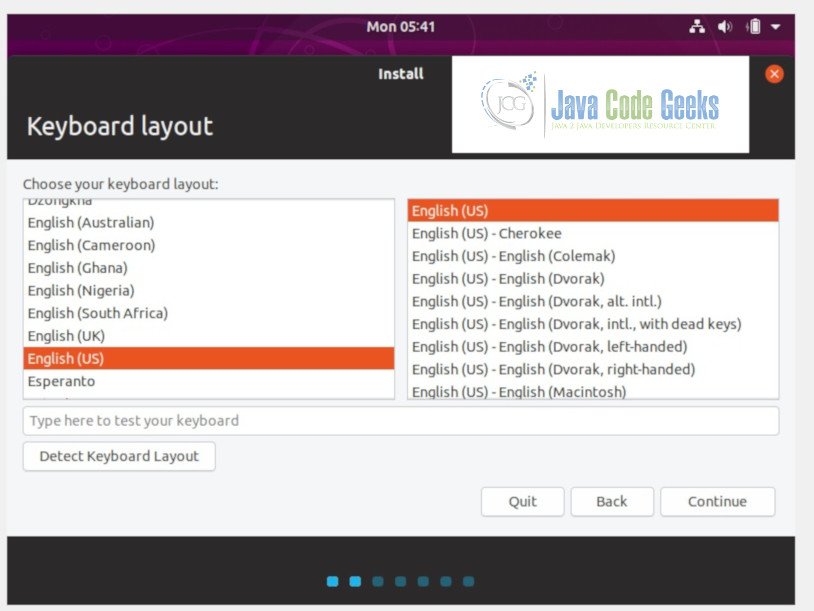
Select English as Language to use during the Installation process:
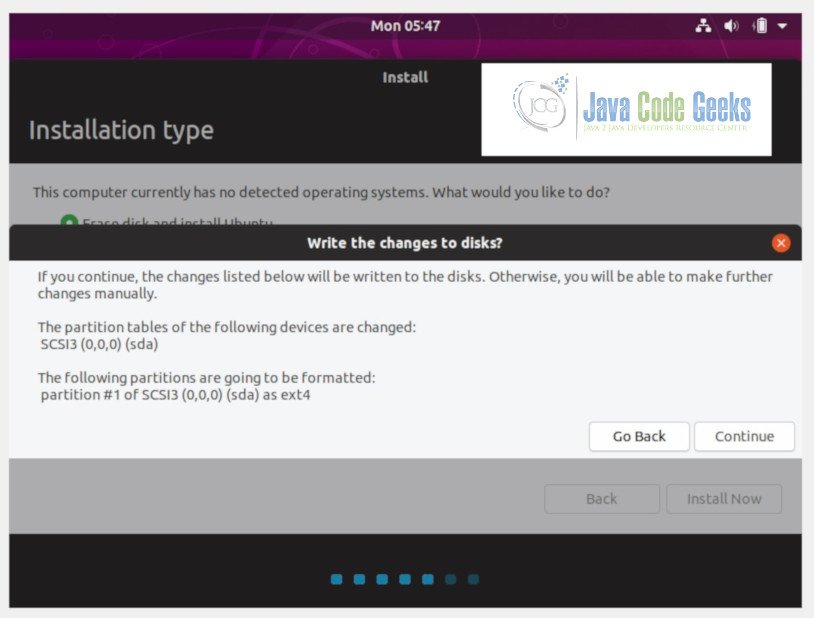
Select the below options:
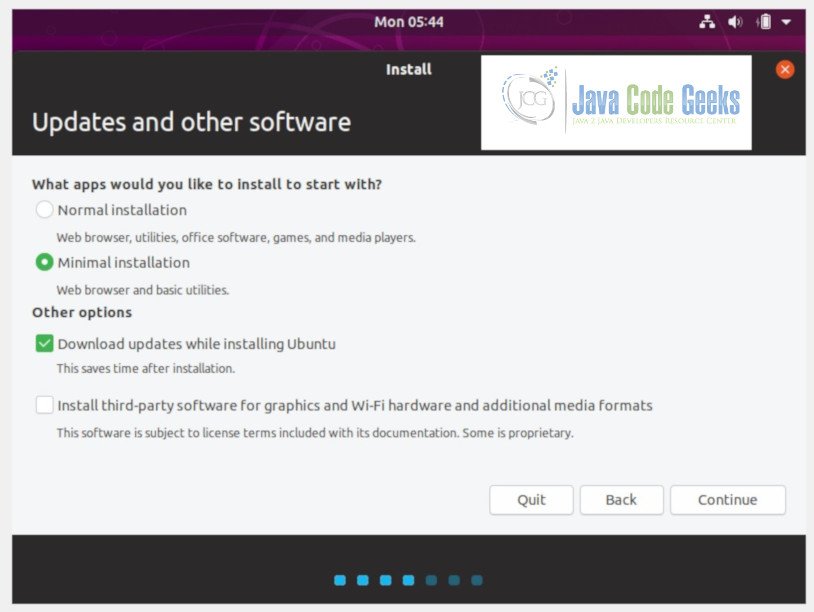
Select the below option:
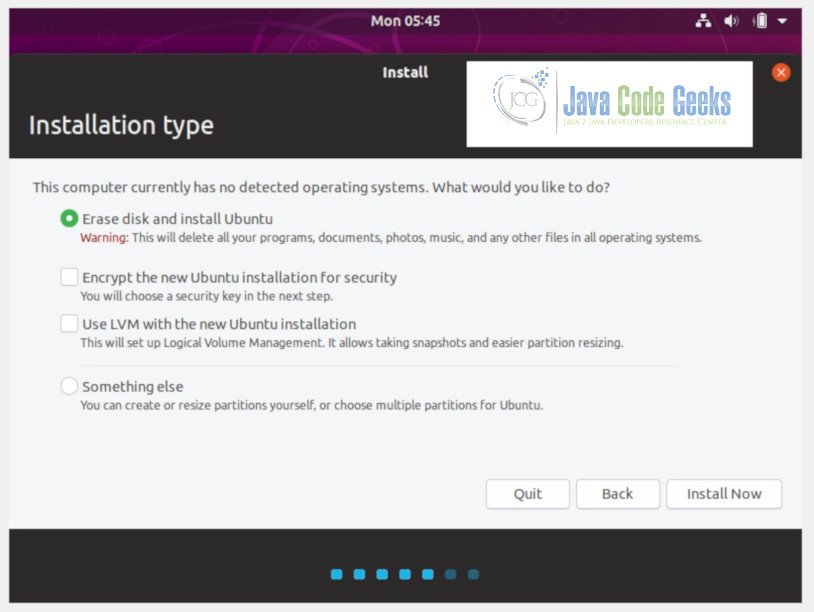
Click Continue.
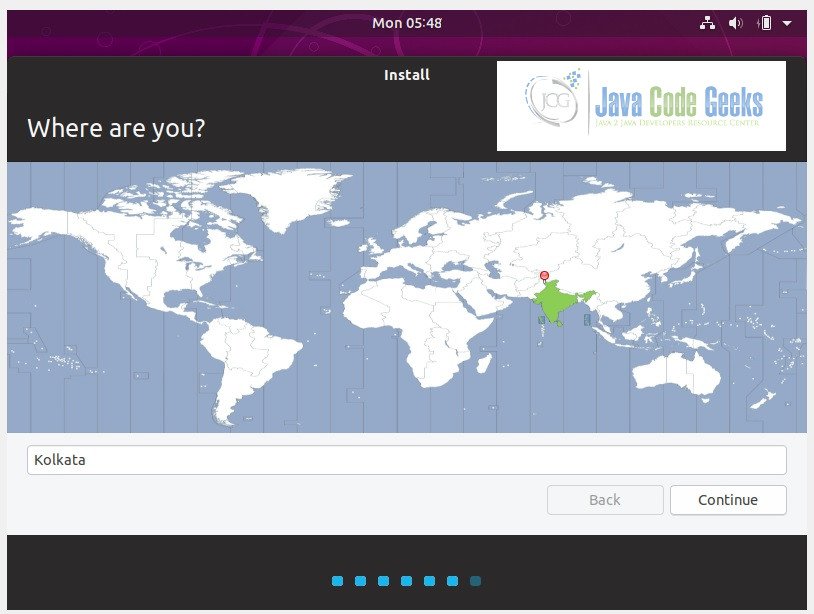
Select your local date and time by selecting the location of your country:
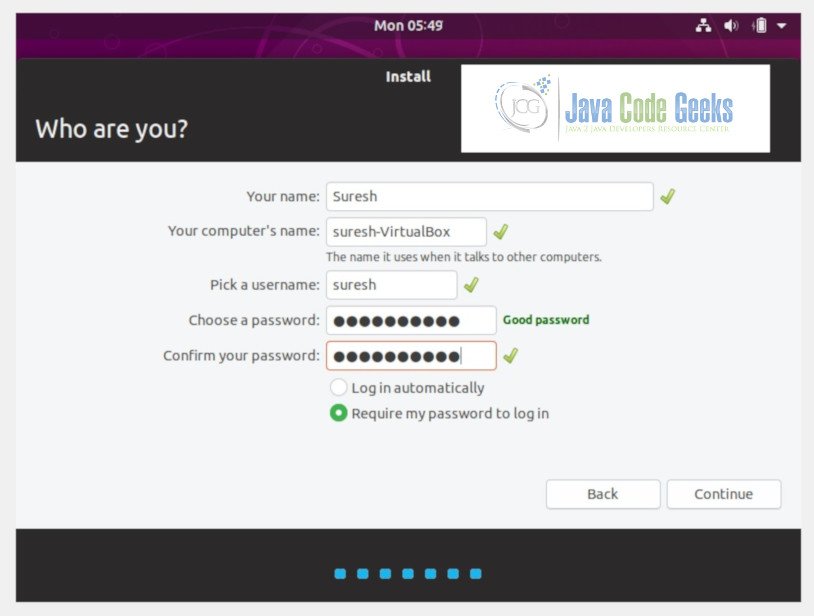
Provide your name, computer’s name, user name and password. Click Continue.
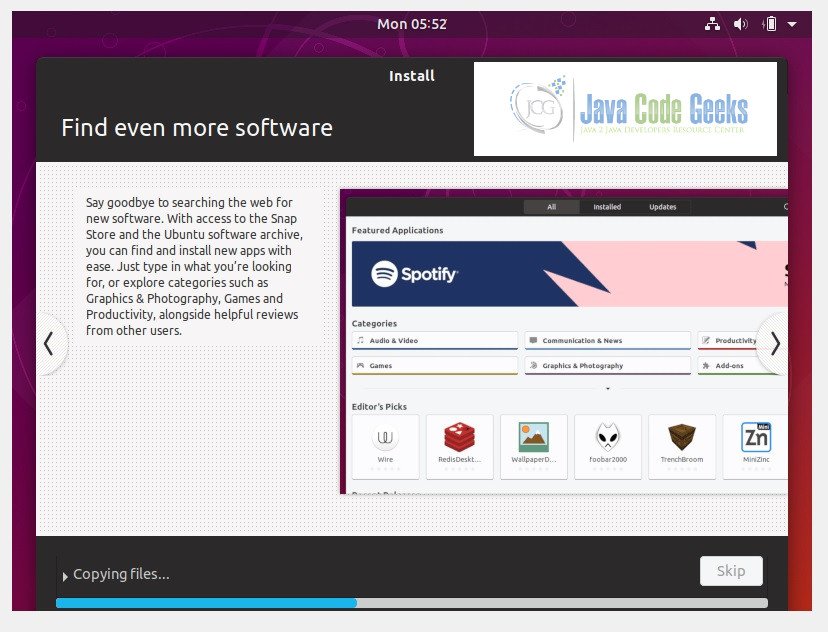
Installation is in progress:
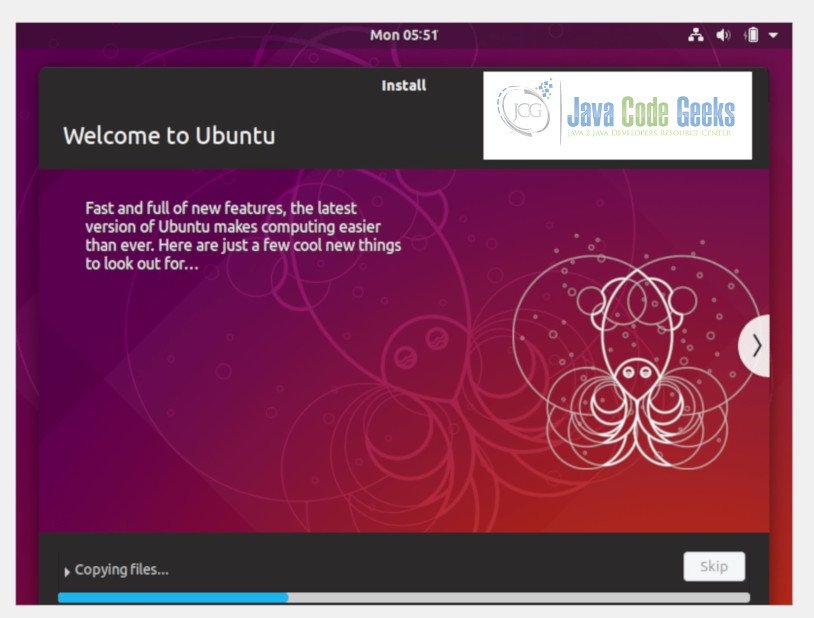
Installation is in Progress:
Ubuntu is now successfully installed and ready for you to use. Go Ahead and Reboot to start using it. Click the Restart Now button.

Ubuntu is starting:

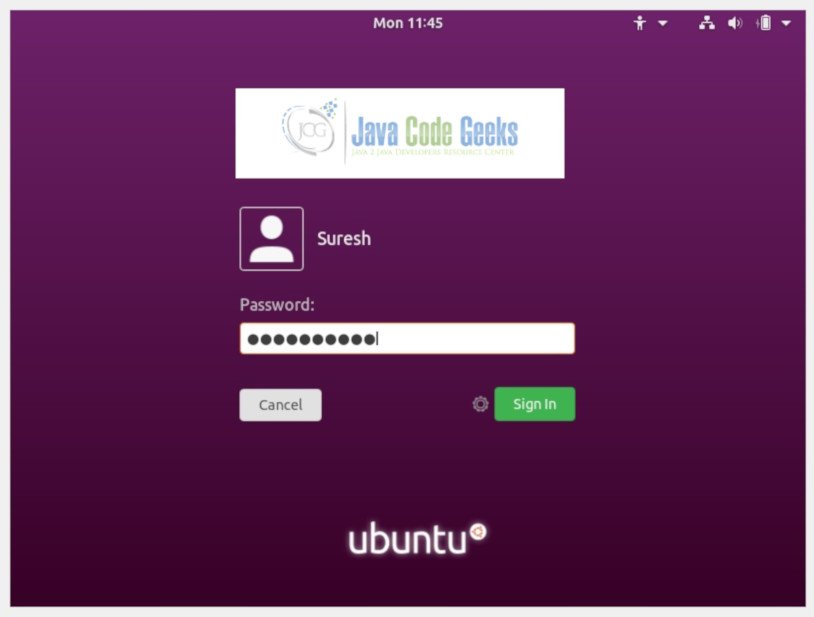
Ubuntu OS is up and running now. It is prompting the User Suresh to login with his Credentials:
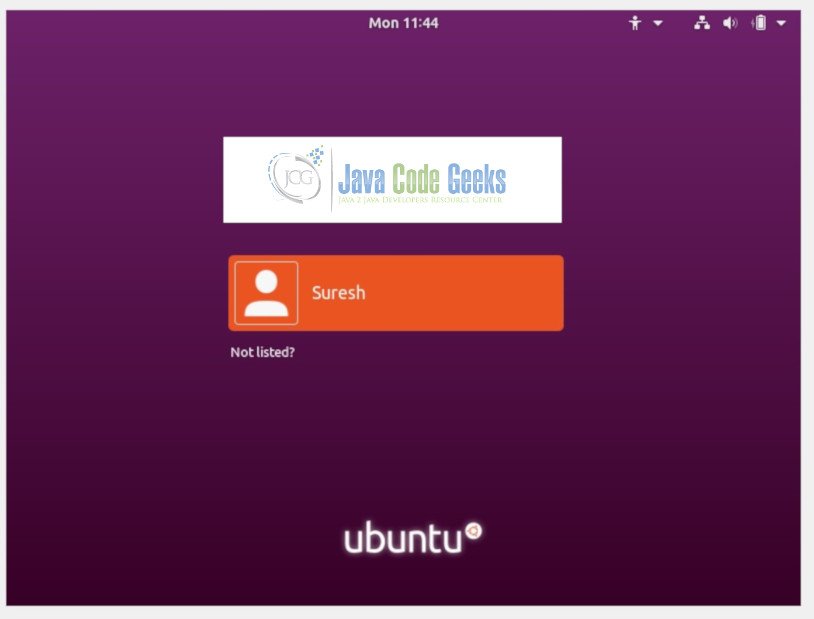
User Suresh is now logging in with his Credentials. Clicks Sign In button.
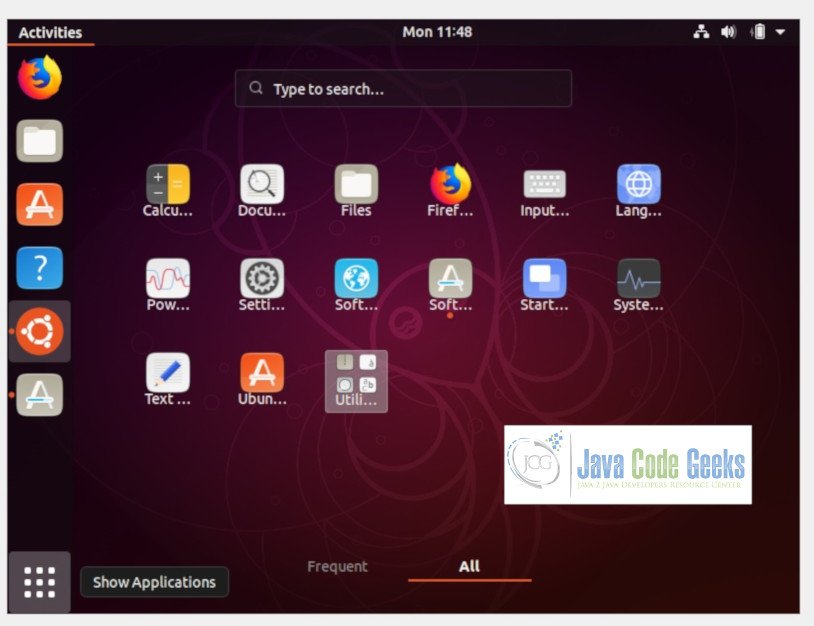
Ubuntu Operating System main screen is displayed after the User Suresh has successfully authenticated and logged in:
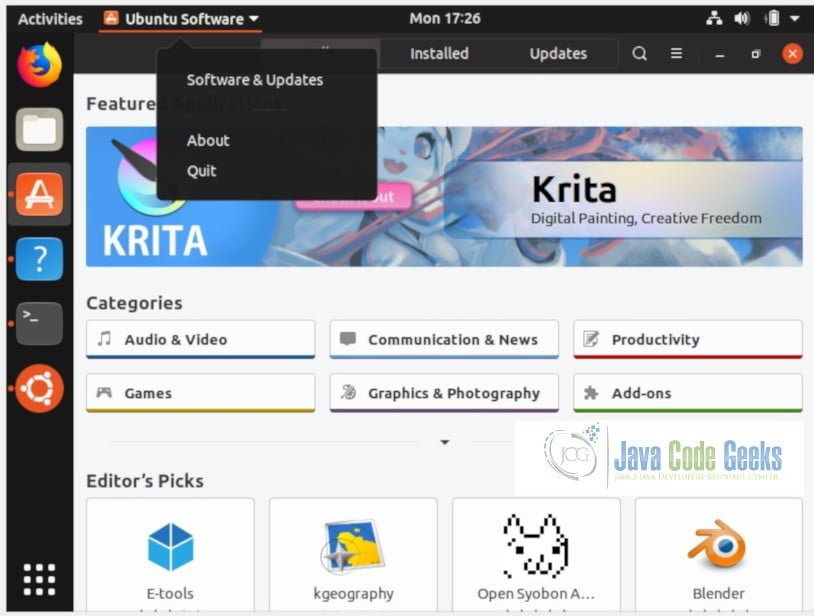
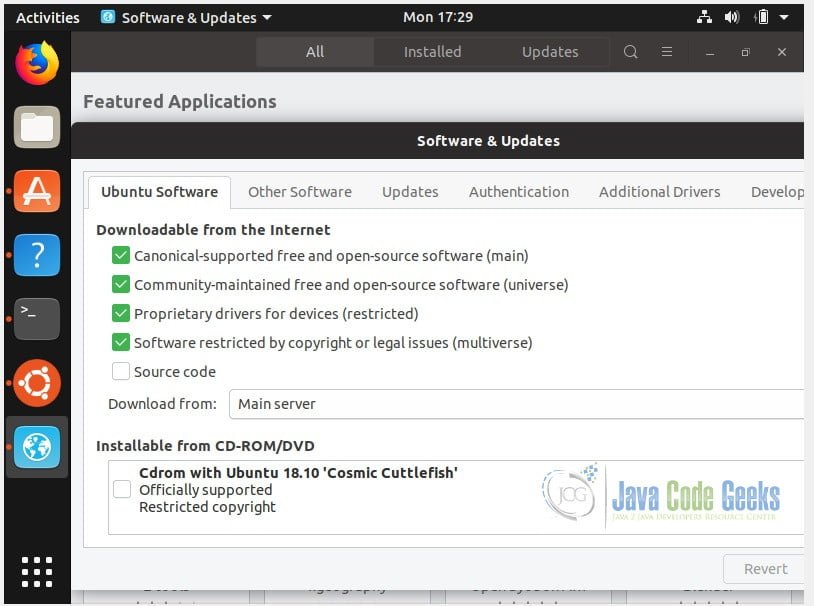
Settings: Click Ubuntu Software -> Select Software & Updates:
Select Download From: Main Server
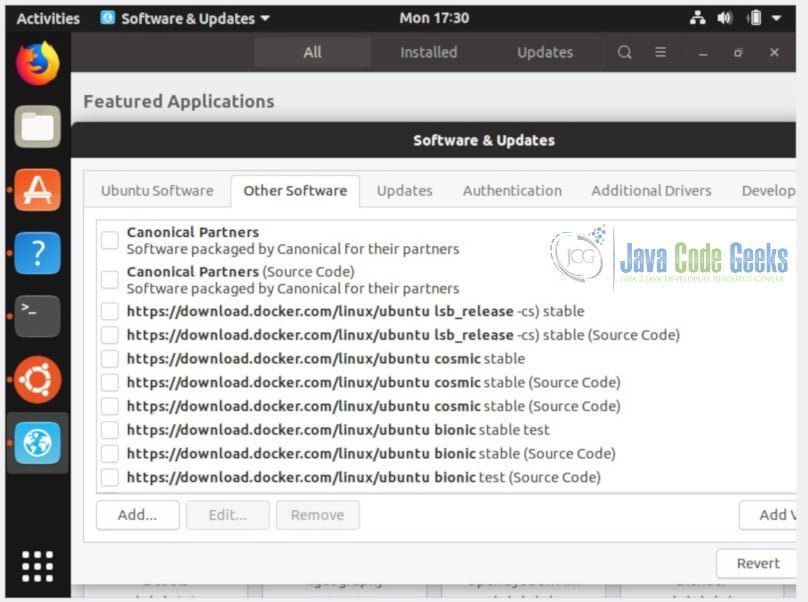
Other Software: Uncheck all the checkboxes
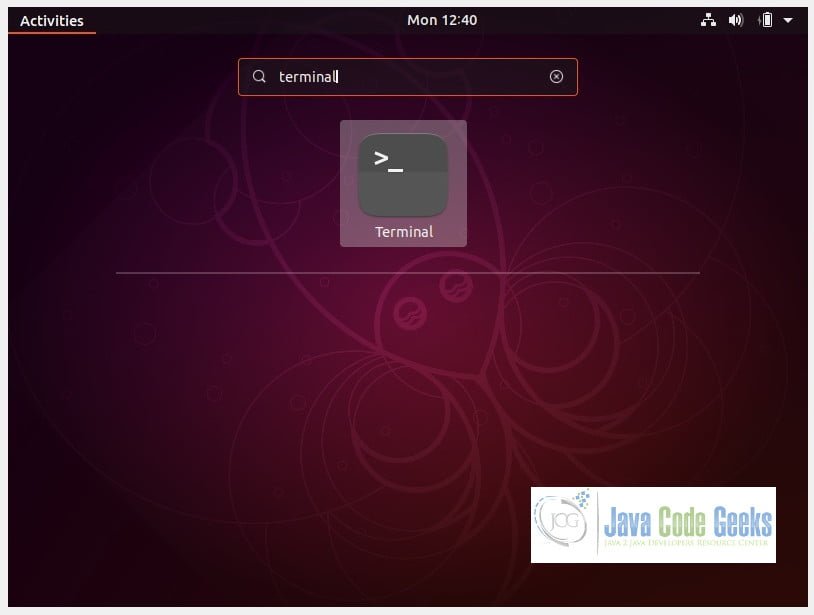
Switching Ubuntu from screen GUI (Graphical User Interface) to CUI (Character User Interface) by typing Terminal in the Search Box:
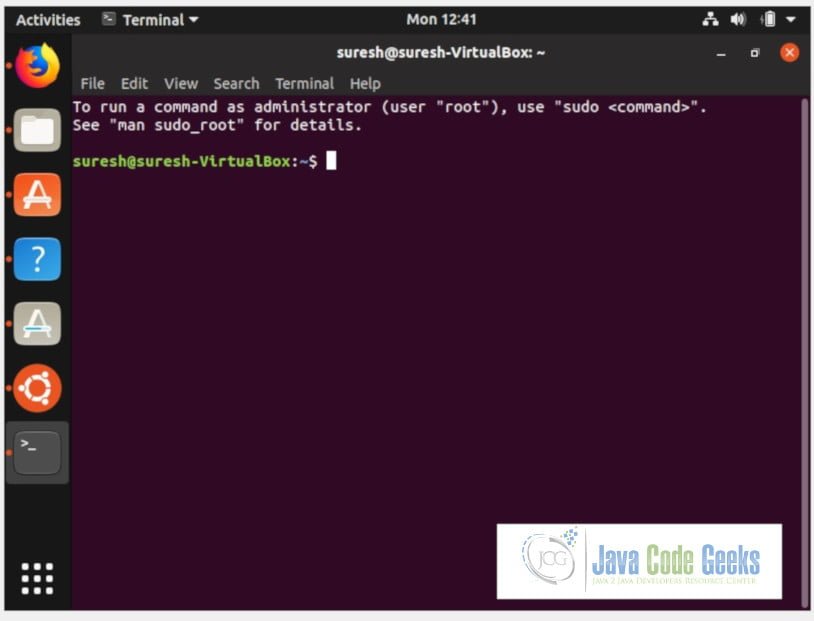
Ubuntu is displaying command line prompt for the user who logged in and it is ready to accepts commands from the User Suresh:
5. Installation of Docker on Ubuntu in the Virtual Machine
Let us see know how to install Docker on Ubuntu OS in the new Virtual Machined named as Ubuntu.
5.1 Prerequisites
To get started with Docker CE (Community Edition) on Ubuntu, make sure you meet the prerequisites, then install Docker.
OS Requirements:
To install Docker CE, you need the 64-bit version of one of these Ubuntu versions:
- Cosmic 18.10
- Bionic 18.04 (LTS)
- Xenial 16.04 (LTS)
Docker CE is supported on x86_64 (or amd64), armhf, arm64, s390x (IBM Z), and ppc64le (IBM Power) architectures.
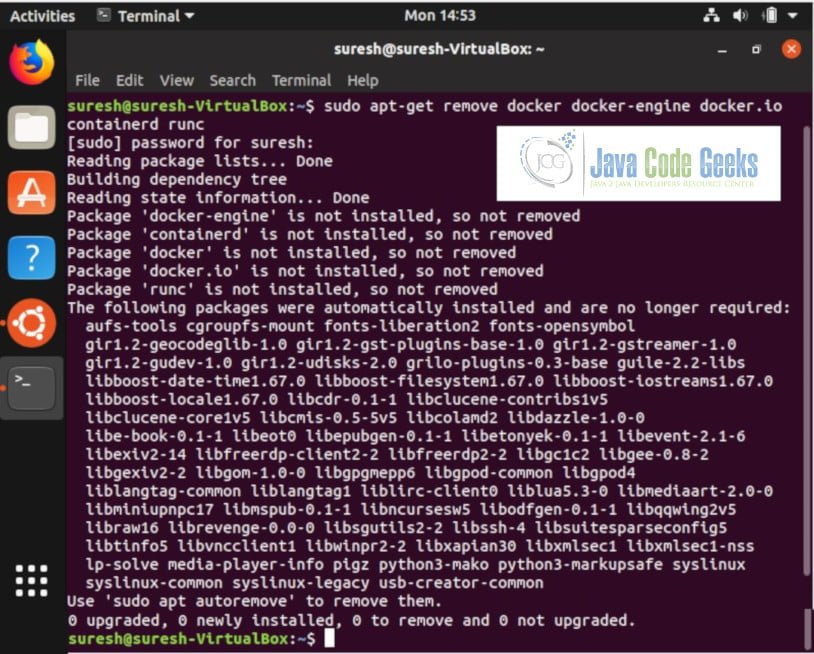
Uninstall Old Docker Versions:
sudo apt-get remove docker docker-engine docker.io containerd runc – Older versions of Docker were called docker, docker.io, or docker-engine. If these are installed, uninstall them.
It’s ok, if apt-get reports that none of these packages are installed.
The contents of /var/lib/docker/, including images, containers, volumes, and networks, are preserved. The Docker CE package is now called docker-ce.
5.2 Install Docker Community Editions (CE)
You can install Docker CE in different ways, depending on your needs:
- Most users set up Docker’s repositories and install from them, for ease of installation and upgrade tasks. This is the recommended approach.
- Some users download the DEB package and install it manually and manage upgrades completely manually. This is useful in situations such as installing Docker on air-gapped systems with no access to the internet.
- In testing and development environments, some users choose to use automated convenience scripts to install Docker.
5.2.1 Install using the Repository
Before you install Docker CE for the first time on a new host machine, you need to set up the Docker repository. Later, you can install and update Docker from the repository.
5.2.2 Setup the Repository
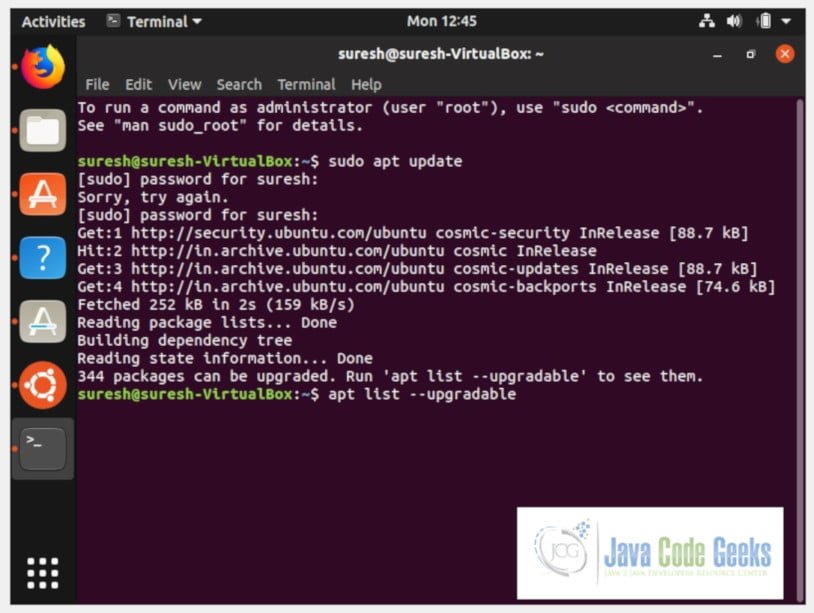
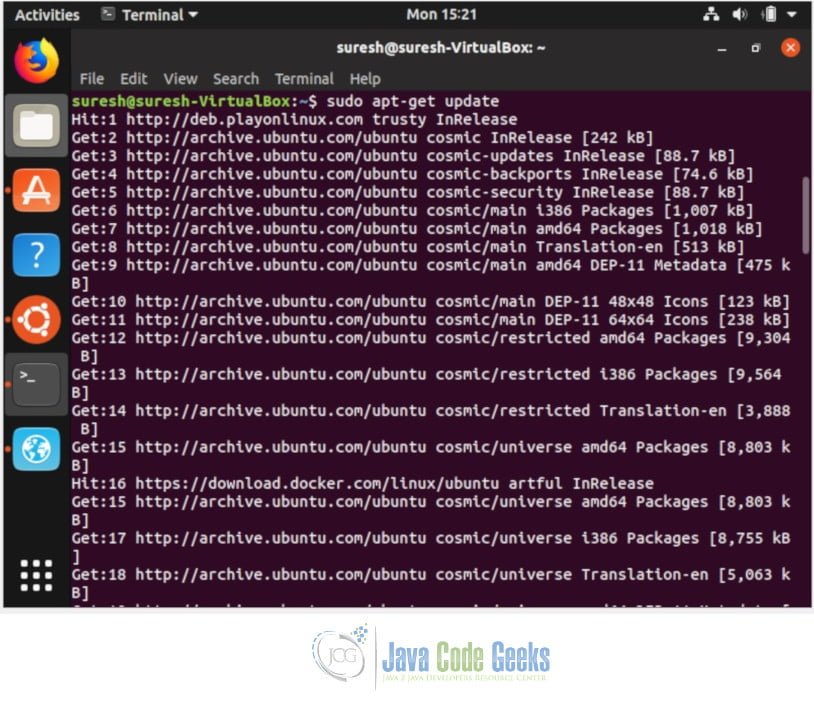
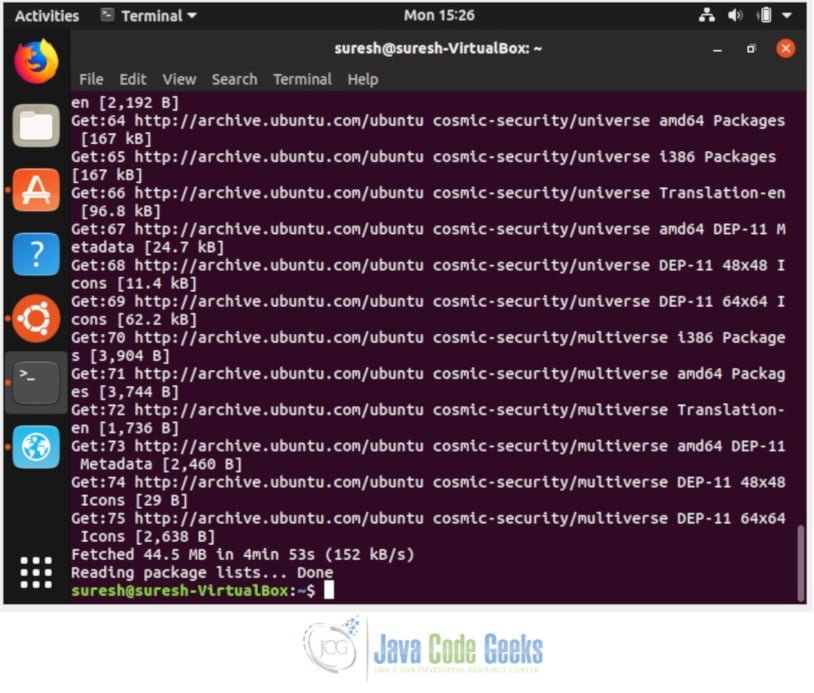
sudo apt-get update – Update the apt package index.
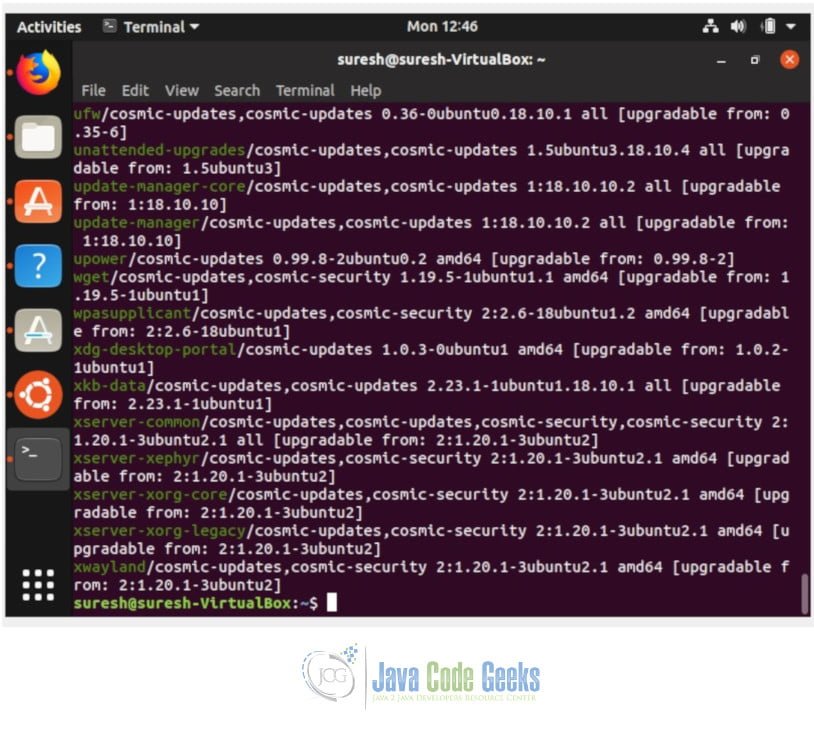
apt list –upgradable – List all packages which are scheduled for an update.
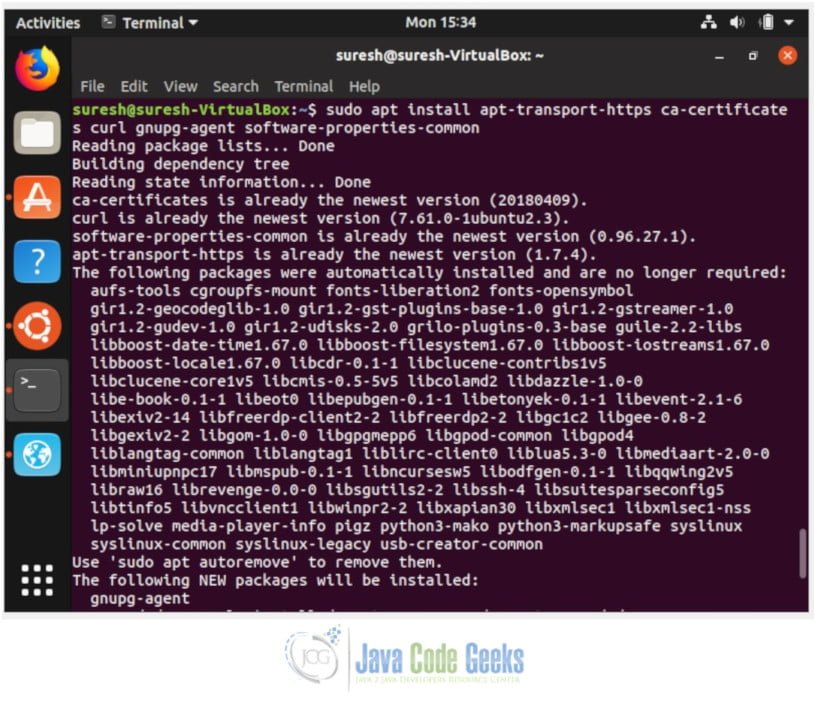
sudo apt-get install apt-transport-https ca-certificates curl gnupg-agent software-properties-common – Install packages to allow apt to use a repository over HTTPS:
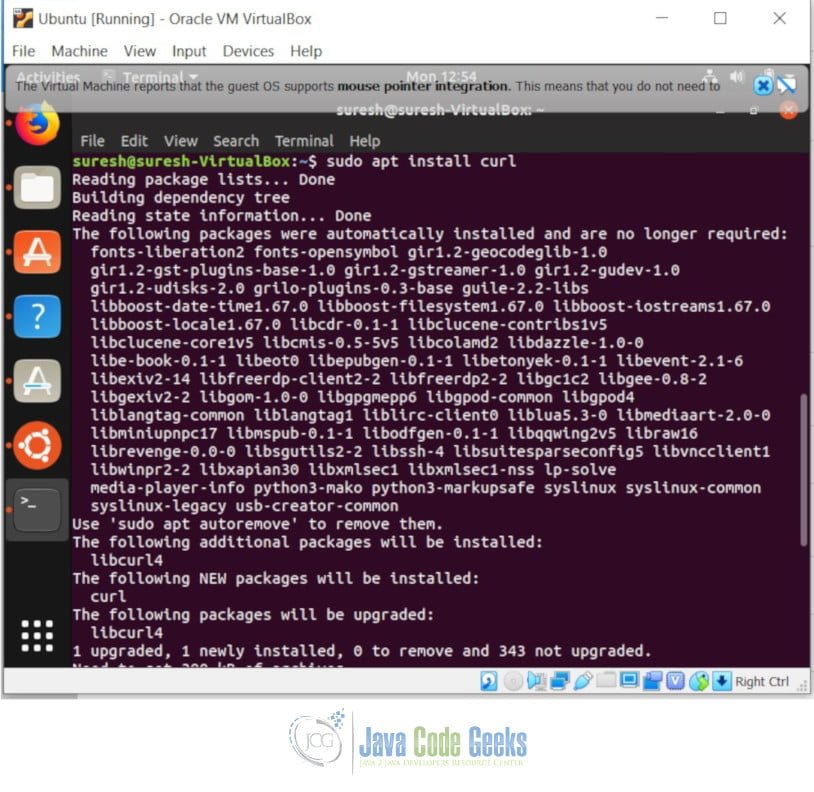
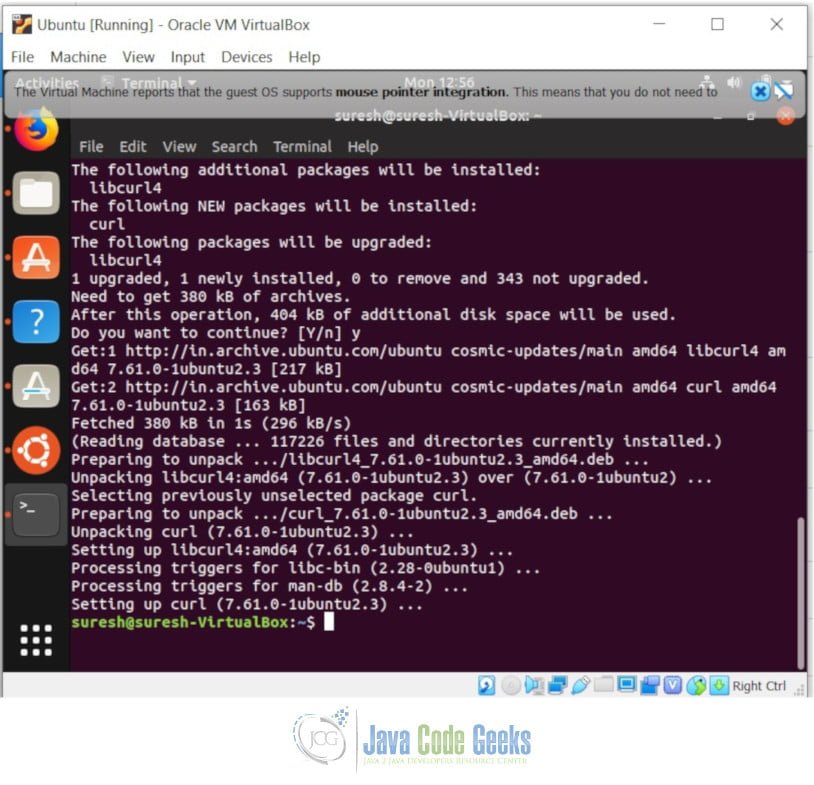
sudo apt install curl – cURL is a computer software project providing a library and command-line tool for transferring data using various protocols.
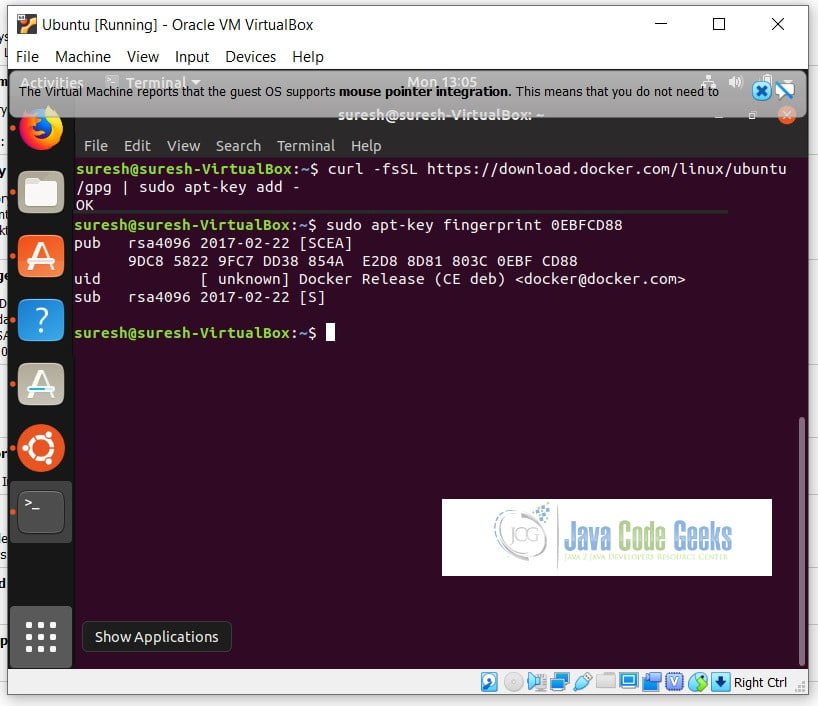
curl -fsSL https://download.docker.com/linux/ubuntu/gpg | sudo apt-key add – – Add Docker’s official GPG key
sudo apt-key fingerprint 0EBFCD88 – Verify that you now have the key with the fingerprint 9DC8 5822 9FC7 DD38 854A E2D8 8D81 803C 0EBF CD88, by searching for the last 8 characters of the fingerprint.
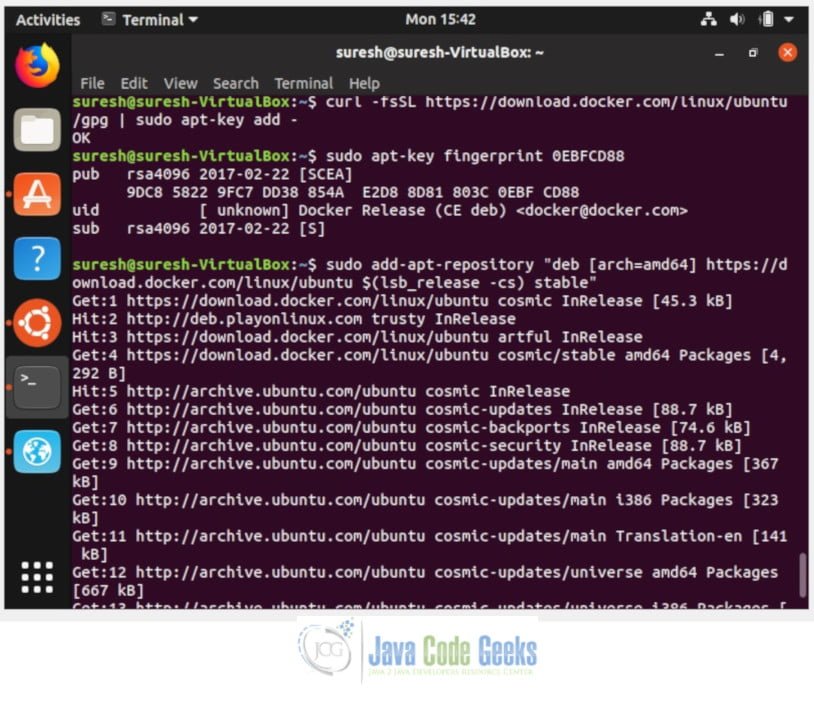
Use the following command to set up the stable repository. To add the nightly or test repository, add the word nightly or test (or both) after the word stable in the commands below.
sudo add-apt-repository “deb [arch=amd64] https://download.docker.com/linux/ubuntu $(lsb_release -cs) stable”
5.2.3 Install Docker CE
sudo apt-get update – Update the apt package index
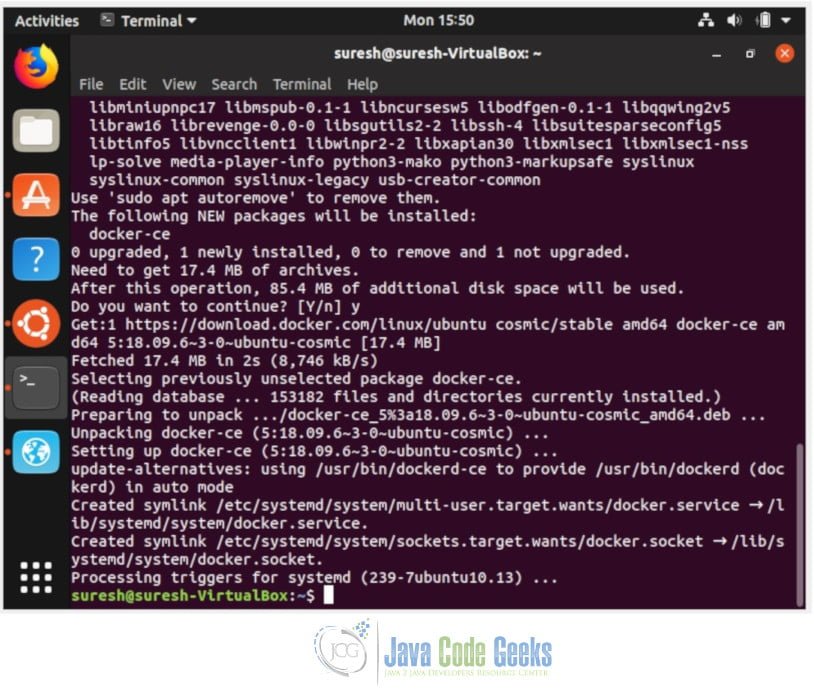
sudo apt-get install docker-ce docker-ce-cli containerd.io – Install the latest version of Docker CE and containerd:

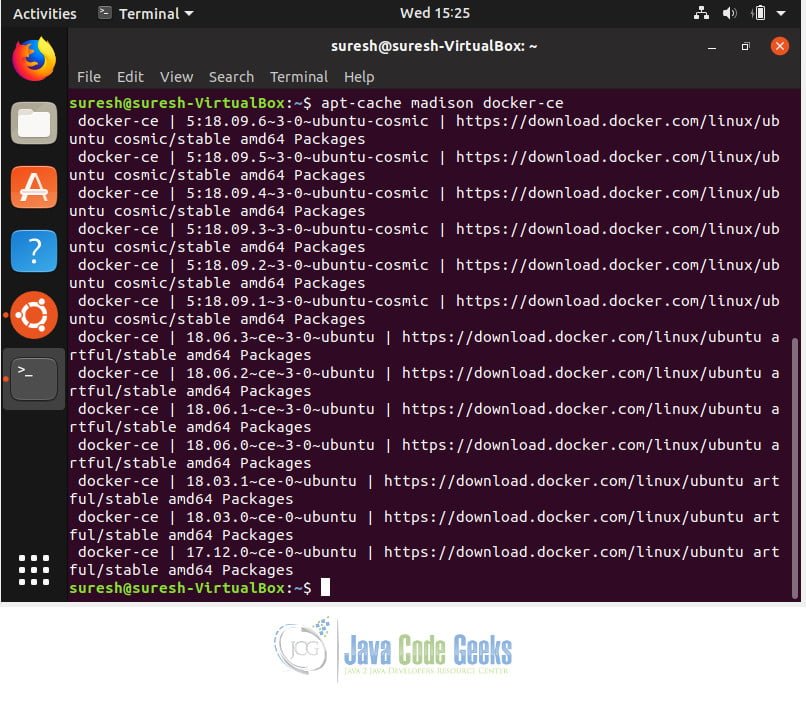
To install a specific version of Docker CE, list the available versions in the repo, then select and install:
apt-cache madison docker-ce – List the versions available in your repo.
sudo apt-get install docker-ce=<VERSION_STRING> docker-ce-cli=<VERSION_STRING> containerd.io – Install a specific version using the version string from the second column, for example, 5:18.09.1~3-0~ubuntu-xenial.
sudo docker run hello-world – Verify that Docker CE is installed correctly by running the hello-world image.
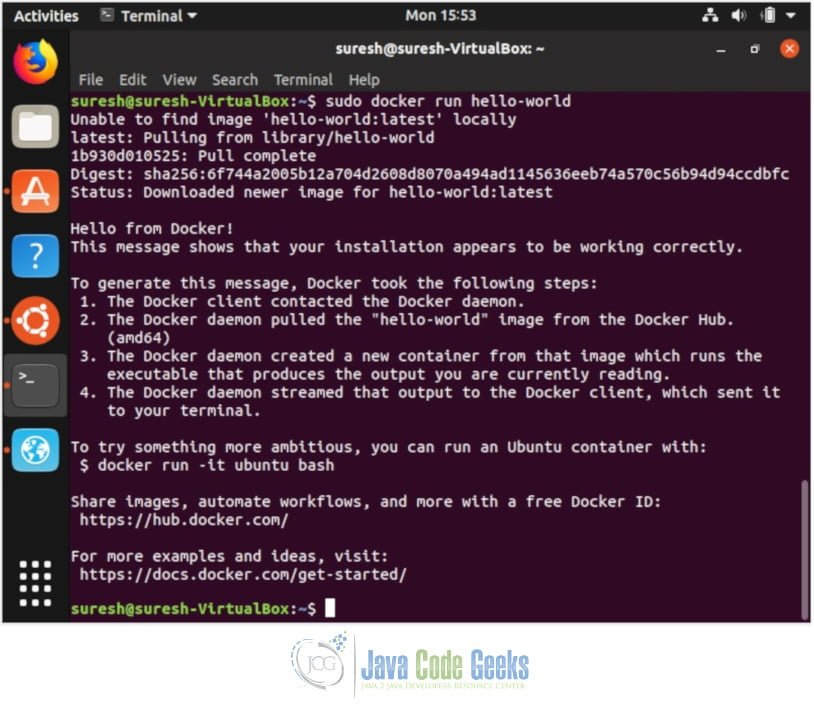
This command downloads a test image and runs it in a container. When the container runs, it prints an informational message and exits.
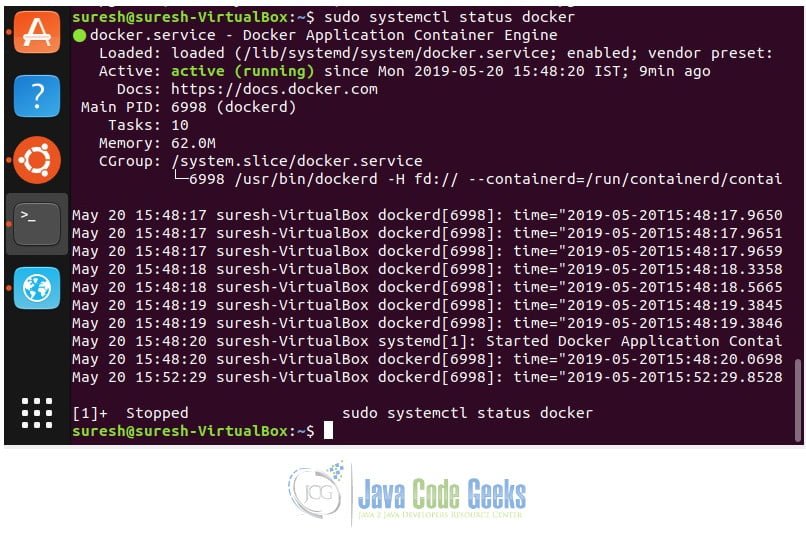
sudo systemctl status docker – Verify the Status of Docker (Running)
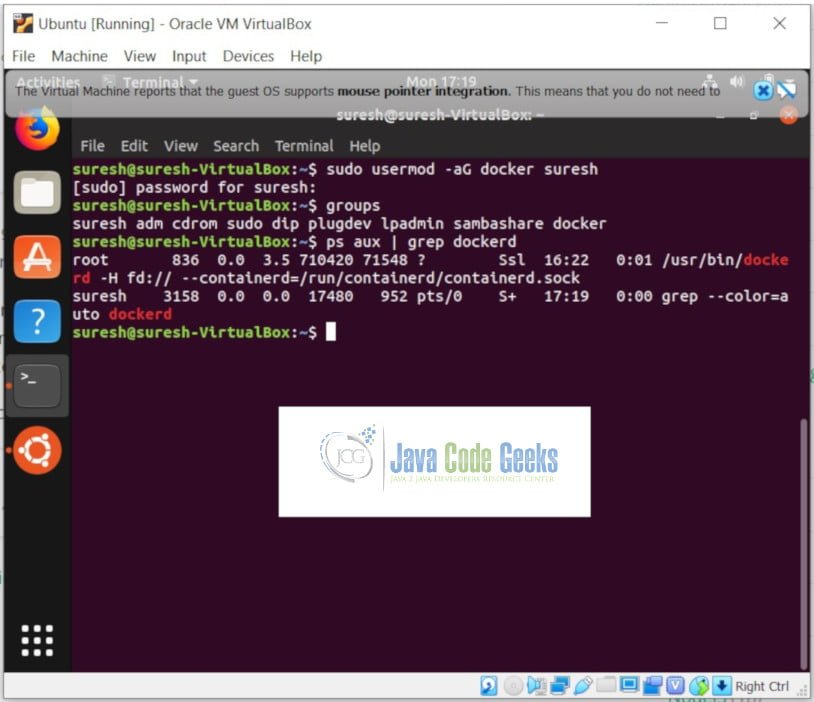
sudo usermod -aG docker suresh – Add a user to the docker group
After running the above command, you need to log out and log back into your computer (or terminate your SSH session and re-connect in case you are logged in using SSH) – else, the group change does not take effect.
Running groups should show you that you now belong to the docker group:
groups – Displays the collection of Users
ps aux | grep dockerd – The Docker client communicates usually with the daemon either locally, via the unix socket /var/run/docker.sock, or over a network via a tcp socket.
docker – To view all available subcommands

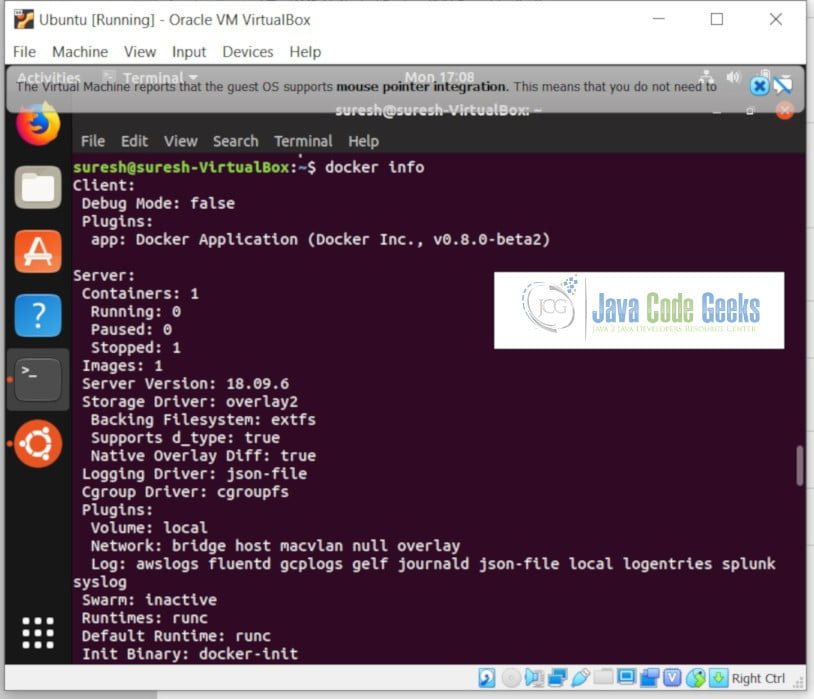
docker info – To view system-wide information
docker images – List Images
docker search ubuntu – Search the Docker Hub for images (ubuntu)

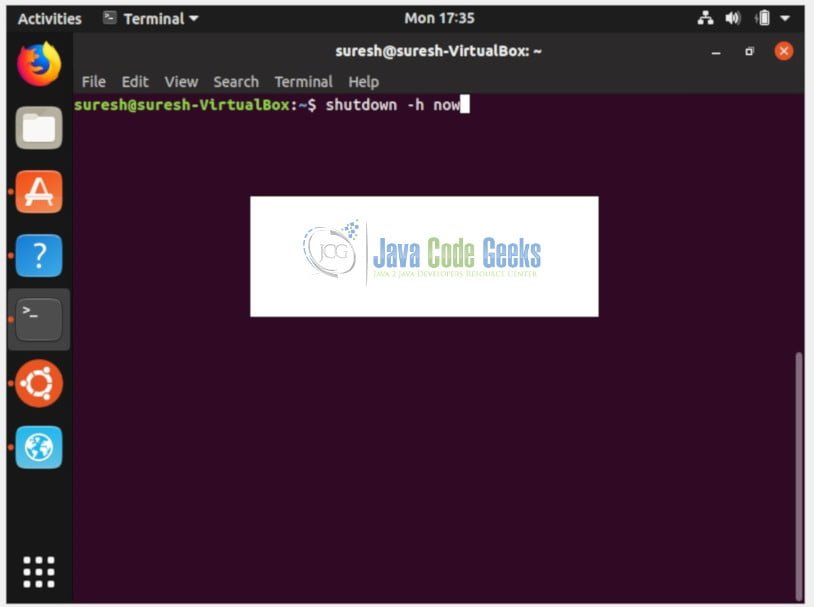
shudown -h now – Linux Command to power off the machine (virtual machine) .
6. Summary
In this Docker Install on Ubuntu Example we have learned the following:
- Downloading, Installing and Configuring Oracle VM VirtualBox on Windows 10 OS (host).
- Creating and Configuring a New Virtual Machine using Oracle VM VirtualBox.
- Downloading Ubuntu.
- Installing and Configuring Ubuntu on the new Virtual Machine (guest).
- Downloading, Installing Docker CE on Ubuntu which is on Virtual Machine (guest).
- Executing Docker Commands and pulling images from the public Docker Hub Registry.
Last updated on Feb. 27th, 2022
