In this example we are going to explain the difference between the @Before and @BeforeClass annotations of JUnit testing framework, using Eclipse IDE.
1. Create JUnit test
In this section, we will create the test case that will help us explain the difference between those annotations.
Before you create the test class, it is considered as good practice to create a new source folder dedicated to tests. For this purpose, right-click your project, select New -> Source Folder, name the new source folder test and click Finish.

You can also have the same result by right-clicking on your project and select Properties -> Java Build Path -> Source and Add Folder.
Now we are ready to proceed with the creation of the JUnit test class.
Right-click the test source folder, create a new package com.javacodegeeks.junit and then, right-click the package and select New → JUnit Test Case.

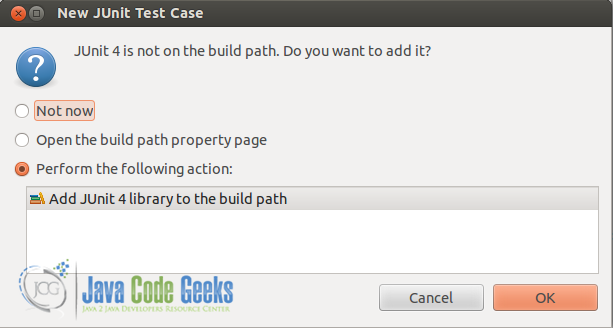
If your project does not contain the JUnit library in its classpath, the following message will be displayed so as to add the JUnit library to the classpath.
The code of the test class which is named JunitTestExample.java, follows.
JunitTestExample.java:
package com.javacodegeeks.junit;

import static org.junit.Assert.*;

import java.util.ArrayList;

import org.junit.*;

public class JunitTestExample {


	private ArrayList testList;

		    @BeforeClass
		    public static void onceExecutedBeforeAll() {
		        System.out.println("@BeforeClass: onceExecutedBeforeAll");
		    }

		    @Before
		    public void executedBeforeEach() {
		        testList = new ArrayList();
		        System.out.println("@Before: executedBeforeEach");
		    }

		    @Test
		    public void EmptyCollection() {
		        assertTrue(testList.isEmpty());
		        System.out.println("@Test: EmptyArrayList");

		    }

		    @Test
		    public void OneItemCollection() {
		        testList.add("oneItem");
	        assertEquals(1, testList.size());
		        System.out.println("@Test: OneItemArrayList");
		    }

}
2. What is the difference between @Before and @BeforeClass annotations?
@Before
public void method()
TheBeforeannotation indicates that this method must be executed before each test in the class, so as to execute some preconditions necessary for the test.@BeforeClass
public static void method()
TheBeforeClassannotation indicates that the static method to which is attached must be executed once and before all tests in the class. That happens when the test methods share computationally expensive setup (e.g. connect to database).
3. Run the JUnit test case
Now we can run the test case by right-clicking on the test class and select Run As -> JUnit Test.

If we run the above code, we will have the following results:
- Output:
@BeforeClass: onceExecutedBeforeAll
@Before: executedBeforeEach
@Test: EmptyArrayList
@Before: executedBeforeEach
@Test: OneItemArrayList
Download the source code
This was an example of @Before and @BeforeClass annotations in JUnit testing framework.
You can download the full source code of this example here : JUnitBeforeClassExample
