Android changed a lot the visual design patters, regarding the designing of modern Android applications, with the introduction of Material Design in in API 21 (Android 5.0 Lollipop). Among many changes that focus on rich user experience and advances, a new component, Android Toolbar has replaced the old Action Bar.
Android Toolbar is a complete replacement to the old ActionBar, as it provides the developer with great control to customise the appearance of the component unlike old ActionBar. Using Toolbar, developers can now, show multiple toolbars on the screen spanning only part of the width, change the colors and icons following the general Android guidelines, and opening the way to multiple animations even on the Toolbar of a modern application.
Android Toolbar was introduced in Android Lollipop (API level 21), and it is available for use from this API level and above. However with the help of the new AppCompat support library version 22.1 which introduces a lot of cool new features that allow easily to add Material Design/API 21+ features to our old, non-AppCompat Activities, we can use the Android Toolbar with backwards compatibility that covers Android API Level 7 and above.
In this tutorial we are going to implement Android Toolbar with the help of the AppCompat Support library. Our goal is to implement a toolbar which is supported by older versions of Android as well.
For our example will use the following tools in a Windows 64-bit or an OS X platform:
- JDK 1.7
- Eclipse 4.2 Juno
- Android SDK 4.4.2
Let’s take a closer look:
1. Create a New Android Application Project
You may skip project creation and jump directly to the beginning of the example below.
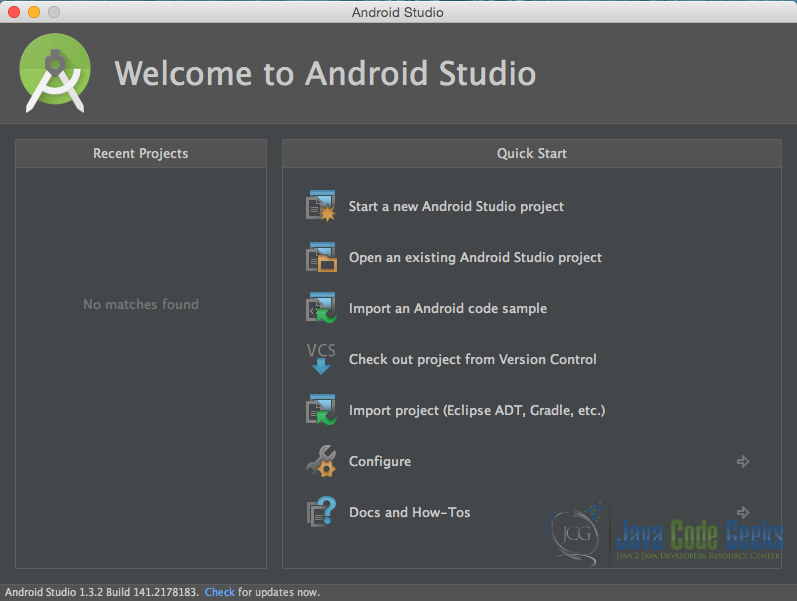
Open Android Studio and choose “Start a new Android Studio Project” in the welcome screen.
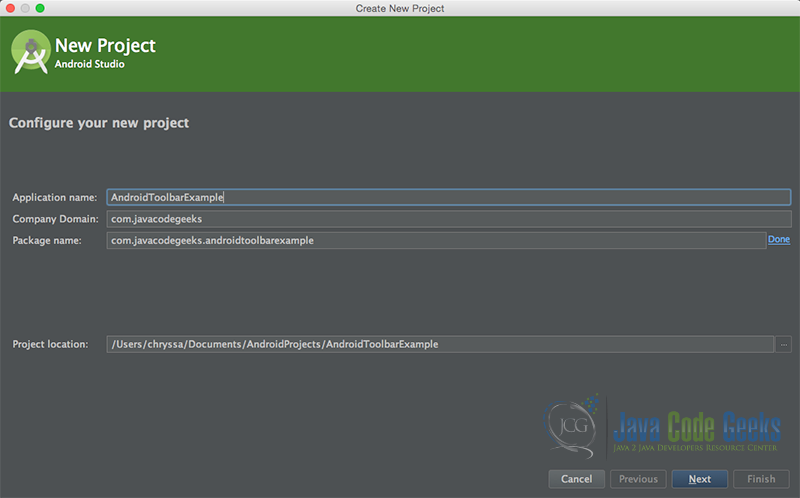
Specify the name of the application, the project and the package.
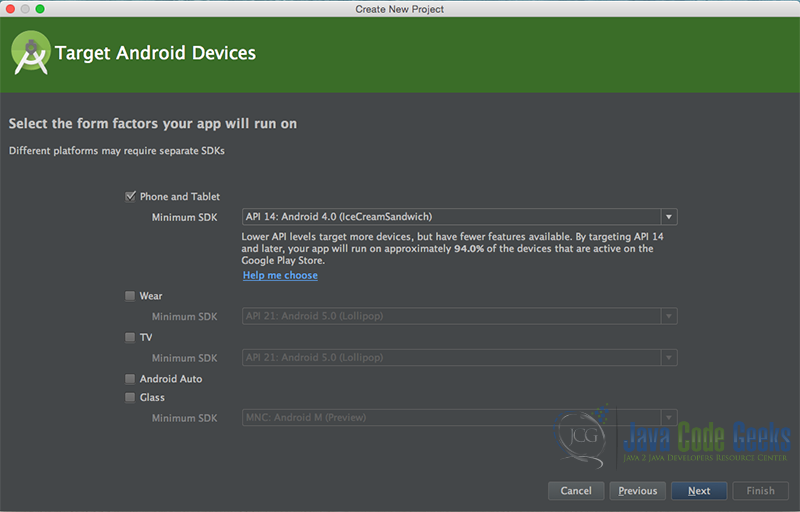
In the next window, select the form factors your app will run on.
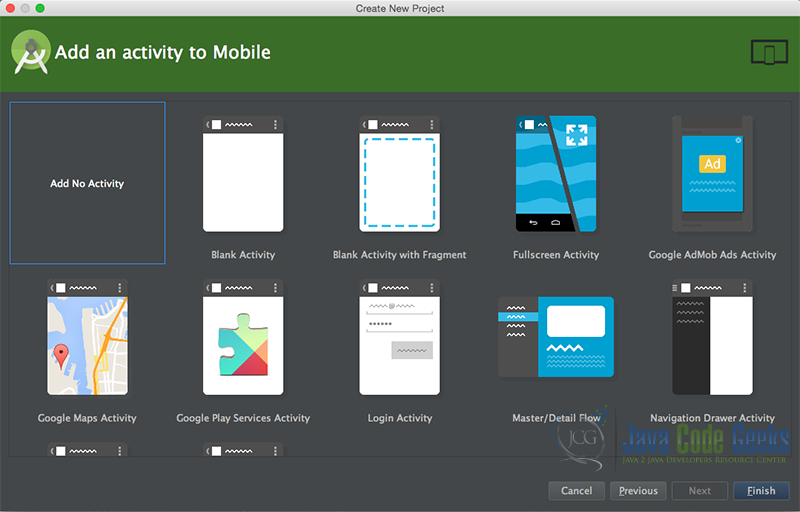
In the next window you should choose “Blank Activity”. In our example, we choose to create a project with some basic configuration.
As we can see now, our project has some basic files, such as our value files that contain the strings, the styles and the default dimens. Now, our project has just been created. This is how it looks like in the “Android” project view:

2. Create the layout of the project
To add an Android Toolbar component, we declare our user interface with a Toolbar to the position we want to add it. In this example, we are going to have the Android Toolbar to its natural place on the top of our xml.
To begin with, we need to add a Toolbar component to our layout.
Open res/layout/activity_main.xml, go to the respective xml tab and paste the following:
activity_main.xml
<?xml version="1.0" encoding="utf-8"?>
<LinearLayout xmlns:android="http://schemas.android.com/apk/res/android"
    android:layout_width="match_parent"
    android:layout_height="match_parent">

    <android.support.v7.widget.Toolbar
        android:id="@+id/toolbar"
        android:layout_width="match_parent"
        android:layout_height="58dp"
        android:background="?attr/colorPrimary"
        android:minHeight="?attr/actionBarSize"
        android:titleTextColor="#ffffff">
    </android.support.v7.widget.Toolbar>
</LinearLayout>
3. Creating the source code of the main AndroidToolbarExample Activity
We have to instantiate the Toolbar and add it to your activity by using setSupportActionBar(Toolbar) method.
Open src/com.javacodegeeks.androidtoolbarexample/AndroidToolbarExample.java file and paste the code below.
AndroidToolbarExample.java
package com.javacodegeeks.androidtoolbarexample;

import android.os.Bundle;
import android.support.v7.app.AppCompatActivity;
import android.support.v7.widget.Toolbar;
import android.view.View;
import android.widget.Toast;

public class AndroidToolbarExample extends AppCompatActivity {

    Toolbar toolbar;

    @Override
    protected void onCreate(Bundle savedInstanceState) {
        super.onCreate(savedInstanceState);
        setContentView(R.layout.activity_main);
        initToolBar();

    }

    public void initToolBar() {
        toolbar = (Toolbar) findViewById(R.id.toolbar);
        toolbar.setTitle(R.string.toolbarTitle);

        setSupportActionBar(toolbar);

        toolbar.setNavigationIcon(R.drawable.ic_toolbar_arrow);
        toolbar.setNavigationOnClickListener(
                new View.OnClickListener() {
                    @Override
                    public void onClick(View v) {
                        Toast.makeText(AndroidToolbarExample.this, "clicking the toolbar!", Toast.LENGTH_SHORT).show();
                    }
                }

        );
    }
}
We have also added an OnClickListener to the Toolbar in order to add a click event on it.

3. Modify application styles
Open res/layout/styles.xml, go to the respective xml tab and paste the following:
styles.xml
<resources>

    <!-- Base application theme. -->
    <style name="AppTheme" parent="Theme.AppCompat.NoActionBar">
        <!-- Customize your theme here. -->
        <item name="windowActionBar">false</item>
        <!-- colorPrimary is used for coloring the Toolbar -->
        <item name="colorPrimary">#3F51B5</item>
        <!-- colorPrimaryDark is used for coloring the status bar -->
        <item name="colorPrimaryDark">#303F9F</item>
        <!-- colorAccent is used as the default value for colorControlActivated
             which is used to tint widgets -->
        <item name="colorAccent">#FFAB40</item>
    </style>

</resources
>
4. Composing Android Manifest
The AndroidManifest.xml of our project is simple but we must apply the above theme to Activity. Here in this step we need to apply the theme which we have created.
This can be done, by using android:theme attribute in your application AndroidManifest.xml.
AndroidManifest.xml
<manifest xmlns:android="http://schemas.android.com/apk/res/android"
    package="com.javacodegeeks.androidtoolbarexample">

    <application
        android:allowBackup="true"
        android:icon="@mipmap/ic_launcher"
        android:label="@string/app_name"
        android:theme="@style/AppTheme">
        <activity
            android:name=".AndroidToolbarExample"
            android:label="@string/app_name">
            <intent-filter>
                <action android:name="android.intent.action.MAIN" />
                <category android:name="android.intent.category.LAUNCHER" />
            </intent-filter>
        </activity>

    </application>

</manifest>
5. Composing build.gradle file
We should add the App Compact V7 support support library in our project. We can add the App Compact V7 support support library dependency to our application via build.gradle file.
build.gradle
apply plugin: 'com.android.application'

android {
    compileSdkVersion 23
    buildToolsVersion "23.0.1"

    defaultConfig {
        applicationId "com.javacodegeeks.androidtoolbarexample"
        minSdkVersion 14
        targetSdkVersion 23
        versionCode 1
        versionName "1.0"
    }
    buildTypes {
        release {
            minifyEnabled false
            proguardFiles getDefaultProguardFile('proguard-android.txt'), 'proguard-rules.pro'
        }
    }
}

dependencies {
    compile fileTree(dir: 'libs', include: ['*.jar'])
    compile 'com.android.support:appcompat-v7:23.1.0'
}
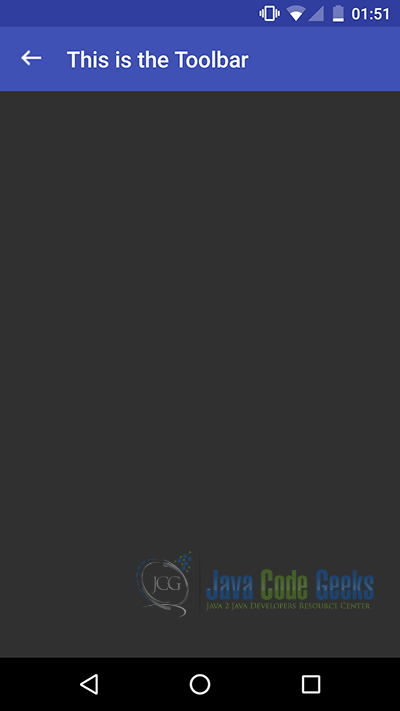
6. Build, compile and run
When we build, compile and run our project, the main Android Navigation Drawer application should look like this:
7. Download the Eclipse Project
This was an example of Android AndroidToolbar Example.
You can download the full source code of this example here: AndroidToolbar

Does the initToolBar(); only need to be called “once” for the whole app despite how many screens it has ?
Thanks