Every Android mobile device, has the ability to read QR codes as well as scanning barcodes to bring a lot of product information, of help us visit a website url, or storing a Contact inside our device’s memory.
In this example, we are going to see how the Android Barcode and Qr Scanner is implemented via the use of the ZXing (Zebra Crossing) library, which will help us to carry out barcode scanning within an Android app.
We will call on the resources in this open apk library within our app, retrieving and processing the returned results.
For our example will use the following tools in a Windows 64-bit or an OS X platform:
- JDK 1.7
- Eclipse 4.2 Juno
- Android SDK 5
Let’s take a closer look:
1. Create a New Android Application Project
You may skip project creation and jump directly to the beginning of the example below.
Open Eclipse IDE and go to File → New → Project → Android Application Project.
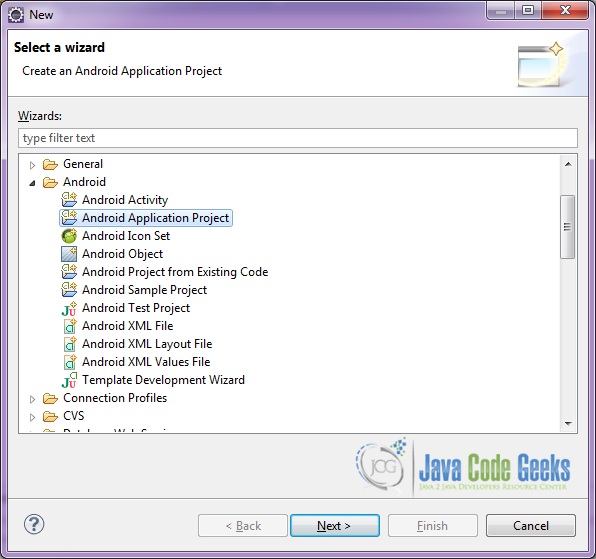
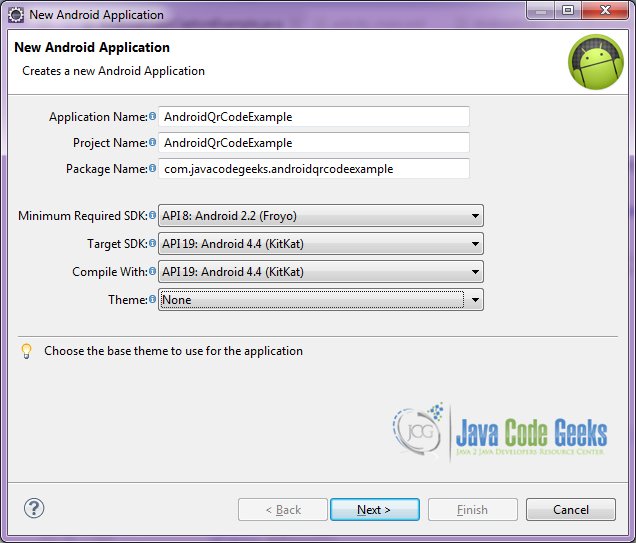
Specify the name of the application, the project and the package and then click Next.
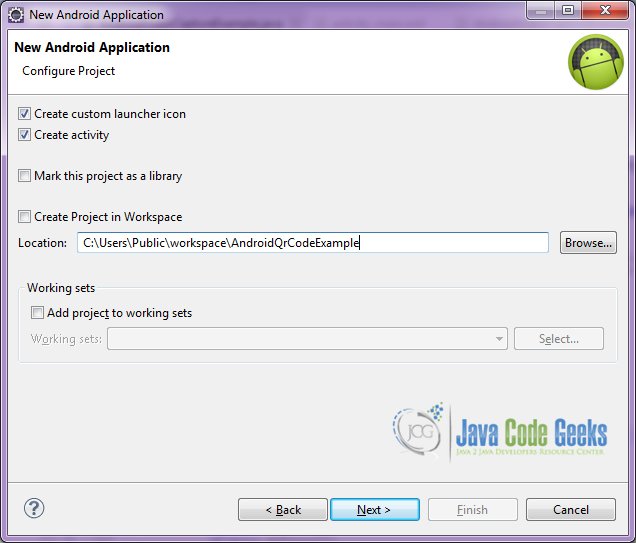
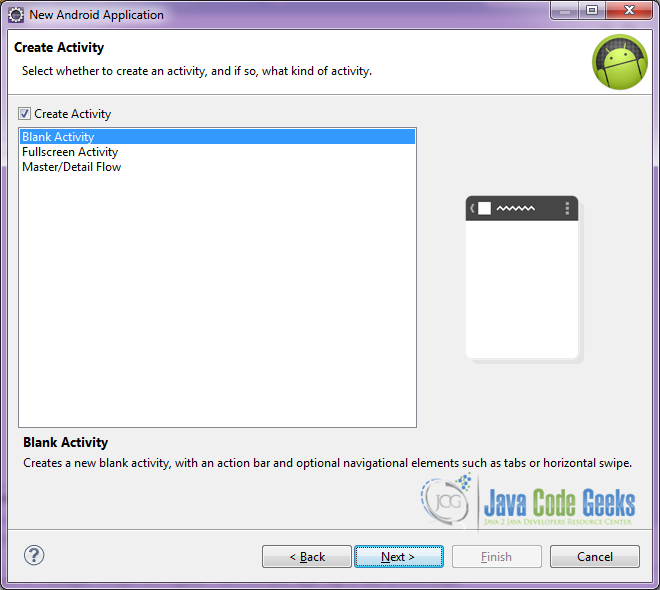
In the next window, the “Create Activity” option should be checked. The new created activity will be the main activity of your project. Then press Next button.
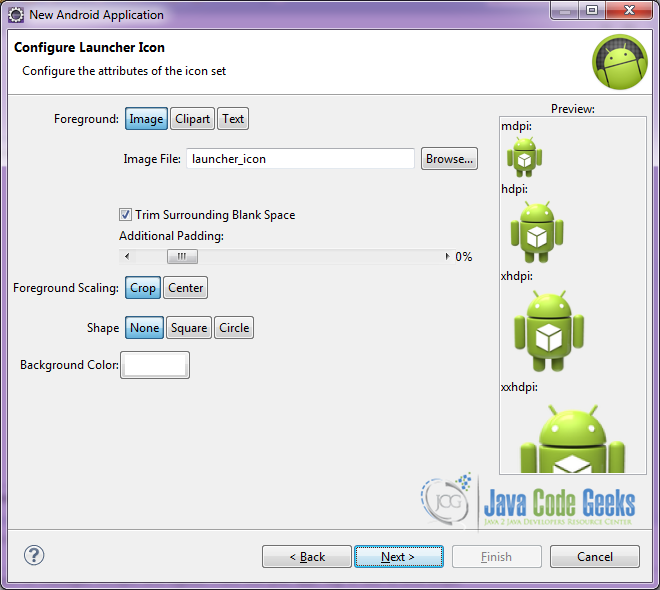
In “Configure Launcher Icon” window you should choose the icon you want to have in your app. We will use the default icon of android, so click Next.
Select the “Blank Activity” option and press Next.
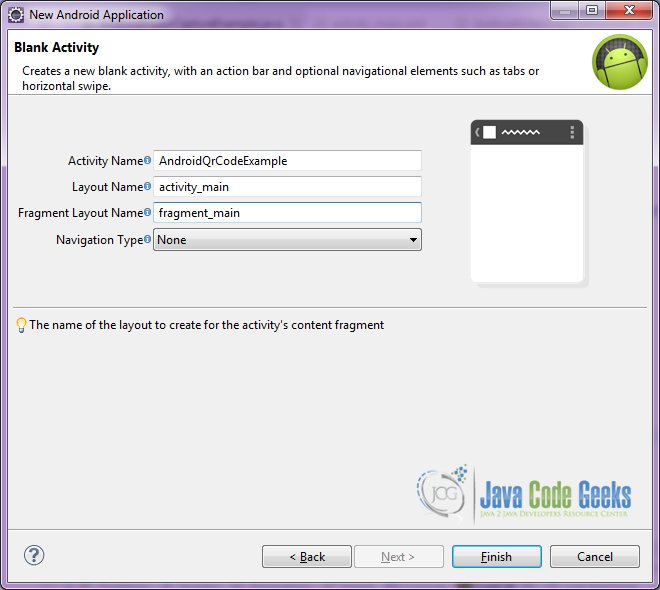
You have to specify a name for the new Activity and a name for the layout description of your app. The .xml file for the layout will automatically be created in the res/layout folder. It will also be created a fragment layout xml, that we are not going to use in this project and you can remove it if you want. Then press Finish.
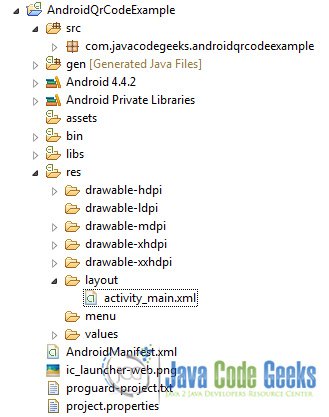
Here you can see, how will the structure of the project become when finished:
2. Creating the layout of the main AndroidBarcodeQrExample
We are going to make a simple layout xml for the AndroidBarcodeQrExample.class, that consists of a AndroidBarcodeQrExample with vertical orientation, that includes two Buttons that implement the onClick listener in order to open the corresponding Activity.
Open res/layout/activity_main.xml, go to the respective xml tab and paste the following:
activity_main.xml
<?xml version="1.0" encoding="utf-8"?>
<LinearLayout xmlns:android="http://schemas.android.com/apk/res/android"
    xmlns:tools="http://schemas.android.com/tools"
    android:id="@+id/container"
    android:layout_width="match_parent"
    android:layout_height="match_parent"
    android:background="#ffffff"
    android:orientation="vertical"
    tools:context="com.javacodegeeks.androidstartactivityforresultexample.ActivityOne" >

    <TextView
        android:id="@+id/textView1"
        android:layout_width="wrap_content"
        android:layout_height="wrap_content"
        android:layout_gravity="center|top"
        android:layout_margin="20dp"
        android:text="Scan"
        android:textColor="#000000"
        android:textSize="30dp" />

    <Button
        android:id="@+id/scanner"
        android:layout_width="250dp"
        android:layout_height="80dp"
        android:layout_gravity="center"
        android:layout_margin="10dp"
        android:gravity="center"
        android:onClick="scanQR"
        android:text="QR Code"
        android:textSize="18dp" >
    </Button>

    <Button
        android:id="@+id/scanner2"
        android:layout_width="250dp"
        android:layout_height="80dp"
        android:layout_gravity="center"
        android:layout_margin="10dp"
        android:gravity="center"
        android:onClick="scanBar"
        android:text="Bar Code"
        android:textSize="18dp" >
    </Button>
</LinearLayout>
3. Creating the source code of the main AndroidBarcodeQrExample Activity
Open src/com.javacodegeeks.androidqrcodeexample/AndroidBarcodeQrExample.java file and paste the code below.
AndroidBarcodeQrExample.java
package com.javacodegeeks.androidqrcodeexample;

import android.app.Activity;
import android.app.AlertDialog;
import android.content.ActivityNotFoundException;
import android.content.DialogInterface;
import android.content.Intent;
import android.net.Uri;
import android.os.Bundle;
import android.view.View;
import android.widget.Toast;

public class AndroidBarcodeQrExample extends Activity {

	static final String ACTION_SCAN = "com.google.zxing.client.android.SCAN";

	@Override
	public void onCreate(Bundle savedInstanceState) {
		super.onCreate(savedInstanceState);
		//set the main content layout of the Activity
		setContentView(R.layout.activity_main);
	}

	//product barcode mode
	public void scanBar(View v) {
		try {
			//start the scanning activity from the com.google.zxing.client.android.SCAN intent
			Intent intent = new Intent(ACTION_SCAN);
			intent.putExtra("SCAN_MODE", "PRODUCT_MODE");
			startActivityForResult(intent, 0);
		} catch (ActivityNotFoundException anfe) {
			//on catch, show the download dialog
			showDialog(AndroidBarcodeQrExample.this, "No Scanner Found", "Download a scanner code activity?", "Yes", "No").show();
		}
	}

	//product qr code mode
	public void scanQR(View v) {
		try {
			//start the scanning activity from the com.google.zxing.client.android.SCAN intent
			Intent intent = new Intent(ACTION_SCAN);
			intent.putExtra("SCAN_MODE", "QR_CODE_MODE");
			startActivityForResult(intent, 0);
		} catch (ActivityNotFoundException anfe) {
			//on catch, show the download dialog
			showDialog(AndroidBarcodeQrExample.this, "No Scanner Found", "Download a scanner code activity?", "Yes", "No").show();
		}
	}

	//alert dialog for downloadDialog
	private static AlertDialog showDialog(final Activity act, CharSequence title, CharSequence message, CharSequence buttonYes, CharSequence buttonNo) {
		AlertDialog.Builder downloadDialog = new AlertDialog.Builder(act);
		downloadDialog.setTitle(title);
		downloadDialog.setMessage(message);
		downloadDialog.setPositiveButton(buttonYes, new DialogInterface.OnClickListener() {
			public void onClick(DialogInterface dialogInterface, int i) {
				Uri uri = Uri.parse("market://search?q=pname:" + "com.google.zxing.client.android");
				Intent intent = new Intent(Intent.ACTION_VIEW, uri);
				try {
					act.startActivity(intent);
				} catch (ActivityNotFoundException anfe) {

				}
			}
		});
		downloadDialog.setNegativeButton(buttonNo, new DialogInterface.OnClickListener() {
			public void onClick(DialogInterface dialogInterface, int i) {
			}
		});
		return downloadDialog.show();
	}

	//on ActivityResult method
	public void onActivityResult(int requestCode, int resultCode, Intent intent) {
		if (requestCode == 0) {
			if (resultCode == RESULT_OK) {
				//get the extras that are returned from the intent
				String contents = intent.getStringExtra("SCAN_RESULT");
				String format = intent.getStringExtra("SCAN_RESULT_FORMAT");
				Toast toast = Toast.makeText(this, "Content:" + contents + " Format:" + format, Toast.LENGTH_LONG);
				toast.show();
			}
		}
	}
}
Let’s see in detail the code above.

We set the activity_main.xml layout and we initialize our main layout on the onCreate method by:
	@Override
	public void onCreate(Bundle savedInstanceState) {
		super.onCreate(savedInstanceState);
		setContentView(R.layout.activity_main);
	}
We trigger the the scanning Activity from the com.google.zxing.client.android.SCAN library by setting an Intent.
	public void scanBar(View v) {
		try {
			Intent intent = new Intent(ACTION_SCAN);
			intent.putExtra("SCAN_MODE", "PRODUCT_MODE");
			startActivityForResult(intent, 0);
		} catch (ActivityNotFoundException anfe) {
			showDialog(AndroidBarcodeQrExample.this, "No Scanner Found", "Download a scanner code activity?", "Yes", "No").show();
		}
	}
When the scanning Activity from com.google.zxing.client.android.SCAN finishes, we have to get back the result, and print the scanned object, so we will use an onActivityResult method with Extras the contents and the code format.
	public void onActivityResult(int requestCode, int resultCode, Intent intent) {
		if (requestCode == 0) {
			if (resultCode == RESULT_OK) {
				String contents = intent.getStringExtra("SCAN_RESULT");
				String format = intent.getStringExtra("SCAN_RESULT_FORMAT");
				Toast toast = Toast.makeText(this, "Content:" + contents + " Format:" + format, Toast.LENGTH_LONG);
				toast.show();
			}
		}
	}
4. Android Manifest
The AndroidManifest.xml of our project is simple and contains the permissions:
AndroidManifest.xml
<?xml version="1.0" encoding="utf-8"?>
<manifest xmlns:android="http://schemas.android.com/apk/res/android"
    package="com.javacodegeeks.androidqrcodeexample"
    android:versionCode="1"
    android:versionName="1.0" >

    <uses-sdk
        android:minSdkVersion="8"
        android:targetSdkVersion="19" />

    <application
        android:allowBackup="true"
        android:icon="@drawable/ic_launcher"
        android:label="@string/app_name" >
        <activity
            android:name="com.javacodegeeks.androidqrcodeexample.AndroidBarcodeQrExample"
            android:label="@string/app_name" >
            <intent-filter>
                <action android:name="android.intent.action.MAIN" />

                <category android:name="android.intent.category.LAUNCHER" />
            </intent-filter>
        </activity>
    </application>
</manifest>
5. Build, compile and run
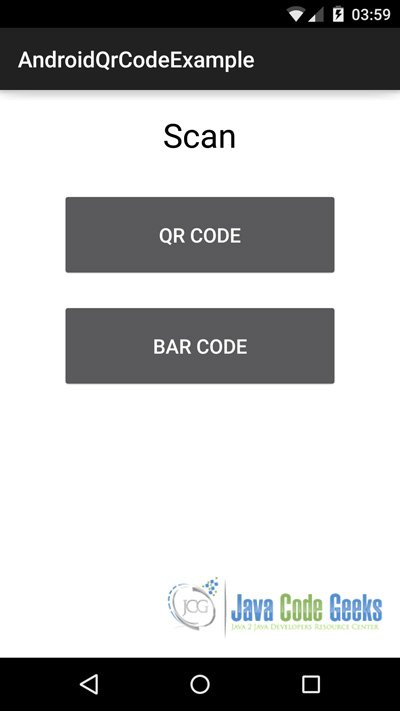
When we build, compile and run our project, the main AndroidBarcodeQrExample should look like this:

Download the Eclipse Project
This was an example of Android Barcode and Qr scanning Example.
You can download the full source code of this example here: AndroidBarcodeQrExample.zip

How to refer zxing from offline method? Thanks in advance.
it dosen’t work for me
how to scan in portrait mode