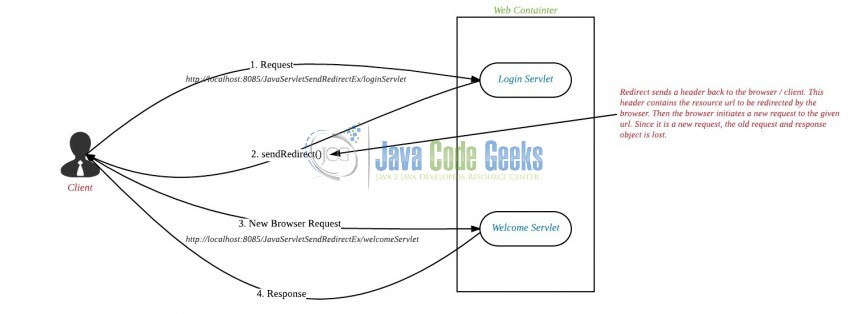
Communication between the Servlets is an important task to the programmer. sendRedirect() can be used to communicate between two servlets present in the different servers. The output will be the same as the Request Dispatcher Forward example but the URL of the page will be changed to the redirected page. In this tutorial, we will see how the sendRedirect() method of HttpServletResponse interface is used to redirect the response to another resource.
1. Introduction
The sendRedirect() method of HttpServletResponse interface can be used to redirect the response to another resource i.e. it may be a Servlet, JSP or HTML file. It works on the client side because it uses the URL bar of the browser to make another request. Hence, it can work inside and outside the server.
Syntax
public void sendRedirect(String url) throws IOException;
1.1 Difference between forward() and sendRedirect()
Let’s see some differences between these two methods of the Servlet API:
| Forward() | SendRedirect() |
When we use the forward() method, the request is transferred to other resources within the same server for further processing | In case of sendRedirect() method, the request is transferred to another resource to a different domain or the different server for further processing |
In case of forward(), the web-container handles all the process internally and the client or browser is not involved | When developers use the sendRedirect(), the web-container transfers the request to a client or a browser so that the URL given inside the sendRedirect() method is visible as a new request to the client |
When the forward() method is called on the Request Dispatcher object, developers pass the request and response object so that the old request object is present in the new resource which is going to process the request | In case of sendRedirect() call, the old request and response object is lost because it is treated as a new request by the browser |
| Visually developers are not able to see the forwarded address i.e. it is transparent | In browser’s address bar, developers are able to see the new redirected address i.e. it is not transparent |
The forward() method is faster than the sendRedirect() | sendRedirect() is slower as one extra round trip is required i.e. The complete new request is created and the old request object is lost |
When we redirect using the forward() method and developers want to use the same data in a new resource they can use the request.setAttribute() as we have the request object available | In case of sendRedirect() call, if developers want to store the data they will do it in a Session object or pass it along the value with the URL |
Now, open up the Eclipse Ide and let’s see how the sendRedirect() method is used to achieve the Servlet implementation!
2. Java Servlet SendRedirect Example
Here is a step-by-step guide for implementing the Servlet framework in Java.
2.1 Tools Used
We are using Eclipse Kepler SR2, JDK 8 and Maven. Having said that, we have tested the code against JDK 1.7 and it works well.
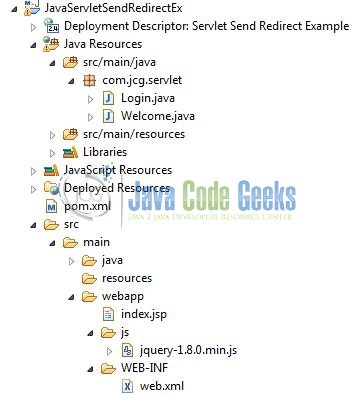
2.2 Project Structure
Firstly, let’s review the final project structure, in case you are confused about where you should create the corresponding files or folder later!
2.3 Project Creation
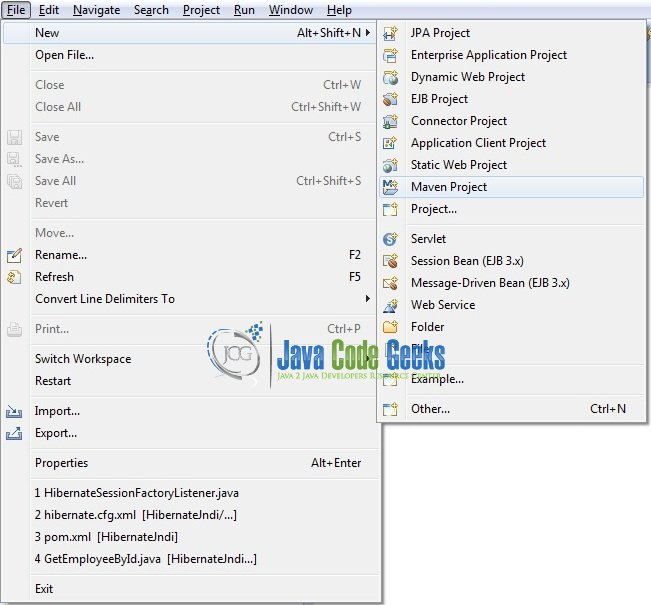
This section will demonstrate on how to create a Java-based Maven project with Eclipse. In Eclipse Ide, go to File -> New -> Maven Project.
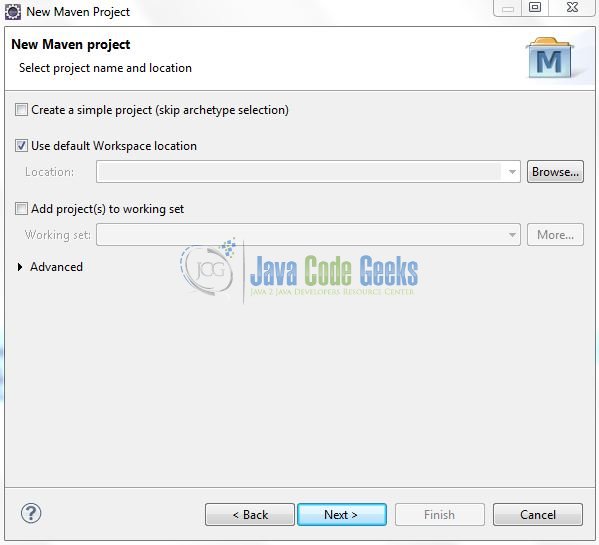
In the New Maven Project window, it will ask you to select project location. By default, ‘Use default workspace location’ will be selected. Just click on next button to proceed.
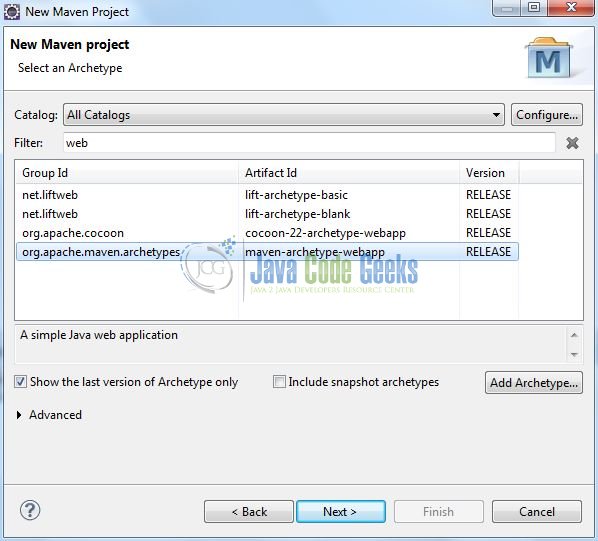
Select the ‘Maven Web App’ Archetype from the list of options and click next.
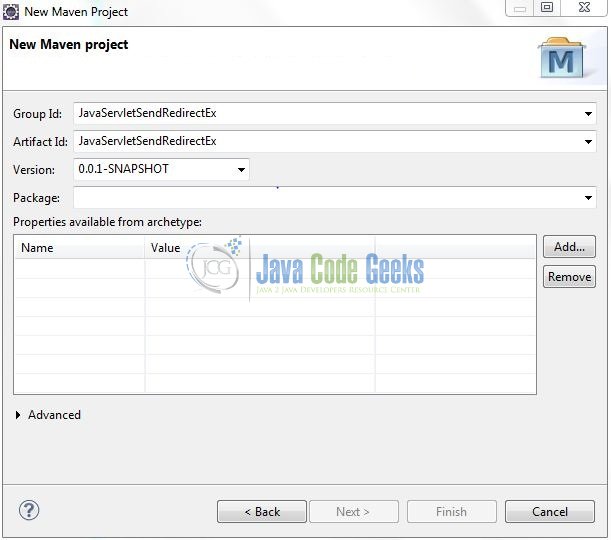
It will ask you to ‘Enter the group and the artifact id for the project’. We will input the details as shown in the below image. The version number will be by default: 0.0.1-SNAPSHOT.
Click on Finish and the creation of a maven project is completed. If you observe, it has downloaded the maven dependencies and a pom.xml file will be created. It will have the following code:
pom.xml
<project xmlns="http://maven.apache.org/POM/4.0.0" xmlns:xsi="http://www.w3.org/2001/XMLSchema-instance" xsi:schemaLocation="http://maven.apache.org/POM/4.0.0 http://maven.apache.org/xsd/maven-4.0.0.xsd">
	<modelVersion>4.0.0</modelVersion>
	<groupId>JavaServletSendRedirectEx</groupId>
	<artifactId>JavaServletSendRedirectEx</artifactId>
	<version>0.0.1-SNAPSHOT</version>
	<packaging>war</packaging>
</project>
We can start adding the dependencies that developers want like Servlets, Junit etc. Let’s start building the application!
3. Application Building
Below are the steps involved in developing this application.
3.1 Maven Dependencies
Here, we specify the dependencies for the Servlet API. The rest dependencies will be automatically resolved by the Maven framework and the updated file will have the following code:
pom.xml
<project xmlns="http://maven.apache.org/POM/4.0.0" xmlns:xsi="http://www.w3.org/2001/XMLSchema-instance"
	xsi:schemaLocation="http://maven.apache.org/POM/4.0.0 http://maven.apache.org/maven-v4_0_0.xsd">
	<modelVersion>4.0.0</modelVersion>
	<groupId>JavaServletSendRedirectEx</groupId>
	<artifactId>JavaServletSendRedirectEx</artifactId>
	<packaging>war</packaging>
	<version>0.0.1-SNAPSHOT</version>
	<name>JavaServletSendRedirectEx Maven Webapp</name>
	<url>http://maven.apache.org</url>
	<dependencies>
		<dependency>
			<groupId>javax.servlet</groupId>
			<artifactId>javax.servlet-api</artifactId>
			<version>3.1.0</version>
		</dependency>
	</dependencies>
	<build>
		<finalName>${project.artifactId}</finalName>
	</build>
</project>
3.2 Java Class Creation
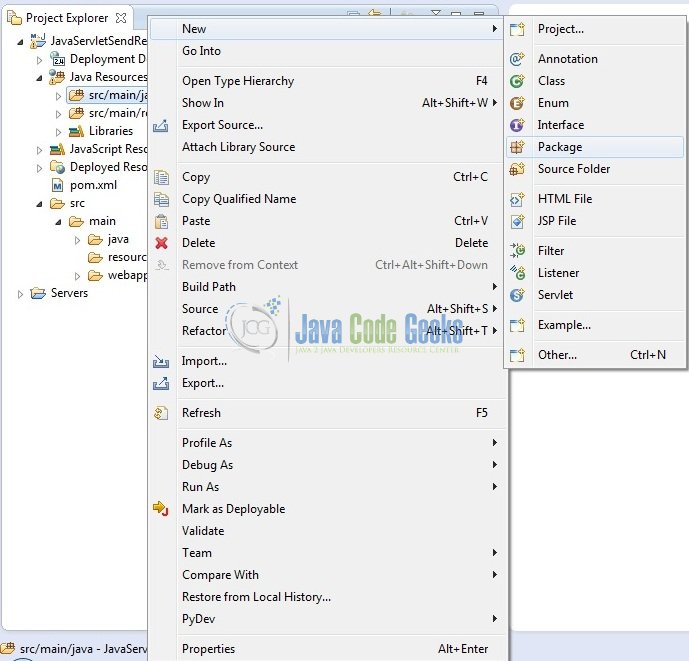
Let’s create the required Java files. Right-click on src/main/java folder, New -> Package.
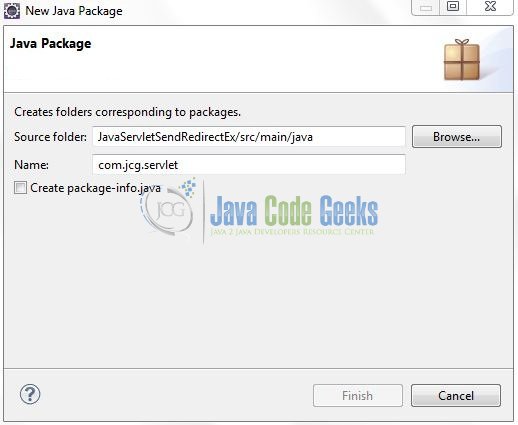
A new pop window will open where we will enter the package name as: com.jcg.servlet.
Once the package is created in the application, we will need to create the controller classes. Right-click on the newly created package: New -> Class.
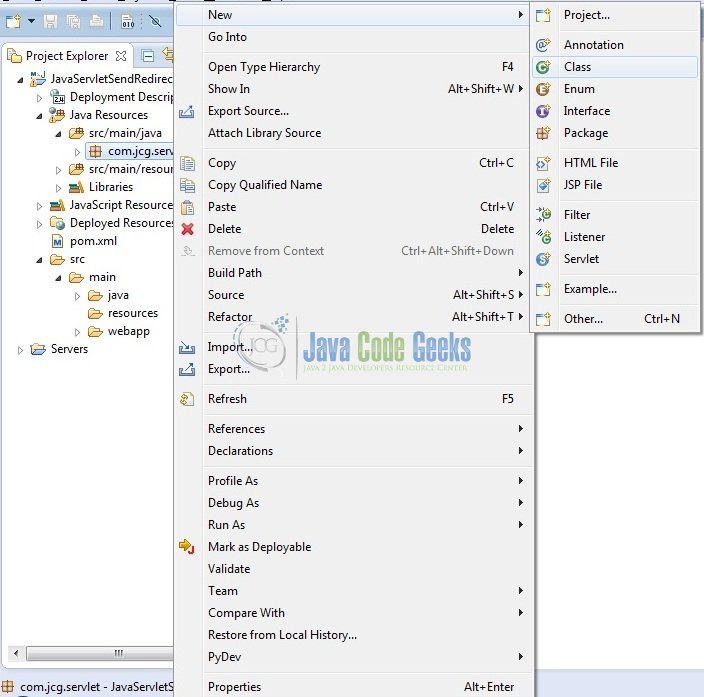
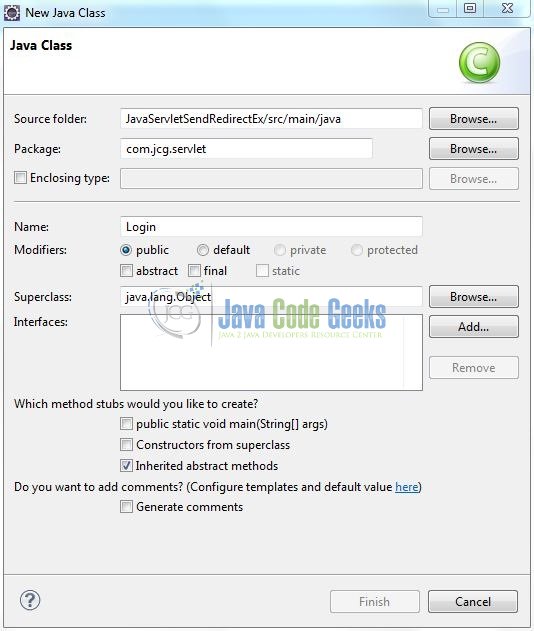
A new pop window will open and enter the file name as: Login. The Login Servlet Controller class will be created inside the package: com.jcg.servlet.
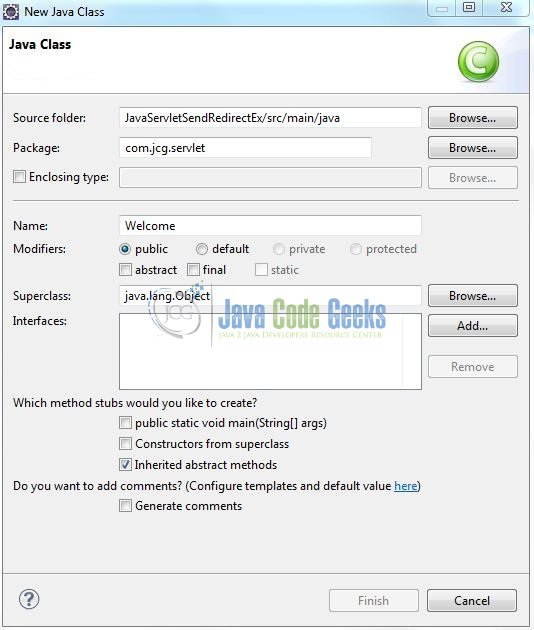
Repeat the step (i.e. Fig. 8) and enter the filename as: Welcome. The Welcome Servlet Controller class will be created inside the package: com.jcg.servlet.
3.2.1 Implementation of Login Servlet Controller Class
In this example, we are validating the login credentials entered by the user. If the login credentials are correct, the business logic will forward the request to the Welcome Servlet, otherwise, the business logic will include the response in the current servlet and shows an error message.
Let’s see the simple code snippet that follows this implementation.
Login.java
package com.jcg.servlet;

import java.io.IOException;
import java.io.PrintWriter;

import javax.servlet.RequestDispatcher;
import javax.servlet.ServletException;
import javax.servlet.annotation.WebServlet;
import javax.servlet.http.HttpServlet;
import javax.servlet.http.HttpServletRequest;
import javax.servlet.http.HttpServletResponse;

@WebServlet("/loginServlet")
public class Login extends HttpServlet {

	private static final long serialVersionUID = 1L;

	// This Method Is Called By The Servlet Container To Process A 'POST' Request.
	public void doPost(HttpServletRequest req, HttpServletResponse resp) throws IOException, ServletException {
		handleRequest(req, resp);
	}

	public void handleRequest(HttpServletRequest req, HttpServletResponse resp) throws IOException, ServletException {

		resp.setContentType("text/html");
		PrintWriter out = resp.getWriter();
		out.write("<html><body><div id='serlvetResponse' style='text-align: center;'>");

		// Post Parameters From The Request
		String param1 = req.getParameter("username").trim(),
				param2 = req.getParameter("password").trim();

		// Creating The 'RequestDispatcher' Object For Forwading The HTTP Request
		RequestDispatcher rdObj = null;

		// Checking For Null & Empty Values
		if(param1 == null || param2 == null || "".equals(param1) || "".equals(param2)) {
			out.write("<p id='errMsg' style='color: red; font-size: larger;'>Please Enter Both Username & Password... !</p>");
			rdObj = req.getRequestDispatcher("/index.jsp");
			rdObj.include(req, resp);
		} else if(param1.equalsIgnoreCase("jcg") && param2.equals("admin123")) {
			req.getSession().setAttribute("uname", param1);
			resp.sendRedirect("welcomeServlet");
		} else {
			out.write("<p id='errMsg' style='color: red; font-size: larger;'>You are not an authorised user! Please check with administrator!</p>");
			rdObj = req.getRequestDispatcher("/index.jsp");
			rdObj.include(req, resp);
		}
		out.write("</div></body></html>");
		out.close();
	}
}
3.2.2 Implementation of Welcome Servlet Controller Class
This Servlet class will display the welcome message. Let’s see the simple code snippet that follows this implementation.

Welcome.java
package com.jcg.servlet;

import java.io.IOException;
import java.io.PrintWriter;

import javax.servlet.ServletException;
import javax.servlet.annotation.WebServlet;
import javax.servlet.http.HttpServlet;
import javax.servlet.http.HttpServletRequest;
import javax.servlet.http.HttpServletResponse;

@WebServlet("/welcomeServlet")
public class Welcome extends HttpServlet {

	private static final long serialVersionUID = 1L;

	// This Method Is Called By The Servlet Container To Process A 'G' Request.
	public void doGet(HttpServletRequest req, HttpServletResponse resp) throws IOException, ServletException {
		handleRequest(req, resp);
	}

	public void handleRequest(HttpServletRequest req, HttpServletResponse resp) throws IOException, ServletException {

		resp.setContentType("text/html");

		// Post Parameters From The Request
		String param1 = (String) req.getSession().getAttribute("uname");

		// Building & Printing The HTML Response Code
		PrintWriter out = resp.getWriter();
		out.write("<html><body><div id='serlvetResponse' style='text-align: center;'>");
		out.write("<h2>Servlet Request Dispatcher Example</h2>");
		out.write("<p style='color: green; font-size: large;'>Congratulations! <span style='text-transform: capitalize;'>" + param1 + "</span>, You are an authorised login!</p>");
		out.write("</div></body></html>");
		out.close();
	}
}
3.3 Creating JSP Views
Servlet supports many types of views for different presentation technologies. These include – JSP, HTML, XML etc. So let us write a simple view in JavaServletSendRedirectEx/src/main/webapp/. To make the form works with Java servlet, we need to specify the following attributes for the <form> tag:
method="post": To send the form data as an HTTP POST request to the server. Generally, form submission should be done in HTTP POST methodaction="Servlet Url ": Specifies the relative URL of the servlet which is responsible for handling the data posted from this form
Add the following code to it:
index.jsp
<!DOCTYPE html PUBLIC "-//W3C//DTD HTML 4.01 Transitional//EN" "http://www.w3.org/TR/html4/loose.dtd">
<html>
	<head>
	    <title>Servlet Example</title>
	    <meta http-equiv="Content-Type" content="text/html; charset=UTF-8">
	    <script type="text/javascript" src="js/jquery-1.8.0.min.js"></script>
	    <script type="text/javascript">
		    $(document).ready(function() {
		    	$('#userInput, #passInput').click(function() {
		    		$("#errMsg").hide();
		        });
		    });
	    </script>
	    <style type="text/css">
	    	.paddingBtm {
	    		padding-bottom: 12px;
	    	}
	    </style>
	</head>
	<body>
	    <center>
	        <h2>Servlet Send Redirect Example</h2>
	        <form id="loginFormId" name="loginForm" method="post" action="loginServlet">
	            <div id="usernameDiv" class="paddingBtm">
	            	<span id="user">Username: </span><input id="userInput" type="text" name="username" />
	            </div>
	            <div id="passwordDiv" class="paddingBtm">
	            	<span id="pass">Password: </span><input id="passInput" type="password" name="password" />
	            </div>
	            <div id="loginBtn">
	            	<input id="btn" type="submit" value="Login" />
	            </div>
	        </form>
	    </center>
	</body>
</html>
4. Run the Application
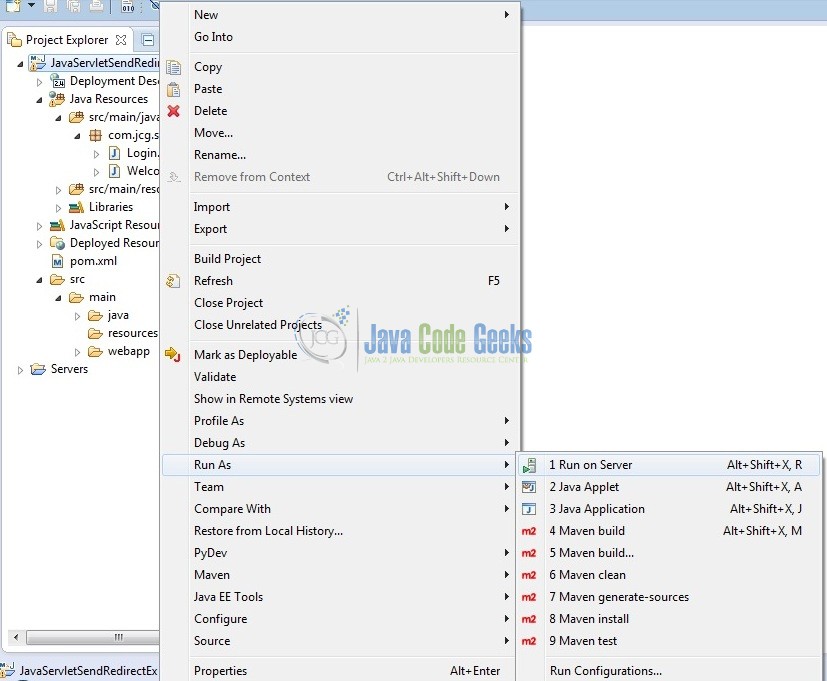
As we are ready for all the changes, let us compile the project and deploy the application on the Tomcat7 server. To deploy the application on Tomat7, right-click on the project and navigate to Run as -> Run on Server.
Tomcat will deploy the application in its web-apps folder and shall start its execution to deploy the project so that we can go ahead and test it in the browser.
5. Project Demo
Open your favorite browser and hit the following URL. The output page will be displayed.
http:// localhost:8085/JavaServletSendRedirectEx/
Server name (localhost) and port (8085) may vary as per your tomcat configuration. Developers can debug the example and see what happens after every step. Enjoy!

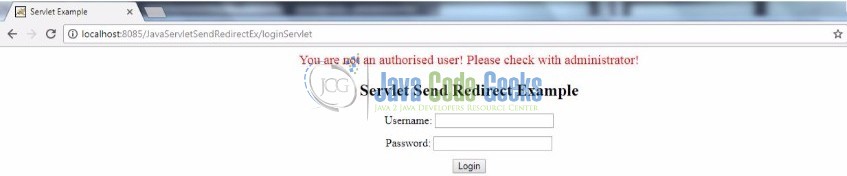
Try to enter wrong credentials and the Servlet business logic will display the invalid credentials message.
Now enter the correct credentials as per the configuration (i.e. User: jcg and Password: admin123) and the Servlet business logic will redirect you to the application’s welcome page.

That’s all for this post. Happy Learning!!
6. Conclusion
In this section, developers learned the following key points and how to implement the sendRedirect() in a Servlet example:
- Developers cannot send the HTTP
POSTrequest using redirect - While redirecting a page request, the response object from the current page will be killed
- The new request and response objects will be created for the newly loaded or the redirected page
- Developers can use both the relative and absolute URL with the
sendRedirect()method. For e.g.response.sendRedirect("/index.html")orresponse.sendRedirect("https://www.google.co.in/")
Developers can download the sample application as an Eclipse project in the Downloads section. I hope this article served you with whatever developers were looking for.
7. Download the Eclipse Project
This was an example of Servlet.
You can download the full source code of this example here: JavaServletSendRedirectEx

that’s amazing article thanks a lot