In this example, we will see how to use servlet to upload a file. We will be just uploading the file to a server folder. As a part of this example, we will create an HTML form that lets us choose a file in your local file system. The file will be uploaded to the server. We will use Eclipse IDE with Wildfly application server. There is no need for any database for this example to work.
1. Introduction
Servlet is a program running on a server responding to user requests. Depending on what the user has requested, servlets will fetch the data from database and create an html response which will eventually be displayed in browser as a webpage. User can also send some data which can be stored by application server either by pushing it to database or by saving it in file system so that it can be fetched later.
Every servlet has its own context path and can respond to various types of requests. GET, POST, PUT are examples of such requests. You should have eclipse installed at the least. Download WildFly from here. Download the latest version, by the time of writing this tutorial, 10.1.0.Final is the latest one. Download and extract it into any folder of your choice.
2. Configuration and Project Setup
Open Eclipse and click on new server creation link in Servers tab of eclipse. If the Servers tab is not visible make sure you are in Java EE perspective, Select Servers option in Window -> Show View from eclipse menu bar.

This will bring up a New Server wizard as shown below. Choose WildFly 10. If WildFly is not available in the list, you should be able to find a link Download additional server adapters link instead of Show downloadable server adapters checkbox in top right of the wizard. Click that link and select wild fly. You may have to restart eclipse once that process is finished. Reopen new server wizard.
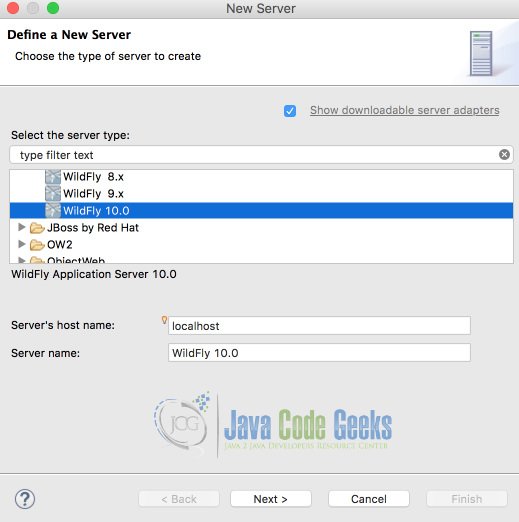
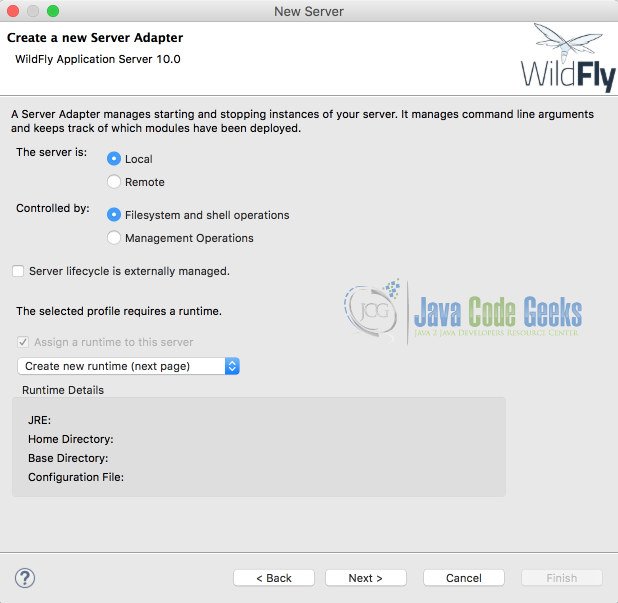
Choose WildFly 10.0 in the servers list and click Next and leave the default options in the new wizard page. They are just intended for you to mention when the server is local installation or if the server startup and shutdown is maintained outside of eclipse. We will be maintaining the app-server through eclipse, hence do not select the checkbox server life cycle is externally maintained. So, click Next.
Next page gives you option to Give a name to your server connection and locate the wildfly server installation. Click Browse and navigate to the folder where bin folder can be found in wildfly installation directory. For me the path is /users/buddha/programs/wildfly-10.1.0.Final. Pick the path applicable to you. You can leave rest of the settings alone and click Finish. 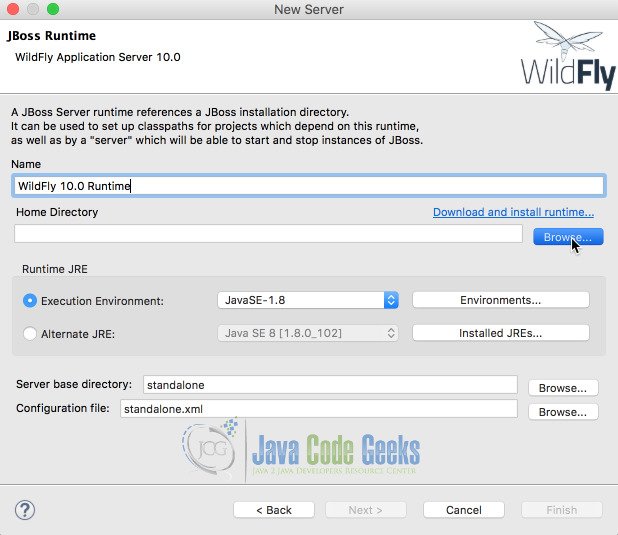
This finishes the configuration of wildfly server in eclipse. You should be able to see the server in servers tab of eclipse as shown below. 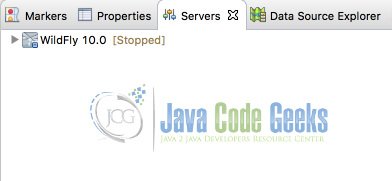
We are now ready to start creating the project. Right click in the project explorer tab of eclipse and Choose New -> Dynamic Web Project. If Dynamic Web Project is not visible, make sure you are in Java EE perspective. Alternatively, you can also choose New -> Other and in the wizard, you can choose Web -> Dynamic Web Project. You will be presented with a New Dynamic Web Project wizard. Give the project name as servlet-file-upload-example and make sure you choose the target runtime to be the one we created just now and leave other options as it is and click Next. In the second page you will be asked to source folders and output folders, leave it as it is and click next. The new page asks you for context root and content directory. Context root is the url path you will be using to access our application through web-browser, give it as servlet-file-upload-example or anything of your choice. Content directory is the folder where we will be placing all html and other static assets that are to be publicly accessible. Once given, click finish. This will create an empty project inside your eclipse workspace.
3. Create HTML
Let us first create a HTML view first. This view just contains a small form that can be used to select a file from file system. Upon submit the file content will be forwarded to servlet. Create a new html with the name fileUpload.html in WebContent folder.
fileUpload.html
<!DOCTYPE html>
<html lang="en">
    <head>
        <title>File Uploader</title>
        <meta http-equiv="Content-Type" content="text/html; charset=UTF-8">
    </head>
    <body>
        <form method="POST" action="upload" enctype="multipart/form-data" >
            File:
            <input type="file" name="file" id="file" />
            <input type="submit" value="Upload" name="upload" id="upload" />
        </form>
    </body>
</html>
Observe the highlighted lines. Line 8 indicates that this is a POST operation and encoding type is multipart data, which is used for sending files across network. A HTTP multipart request is a HTTP request that HTTP clients construct to send files and data over to a HTTP Server. It is commonly used by browsers and HTTP clients to upload files to the server.

4. Servlet Class File
Let us now create a Servlet for uploading the file. Create a java class named FileUploader.java in src folder. To create a servlet, we can use the WebServlet annotation. Path for the servlet can be provided along with the annotation. Let us give /upload as the path. One important point to be noted is that Class name can be anything, it doesn’t have to be same as the path value. Implement doPost method and
FileUploader.java
package jcg;

import java.io.*;
import javax.servlet.*;
import javax.servlet.http.*;
import javax.servlet.annotation.*;

@WebServlet(name = "FileUploader", urlPatterns = {"/upload"})
@MultipartConfig
public class FileUploader extends HttpServlet {

  private final static String serverPath = "/tmp/jcg";

  protected void doPost(HttpServletRequest request, HttpServletResponse response) throws Exception {
    response.setContentType("text/html;charset=UTF-8");

    final Part filePart = request.getPart("file");
    String fileName = getFileName(filePart);

    OutputStream out = null;
    InputStream filecontent = null;
    final PrintWriter writer = response.getWriter();

    try {
      out = new FileOutputStream(new File(serverPath + File.separator + fileName));
      filecontent = filePart.getInputStream();

      int read = 0;
      final byte[] bytes = new byte[1024];

      while ((read = filecontent.read(bytes)) != -1) {
        out.write(bytes, 0, read);
      }
      writer.println("New file " + fileName + " created at " + serverPath);

    } catch (FileNotFoundException fne) {
      writer.println("Missing file or no insufficient permissions.");
      writer.println(" ERROR: " + fne.getMessage());
    } finally {
      if (out != null) {
        out.close();
      }
      if (filecontent != null) {
        filecontent.close();
      }
      if (writer != null) {
        writer.close();
      }
    }
  }

  private String getFileName(Part filePart) {
    String header = filePart.getHeader("content-disposition");
    String name = header.substring(header.indexOf("filename=\"")+10);
    return name.substring(0, name.indexOf("\""));
  }
}
The doPost method reads the file part from request object and extract the file name from content disposition header. Reading the input stream and save it as file can be done as usual. Deploy the project in the application server and start it .
5. Run the project
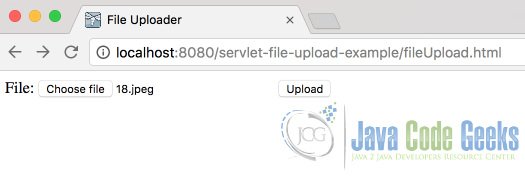
Access the path http://localhost:8080/servlet-file-upload-example/fileUpload.html This will bring up the form as seen in the below screenshot. Click choose file and which will bring file selection window of your operating system. Click upload button.
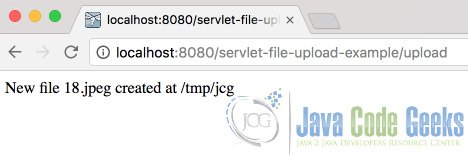
Once uploaded, it will display a message that the file is created at the server path. You can verify the file at path /tmp/jcg as given in servlet.
6. Summary
- In order for a servlet to be able to accept file, it has to accept multi part.
- Html file must submit to the servlet with encoding type multitype/form-data
- Servlet class can read the file using input stream passed along with request
