In this example we will show you how to use resource bundles in Java Server Faces. Resource bundles in JSF are key value pair of strings stored in .properties file extension. Resource bundles helps in maintainability of the application by keeping messages at one place.
We will discuss about different methods available to load the resource bundle and show you how to utilize resource bundles for internationalization. Let’s begin with setting up a JSF project and do all the necessary configuration to run the application.
Our preferred environment is Eclipse. We are using Eclipse Luna SR1 with Maven Integration Plugin, JDK 8u25 (1.8.0_25) and Tomcat 8 application server. Having said that, we have tested the code against JDK 1.7 and Tomcat 7 as well.
You may skip project creation and jump directly to the beginning of the example below.
1. Create a new Maven Project
Go to File -> New->Other-> Maven Project
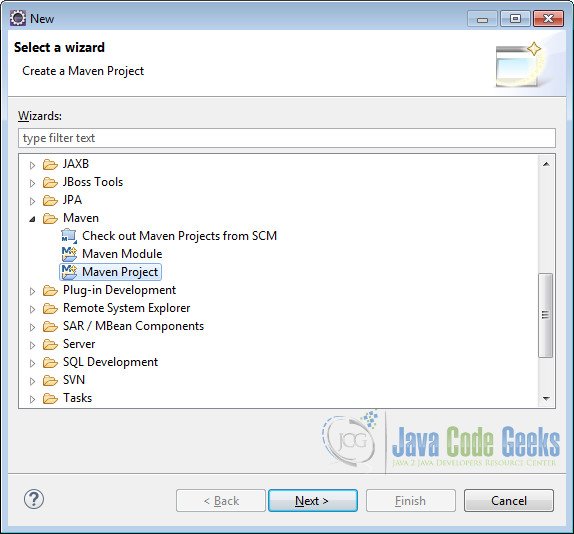
In the “Select project name and location” page of the wizard, make sure that “Create a simple project (skip archetype selection)” option is unchecked, hit “Next” to continue with default values.

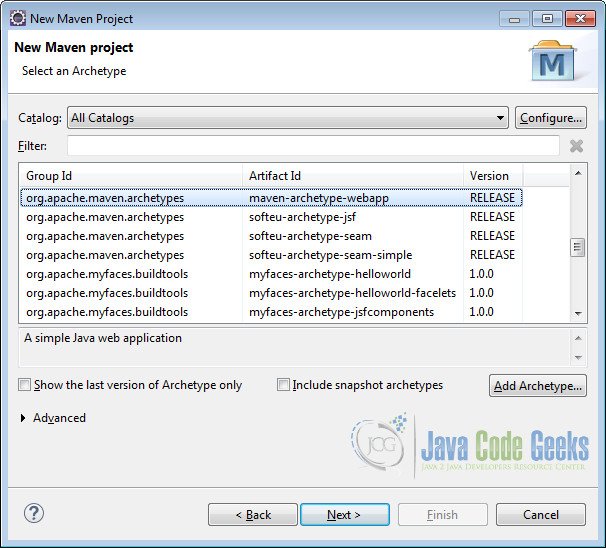
Here choose “maven-archetype-webapp” and click on Next.
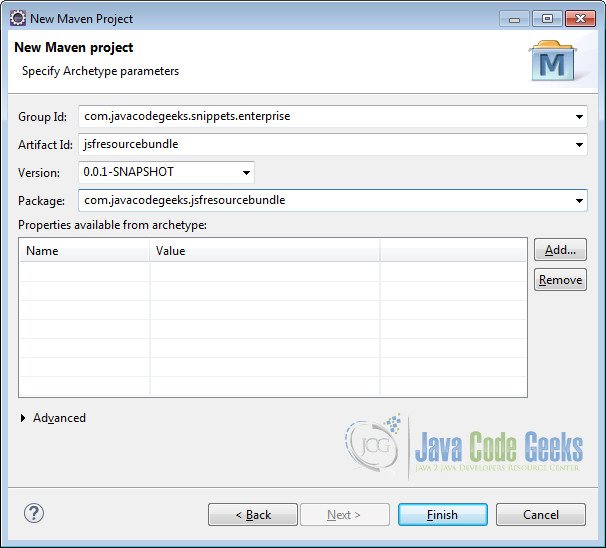
In the “Enter an artifact id” page of the wizard, you can define the name and main package of your project. Set the “Group Id” variable to "com.javacodegeeks.snippets.enterprise" and the “Artifact Id” variable to "jsfresourcebundle". For package enter "com.javacodegeeks.jsfresourcebundle" and hit “Finish” to exit the wizard and to create your project.
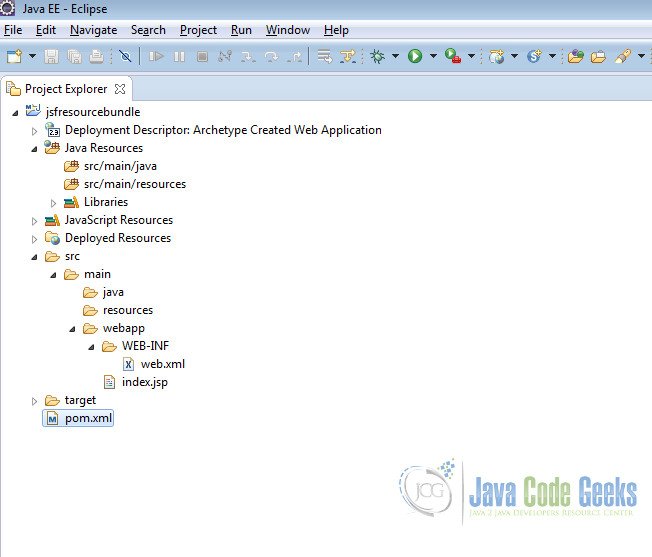
Now create a folder called java under src/main.
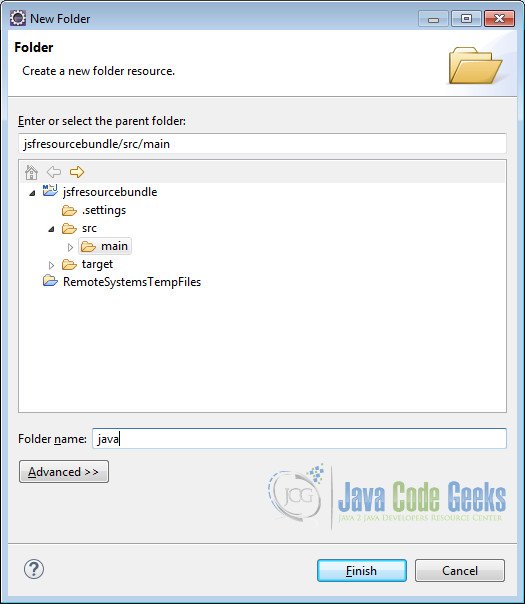
Refresh the project. Finally, the project structure will look like the below.
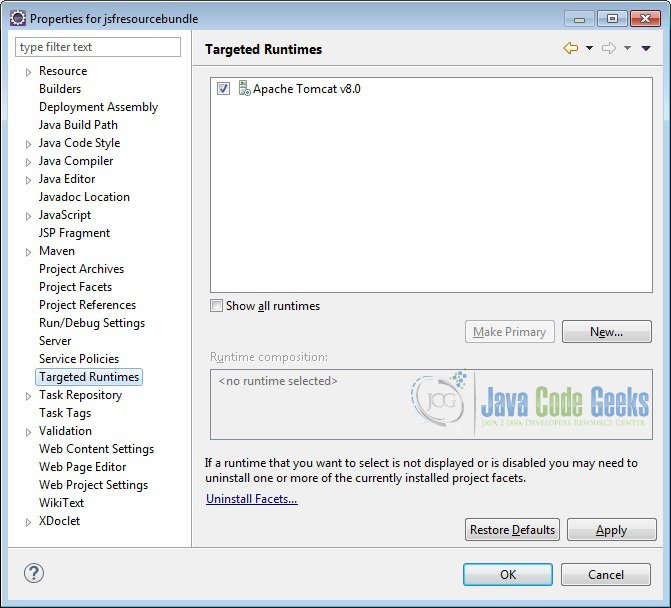
If you see any errors in the index.jsp, set target runtime for the project.
2. Modify POM to include JSF dependency
Add the dependencies in Maven’s pom.xml file, by editing it at the “Pom.xml” page of the POM editor.
<project xmlns="http://maven.apache.org/POM/4.0.0" xmlns:xsi="http://www.w3.org/2001/XMLSchema-instance"
 xsi:schemaLocation="http://maven.apache.org/POM/4.0.0 http://maven.apache.org/maven-v4_0_0.xsd">
 <modelVersion>4.0.0</modelVersion>
 <groupId>com.javacodegreeks.snippets.enterprise</groupId>
 <artifactId>jsfresourcebundle</artifactId>
 <packaging>war</packaging>
 <version>0.0.1-SNAPSHOT</version>
 <name>jsfresourcebundle Maven Webapp</name>
 <url>http://maven.apache.org</url>
 <dependencies>

  <dependency>
   <groupId>junit</groupId>
   <artifactId>junit</artifactId>
   <version>3.8.1</version>
   <scope>test</scope>
  </dependency>
  <dependency>
   <groupId>com.sun.faces</groupId>
   <artifactId>jsf-api</artifactId>
   <version>2.2.9</version>
  </dependency>
  <dependency>
   <groupId>com.sun.faces</groupId>
   <artifactId>jsf-impl</artifactId>
   <version>2.2.9</version>
  </dependency>

 </dependencies>

 <build>
  <finalName>jsfresourcebundle</finalName>
 </build>

</project>
3. Add Faces Servlet in web.xml
The web.xml file has to be modified to include the faces servlet configuration as below.
<web-app>
 <display-name>Archetype Created Web Application</display-name>

  <servlet>
   <servlet-name>Faces Servlet</servlet-name>
   <servlet-class>javax.faces.webapp.FacesServlet</servlet-class>
   <load-on-startup>1</load-on-startup>
  </servlet>

  <servlet-mapping>
   <servlet-name>Faces Servlet</servlet-name>
   <url-pattern>*.xhtml</url-pattern>
  </servlet-mapping>

</web-app>
4. Loading Resource Bundle
JSF provides two approaches for loading the resource bundle. We can use <f:loadBundle> in the view or we can load the resource bundle using faces-config.xml. The only difference between the two approaches is that the later one makes the messages to global scope which can be accessed in any page.
4.1 Using <f:loadBundle> in JSF pages
In this approach we load the properties file by using <f:loadBundle> in the JSF page. To demonstrate the example, we create a package called com.javacodegeeks.jsfresourcebundle under Java resources src/main/java. In this package, we create a properties file called local.properties to store the messages.
local.properties
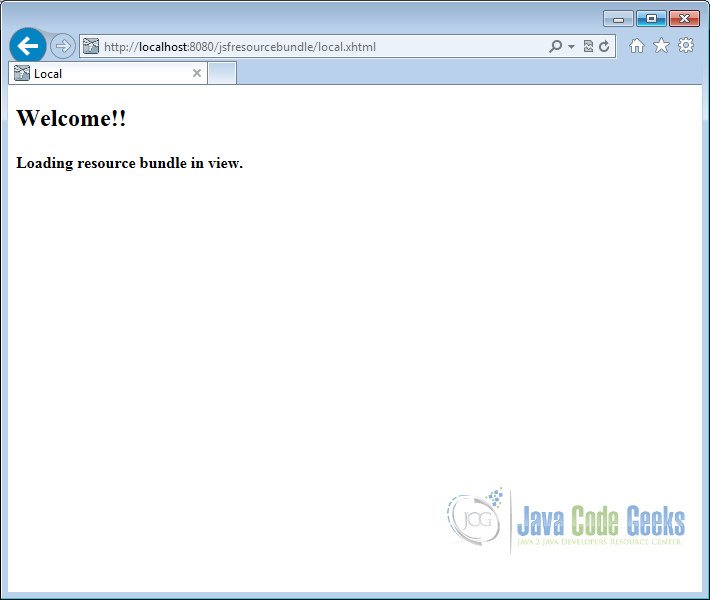
local.message = Welcome!!
local.location = Loading resource bundle in view.
Now create a file called local.xhtml under /webapp/ folder.
We use f:loadBundle to load a resource bundle and expose it as a java.util.Map to the value of var attribute. The basename attribute refers to the fully-qualified name of the resource bundle which is nothing but the concatenation of package name com.javacodegeeks.jsfresourcebundle and property file name local.
To display the output we use h:outputText and access the key stored in the property file by localmsg['local.message']. Here localmsg is a variable that holds the Map output of the resource bundle and local.message is one of the key value present in the resource bundle. Similarly we can access any number of keys present in the resource bundle.
local.xhtml
<?xml version="1.0" encoding="ISO-8859-1" ?>
<!DOCTYPE html PUBLIC "-//W3C//DTD XHTML 1.0 Transitional//EN" "http://www.w3.org/TR/xhtml1/DTD/xhtml1-transitional.dtd">
<html xmlns="http://www.w3.org/1999/xhtml"
 xmlns:f="http://java.sun.com/jsf/core"
 xmlns:h="http://java.sun.com/jsf/html">
<head>
<meta http-equiv="Content-Type" content="text/html; charset=ISO-8859-1" />
<title>Local</title>
<f:loadBundle basename="com.javacodegeeks.jsfresourcebundle.local"
 var="localmsg" />
</head>
<body>
 <h:form>
  <h2>
   <h:outputText value="#{localmsg['local.message']}"></h:outputText>
   <br />
  </h2>
  <h4>
   <h:outputText value="#{localmsg['local.location']}"></h:outputText>
  </h4>
 </h:form>
</body>
</html>
Now we can create the deployment package using Run as –> Maven clean and then Run as –> Maven install. This will create a war file in the target folder. The war file produced must be placed in webapps folder of tomcat. Now we can start the server.
Open the following URL in the browser
http://localhost:8080/jsfresourcebundle/local.xhtml
4.2 Using faces-config.xml
We can also load the resource bundle using faces-config.xml. In this approach the messages are available to all the JSF pages as well as any Managed beans in the application.
Create a file called faces-config.xml under /WEB-INF/ folder.
Now we configure the resource-bundle element under the application element. The base-name element of the resource-bundle represents the fully-qualified name of the resource bundle. The var element identifies the name using which the view pages can access the resource bundle.
faces-config.xml
<?xml version="1.0" encoding="UTF-8"?>
<faces-config version="2.2" xmlns="http://xmlns.jcp.org/xml/ns/javaee"
 xmlns:xsi="http://www.w3.org/2001/XMLSchema-instance"
 xsi:schemaLocation="http://xmlns.jcp.org/xml/ns/javaee
 http://xmlns.jcp.org/xml/ns/javaee/web-facesconfig_2_2.xsd">
 <application>
  <resource-bundle>
   <base-name>com.javacodegeeks.jsfresourcebundle.global</base-name>
   <var>msg</var>
  </resource-bundle>
 </application>
</faces-config>
Now we create a properties file called global.properties under the package com.javacodegeeks.jsfresourcebundle

global.properties
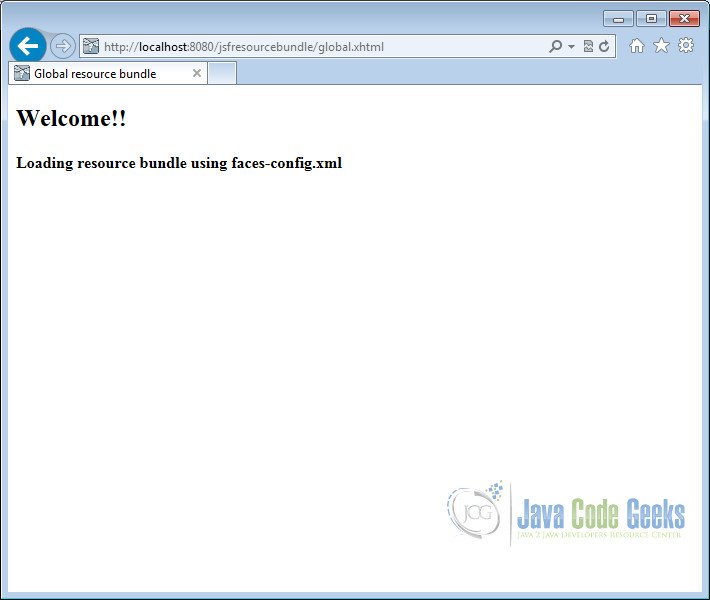
global.message = Welcome!!
global.location = Loading resource bundle using faces-config.xml
Now create a file called global.xhtml under /webapp/ folder.
Here we use msg['global.message'] to access the resource bundle values. Note that we use msg which is nothing but the value of the var element configured in faces-config.xml.
global.xhtml
<?xml version="1.0" encoding="ISO-8859-1" ?>
<!DOCTYPE html PUBLIC "-//W3C//DTD XHTML 1.0 Transitional//EN" "http://www.w3.org/TR/xhtml1/DTD/xhtml1-transitional.dtd">
<html xmlns="http://www.w3.org/1999/xhtml"
 xmlns:h="http://java.sun.com/jsf/html">
<head>
<meta http-equiv="Content-Type" content="text/html; charset=ISO-8859-1" />
<title>Global resource bundle</title>
</head>
<body>
 <h:form>
  <h2>
   <h:outputText value="#{msg['global.message']}"></h:outputText>
   <br />
  </h2>
  <h4>
   <h:outputText value="#{msg['global.location']}"></h:outputText>
  </h4>
 </h:form>
</body>
</html>
Again package the application using maven and copy the war to the apache tomcat webapps folder.
Open the following URL in the browser.
http://localhost:8080/jsfresourcebundle/global.xhtml
5. Internationalization using Resource Bundle
Create a properties file called greeting.properties under the package com.javacodegeeks.jsfresourcebundle
greeting.properties
message = hello world
Now we create another properties file called greeting_en.properties under the package com.javacodegeeks.jsfresourcebundle
greeting_en.properties
message = hello world
Now we create one more properties file called greeting_fr.properties under the package com.javacodegeeks.jsfresourcebundle to support French language.
greeting_fr.properties
message = bonjour le monde
We need to create a managed bean called UserProfile.java under the package com.javacodegeeks.jsfresourcebundle to handle the user action.
We use two annotations in the POJO class. @ManagedBean converts the POJO class to a JSF managed bean. @SessionScoped is used to make the bean available for the entire user session. The method changeLanguage() takes the requested locale as input parameter and sets it to the session scoped instance variable.
UserProfile.java
package com.javacodegeeks.jsfresourcebundle;

import java.util.Locale;

import javax.faces.bean.ManagedBean;
import javax.faces.bean.SessionScoped;
import javax.faces.context.FacesContext;

@ManagedBean
@SessionScoped
public class UserProfile {

 private String locale = "en";

 public String getLocale() {
 return locale;
 }

 public void setLocale(String locale) {
 this.locale = locale;
 }

 public String changeLanguage(String locale) {
 this.locale = locale;
 FacesContext.getCurrentInstance().getViewRoot()
 .setLocale(new Locale(this.locale));
 return locale;
 }

}
Now create a file called i8n.xhtml under /webapp/ folder.
Here again we use f:loadBundle to load the resource bundle. As discussed earlier, we need to configure two attributes namely basename and var. The basename attribute references the fully-qualified name of the resource bundle and var attribute represents the Map output.
i8n.xhtml
<html xmlns="http://www.w3.org/1999/xhtml"
 xmlns:ui="http://java.sun.com/jsf/facelets"
 xmlns:h="http://java.sun.com/jsf/html"
 xmlns:f="http://java.sun.com/jsf/core"
 xmlns:c="http://java.sun.com/jsp/jstl/core">
<h:head>
 <title>Internationalization</title>
</h:head>
<h:body>
 <h:form id="form">
 <f:loadBundle var="grt"
 basename="com.javacodegeeks.jsfresourcebundle.greeting"></f:loadBundle>
 <h2>
 <h:outputText value="#{grt.message}" />
 </h2>
 <br />
 <h:commandButton value="français"
 action="#{userProfile.changeLanguage('fr')}"
 rendered="#{userProfile.locale == 'en'}" />
 <h:commandButton value="English"
 action="#{userProfile.changeLanguage('en')}"
 rendered="#{userProfile.locale == 'fr'}" />
 </h:form>
</h:body>
</html>
Now again package using maven and copy the war to the apache tomcat webapps folder.
Open the following URL in the browser
http://localhost:8080/jsfresourcebundle/i8n.xhtml
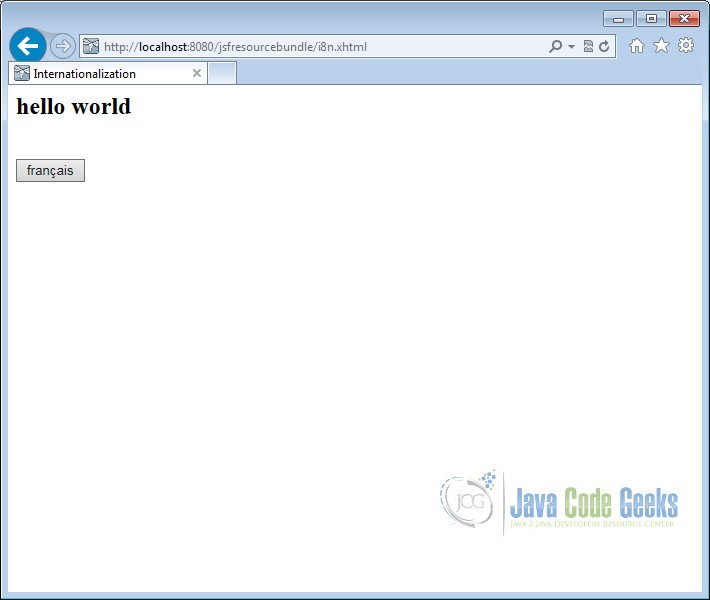
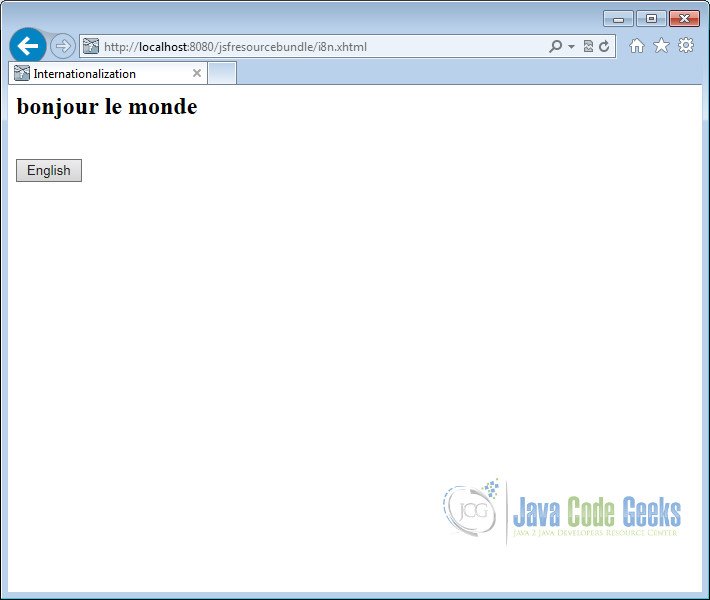
Now click on the button français. The action will change the locale and display the message from greeting_fr.properties file.
6. Download the Eclipse Project
This was an example of Java Server Faces Resource Bundle.
You can download the full sourcecode of this example here : JSF Resource Bundle
