In this tutorial, we will learn to use the HTML Editor available through the Web Tools Platform (WTP) within Eclipse.
HTML stands for Hyper Text Markup Language, and is composed of a set of markup tags that form / describe a specific document content containing HTML tags and text. A web browser can read such HTML documents and compose them into visible or audible web pages. The browser does not display the HTML tags, but uses them to interpret the content of the page. HTML describes the structure of a website semantically along with cues for presentation, making it a markup language rather than a programming language.
The HTML Editor helps ease HTML page development within eclipse.
Validate the editor availability
The first step is to validate whether the HTML editor is available for your Eclipse Installation. If you have already installed Eclipse IDE for Java EE Developers, you may skip this section.
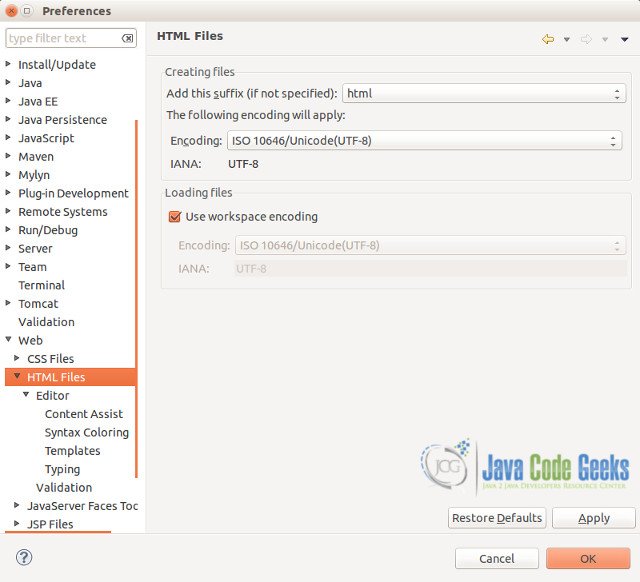
Go to Menu –> Window –> Preferences.
Browse to Web –> HTML Files –> Editor
In case, you do not find Web under Preferences, you will have to install the Web Tools Platform (WTP) in your eclipse. The WTP is available by default for Eclipse 4.3 JEE and above. For versions prior to 4.3, please follow the New Software Installation instructions here.
The update site repository links for webtools for specific eclipse releases can be found here.
Customizing the HTML editor
In the below steps, we will explore the HTML editor default configurations and customizations that can be achieved based on our preferences.
- General editor customizations
- Content Assist
- Syntax coloring
- New HTML Templates
- Typing (html source)
- HTML Validation
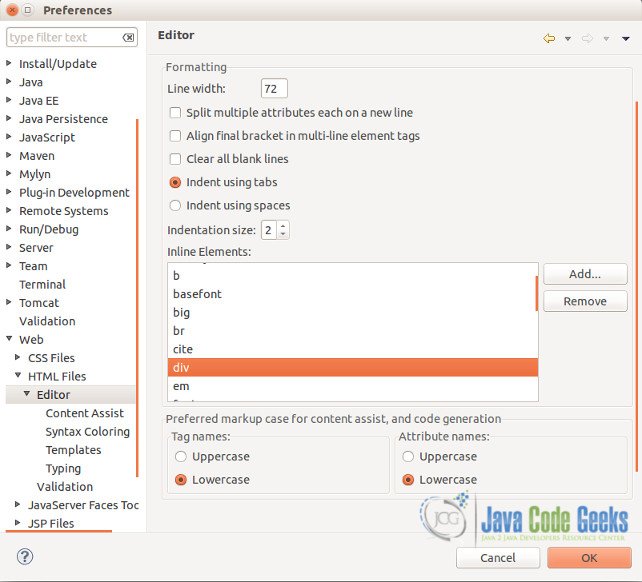
Here, we can customize the HTML editor for basic formatting of source code within HTML. These include code line width, splitting of attributes, code identation and corresponding size. Moreover, there are also options to add new OR remove default inline elements within HTML.
The case provider helps differentiate tag names and attributes names for the content assist and code generation.
As seen in screenshot below, we have added the div tag as an inline element for our own customization.
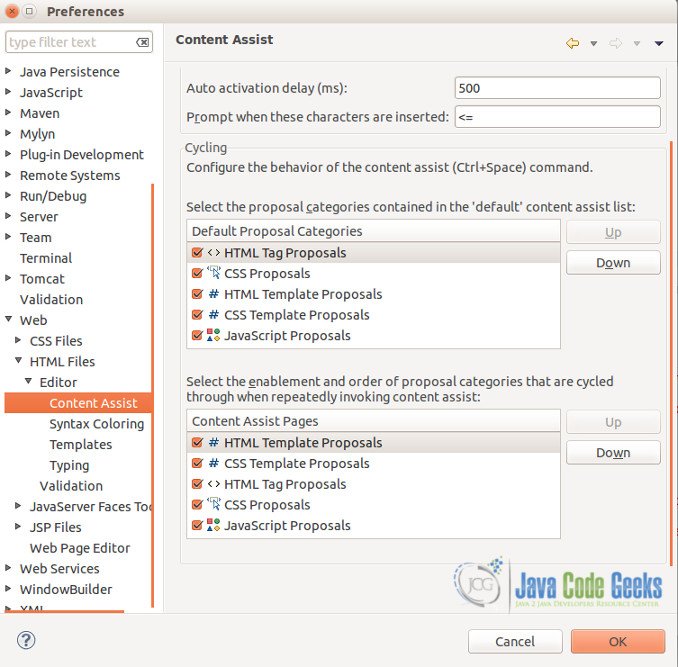
In this section, we can customize the content assist for the HTML editor – auto suggest delay, proposal category for the Ctrl + space command and finally proposal category for cyclic invocation of content assist. The screen allows one to change the priority of proposal of suggestion / content assist when invoked.
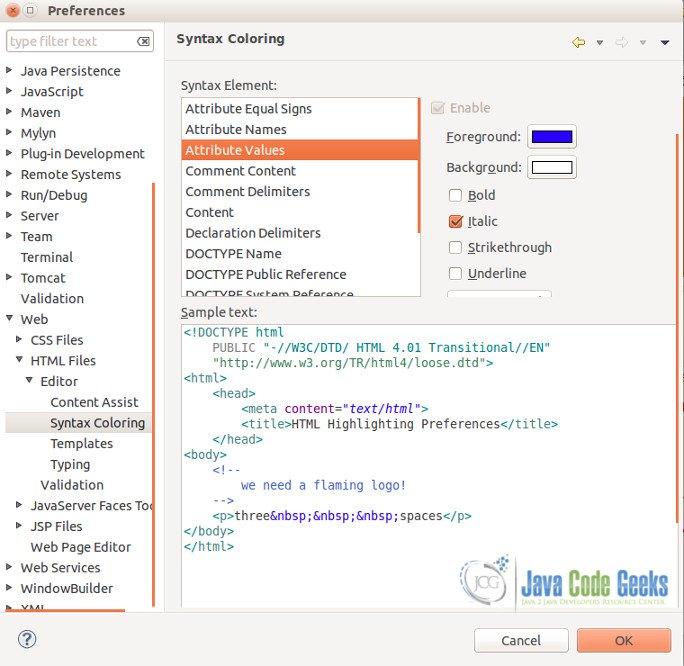
Here, we can customize the syntax coloring of HTML code within HTML files.
Here, we can add new custom Templates as well as modify existing templates to suit our preferences.
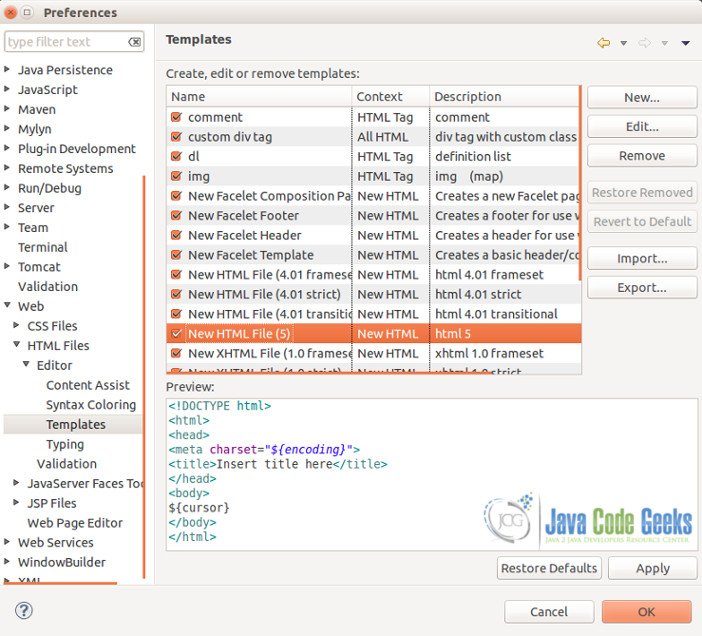
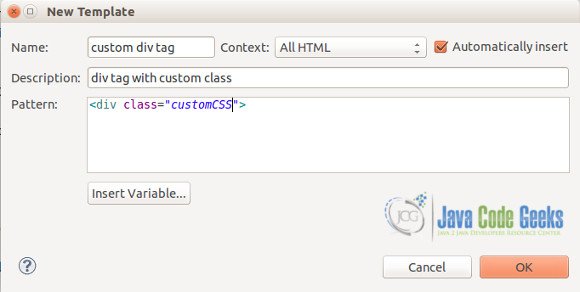
As part of this tutorial, we will create a new template named “div tag with custom css” as shown below.
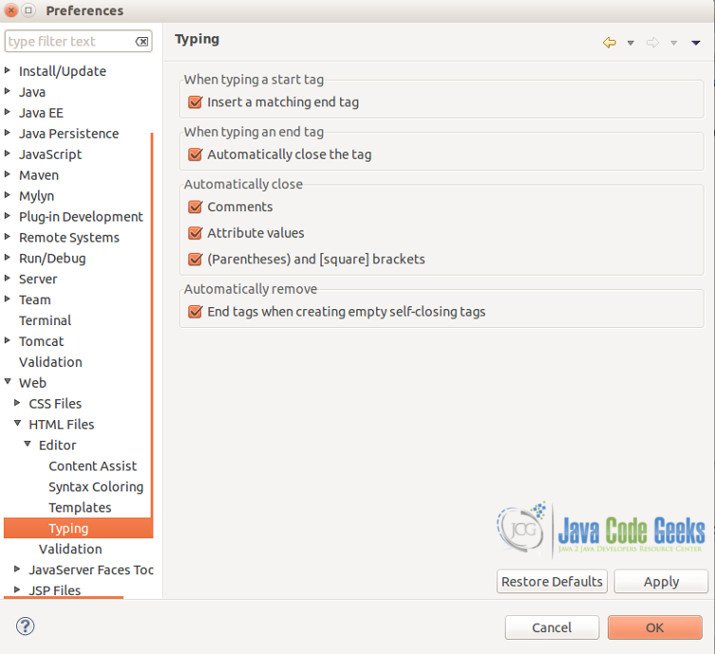
In this part of the editor customizations, once can edit typing related properties while coding using HTML (within html files).
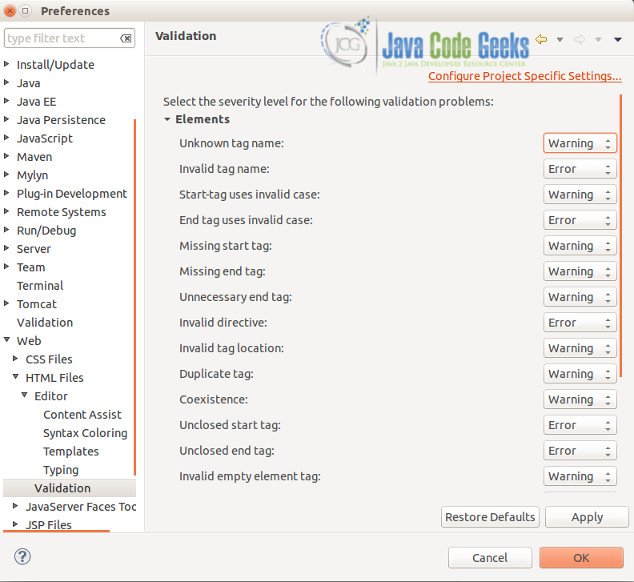
Finally, as part of the HTML editor, once can customize and set either of WARNING / ERROR / INFO severity levels for various scenarios of HTML validations.
HTML Editor in Action
After reviewing the editor features and configuration, let us know see the HTML editor in action.
Create a new “Dynamic Web Project”.
Go to Menu –> New –> Dynamic Web Project.
Please select the appropriate webapp archetype in case you are creating a new Maven project.
Once the web project is created, we can now create a new HTML file. Right click on the project context, and click New.
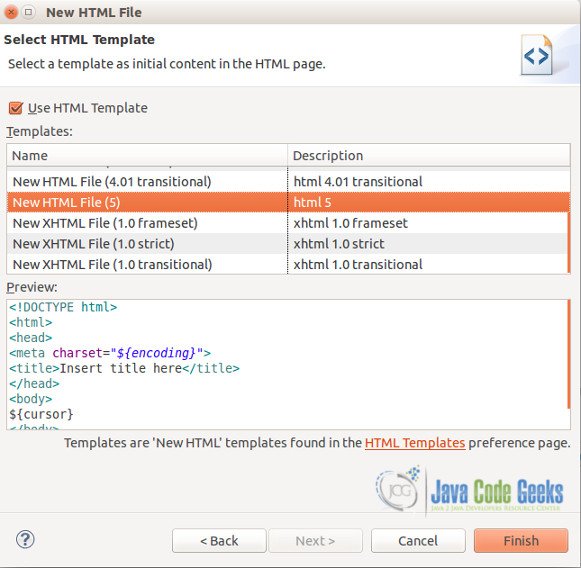
Select HTML file and provide a name to the HTML File – HTMLEditorWelcome.html. Click Next.
In this step, select the desired template to use for the new HTML file. In this tutorial, we will use the already existing HTML 5 template. Click Finish and notice the new HTML file created with the doctype element at the top (for HTML 5).
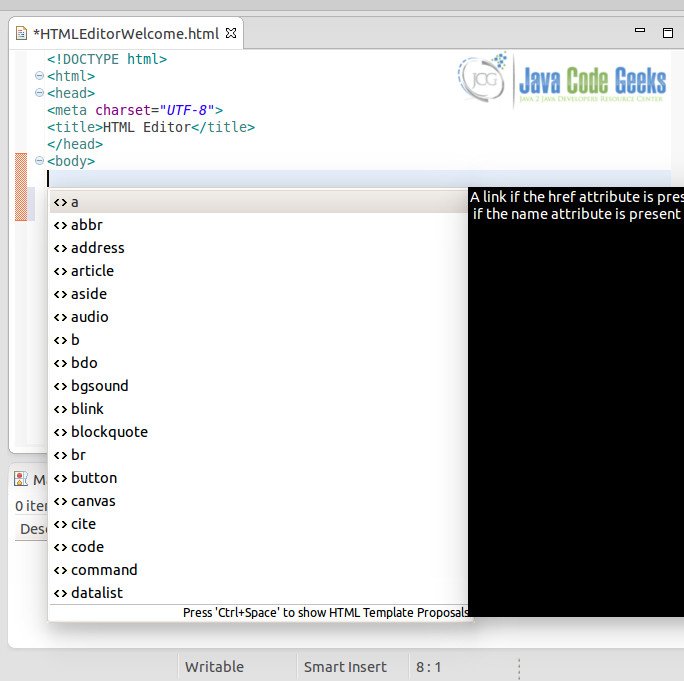
Once the HTML file is created, use the Ctrl + Space content assist to see the available HTML tags options.
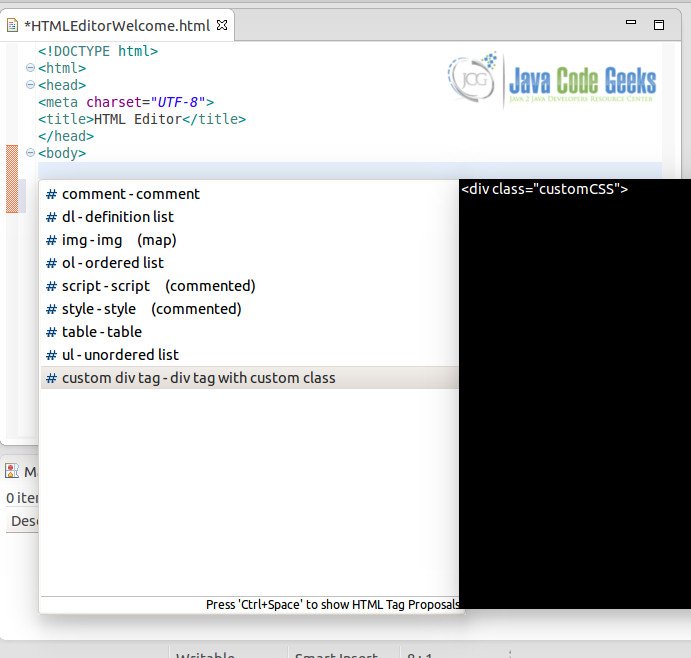
On hitting Ctrl + Space the second time, the default and any new templates created are available to be inserted within the HTML file. For example, in step above we created the custom div tag as a template and it is available through the content assist and can be inserted within the HTML file.
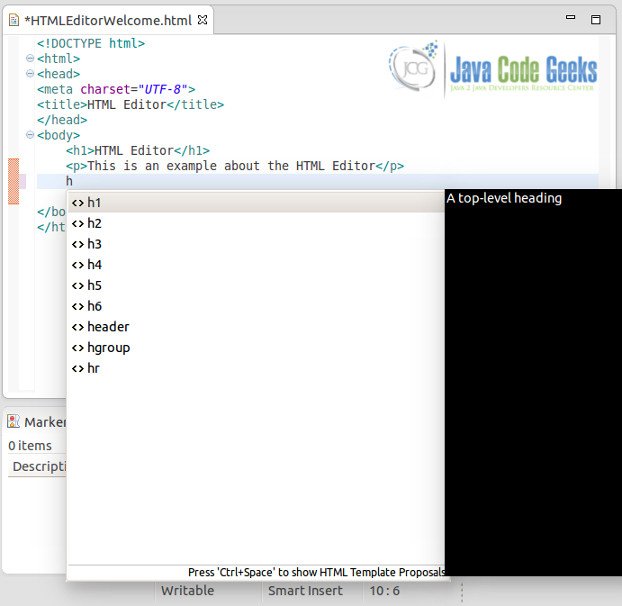
Let us complete our example HTML page by adding some headers and paragraph tags.
HTMLEditorWelcome.html
<!DOCTYPE html>
<html>
<head>
<meta charset="UTF-8">
<title>HTML Editor</title>
</head>
<body>
	<h1>HTML Editor</h1>
	<p>This is an example about the HTML Editor</p>
	<h2><i>By Java Code Geeks</i></h2>
</body>
</html>
Add the created HTML file as the welcome page in the web.xml (Deployment descriptor).
HTMLEditorWelcome.html
<!DOCTYPE web-app PUBLIC
 "-//Sun Microsystems, Inc.//DTD Web Application 2.3//EN"
 "http://java.sun.com/dtd/web-app_2_3.dtd" >

<web-app>
	<display-name>HTML Editor Example</display-name>
	<welcome-file-list>
		<welcome-file>HTMLEditorWelcome.html</welcome-file>
	</welcome-file-list>
</web-app>
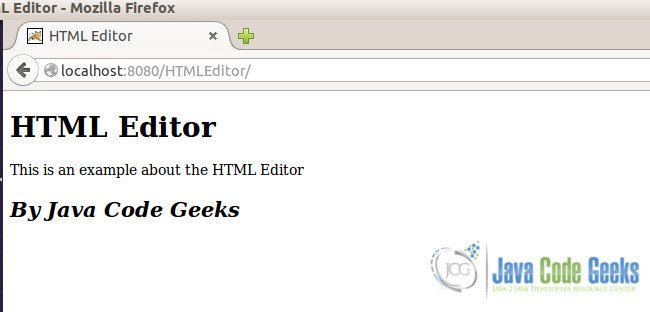
Right-click and run the application on server.
Download the Eclipse Project
This was an example demonstrating use of HTML Editor in eclipse.
You can download the full source code of this example here: HTMLEditorExample.zip
