In this example we will learn how to make use of GWT UiBinder. This is a very basic example which actually targets to show the setup process. You can extend the binder class to use more features.
Tools and technologies used in this example are Java 1.8, Eclipse Lune 4.4.2, Eclipse GWT Plugin 2.6.
1. Overview
The GWT UiBinder framework allows you to build your apps as HTML pages with GWT widgets sprinkled throughout them. It provides a more natural and concise way to build a User Interface application. According to (Gwtproject.org, 2015) UiBinder:
- helps productivity and maintainability — it’s easy to create UI from scratch or copy/paste across templates;
- makes it easier to collaborate with UI designers who are more comfortable with XML, HTML and CSS than Java source code;
- provides a gradual transition during development from HTML mocks to real, interactive UI;
- encourages a clean separation of the aesthetics of your UI (a declarative XML template) from its programmatic behavior (a Java class);
- performs thorough compile-time checking of cross-references from Java source to XML and vice-versa;
- offers direct support for internationalization that works well with GWT’s i18n facility; and
- encourages more efficient use of browser resources by making it convenient to use lightweight HTML elements rather than heavier-weight widgets and panels.
UiBinder is not a renderer, there are no loops, no conditionals, no if statements in its markup, and only a very limited expression language. UiBinder allows you to lay out your user interface. It’s still up to the widgets or other controllers themselves to convert rows of data into rows of HTML.
2. Creating new Web Application Project
First we will create a new web application project. To do that go to File -> New -> Other and type ‘Web Application Project’ in the Wizards: Text box. (See below)
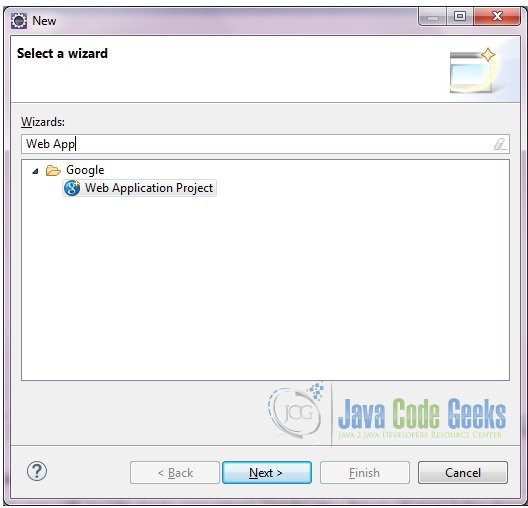
Select and click next. Give the project name and package name. Select the location of the project. You can choose to create it in the workspace (default) value or give your own path. Let the other values as default. In the end you can choose whether you want to generate the sample code. For our example we will select it.
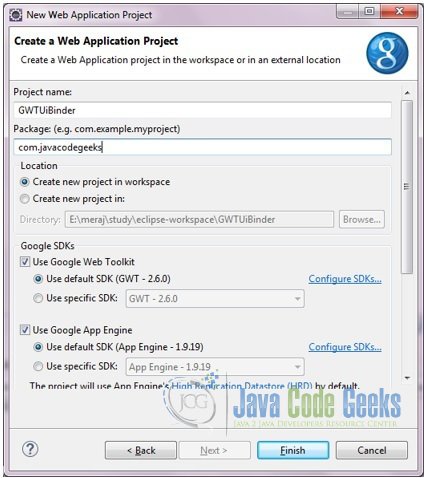
Click Finish. GWT plugin will generate some sample classes and files.
3. Project Structure
Below is the project structure showing the generated files.
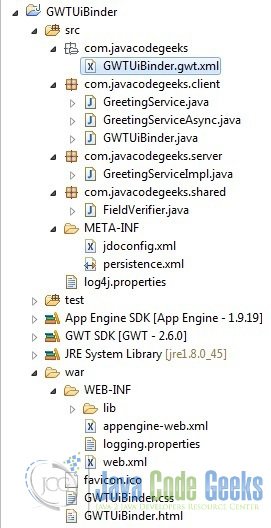
We can see that the application generated four packages. The base package ‘com.javacodegeeks’ has got the GWT configuration file – ‘GWTUiBinder.gwt.xml’. The other three packages are ‘com.javacodegeeks.client’, ‘com.javacodegeeks.server’, ”com.javacodegeeks.shared”. All the client classes will go under the client sub-package, all the server related in the ‘server’ sub-package and the ones which needs to be accessible by both client and server will go inside the ‘shared’ package.
4. UiBinder
To create a UiBinder select the client package and click File -> New -> Other. In the Wizard type UiBinder.
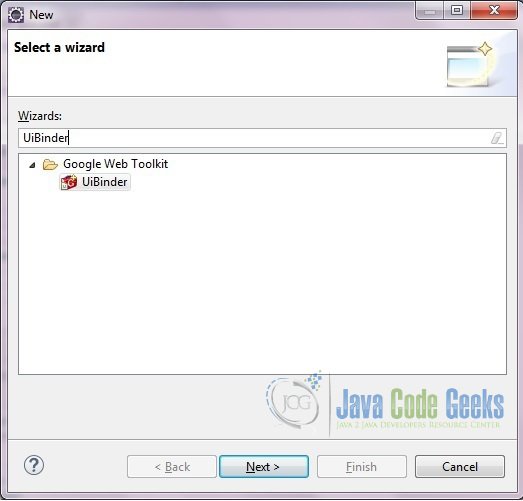
Select UiBinder and click Next. In the next screen give the name of UiBinder class. Leave the other values as default.
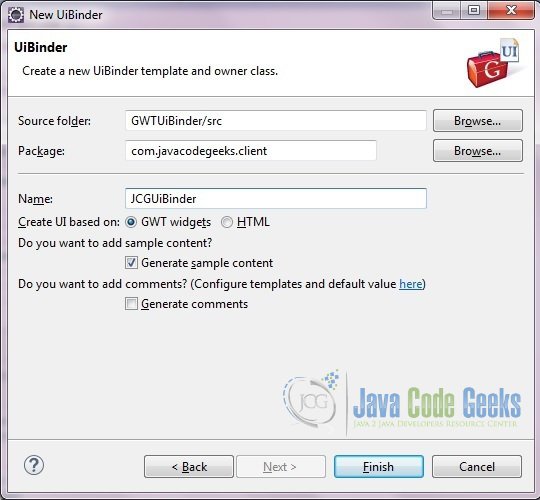
A corresponding ui.xml class will be created.
5. Important files
In this section we will describe some of the important files which were generated.
5.1. GWTUiBinder.gwt.xml
This is the GWT configuration file. The most important stuff here is the entry-point and the source. The source specify the paths for translatable code.
GWTUiBinder.gwt.xml
<?xml version="1.0" encoding="UTF-8"?>

<!DOCTYPE module PUBLIC "-//Google Inc.//DTD Google Web Toolkit 2.6.0//EN"
"http://google-web-toolkit.googlecode.com/svn/tags/2.6.0/distro-source/core/src/gwt-module.dtd">
<module rename-to='gwtuibinder'>

<inherits name='com.google.gwt.user.User'/>
<inherits name='com.google.gwt.user.theme.clean.Clean'/>

<!-- Specify the app entry point class. -->
<entry-point class='com.javacodegeeks.client.GWTUiBinder'/>

<!-- Specify the paths for translatable code -->
<source path='client'/>
<source path='shared'/>

<add-linker name="xsiframe"/>
</module>
6. Compile
To compile the application right click on the project, Google -> GWT Compile.
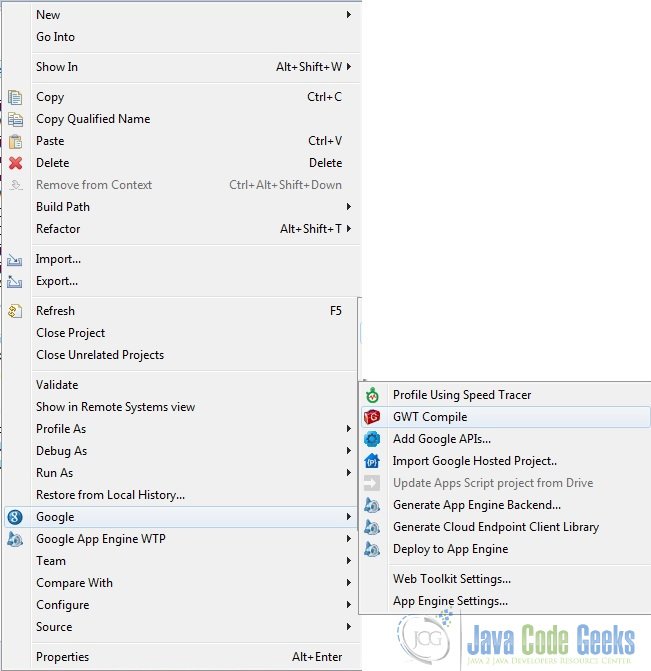
This will create the java script code from the client class. Below is the output which will displayed on the console.

Compiling module com.javacodegeeks.GWTUiBinder
    Compiling 5 permutations
        Compiling permutation 0...
        Compiling permutation 1...
        Compiling permutation 2...
        Compiling permutation 3...
        Compiling permutation 4...
    Compile of permutations succeeded
Linking into E:\meraj\study\eclipse-workspace\GWTUiBinder\war\gwtuibinder
    Link succeeded
    Compilation succeeded -- 28.010s
7. Running the application
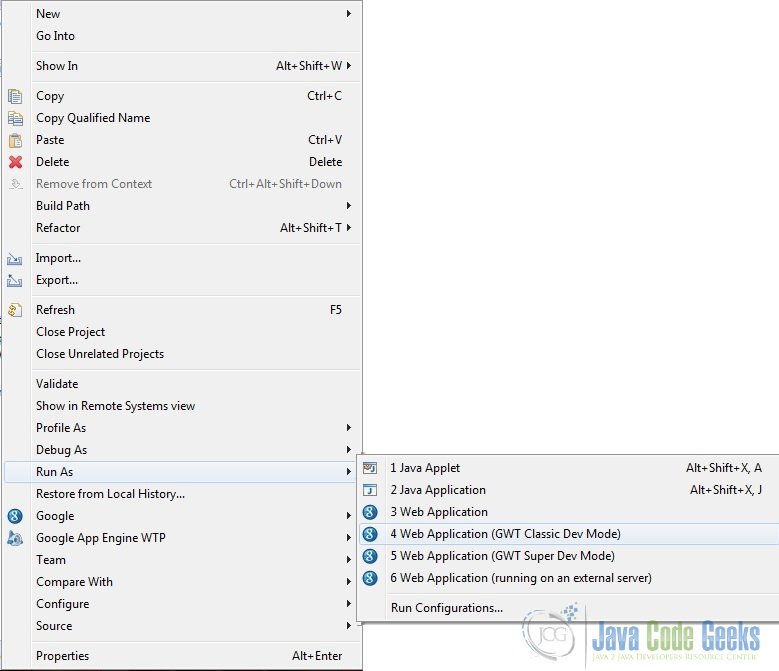
To run the application right click on the project, select Run As -> Web Application (GWT Classic Dev Mode).
The application will output some logs as shown below:
Initializing App Engine server
May 04, 2015 11:56:49 PM com.google.apphosting.utils.config.AppEngineWebXmlReader readAppEngineWebXml
INFO: Successfully processed E:\meraj\study\eclipse-workspace\GWTUiBinder\war\WEB-INF/appengine-web.xml
May 04, 2015 11:56:49 PM com.google.apphosting.utils.config.AbstractConfigXmlReader readConfigXml
INFO: Successfully processed E:\meraj\study\eclipse-workspace\GWTUiBinder\war\WEB-INF/web.xml
May 04, 2015 11:56:49 PM com.google.appengine.tools.development.SystemPropertiesManager setSystemProperties
INFO: Overwriting system property key 'java.util.logging.config.file', value 'E:\meraj\study\eclipse\plugins\com.google.appengine.eclipse.sdkbundle_1.9.19\appengine-java-sdk-1.9.19\config\sdk\logging.properties' with value 'WEB-INF/logging.properties' from 'E:\meraj\study\eclipse-workspace\GWTUiBinder\war\WEB-INF\appengine-web.xml'
May 04, 2015 11:56:49 PM com.google.apphosting.utils.jetty.JettyLogger info
INFO: Logging to JettyLogger(null) via com.google.apphosting.utils.jetty.JettyLogger
May 04, 2015 11:56:50 PM com.google.appengine.tools.development.DevAppServerImpl setServerTimeZone
WARNING: Unable to set the TimeZone to UTC (this is expected if running on JDK 8)
May 04, 2015 11:56:50 PM com.google.apphosting.utils.jetty.JettyLogger info
INFO: jetty-6.1.x
May 04, 2015 11:56:56 PM com.google.apphosting.utils.jetty.JettyLogger info
INFO: Started SelectChannelConnector@0.0.0.0:8888
May 04, 2015 11:56:56 PM com.google.appengine.tools.development.AbstractModule startup
INFO: Module instance default is running at http://localhost:8888/
May 04, 2015 11:56:56 PM com.google.appengine.tools.development.AbstractModule startup
INFO: The admin console is running at http://localhost:8888/_ah/admin
May 04, 2015 11:56:56 PM com.google.appengine.tools.development.DevAppServerImpl doStart
INFO: Dev App Server is now running
Then the application will display a URL in the ‘Development Mode’ window as http://127.0.0.1:8888/GWTUiBinder.html?gwt.codesvr=127.0.0.1:9997.
Copy the URL and paste it on the browser. Remove the part after ‘?’ so the url becomes – http://127.0.0.1:8888/GWTUiBinder.html. Press enter. The browser may require to download the GWT plugin for the browser. If that is installed you will see the below screen.
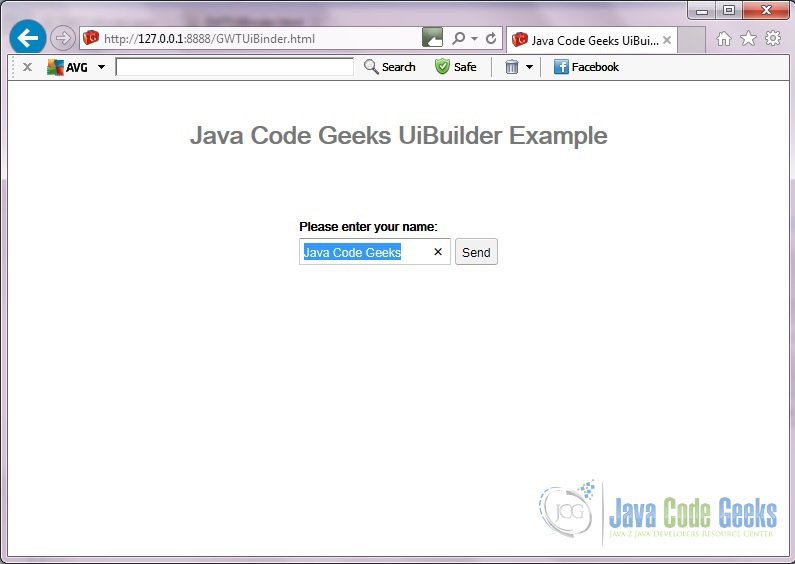
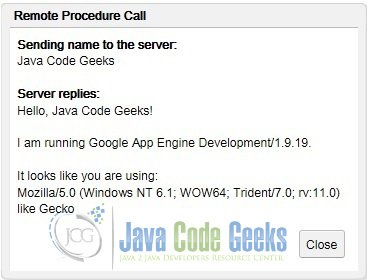
Click on the ‘Send’ button and you will see the below pop-up window.(Please note that the text in the pop-up window might change depending on the browser and GWT information).
8. Download the source file
This was an example of GWT UiBinder.
You can download the full source code of this example here : GWTUiBinder
