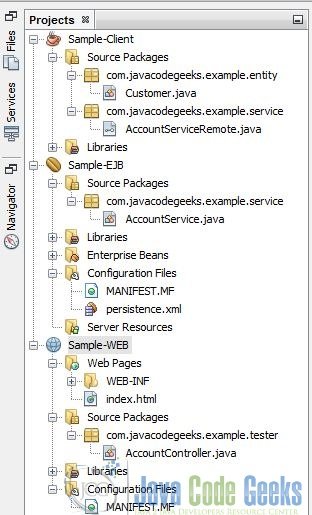
1. Introduction
Enterprise Java Beans (EJB) is a development architecture for building highly scalable and robust enterprise level applications to be deployed on JEE compliant Application Server such as JBOSS, Web Logic etc.
This tutorial explains basics about EJB3 and shows a simple work through to set up a EJB3 project, create a entity bean and a session bean.
EJB are primarily of three types which are briefly described below:
- Session Bean – Session bean stores data of a particular user for a single session. It can be stateful or stateless. It is less resource intensive as compared to entity beans. Session bean gets destroyed as soon as user session terminates.
- Entity Bean – Entity beans represents persistent data storage. User data can be saved to database via entity beans and later on can be retrieved from the database in the entity bean.
- Message Driven Bean – Message driven beans are used in context of JMS (Java Messaging Service). Message Driven Beans can consumes JMS messages from external entities and act accordingly.
2. Setup a new EJB Module
To create a simple EJB module, we’ll use NetBeans “New project” wizard. In example below, We’ll create a ejb module project named Sample-EJB.
Open NetBeans IDE, choose File > New Project.
In the New Project wizard, expand the Java EE category and select EJB Module as shown in the figure below. Then click Next.

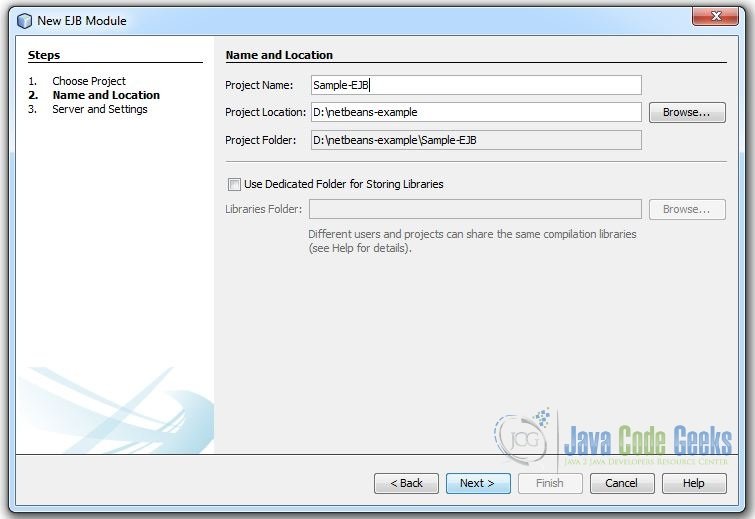
You have to specify the Project Name and the Project Location in the appropriate text fields and then click Next.
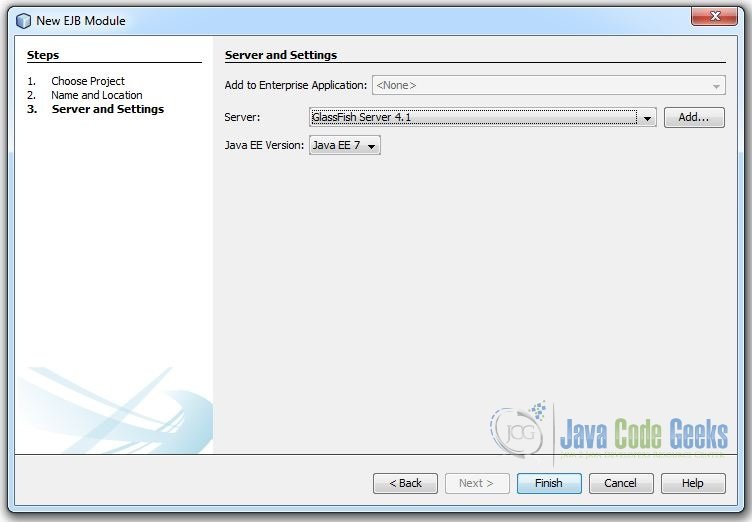
In the next window, add the JEE Server and select the JEE version and click Finish.
3. Create a new Application Class Library Project
In this section you will create an application class library project for EJB remote interface and entity class.
Open NetBeans IDE, choose File > New Project.
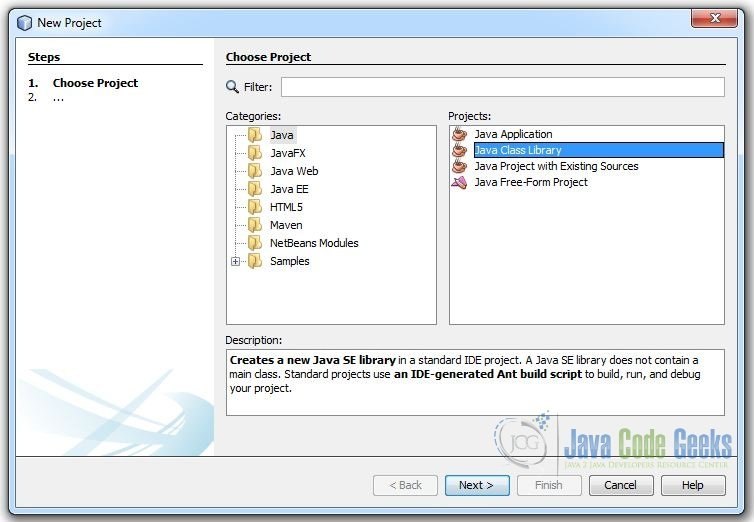
In the New Project wizard, expand the Java category and select Java Class Library as shown in the figure below. Then click Next.
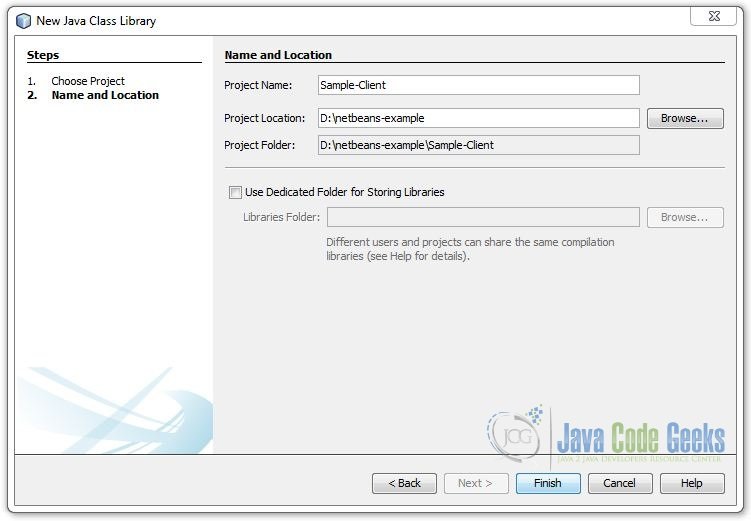
You have to specify the Project Name and the Project Location in the appropriate text fields and then click Next.
4. Create a sample Entity Bean
In this exercise you will create the Customer entity class. An entity class is a simple Java class that generally represents a table in a database. When you create the entity class, the IDE adds the @Entity annotation to define the class as an entity class. After you create the class, you will create fields in the class to represent the data that you want in your table.
Each entity class must have a primary key. When you create the entity class, the IDE adds the @Id annotation to declare which field to use as the primary key. The IDE also adds the @GeneratedValue annotation and specifies the key generation strategy for the primary Id.
To create the Customer class, perform the following steps.
- Right-click the Sample-Client in the Projects window and choose New > Other to open the New File wizard.
- From the Persistence category, select Entity Class and click Next.
- Type Customer for the Class Name.
- Type com.javacodegeeks.example.entity for the Package.
- Leave the Primary Key Type as
Longin the New Entity Class wizard. - Click Finish.

When you click Finish, the IDE creates the entity class Customer.java. The IDE opens Customer.java in the Source Editor.
In the Source Editor, perform the following steps.
- Add the following field declarations to the class:
private String firstName; private String LastName; - Right-click in the Source Editor and choose Insert Code (Alt-Insert; Ctrl-I on Mac) and select Getter and Setter to open the Generate Getters and Setters dialog box.
- Select the firstName and lastName fields in the dialog box. Click Generate. When you click Generate, the IDE adds getter and setter methods for the fields.
- Save the changes to Customer.java.
Customer.java
package com.javacodegeeks.example.entity;

import java.io.Serializable;
import javax.persistence.Entity;
import javax.persistence.GeneratedValue;
import javax.persistence.GenerationType;
import javax.persistence.Id;

/**
 *
 * @author jGauravGupta
 */
@Entity
public class Customer implements Serializable {
    private static final long serialVersionUID = 1L;
    @Id
    @GeneratedValue(strategy = GenerationType.AUTO)
    private Long id;

    private String firstName;

    private String LastName;


    public Long getId() {
        return id;
    }

    public void setId(Long id) {
        this.id = id;
    }

    @Override
    public int hashCode() {
        int hash = 0;
        hash += (id != null ? id.hashCode() : 0);
        return hash;
    }

    @Override
    public boolean equals(Object object) {
        // TODO: Warning - this method won't work in the case the id fields are not set
        if (!(object instanceof Customer)) {
            return false;
        }
        Customer other = (Customer) object;
        if ((this.id == null && other.id != null) || (this.id != null && !this.id.equals(other.id))) {
            return false;
        }
        return true;
    }

    @Override
    public String toString() {
        return "com.javacodegeeks.example.entity.Customer[ id=" + id + " ]";
    }

    /**
     * @return the firstName
     */
    public String getFirstName() {
        return firstName;
    }

    /**
     * @param firstName the firstName to set
     */
    public void setFirstName(String firstName) {
        this.firstName = firstName;
    }

    /**
     * @return the LastName
     */
    public String getLastName() {
        return LastName;
    }

    /**
     * @param LastName the LastName to set
     */
    public void setLastName(String LastName) {
        this.LastName = LastName;
    }

}
5. Create a sample Session Bean
The EJB 3.1 specification introduces @Stateless annotation that enables you to easily create stateless session beans. A stateless session bean as per its name does not have any associated client state, but it may preserve its instance state. EJB Container normally creates a pool of few stateless bean’s objects and use these objects to process client’s request.
To create the stateless session bean, perform the following steps.
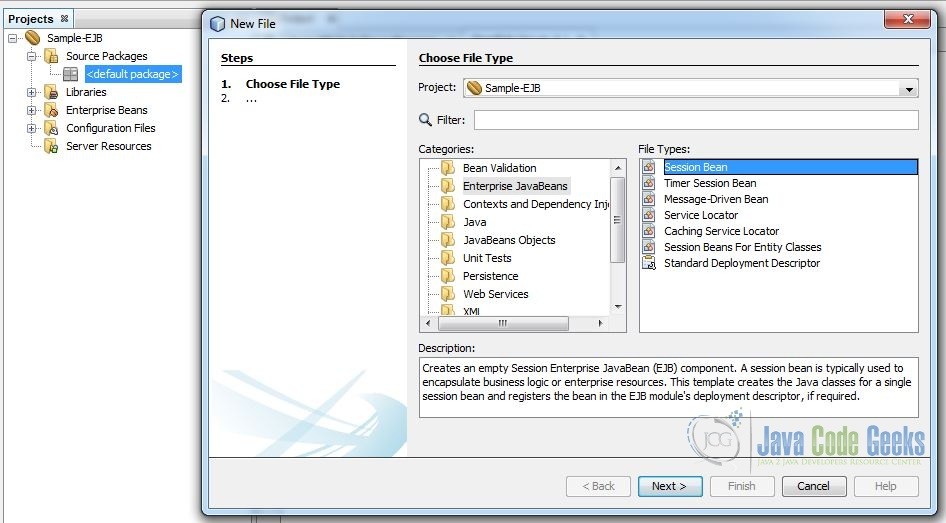
- Right-click the EJB module and choose New > Other to open the New File wizard.
- Select Session Bean in the Enterprise JavaBeans category. Click Next.
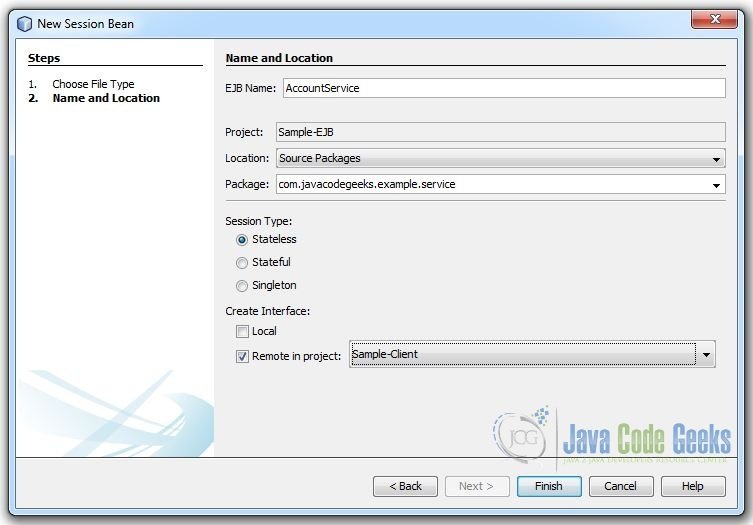
- Type AccountService for the EJB Name.
- Type com.javacodegeeks.example.service for the Package name.
- Select Stateless.
- Click Finish.
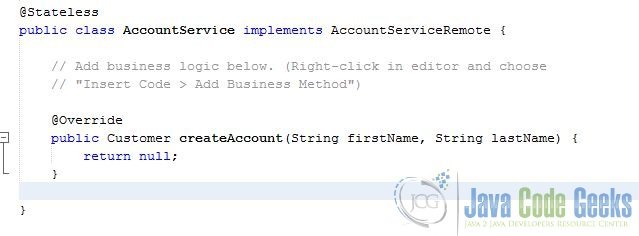
When you click Finish, the IDE creates the stateless session bean class and opens the class in the editor.

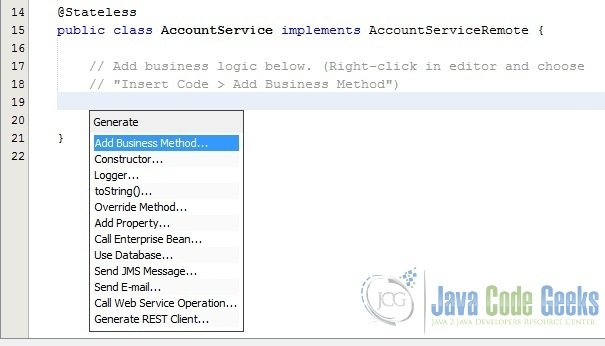
You can see that the IDE added the annotation @Stateless to the class to declare a stateless session bean.
Adding a Business Method
In this exercise you will create a simple business method in the session bean that returns a string.
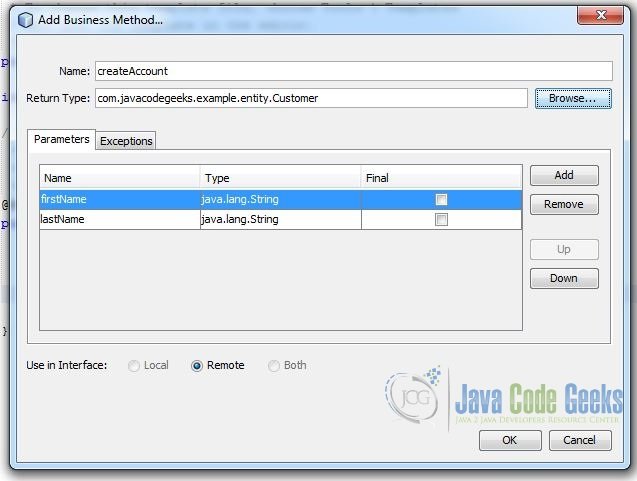
- Right-click in the editor of AccountService and choose Insert Code (Alt-Insert; Ctrl-I on Mac) and select Add Business Method.

Create business method - Type createAccount for the Method Name.

- Browse Customer entity for the Return Type and add parameter
firstNameandlastName.

- Click OK.


AccountService.java
package com.javacodegeeks.example.service;

import com.javacodegeeks.example.entity.Customer;
import javax.ejb.Stateless;
import javax.persistence.EntityManager;
import javax.persistence.PersistenceContext;

/**
 *
 * @author jGauravGupta
 */
@Stateless
public class AccountService implements AccountServiceRemote {

    @PersistenceContext
    private EntityManager em;

    @Override
    public Customer createAccount(String firstName, String lastName) {
        Customer customer = new Customer();
        customer.setFirstName(firstName);
        customer.setLastName(lastName);

        em.persist(customer);

        return customer;
    }

}
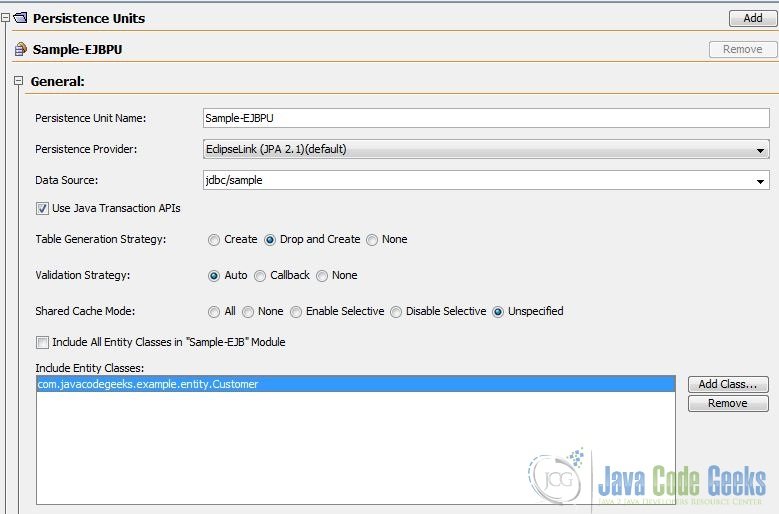
6. Create Persistence Unit
In this exercise you will create a persistence unit to provide the container with information about the data source and how the entities are managed.
To create the Persistence Unit, perform the following steps.
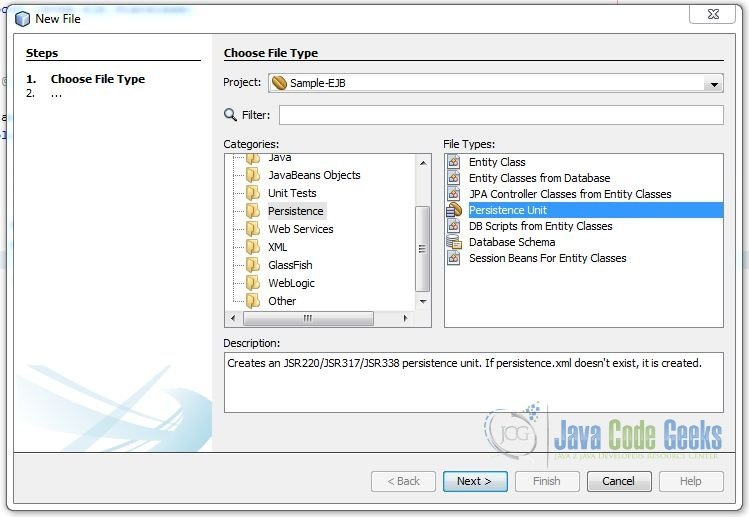
- Right-click the EJB module and choose New > Other to open the New File wizard.
- Select Persistence Unit in the Persistence category. Click Next.
In the [Provider and Database] step
- Select persistence library.
- Select database connection (e.g. some of sample database)
Click Finish to generate a default persistence.xml file with a default persistence unit (that will be configured later).

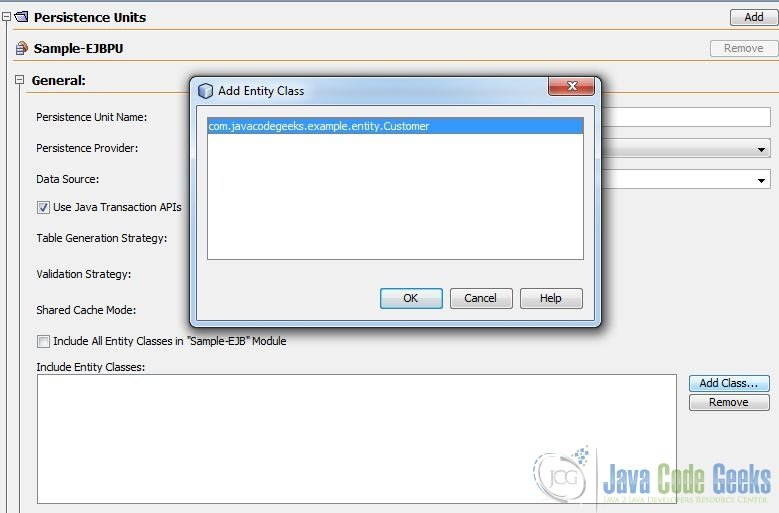
When you click Finish, the IDE creates persistence.xml. Select the Entity Bean class and add it to persistence unit :
7. Deploy the EJB Module
You can now build and deploy the EJB module. Right-click the Sample-EJB module and choose Deploy. When you click Deploy, the IDE builds the ejb module and deploys the JAR archive to the server.
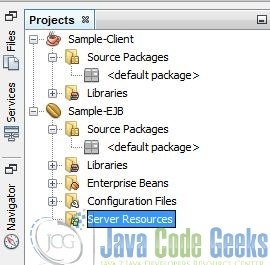
In the Services window, if you expand the Applications node of GlassFish Server you can see that Sample-EJB was deployed.
8. Create a new Web Module
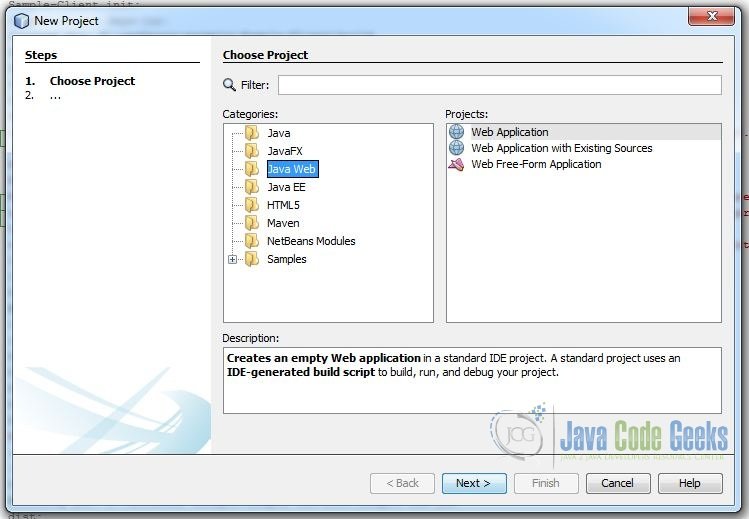
Open NetBeans IDE, choose File > New Project.
In the New Project wizard, expand the Java Web category and select Web Application as shown in the figure below. Then click Next.
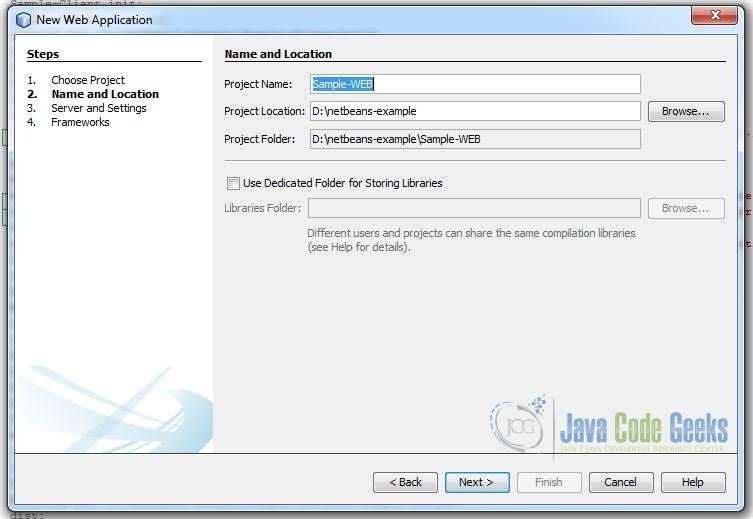
You have to specify the Project Name and the Project Location in the appropriate text fields and then click Next.
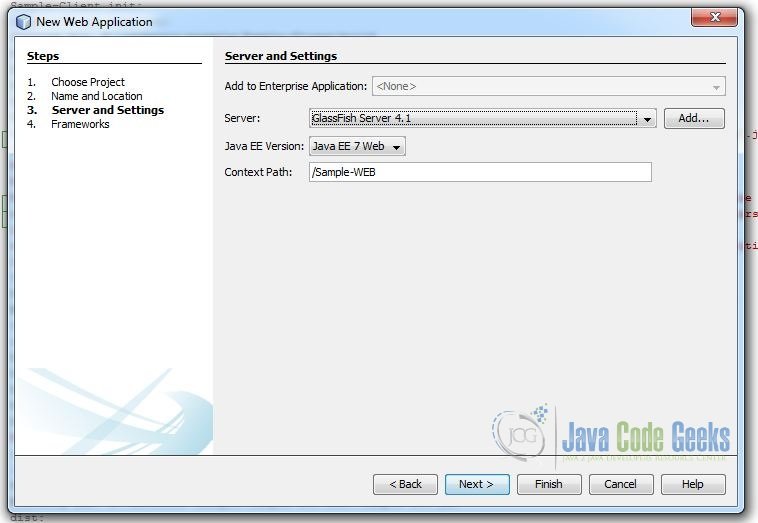
In the next window, add the JEE Server and select the JEE version and click Finish.
9. Create a new Servlet Class to test EJB
In this exercise you will create a simple servlet to create the user account and to display the user id.
- Right-click the Web module and choose File > New File wizard.
- In the New File wizard, expand the Web category and select Servlet as shown in the figure below.
- Then click Next.

You have to specify the Servlet Name, the Servlet Name and the Package Location in the appropriate text fields and then click Finish.
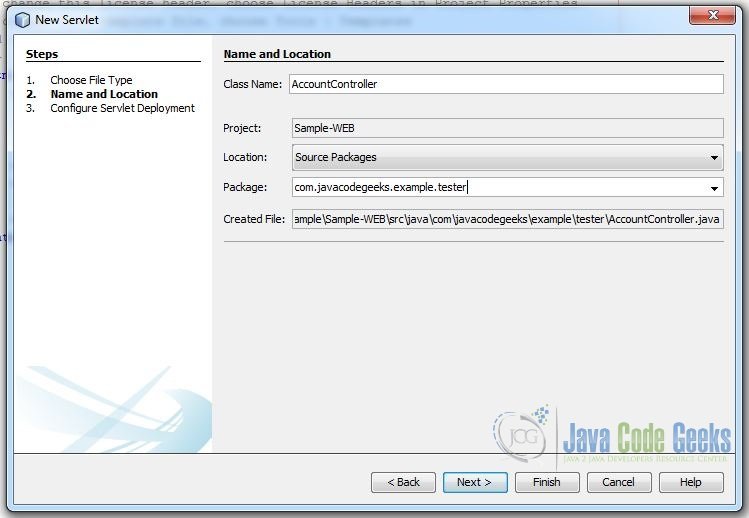
When you click Finish, the class AccountController.java opens in the Source Editor.
In the source editor, perform the following steps :
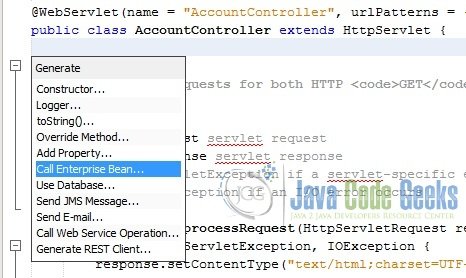
- Right-click in the source editor
- Choose Insert Code (Alt-Insert; Ctrl-I on Mac)
- Select Call Enterprise Bean.
In the Call Enterprise Bean dialog box :
- Expand the Sample-EJB node.
- Select AccountService.
- And click OK.
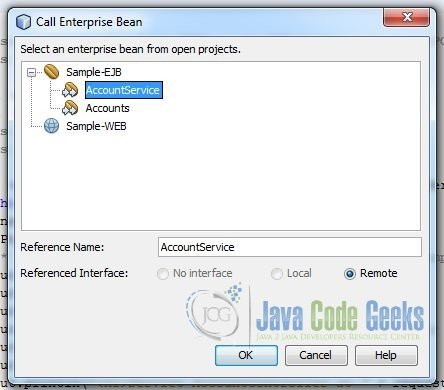
The dialog automatically selects Remote as the interface type. When you click OK, The IDE adds the @EJB annotation to inject the enterprise bean.
    @EJB
    private AccountServiceRemote accountService;
The IDE also automatically adds Sample-Client as a project Library.
The AccountServiceRemote session bean is instantiated and injected by the application server into the accountService field automatically (since the field is marked with the @EJB annotation).
AccountController.java
package com.javacodegeeks.example.tester;

import com.javacodegeeks.example.entity.Customer;
import com.javacodegeeks.example.service.AccountServiceRemote;
import java.io.IOException;
import java.io.PrintWriter;
import javax.ejb.EJB;
import javax.servlet.ServletException;
import javax.servlet.annotation.WebServlet;
import javax.servlet.http.HttpServlet;
import javax.servlet.http.HttpServletRequest;
import javax.servlet.http.HttpServletResponse;

/**
 *
 * @author jGauravGupta
 */
@WebServlet(name = "AccountController", urlPatterns = {"/AccountController"})
public class AccountController extends HttpServlet {
    @EJB
    private AccountServiceRemote accountService;

    /**
     * Handles the HTTP POST method.
     *
     * @param request servlet request
     * @param response servlet response
     * @throws ServletException if a servlet-specific error occurs
     * @throws IOException if an I/O error occurs
     */
    @Override
    protected void doPost(HttpServletRequest request, HttpServletResponse response)
            throws ServletException, IOException {
       response.setContentType("text/html;charset=UTF-8");
        try (PrintWriter out = response.getWriter()) {
            String firstName = request.getParameter("firstName");
            String lastName = request.getParameter("lastName");

            Customer customer = accountService.createAccount(firstName, lastName);
            out.println("Customer["+customer.getFirstName()+"] : " + customer.getId());
        }
    }

}
10. Add a HTML Page
In this exercise you will create a simple html to submit user data to servlet.
- Open NetBeans IDE, choose File > New File.
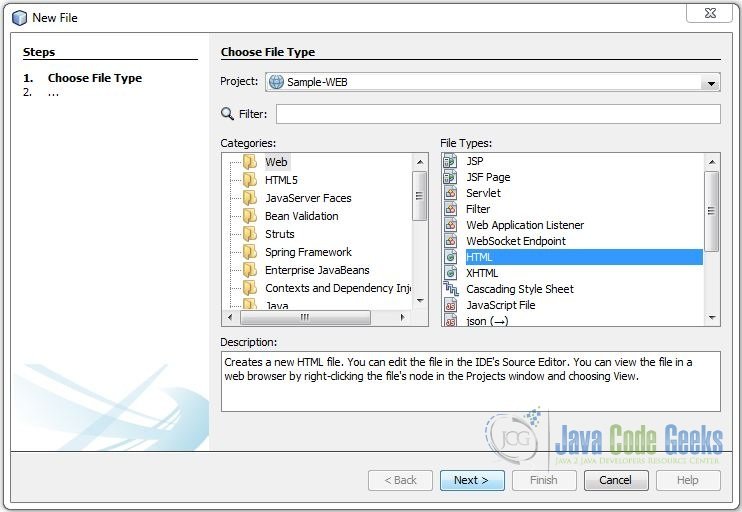
- In the New File wizard, expand the Web category and select HTML as shown in the figure below.
- Then click Next.
You have to specify the HTML file name and then click Finish.

index.html
<!DOCTYPE html>
<html>
<head>
<title>Create Customer</title>
<meta name="viewport" content="width=device-width, initial-scale=1.0">
</head>
<body>
<form action="AccountController" method="post" >
<input type="text" name="firstName" placeholder="First Name" />
<input type="text" name="lastName" placeholder="Last Name"/>
<input type="submit" value="Create"/>
</form>
</body>
</html>
11. Run the Project
You can now run the project. When you run the project, you want the browser to open to the page with the index.html. You do this by specifying the URL in the Properties dialog box for the web application. The URL is relative to the context path for the application. After you enter the relative URL, you can build, deploy and run the application from the Projects window.
To set the relative URL and run the application, do the following:
- In the Projects window, right-click the Sample-Web application node
- Select Properties in the pop-up menu.
- Select Run in the Categories pane.
- In the Relative URL textfield, type /index.html.
- Click OK.
In the Projects window, right-click the Sample-Web application node and choose Run.
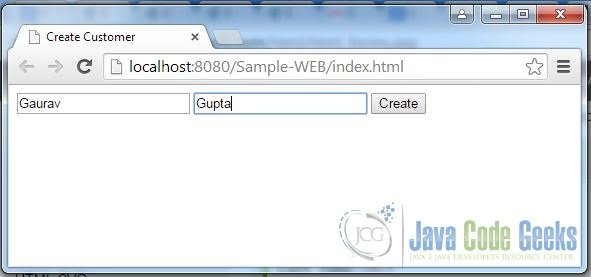
When you run the project, the index.html opens in your browser and displays the form to create user account.
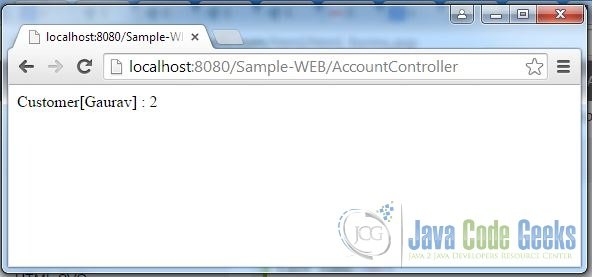
When you create a user account, the AccountController Servlet is called to create user account and to display user id.
12. Download the NetBeans Project
Download the NetBeans project of this EJB tutorial:
You can download the full source code of this example here: EJB_Example.zip

hey my bean has failed to deploy
me too. any hints to solve this problem? tnx!
I can deploy my bean for you ;)
excellent tutorial, thanks for the contribution!
Where is the defenition of the interface
AccountServiceRemote??
i have “HTTP Status 500 – Internal Server Error” error in htis project
added it to project:
<?xml version="1.0" encoding="UTF-8"?>
<web-app version="3.1" xmlns="http://xmlns.jcp.org/xml/ns/javaee" xmlns:xsi="http://www.w3.org/2001/XMLSchema-instance" xsi:schemaLocation="http://xmlns.jcp.org/xml/ns/javaee http://xmlns.jcp.org/xml/ns/javaee/web-app_3_1.xsd">
<servlet>
<servlet-name>AccountController</servlet-name>
<servlet-class>com.javacodegeeks.example.tester.AccountController</servlet-class>
</servlet>
<servlet-mapping>
<servlet-name>AccountController</servlet-name>
<url-pattern>/AccountController</url-pattern>
</servlet-mapping>
<session-config>
<session-timeout>
30
</session-timeout>
</session-config>
</web-app>
and will work, but I don’t see a response after adding a customer
else one moment you need add ejb project to web project as library, after it the project will work
Dear colleague Gaurav,
Thank you very much for the excellent tutorial.
Best regards,
Radoje